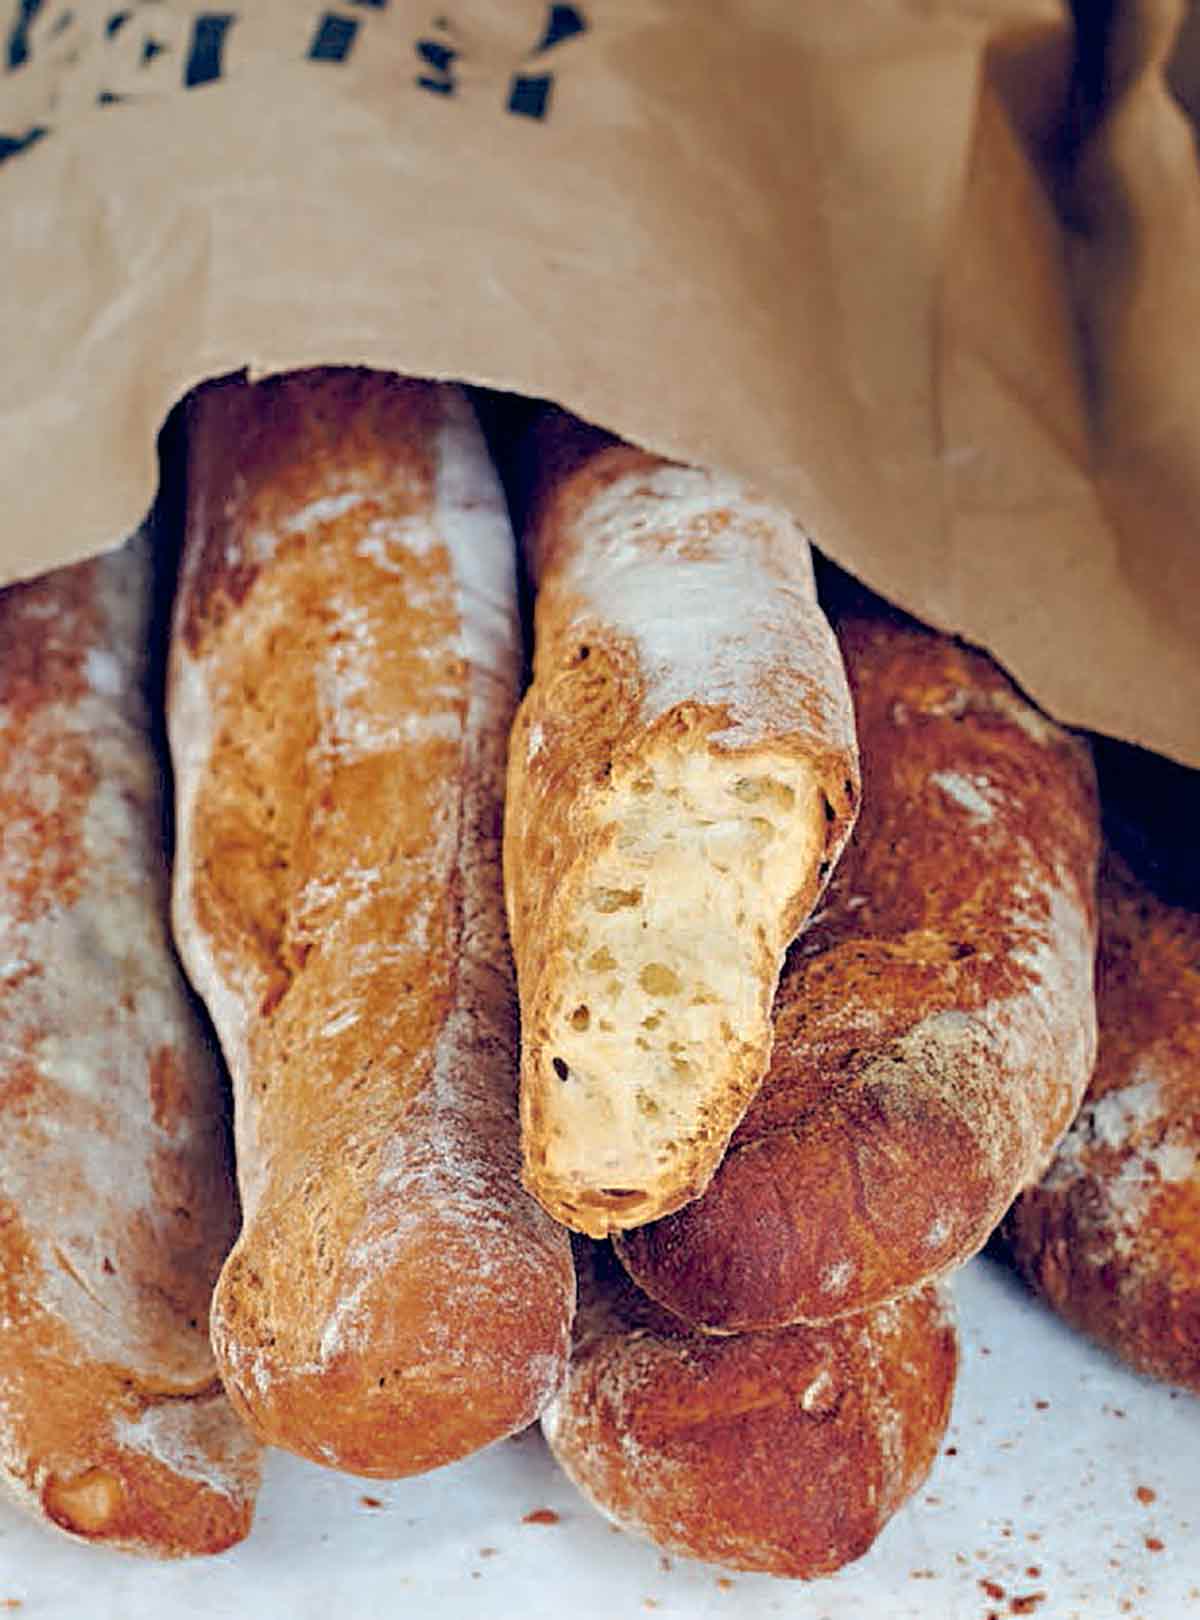

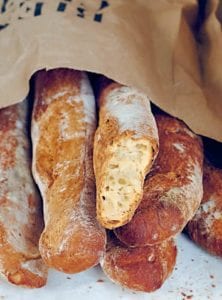
This pane francese recipe, to paraphrase Zachary Golper, who authored one of the best cookbooks in recent years, turns out a loaf of bread that looks like a baguette and tastes like a ciabatta. He describes his pane francese as “creamy tasting and soft textured,” which is to say almost velvety. The unique and indulgent character of the bread reflects the goodly amount of olive oil in the dough, so don’t skimp on that. And if you’re confused about the pronunciation of this bread, so we were. So we looked it up. Repeat after us: “pah-neh frahn-CHEH-zeh.” And if you’re not comfortable working with the baguette shape, you can instead simply bake this as a round loaf in a Dutch oven.–Renee Schettler Rossi
Pane Francese
Equipment
- Transfer peel, baking peel
Ingredients
For the starter
- 2 cups plus 2 tablespoons all-purpose flour
- Pinch instant yeast
- 1 1/4 cups warm water, at about 60°F (15°C)
For the pane francese dough
For the dusting mixture
- 1 tablespoon fine semolina flour
- 5 tablespoons all-purpose flour
Instructions
Make the starter
- Dump the flour in a medium storage container, preferably with a lid.
- Pour the water into a 2-cup measuring cup, sprinkle the yeast on top, and then stir to combine.
- Pour the yeast mixture over the flour and mix with your fingers, pressing the mixture into the sides, bottom, and corners of the container, until all the flour is wet. Cover the container and let it rest at room temperature for 12 to 15 hours. The starter will be at its peak at around 13 hours.
Make the pane francese dough
- In a medium bowl, stir together the flour, salt, and yeast.
- Grab your container of starter and slowly pour about 1/3 of the milk all around the sides to release the starter from the container. Transfer the starter and milk to an extra-large bowl along with the remaining milk and the olive oil. Using a wooden spoon, gently break the starter up to distribute it in the liquid.
- Add the flour mixture to the starter and milk mixture, slowly mixing in the flour mixture with a spoon and reserving about 1/6 of the flour mixture along one edge of the bowl. Continue to mix with the spoon until most of the flour mixture has been combined with the starter mixture, except for the reserved flour along the edge. Mix until everything except the last 1/6 of the flour mixture is incorporated. The dough will be sticky to the touch.
☞ TESTER TIP: As the dough stiffens, switch to a plastic bowl scraper and, if needed, your hands.
- Now, you have a decision to make. You can either knead the dough as you typically do, incorporating that last 1/6 of the flour mixture when your hands or the work surface becomes sticky and stopping when the dough becomes stiff and difficult to work, or you can knead the dough the way the author prefers you do, which is a method he calls rolling and tucking.* (You can read all about rolling and tucking at the bottom of this post.)
- With cupped hands, tuck the sides of the dough under itself, toward the center of the ball of dough. Place the dough, seam side down, in a clean bowl, cover the top of the bowl with a clean kitchen towel, and let rest at room temperature for 1 hour.
- Lightly dust the work surface, your hands, and a 9-by-13-inch (23-by-33-centimeter) baking pan with all-purpose flour. Using the plastic bowl scraper, release the dough from the bowl and place it, seam side down, on your lightly floured work surface. Gently stretch the dough from the center outwards into a roughly rectangular shape about 10 by 12 inches (25 by 30 centimeters).
- Fold the dough in thirds from top to bottom as if you were folding a sheet of paper to put in an envelope. You will have 3 layers of dough. Repeat the folding but working from left to right. You will have 9 layers. With cupped hands, tuck the sides under toward the center. Place the dough, seam side down, in the floured baking pan, cover the pan with the towel or plastic wrap stretched tight, and let rest for 1 hour. This was your first stretch and fold.
- For the second and final stretch and fold, repeat the first stretch and fold, then return the dough to the pan, cover with the towel or plastic wrap, and let rest for 1 hour.
Make the dusting mixture
- Mix together the semolina and all-purpose flours. Line a half sheet pan or baking sheet with a clean kitchen towel and dust it fairly generously with the dusting mixture. (The semolina, which is slightly coarser, helps keep the dough from sticking. Use this dusting mixture only for lining the surfaces against which the dough will come in contact. Don’t use this mixture during mixing, rolling and tucking, stretching and folding, or shaping.)
- Lightly dust the work surface and your hands with all-purpose flour. Turn the dough onto the work surface and let it spread, then gently stretch it to form a 9-by-7-inch (23-by-18-centimeter) rectangle. Using a bench scraper, divide the dough into 4 equal portions, each measuring about 2 1/4 by 7 inches (5.5 by 18 centimeters). Gently stretch each portion into a rectangle measuring about 2 by 12 inches (5 by 30 centimeters). Transfer to the lined pan, positioning the loaves across the width rather than lengthwise. Dust the top and sides of the loaves with the dusting mixture. Fold the towel to create support walls on both sides of each loaf, then fold any extra length of the towel over the top or grab another clean kitchen towel to cover it. Let it rest at room temperature for 30 minutes.
- Transfer the pan to the refrigerator for 12 to 16 hours.
- Slide a cast-iron skillet onto the floor of the oven and preheat the oven to 500°F (260°C).
- Using the towel, lift and gently flip the loaves off the pan and onto a transfer peel, seam side down. Slide the loaves, still seam side down, onto a baking peel dusted with all-purpose flour. Using a sharp knife, make a few diagonal slashes a couple inches long on the top of the loaves.
- Working quickly but carefully, transfer the loaves to the stone using heavy-duty oven mitts or potholders. Pull the hot cast-iron skillet partway out of the oven, add about 3 cups ice cubes to the skillet, and then quickly slide it back in and immediately close the oven door. (This will create steam.) Lower the oven temperature to 460°F (240°C). Bake the bread, switching the positions of the loaves about 2/3 of the way through baking, until the surface is golden brown, about 25 minutes.
- Using the baking peel, transfer the loaves to a cooling rack. Tap the bottom of each loaf. It should sound hollow. If not, return the bread to the baking stone and bake for 5 minutes longer.
- Let the bread cool completely before slicing and eating, at least 4 hours but preferably 8 to 24 hours.
Notes
*How To Roll And Tuck
To roll and tuck the dough, push the dough to one side of the bowl or turn it onto a lightly floured work surface. Coax it into a somewhat rectangular shape with a short end facing you. Slide your fingers or scraper 3 inches (8 centimeters) under the far end of the dough and lift it up. Roll it towards you, allowing it to fold onto the rest of the dough, and then push down lightly with the side of your hand, tucking the folded-over end into the mass of dough. Repeat several times until the dough is all rolled up, giving a slight push down on the last roll to leave the dough seam side down. Rotate the dough 90 degrees so the short side is once again facing you. Flip it over, seam side up, and press gently on the seam with your palm hand or the flat side of a scraper to create a roughly rectangular shape, adding the reserved last 1/6 of the flour mixture and, if needed, a small amount of additional all-purpose flour to the bowl or work surface and your hands as needed if the dough is sticky. You should have 3 or 4 rolls along the length of dough. That is one roll and tuck. If the dough is quite sticky at first, have patience, it will strengthen and become more manageable with each roll and tuck. As the dough strengthens, you’ll notice that it begins to resist further rolling. A general rule of thumb is that when the dough becomes difficult to fold and begins to tear, it’s time to stop. Continue rolling and tucking until the dough until it begins to resist any further rolling, about 10 complete roll and tucks.
Nutrition
Nutrition information is automatically calculated, so should only be used as an approximation.
Recipe Testers’ Reviews

Let me say that great bread is time-consuming and takes patience. This bread is no exception. I began with the starter late on a Friday night and finished baking the loaf of pane francese late Sunday morning. I suggest reading through the recipe a few times during the preceding days to familiarize yourself with the process. If you bake breads regularly, there is nothing earth-shattering or new here, but if you’re a novice, you’ll want to pay close attention to the methods.
Having said this, even if you’re unfamiliar with the steps, you will still be able to make some wonderful baguette-like loaves with a nice crunchy crust and an almost velvety, soft crumb. Make certain that you bake for the suggested time, as these loaves really are spectacular when finished to a dark golden brown.
Take your time, enjoy the ritual of real bread-making, and fill your home with the aroma of home-baked bread.

The crackly crust, the surprisingly buoyant interior and a flavor that sets it apart from the French baguette makes this loaf worth the effort.
My bread baking skills have been slowly improving over the last year, mostly by working my way through Leite’s recipes. When I saw this one, however, I just didn’t think there was any possible way that the finished loaves could be worth all the seeming lunacy of the instructions. Much to my surprise, the finished product IS worth it. And, considering that it makes 4 gorgeous loaves, definitely worth the effort.
I read and re-read the instructions before starting and would encourage others to do the same. The recipe isn’t difficult at all—it’s pretty standard as far as bread goes—but planning the breakdown of the timing is crucial to producing a recipe that you will want to make more than once.
I used the roll and tuck method; I found it increasingly difficult as the count increased but it did result in a very smooth and elastic dough. As well, instead of making a kitchen cloth couche, I used the flour and semolina mixture on my 4 baguette pan and it worked perfectly. It does look intimidating at first glance but by not rushing the dough and doing a little pre-planning, you will be rewarded—four fold—with some really delicious bread.


This recipe is good, but leaves out a final rise. The dough needs an hour to 90 minutes rise after coming out of the fridge to achieve anything like the images.
Thank you, Grace. We appreciate your feedback.
Does the yeast have to be instant? I only have the regular kind.
Hi Nan, this particular recipe calls for yeast to be added to dry ingredients in step 4, so instant yeast is used. Other types of yeast require proofing before using. As we only tested this recipe using instant yeast, I’m reluctant to recommend a substitution.
Yes, a long recipe, but not difficult. It didn’t produce bread with many interior “holes,” but after calculating the hydration percentages, I understand why. (That should also have been clear from working with the dough — it was not particularly sticky.) Still, a tasty bread with the promised crisp crust and velvety interior.
The roll-and-tuck approach to kneading it ‘neat,” especially since I had not gotten the dough well together before starting that process — working by hand. It quickly became a homogenous dough. I’ll have to try that with other recipes.
Other baguette recipes (I do realize this is not a baguette) call for a smidge of whole wheat, so I used 60 gr of whole wheat as part of the flour. I also ran out of AP, so 80% of the other flour was bread flour. Those two factors may account for why I did not need all the flour mixture — used all but about 1/4 cup (eyeballing it at the end).
In the final bread I can taste the olive oil (used a fresh bottle) but that’s not a bad thing. It also makes great toast!
The only aspect I was not sure of was whether to bring the bread to room temp before baking. The recipe seems to suggest that the loaves go in the oven cold. I cheated a bit with the second set of two loaves because I got them on the peel and then realized the oven needed to heat to 500 again. They sat on the peel for about 10 minutes. They rose a bit more than the first set, but the oven spring for both was considerable.
All in all, pleased with the results. Thanks for printing this.
K, I’m delighted you enjoyed the recipe and found it worked well. And thanks for your detailed work notes. I think they may benefit other bakers.