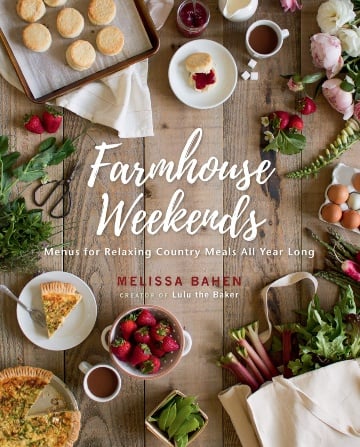
Farmhouse Weekends is a cookbook for all the people who daydream of country life, home-grown food, comfort classics, and the easy companionship of family and friends–it’s synonymous with relaxing in good company with great food. It’s for people who spend their week being busy, running errands, and working 9 to 5, but long to spend their weekends mucking about in a big vegetable patch, collecting fresh eggs from a flock of backyard chickens, or canning a few dozen jars of homemade salsa. One of my favorite recipes in the book is for old-fashioned doughnuts, tender and exactly how you remember.–Melissa Bahen
Why are my doughnuts tough?
It’s all about the temperature, baby. Every time you add a doughnut to that pot of very hot oil, it makes the temperature drop just a little. Frying dough in oil that’s too cold, then? You’ll end up with doughnuts that absorb too much oil, becoming greasy and tough. Keep an eye on that thermometer—you need a temperature between 355°F and 365°F (179°C to 185°C) for your doughnuts to cook quickly and evenly.
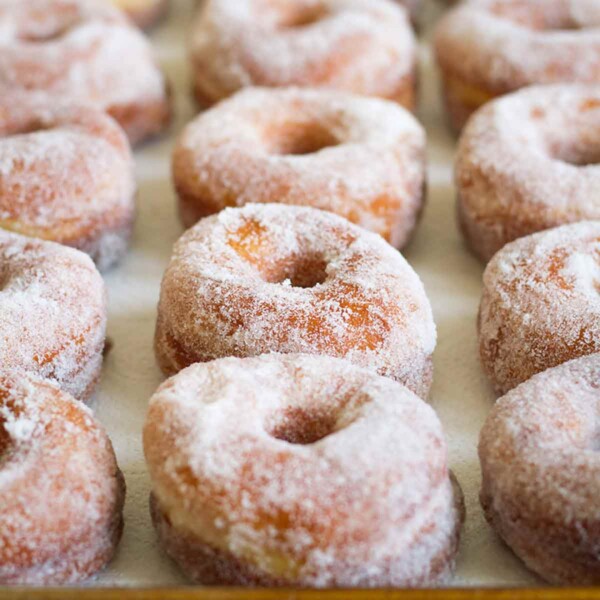
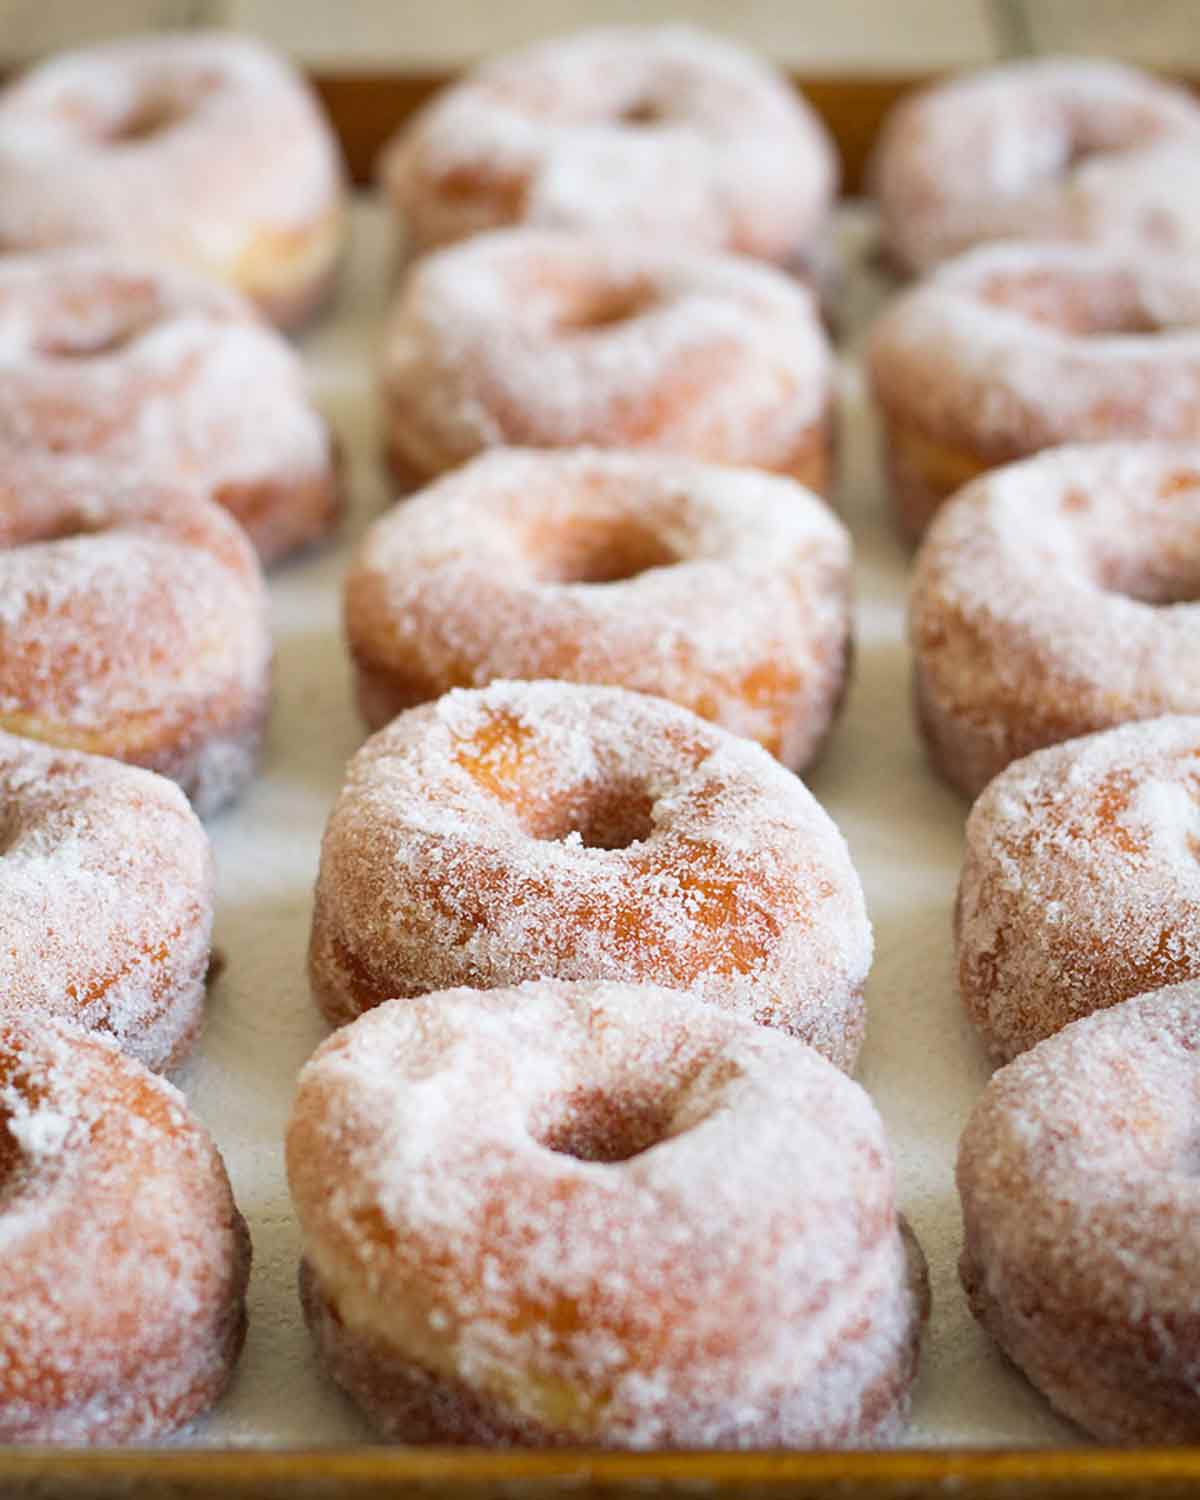
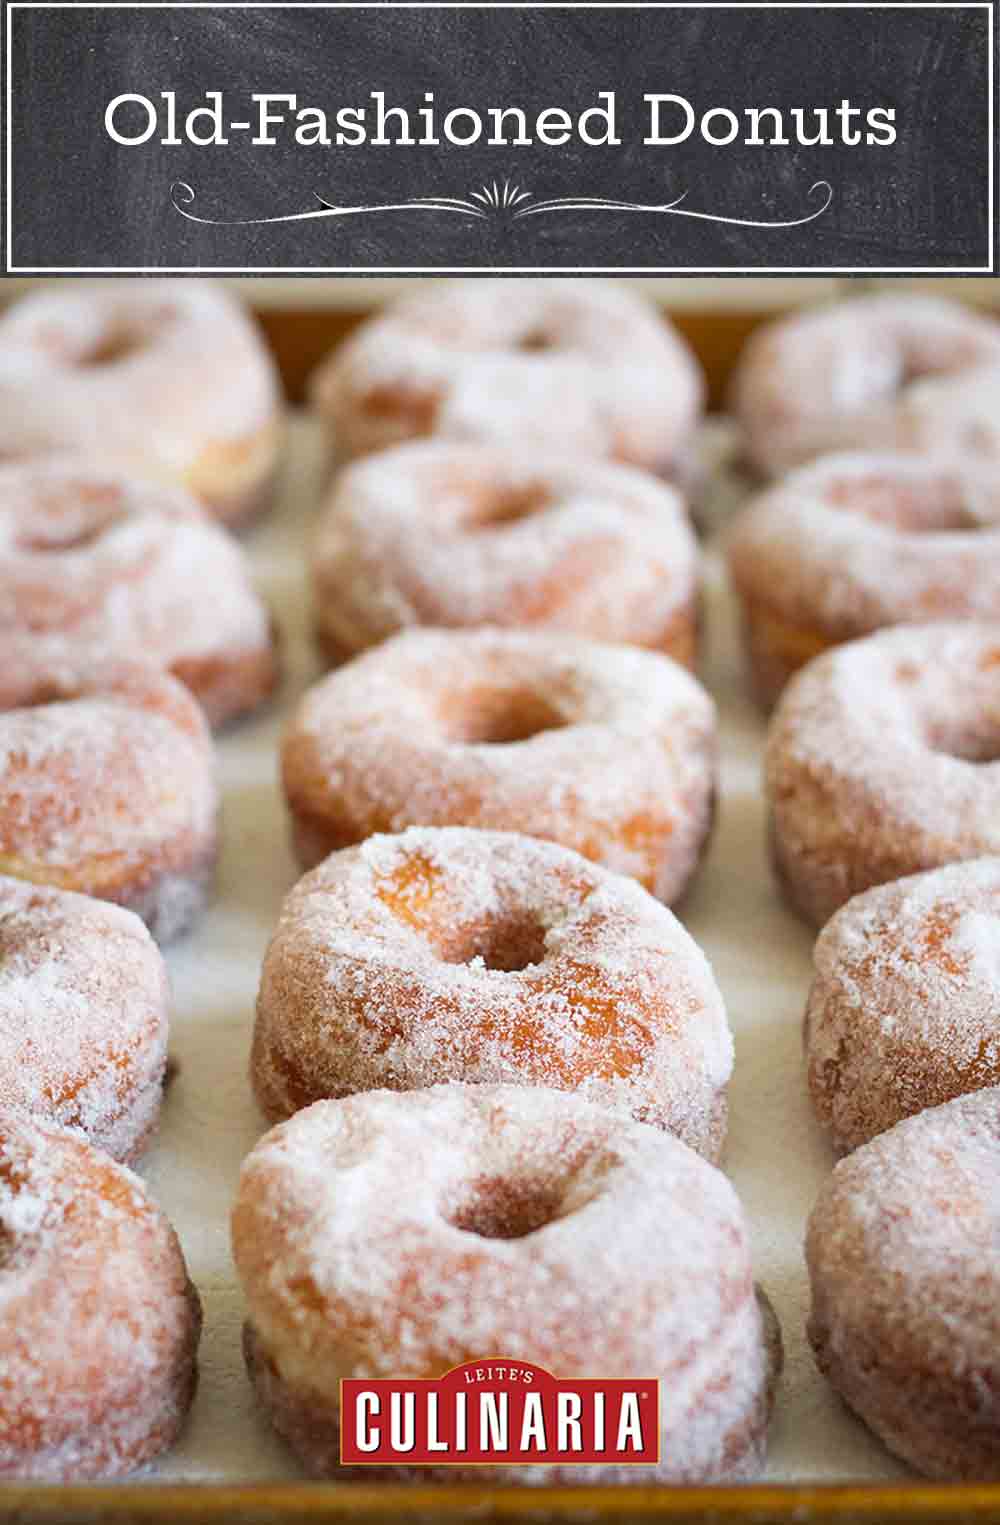
Old-Fashioned Doughnuts
Ingredients
- 1/4 cup warm water
- 1 tablespoon active dry yeast
- 1 cup warm milk (microwaved for about 1 minute)
- 1/3 cup granulated sugar
- 1/3 cup (2 2/3 ounces) butter, melted (microwaved for about 1 minute)
- 1 teaspoon salt
- 1 large egg
- Pinch grated nutmeg
- 4 cups all-purpose flour, plus more for the baking sheet
- Nonstick baking spray or oil, for the bowl
- Oil, for frying
- 1 cup granulated sugar, for coating warm donuts
Instructions
- In a small bowl or glass measuring cup, combine the warm water and yeast. Set in a warm spot until the yeast is activated and the mixture begins to grow in volume, about 10 minutes.
- Meanwhile, in the bowl of a stand mixer fitted with the paddle attachment or in a large bowl, combine the warm milk, sugar, melted butter, salt, egg, and nutmeg. Add the proofed yeast mixture and mix to combine. Stir in the flour.
- If you’re using a stand mixer, switch to the dough hook attachment at this point. Knead the dough on low speed until smooth and elastic, about 5 minutes. At this point, the dough might still be slightly sticky, and that’s OK.
If you’re making the dough in a large bowl, stir it with a wooden spoon until it gets too difficult then use your hands to knead the dough until smooth and elastic, about 5 minutes. At this point, the dough might still be slightly sticky, and that’s OK.☞ TESTER TIP: If your dough is exceptionally sticky, add more flour, 1 tablespoon at a time, until you can work with it.
- Coat a large bowl with baking spray or oil, add the dough, cover it with a damp towel, and let rise in warm place until doubled in volume, 80 to 90 minutes.
- Line a rimmed baking sheet with parchment paper and sprinkle with flour.
- When the dough has doubled in volume, turn it out onto a well- floured work surface, and knead it for about 1 minute.
- Roll the dough out to a 3/4-inch (18-mm) thickness and use a 2 1/2-inch (6-cm) biscuit cutter to cut rounds. Use a smaller cutter to make holes in the doughnuts, if desired.
- Place the doughnuts about 1 inch (25 mm) apart on the prepared baking sheet. Collect and reroll the scraps of dough as many times as needed until all of the dough is cut into circles. Cover the doughnuts and let rise in a warm place for 30 minutes.
- While the doughnuts are rising for the second time, fill a heavy-bottom pot or Dutch oven with at least 2 inches (5 cm) of oil. Place the pot over medium heat and bring the oil up to 365°F (185°C). Line a large, rimmed baking sheet with paper towels.
- When the doughnuts are done rising, carefully put 3 donuts at a time into the hot oil. Fry until golden brown on the bottom, 45 to 60 seconds. Use a large slotted spoon, wire skimmer, or chopsticks to flip the doughnuts and continue frying until the other side is golden brown, 45 to 60 seconds more.
☞ TESTER TIP: If your doughnuts are thicker than 3/4-inch (18-mm) or you don’t cut holes, the doughnuts may need an extra minute or two of cook time.
- Scoop the doughnuts out and place them on the paper towel–lined baking sheet to cool. Continue frying doughnuts in batches of 3 until all of the donuts are cooked.
- Pour granulated sugar into a medium bowl (we use a cereal bowl for this step) and coat doughnuts with sugar, 1 at a time. Devour immediately!
Nutrition
Nutrition information is automatically calculated, so should only be used as an approximation.
Recipe Testers’ Reviews
These old-fashioned doughnuts were amazing!! They are light and airy and were simple to make. The dough was a dream to work with. They held up to being stuffed, glazed and sugar coated.
I put the sugar in a baggie and coated the donuts that way. I find it easier. I filled some with Nutella, dulce de leche and strawberry preserves. I also glazed some. All of which held up perfectly.
There is nothing like a warm, fresh doughnut. I gifted most of these old-fashioned doughnuts to my neighbors and saw the steam rise in the winter air as they tore one open. Gorgeous!
Kids and donuts go hand in hand so trying this recipe for old-fashioned doughnuts was a lesson in survival! South Texas was virtually shut down by the freezing weather and the donut shops were closed so, of course, we had to find a way to make them at home.
I have an old recipe of my grandmother-in-laws that I love but it requires potatoes and we didn’t have any so this recipe was next on the to-try list. Normally I don’t like breakfast bread recipes because of the rising time required but this time I was up early already so it was “time to make the donuts”. I placed the bowl in my oven with just the oven light on to allow it to rise. Our house was cold (trying to conserve energy during the blackouts) and that extra bit of warmth from the bulb helped it rise well.
After the initial rise, I rolled out the dough and was able to cut out 22 donuts and holes which I placed on a parchment paper lined sheet pan and placed back in the oven with the light on to rise for an additional 30 minutes. I have a “spider” which makes frying the holes relatively easy so was not concerned with that issue. I fried the donuts in canola oil for 1 minute per side, turning them with my long metal chopsticks (which also work wonderfully for retrieving the donuts since you can just stick it through the hole and lift them out).
I allowed them to cool just long enough to be able to be picked up and then tossed them with the sugar. For the first half we stuck with the recipe but the second half we added about 1 tbsp cinnamon to the sugar and coated them in that mixture. All of us agreed the cinnamon was a nice addition. I think this also would be super good with “toasted sugar” if you happen to have any on hand. As the recipe mentions, these are definitely best hot out of the fryer but they can be eaten the next day if rewarmed (and dunked in coffee!) They remind me a lot of the fried donuts that our local Chinese restaurant serves (which, it turns out, are just fried biscuits) and who doesn’t love fried dough! While I still prefer the potato donut recipe from my youth, these will definitely be a close second and for certain be a recipe we keep on hand and use.


I just love this recipe! It’s easy to follow and makes the best doughnuts!!
Those look perfect, Sarah!