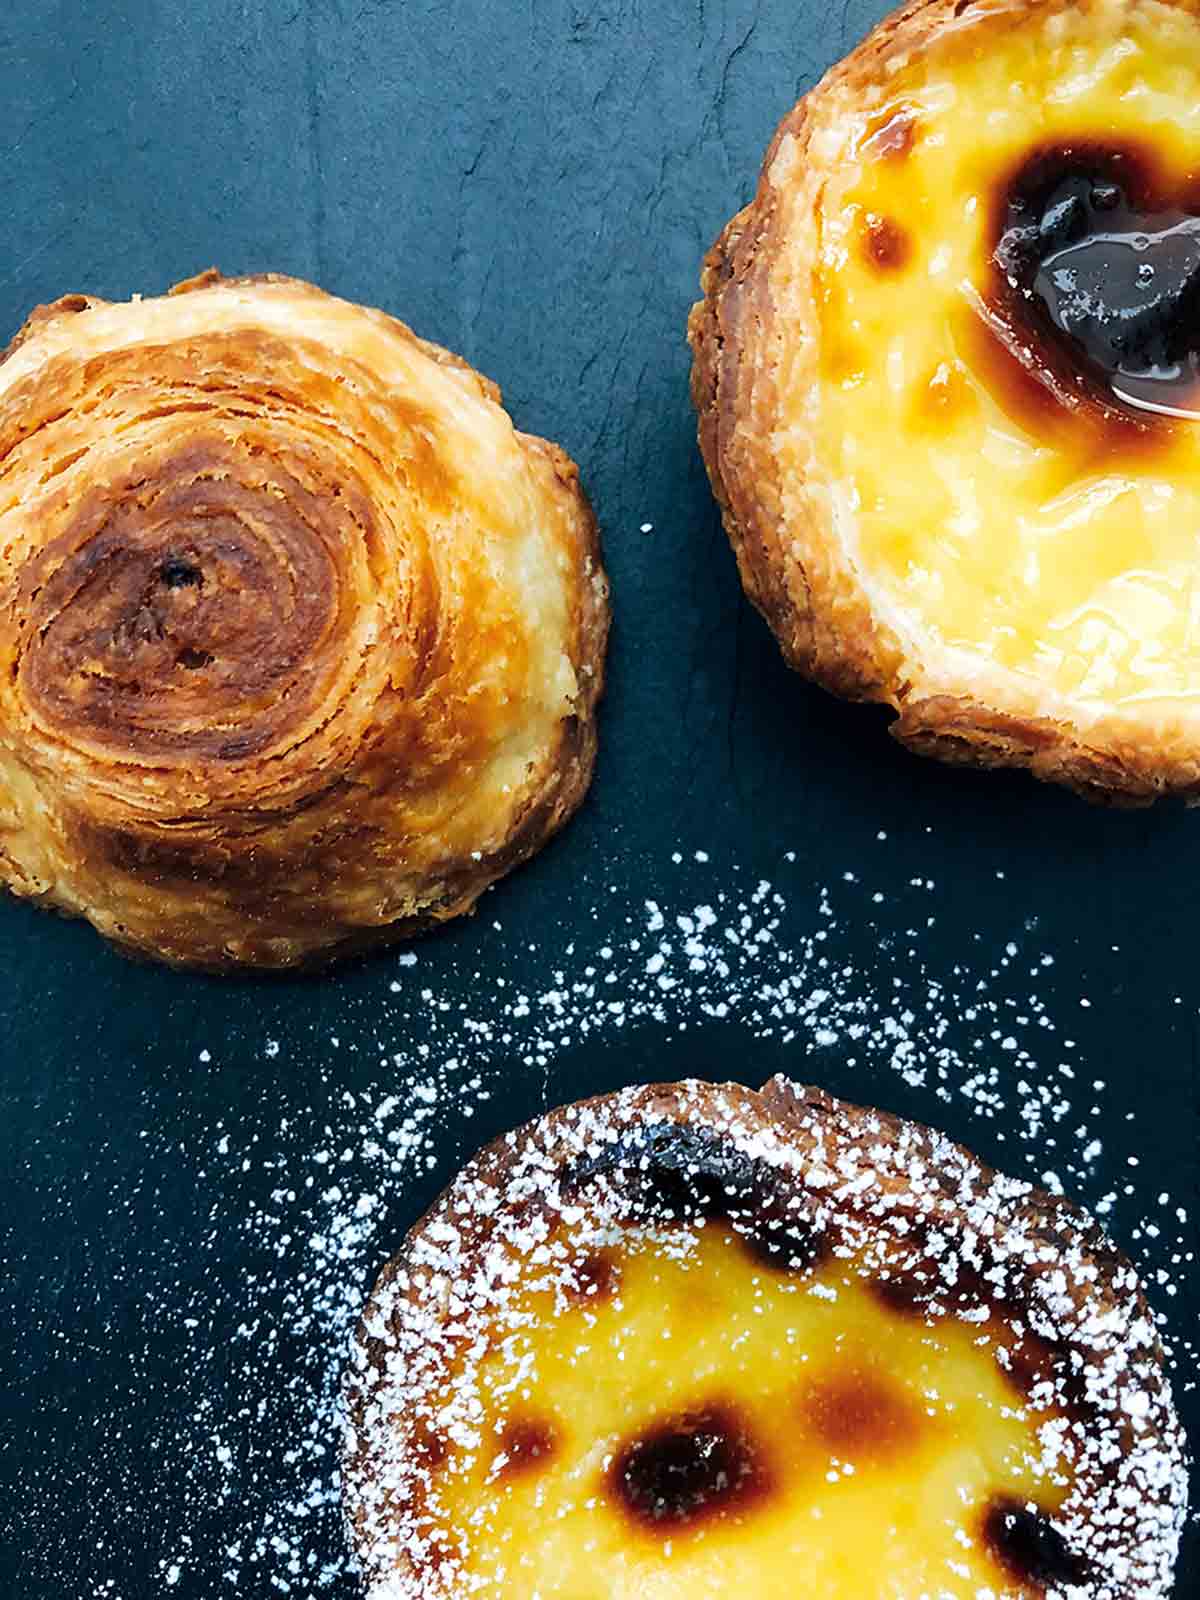


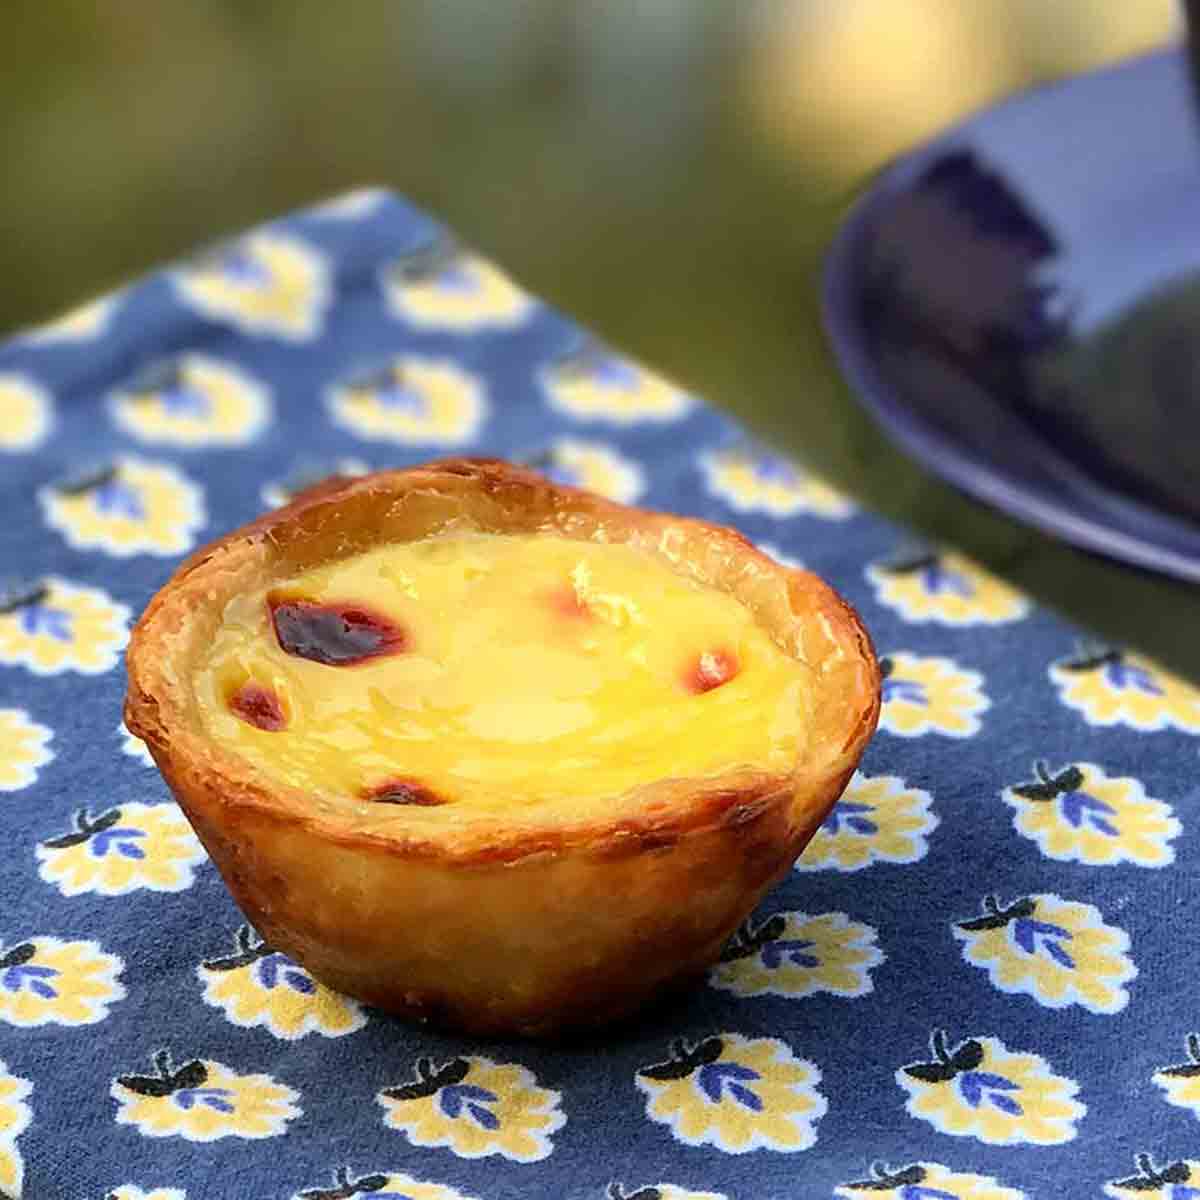
These Portuguese custard tarts are facsimiles of the true pastéis de Belém pastries from the Antiga Confeitaria de Belém (below), where they churn out more than 22,000 pastries each day. When you make that many a day, you get damn good at it. There are all kinds of reasons why the original pastéis de nata from this pastry shop are so freaking good. Secret recipes, teams of folks who do nothing but make the pastry dough or whip up the filling, ovens that blast at 800°F.
☞ Read: The History of the Pastel de Nata ☜

In order to translate the pastéis to the home kitchen and to ovens that that hit 500°F if you’re lucky, these pastéis are smaller than the original. and the tops may not brown quite as much as the authentic pastéis in the picture, which are from the confeitaria. Still, that hasn’t stopped the flood of rave reviews below. The secrets to making spectacular authentic Portuguese custard tarts at home are few and simple.
When making the pastry, make sure the butter is evenly layered, all excess flour is removed, and the dough is rolled very thin and folded neatly. As for the custard, you’ll need a thermometer to accurately gauge the custard. These are best eaten warm the day they’re made.
Common Questions
Like all delicate pastries, a pastel de nata should be eaten the day it’s made. Its flavor and texture are at their peak.
If you’re not able to eat all your pasteis de nata the day they’re made, you can store them covered with plastic wrap for up to a day.
Write a Review
If you make this recipe, or any dish on LC, consider leaving a review, a star rating, and your best photo in the comments below. I love hearing from you.–David
Fantastic recipe, David! Outstanding reviews, and hands down the most positive comments I’ve ever heard from my neighbours and family! Thank you so much, however, now my neighbours are begging for more from me!? LOL! Such a shame to be so popular with your amazing recipe, I suppose it’s a burden that I must bear! Seriously, David, you knocked it put of the park!!
Carrots and Cream Cheese
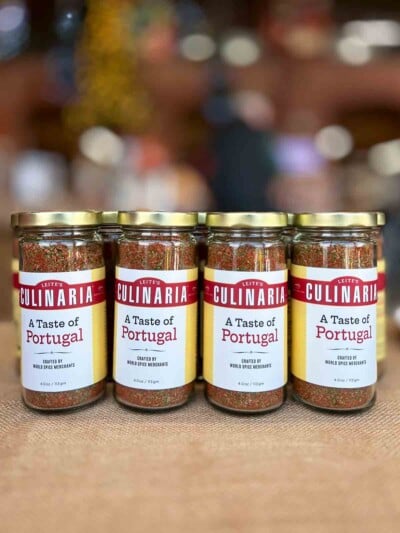
Shop Portuguese

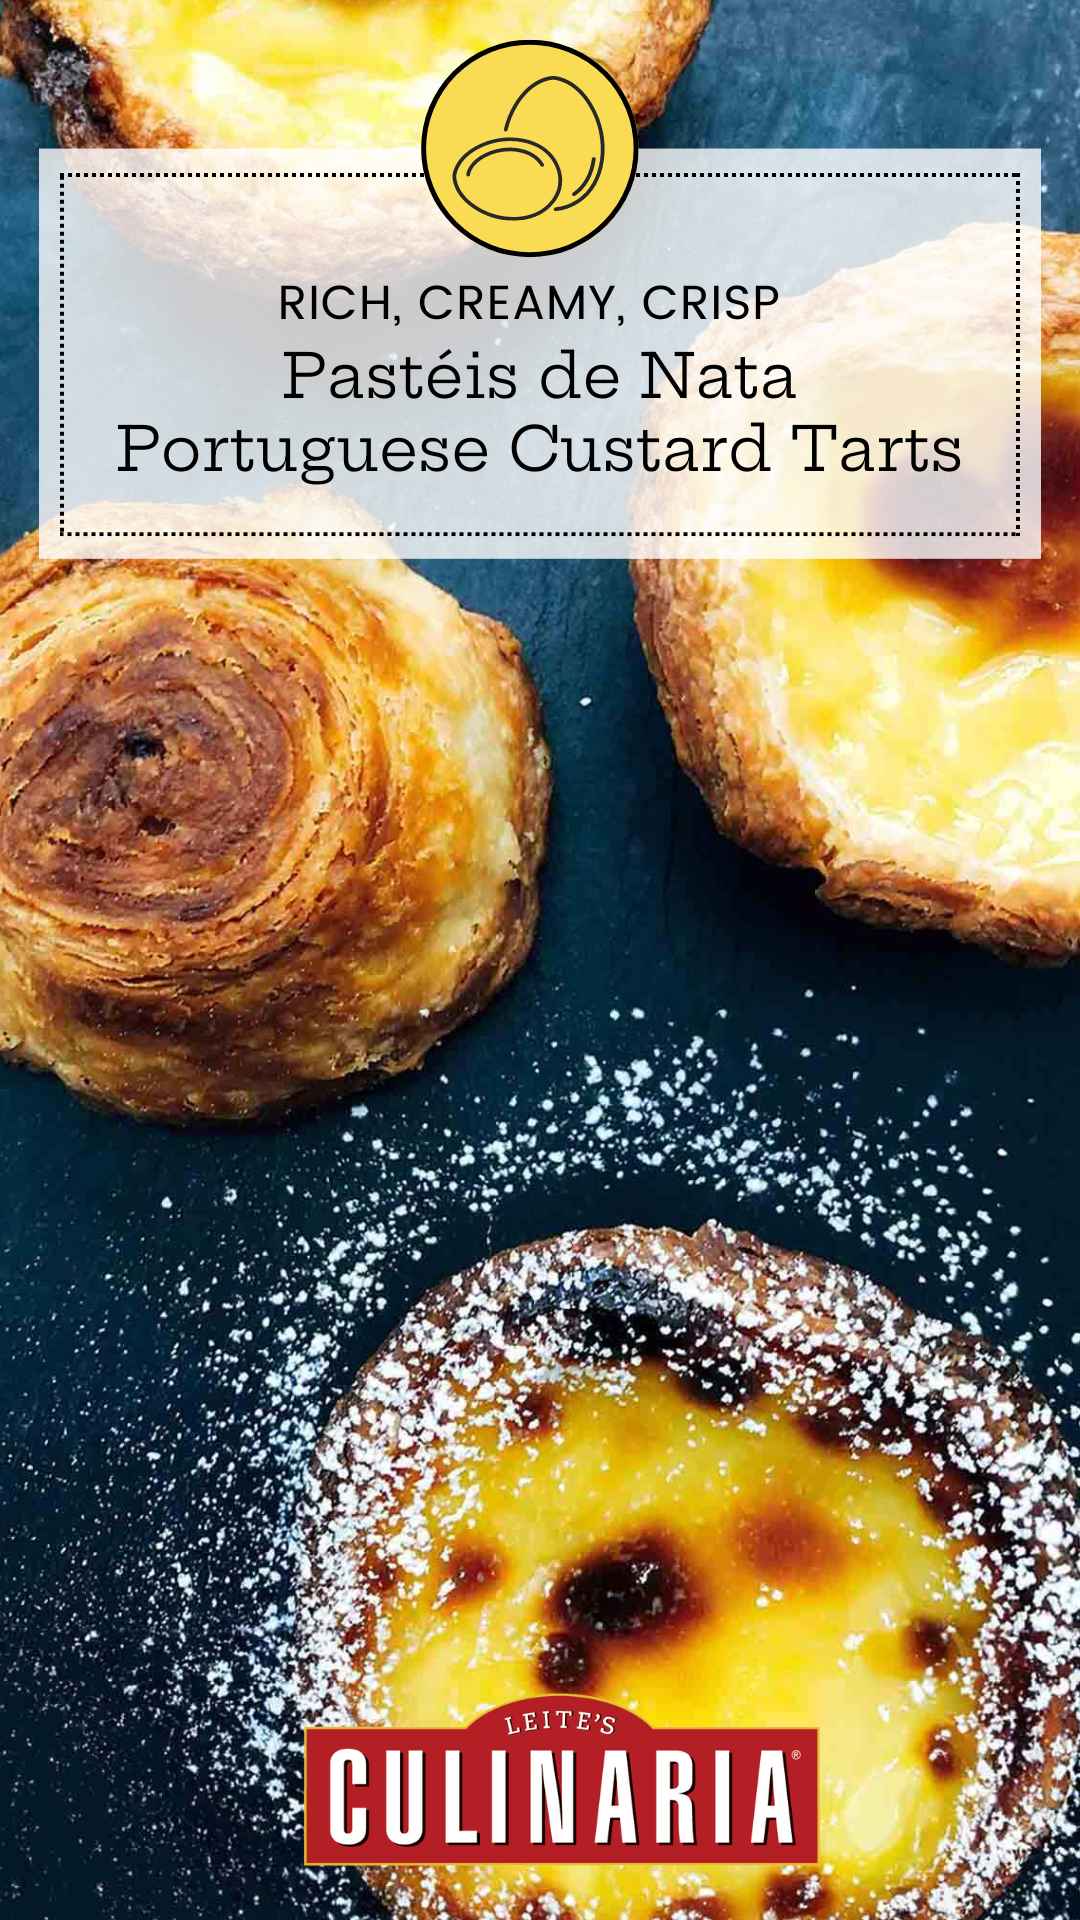
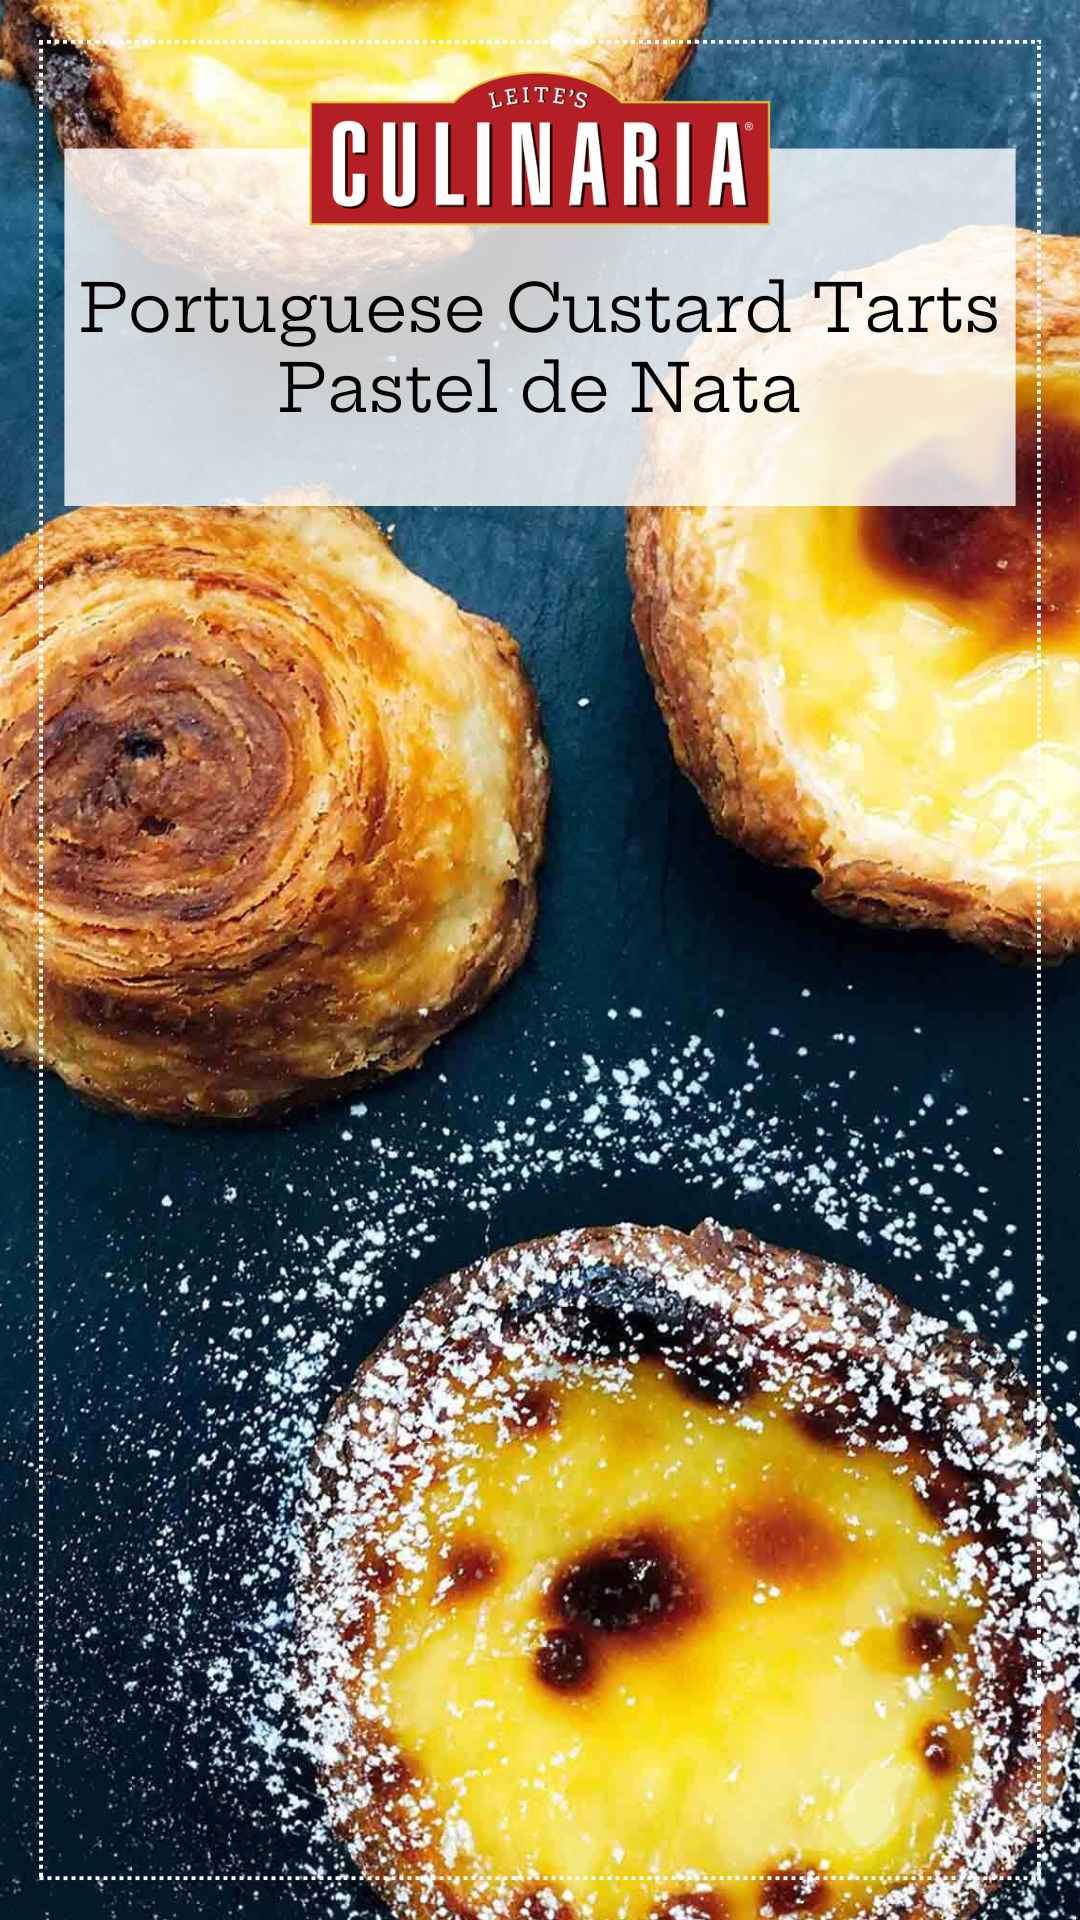
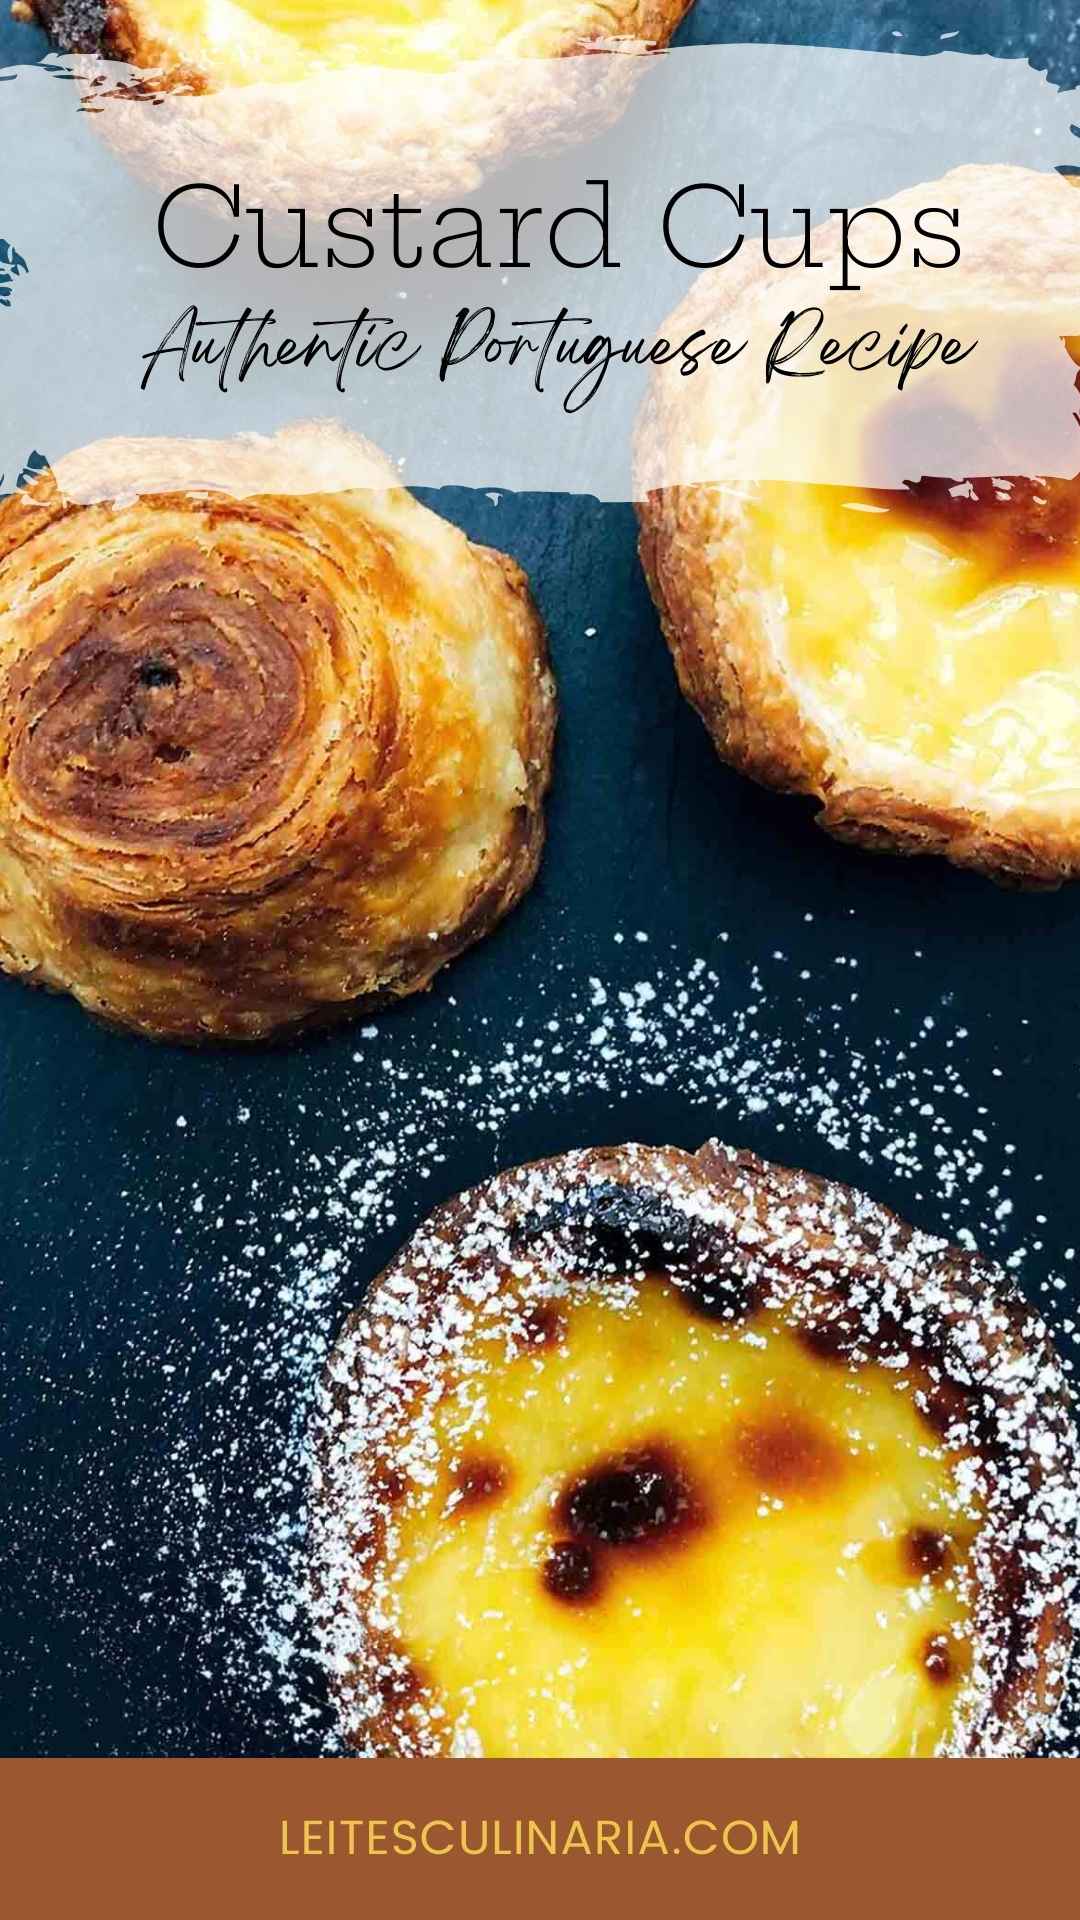
Pastéis de Nata ~ Portuguese Custard Tarts
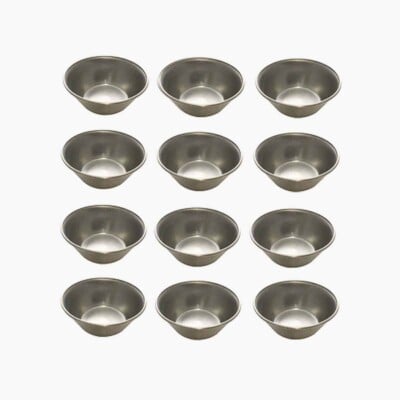
Equipment
- Mini-muffin tin with 2-by-5/8-inch (50-by-15-mm) wells; If you prefer the classic larger tins from Portugal, you can purchase them at Portugalia Marketplace (above).
Ingredients
For the pasteis de nata dough
- 2 cups minus 2 tablespoons all-purpose flour, plus more for the work surface
- 1/4 teaspoon sea salt
- 3/4 cup plus 2 tablespoons cold water
- 2 sticks (8 oz) unsalted butter, room temperature, stirred until smooth
For the custard
- 3 tablespoons all-purpose flour
- 1 1/4 cups milk, divided
- 1 1/3 cups granulated sugar
- 1 cinnamon stick
- 2/3 cup water
- 1/2 teaspoon vanilla extract
- 6 large egg yolks, whisked
For the garnish
- Confectioners’ sugar
- Cinnamon
Instructions
Make the pastéis de nata dough
- In a stand mixer fitted with a dough hook, mix the flour, salt, and water until a soft, pillowy dough forms that pulls away from the side of the bowl, about 30 seconds.
- Generously flour a work surface and pat the dough into a 6-inch (15-cm) square using a pastry scraper. Flour the dough, cover with plastic wrap, and let it rest at room temperature for 15 minutes.
- Roll the dough into an 18-inch (46-cm) square. As you work, use the scraper to lift the dough to make sure the underside isn't sticking to your work surface.
- Brush the excess flour off the top of the dough, trim any uneven edges, and, using a small offset spatula, dot and then spread the left 2/3 portion of the dough with a little less than 1/3 of the butter being careful to leave a 1 inch (25 mm) plain border around the edge of the dough.
- Neatly fold the unbuttered right 1/3 of the dough (using the pastry scraper to loosen it if it sticks) over the rest of the dough. Brush off any excess flour, then fold over the left 1/3 of the dough. Starting from the top, pat down the dough with your hand to release any air bubbles, and then pinch the edges of the dough to seal. Brush off any excess flour.
- Turn the dough 90° to the left so the fold is facing you. Lift the dough and flour the work surface. Once again roll it out to an 18-inch (46-cm) square, then dot the left 2/3 of the dough with 1/3 of the butter and smear it over the dough. Fold the dough as directed in steps 4 and 5.
- For the last rolling, turn the dough 90° to the left and roll out the dough to an 18-by-21-inch (46-by-53-cm) rectangle, with the shorter side facing you. Spread the remaining butter over the entire surface of the dough.
- Using the spatula as an aid, lift the edge of dough closest to you and roll the dough away from you into a tight log, brushing the excess flour from the underside as you go. Trim the ends and cut the log in half. Wrap each piece in plastic wrap and chill for 2 hours or preferably overnight. (The pastry can be frozen for up to 3 months.)
Make the custard
- In a medium bowl, whisk the flour and 1/4 cup milk (60 ml) until smooth.
- Bring the sugar, cinnamon, and water to a boil in a small saucepan and cook until an instant-read thermometer registers 220°F (104°C). Do not stir.
- Meanwhile, in another small saucepan, scald the remaining 1 cup milk (237 ml). Whisk the hot milk into the flour mixture.
- Remove the cinnamon stick and then pour the sugar syrup in a thin stream into the hot milk-and-flour mixture, whisking briskly. Add the vanilla and stir for a minute until very warm but not hot. Whisk in the yolks, strain the mixture into a bowl, cover with plastic wrap, and set aside. The custard will be thin; that is as it should be. (You can refrigerate the custard for up to 3 days.)
Assemble and bake the pastries
- Place an oven rack in the top third position and heat the oven to 550°F (290°C). Remove a pastry log from the refrigerator and roll it back and forth on a lightly floured surface until it's about an inch (25 mm) in diameter and 16 inches (41 cm) long. Cut it into scant 3/4-inch (18-mm) pieces. Place 1 piece pastry dough, cut side down, in each well of a nonstick 12-cup mini-muffin pan (2-by-5/8-inch [50-by-15-mm] size). If using classic tins, cut the dough into generous 1-inch (25-mm) pieces. Allow the dough pieces to soften several minutes until pliable.
- Have a small cup of water nearby. Dip your thumbs in the water, then straight down into the middle of the dough spiral. Flatten it against the bottom of the cup to a thickness of about 1/16 inch (1.5 mm), then smooth the dough up the sides and create a raised lip about 1/8 inch (3 mm) above the pan. The pastry bottoms should be thinner than the tops.
- Fill each cup 3/4 full with the cool custard. Bake the pastries until the edges of the dough are frilled and brown, about 8 to 9 minutes for the mini-muffin tins, 15 to 17 minutes for the classic tins.
- Remove from the oven and allow the pasteis to cool a few minutes in the pan, then transfer to a rack and cool until just warm. Sprinkle the pasteis generously with confectioners' sugar, then cinnamon and serve. Repeat with the remaining pastry and custard. These are best consumed the day they're made.
Video

An LC Original
View More Original RecipesNutrition
Nutrition information is automatically calculated, so should only be used as an approximation.
Recipe Testers’ Reviews
According to my Portuguese dad, I can make these pasteis de Nata again and again and again! I am pretty chuffed with how they turned out since I had doubts throughout the entire process of making these traditional tarts. First of all, Pasteis de Nata are the epitome of the classic Portuguese sweet treat. So no pressure!
In following the recipe, when mixing the flour, salt and water in the stand mixer, my dough never achieved the soft pillowy stage I was hoping, or rather thinking, what it would be. My dough did pull away from the sides slightly, but remained sticky, hence I feel I should have added more flour which I didn’t at this stage. Doubt started to set-in! When working with the dough on the work surface, I needed to add a very generous amount of flour to stop the dough from sticking. At this stage I probably added so much flour that I actually increased the amount of flour added to the dough significantly.
I found working with the dough a test of extreme patience! I remained calm (yet doubtful) and just kept working with it gently. I was never able to achieve the 18-by-18-inch square, no matter how hard I tried. It was closer to 14 inches. The custard seemed quite thin and even though the recipe mentioned it would be so I had my doubts it would firm up into a creamy custard. While the tarts baked, the butter bubbled and oozed out of the dough and over the edge of the minis tin causing lots of smoke in the extremely hot oven. I baked the minis for 9 minutes and the custard was set and the pastry was golden brown. I expected the custard to have a brown speckled appearance (like the ones you buy commercially), but it remained an eggy yellow. For the larger tins, I baked the tarts for 15 minutes and they too remained an eggy yellow with a golden brown pasty.
To my surprise, the pastry was super flaky and crispy and it had that perfect crackly crunch that is the true mark of a great pasteis de Nata! And the custard? It set and was creamy, sweet, and deliciously perfect.
When my Portuguese mom said they tasted just like the pasteis de Belem (the most famous and original Portuguese Custard Tarts), then I knew we had a winner! Talk about the best compliment ever! It was quite a bit of work to produce these little gems, but the end result was definitely worth the effort!


I’ve just made my first attempt with this recipe and would call it a success-in-the-making. A couple of questions: 1) I found the taste quite a bit sweeter than the pasteis de nata that I ate on a recent trip to Lisbon. I’m wondering if anyone has tried cutting the sugar back when making the custard? And, if so, by how much? 2) I think my custard was too gelatinous. Could this also be a problem of too much sugar? (I’m fairly new to baking.) Thanks for your help. And thanks for the recipe. As a novice baker, I found the directions clear and easy to follow.
tlupick, I think you can safely cut back on the sugar by one-quarter. I’m not sure what you mean by “gelatinous.” Do you mean eggy? It’s possible the eggs were overcooked. Was the filling weepy?
Thanks for your quick reply. “Gelatinous” like my custard almost had the consistency of jello or an especially sticky jam. I’m going to try making the custard again tonight with the 1/4 less sugar you’ve suggested. Thanks!
That’s unusual. I wonder if they were baked too long, tlupick. Let me know how the new batch goes.
We’re just about there. My second batch is much better. And, though I’m not exactly sure how, we seem to have corrected the gelatinous problem I encountered with my first batch of custard.
I did end up making a few recipe modifications throughout:
-for the custard, reduce sugar by 1/4
-for the custard, after adding the sugar and water to the milk mixture, whisk vigorously for several minutes (as long as 5 to ensure a custard with a proper consistency); add the egg yolks, whisked vigorously for several minutes again
-cut dough into pieces 1.75 inches long (1 inch in diameter)
-shape dough up to the top of the baking tray, pour in 2 tbsp custard mixture
-15 minutes baking, 2 minutes in the broiler
-let sit for 20 minutes
For me (and my specific muffin tray and oven and all of that), these modifications appear to have made all the difference. My second batch of pasteis de nata is a huge improvement on my first. I still need to work on my pastry crust. But I think that will just take practice. This is a great recipe. thanks for sharing.
tlupick, I’m delighted that 1.) you took another swing at it and 2.) it was a success! And, yes, it’s just a matter of practice. If I haven’t made them in a year or so, I feel all thumbs.
Thank you for the helpful tips and a bit of the history on these delicious tarts. Love your honest writing style!
Thank you, Joanna!
Hi David !! Cannot wait to try this recipe. My husband and l lived in Portugal for 5 years, and these little tarts were taste of heaven when sitting outside early morning with a relaxing with a cup of coffee. I am in bed at the moment whilst being unwell, and my husband has just brought in this beautiful delicacy with a coffee, and it brought back so many lovely memories of Portugal that l just had to look up a recipe, and here l am. I can see that the ingredients call for “cup,” what size cup would I use? I have looked at your other mouthwatering recipes that call for a “cup.” I thank you in anticipation of a reply, an l cannot wait to go shopping for some of the ingredients. Thanks David
Maria, I hope you feel better. A “cup” is a standard measuring cup (8 fluid ounces/236 ml). I hope this helps!