Okay, if we’re being honest, one of the trickiest things about assembling a pie isn’t the rolling of the dough or achieving a flaky pie crust. For some of us, it’s fashioning a better-than-decent crimp along the edge of the crust. Though it’s not rocket science, it does take a certain finesse. Here to explain how to pull it off with ease is Helen Nugent, author of Pie Style.—LC Editors
A crisp, distinct crimp on a pie is a thing of beauty, and you’ll be surprised by how easy it is to achieve.
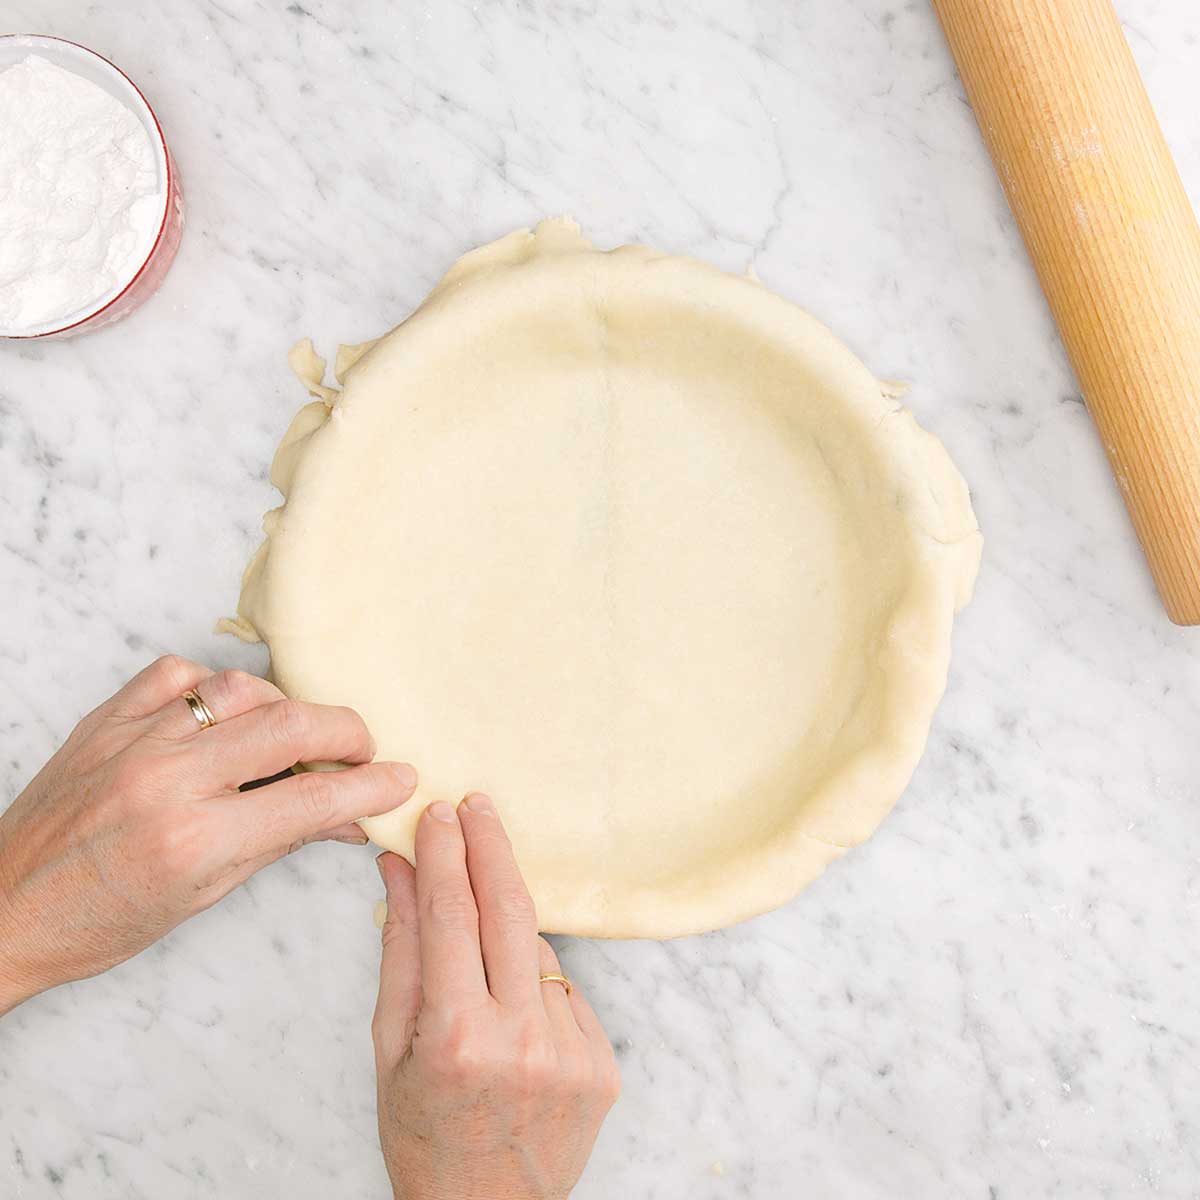
Leave enough dough overhanging the edge

Use a pie plate that has a substantial lip of at least 1/2 inch (13 mm) so you have somewhere to build your crimp. Then, check your overhang. I like to have at least 1 inch (3 cm) of overhang to build a substantial crimp and compensate for any shrinkage that might happen in the oven. Start by folding the overhanging dough under itself and, if you’re working with a top crust, pressing to seal the filling inside the pie.
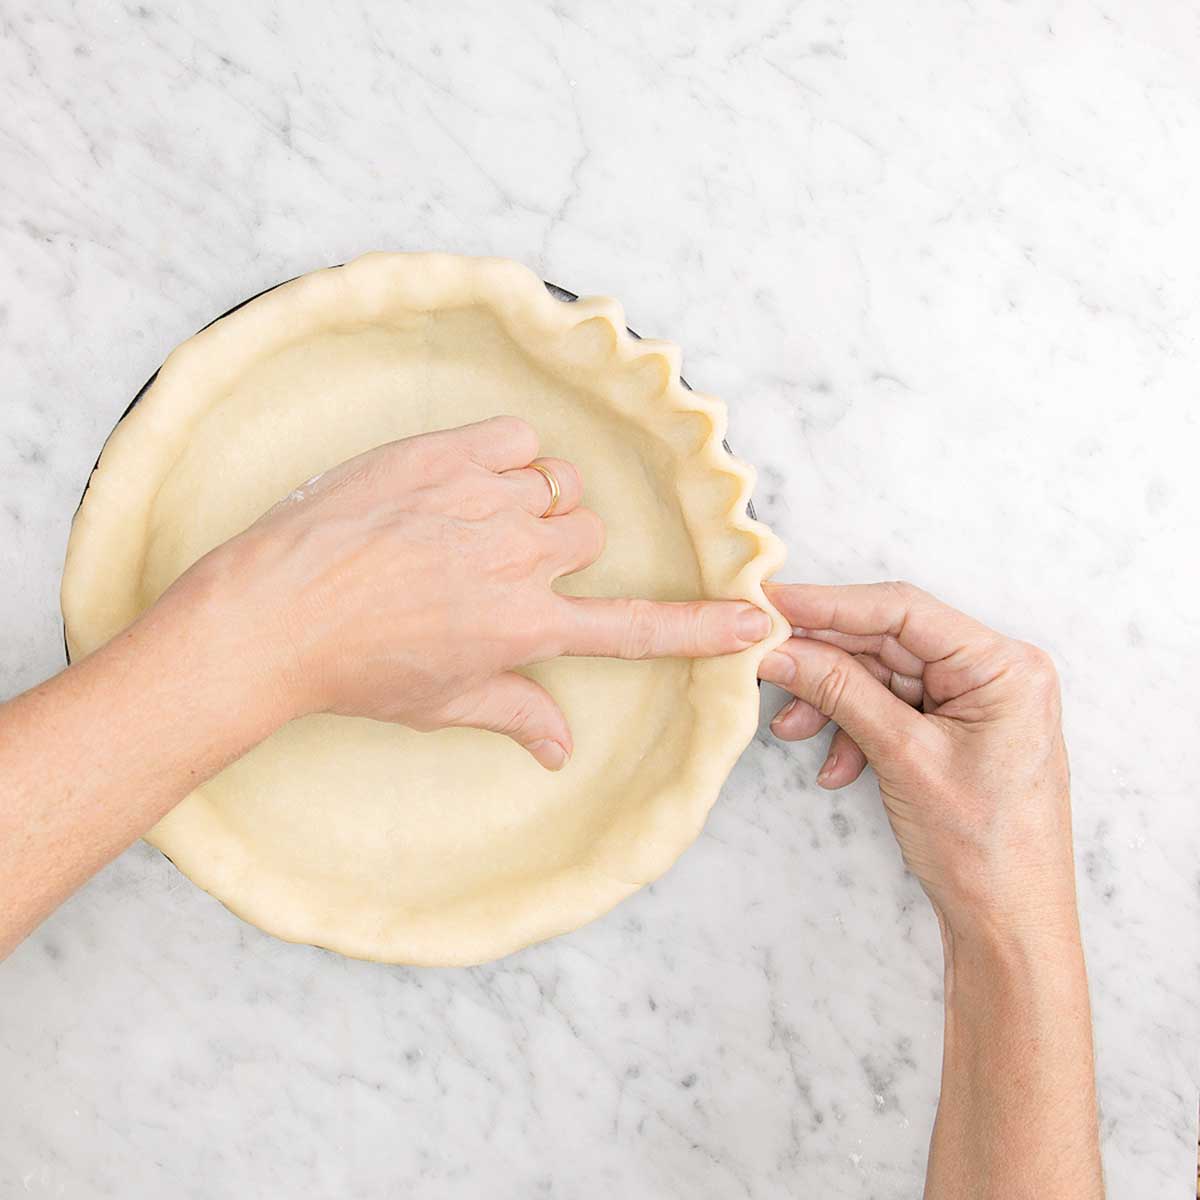
Crimp the dough

Want to Save This?
Use the index finger of your dominant hand to press the inside edge of the pie dough outward while “hugging” the finger with the thumb and index finger of your non-dominant hand (making a “V” shape) on the outer edge of the dough. For a larger crimp, use your thumb instead of the index finger of your dominant hand.
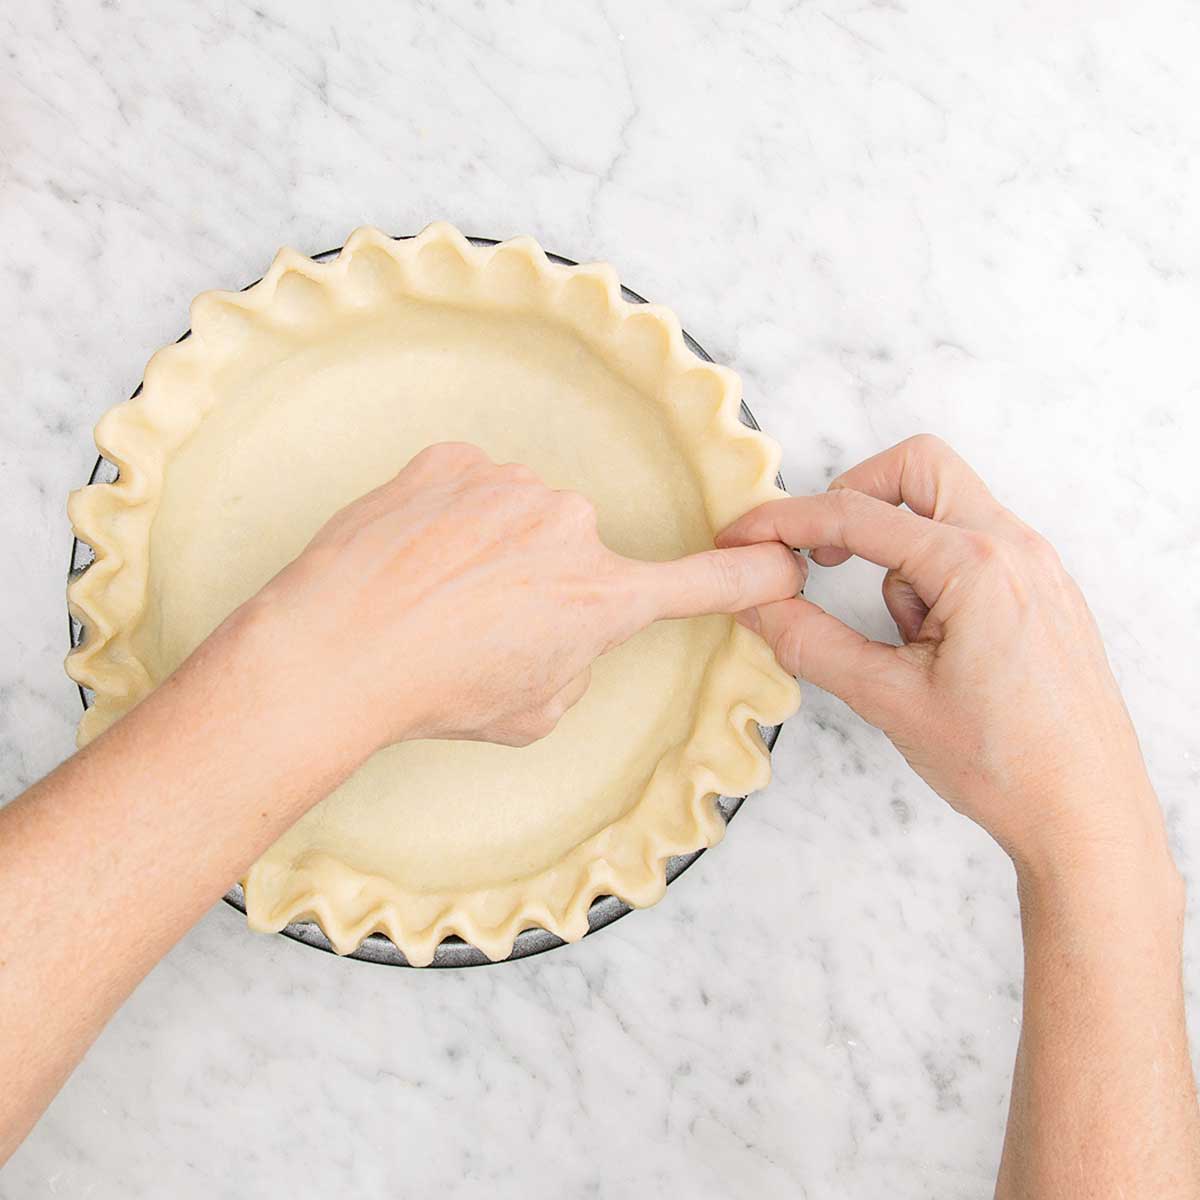
Create some drama!

To make your crimp even more dramatic, use a trick I learned from baking genius Tessa Huff. After making your preliminary crimp, use the same technique but in reverse. Hook your dominant index finger in the inward-facing crimp and “hug” it on the inside edge with the thumb and index finger of your non-dominant hand.
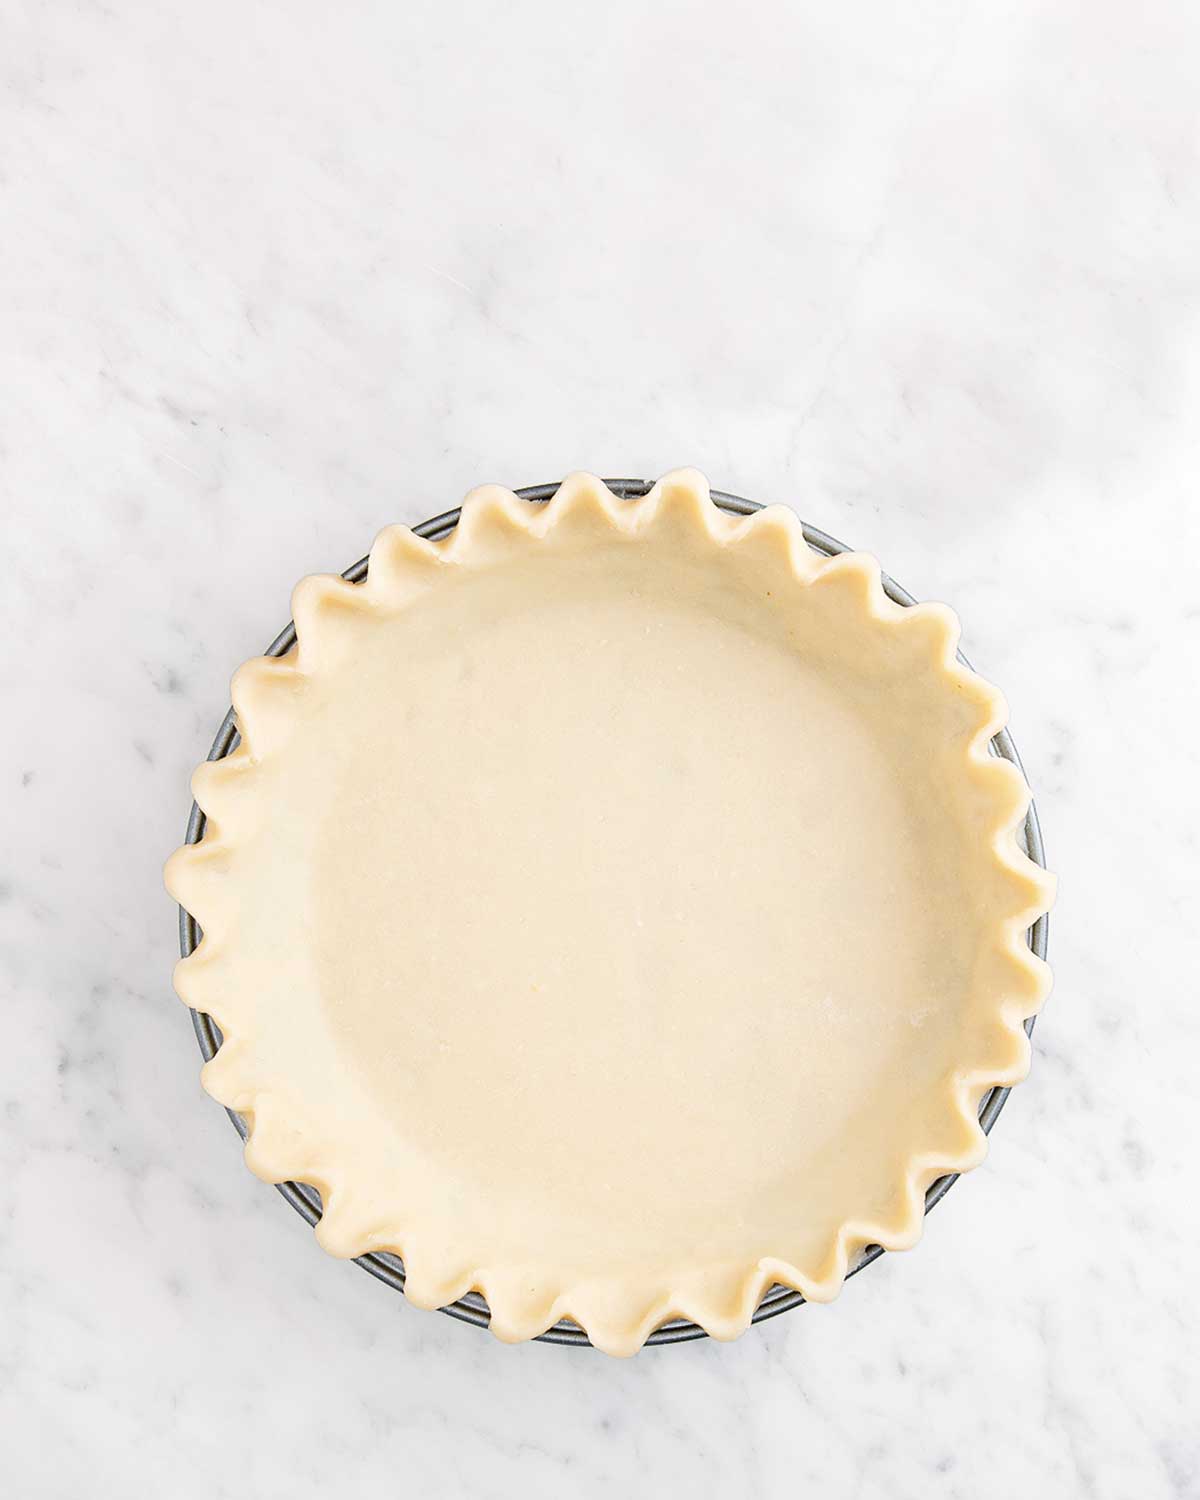
Pull your hands away from each other to create a wavy, gorgeous crimp pictured at the top of the page.


