
TL;DR (Quick-Answer Box)
- What it is: A classic, tangy American yellow mustard made from scratch with mustard powder, water, vinegar, and spices. It’s simple and far more flavorful than store-bought.
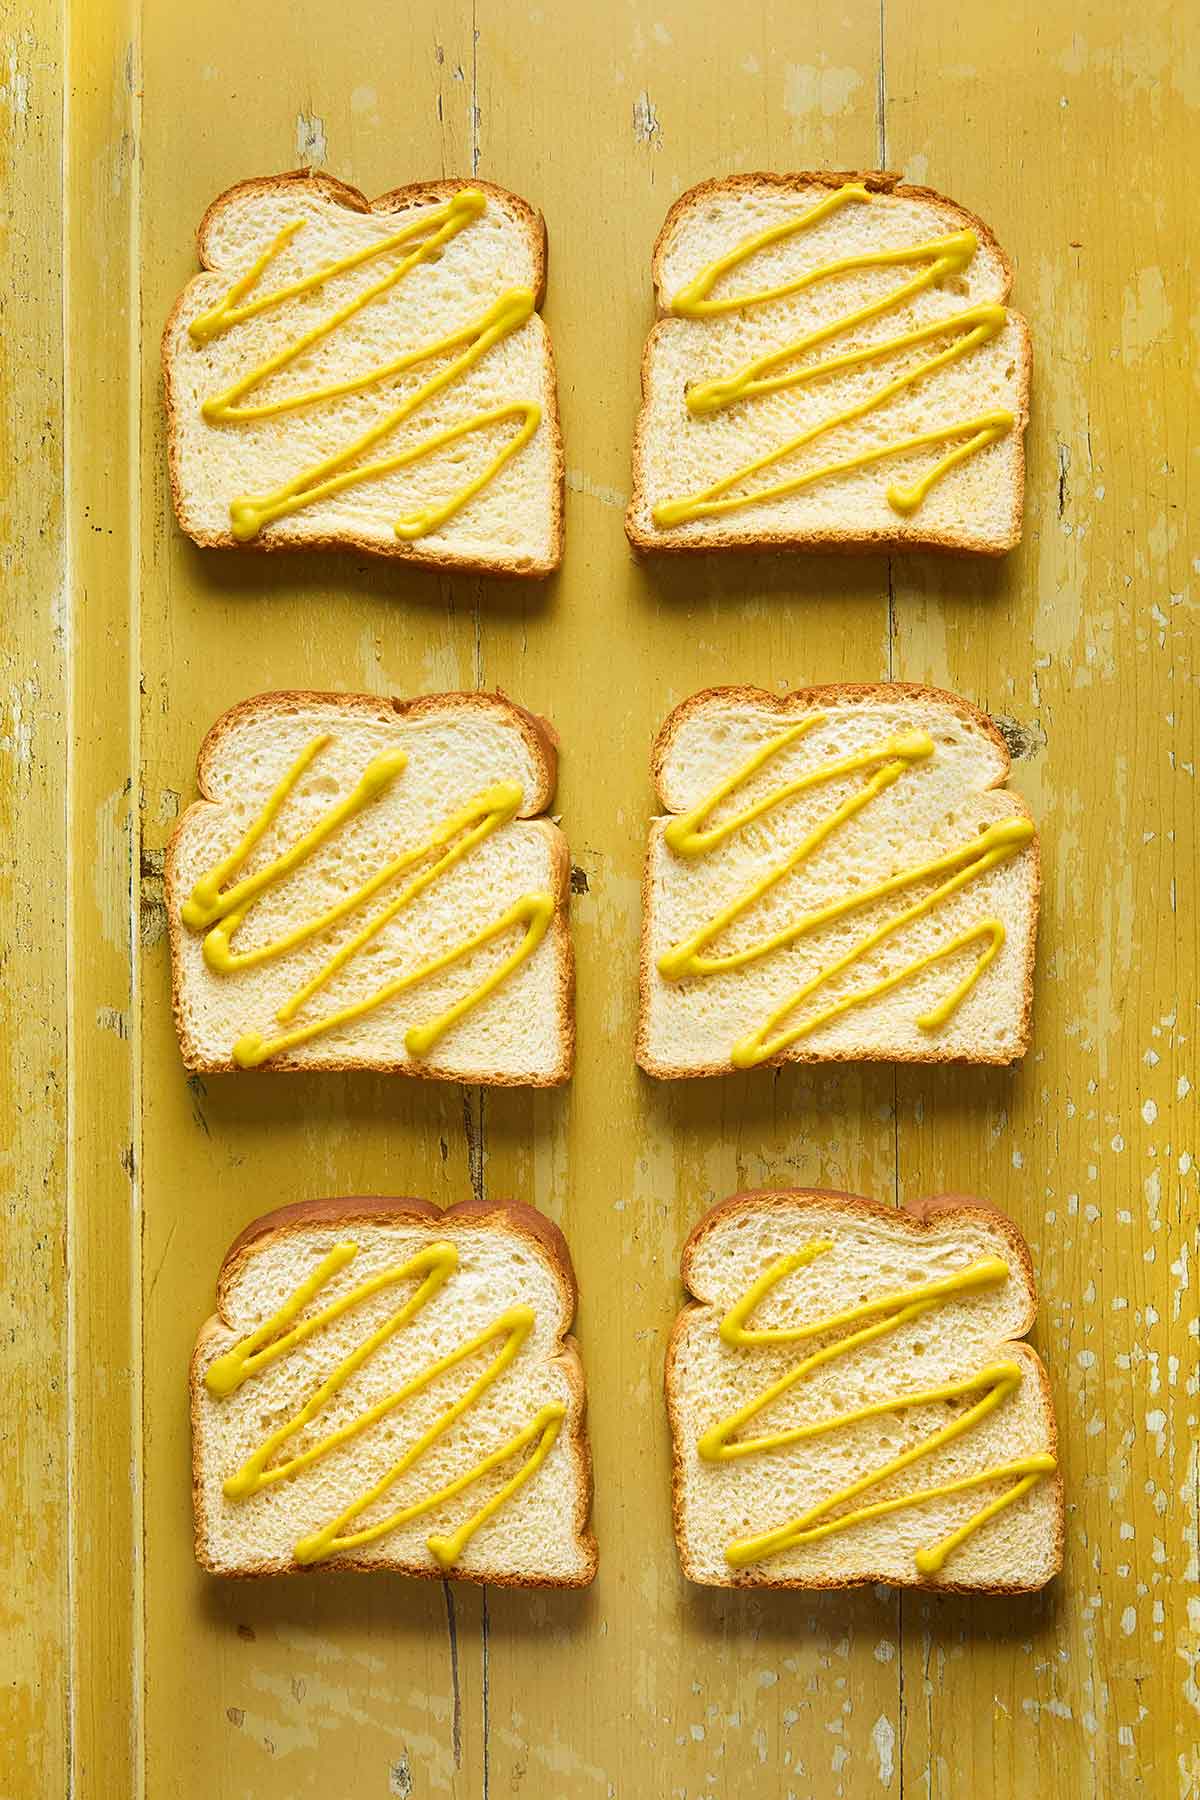
- Why you’ll love it: Deceptively easy to make with basic pantry staples. Ditch the store-bought bottle for a vibrant, punchy condiment that’s perfect for hot dogs and sandwiches.
- How to make it: Whisk mustard powder, water, and spices in a saucepan. Cook until it bubbles down to a thick paste, whisk in vinegar, and simmer until thick. Let it cool and mellow.

Jump To
- TL;DR (Quick-Answer Box)
- Why our testers loved this
- Notes on ingredients
- Variations
- How to make homemade mustard: For visual learners
- What is a non-reactive saucepan and why does it matter?
- Your homemade mustard questions, answered
- Pro tips & troubleshooting
- Recipes that just beg for yellow mustard
- Write a Review
- Homemade Yellow Mustard Recipe
- Recipe Testers’ Reviews
Featured Review
This is delicious, and I had all of the ingredients in the cupboard. Glad I ran out of mustard and was inspired to make this!
Jean
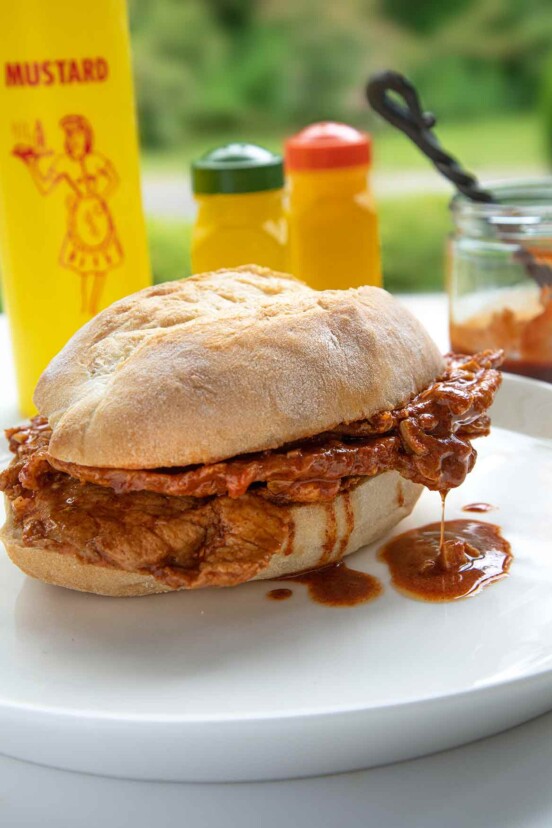
For someone who isn’t a big mustard fan, I certainly have plenty of rules on how to use it. For example, mustard has no place on a burger, but is a must on a hot dog, but only if it’s American yellow. Nothing but Dijon mustard for a vinaigrette, but golden mustard is perfect for corned beef or pastrami. (Yes, it makes no sense, but, hey, you don’t know what it’s like to live in my head.)
So, it was a surprise—no, actually, a shock—that when I made this mustard for the first time this past week, I loved it. Truly. It’s not as vinegary as French’s, has some of the kick of Gulden’s, and a bit of the seriousness of Grey Poupon.
The One, who’s a big mustard fan (and whom I was certain would turn up his nose at what was brewing in the pan) also loved it. That was the seal of approval.
Chow,

🌭 WARNING! 🌭
The yellow concoction you scoop into the jar after you make this will be wildly punchy. Some call it bitter, horseradish-y, or pungent. I agree on all counts. This mustard recipe needs a few days to mellow in the fridge before you use it. After that, spread and squeeze away. I do find that I need less of this than of other mustards, though.

Why our testers loved this
The testers were completely delighted to discover a homemade mustard recipe “that’s quite a bit better and more flavorful than your typical ballpark yellow mustard.” Kim G. was very pleased that “it was very easy to make and not too much of a time commitment.”
Notes on ingredients
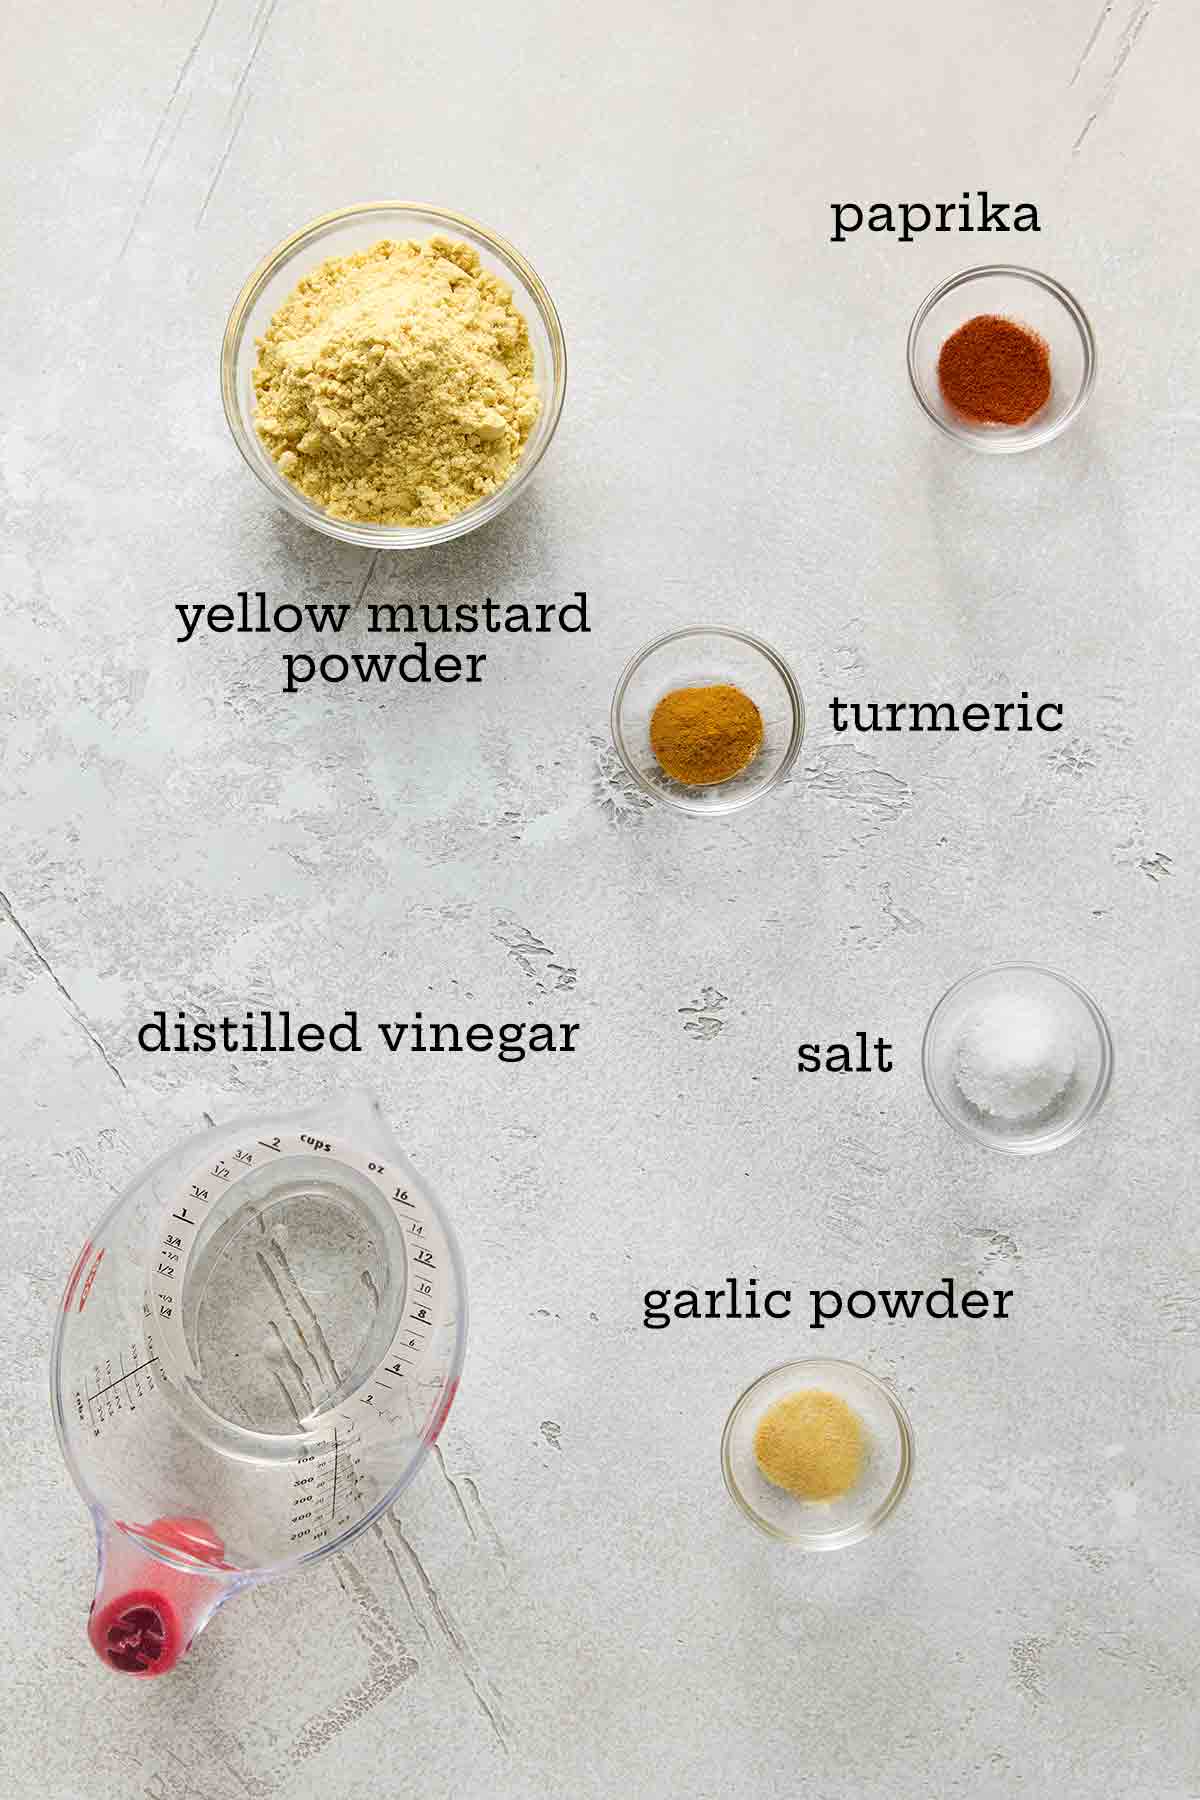
- Yellow dry mustard—Yellow, dry mustard is used in cuisines all over the world but you’ll find that American or British versions work best here. Other mustard powders may not work the same and the results might not be what you were hoping for.
- Garlic purée or garlic powder—You can use either for the recipe, however, if you don’t use a lot of mustard and plan on storing it in the fridge for longer than a month, I recommend using the garlic powder. This will help to extend the shelf life.
- Vinegar—This gives the mustard its signature tang. Don’t worry if the vinegar flavor seems prominent at first; it will mellow after a few days.
Variations
- Add apple cider vinegar for a slightly sweeter flavor.
- To make honey mustard, cook down the mustard to a thicker paste, and after adding the vinegar, add 1 to 2 tablespoons of your favorite honey.
How to make homemade mustard: For visual learners
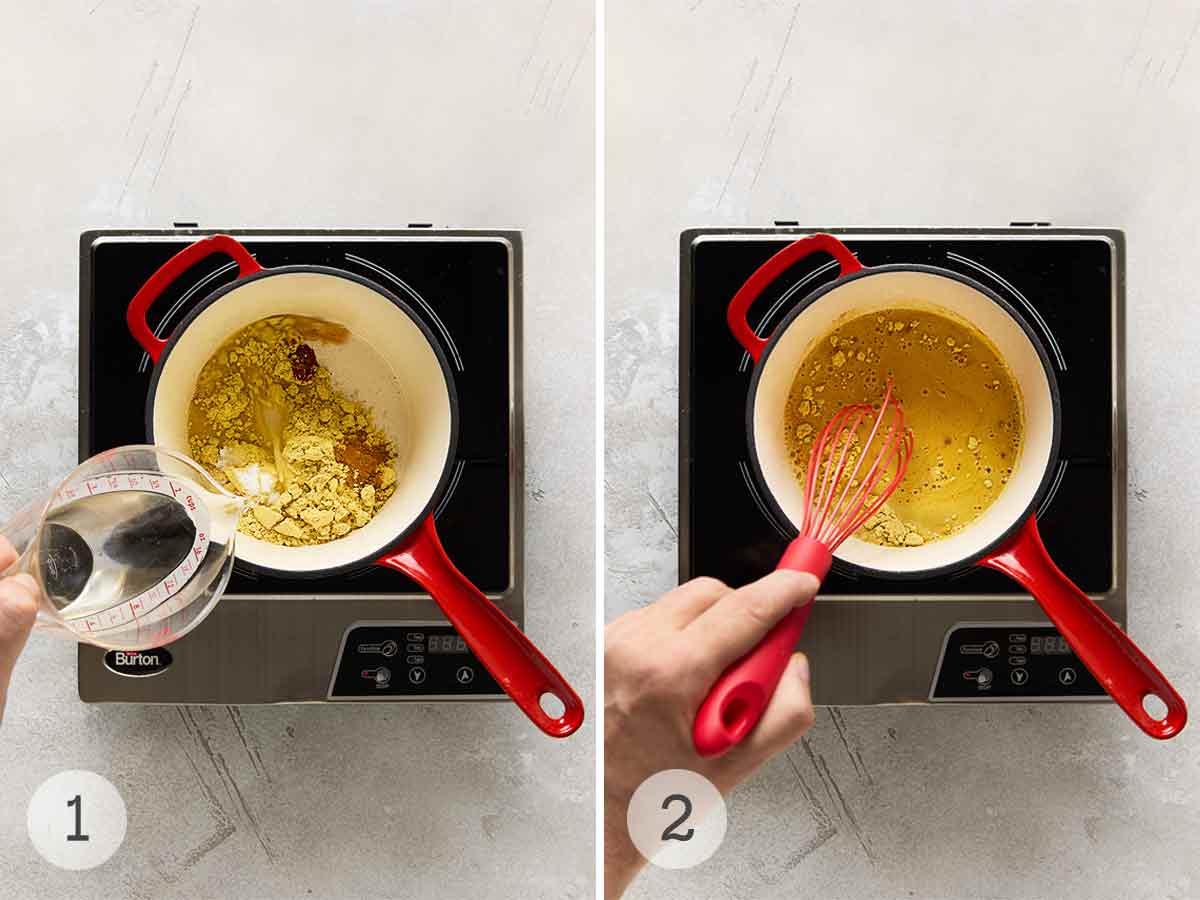
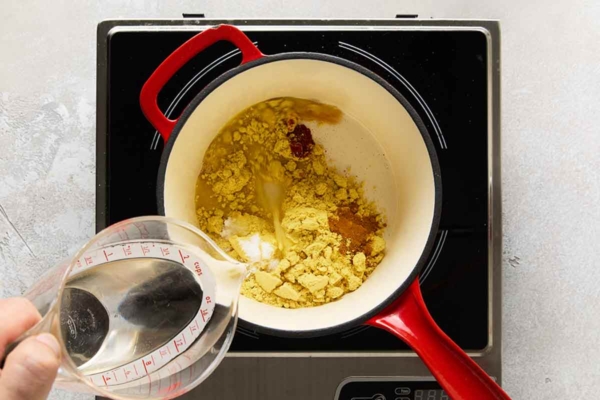
- Add water to a non-reactive saucepan with the mustard powder, salt, turmeric, garlic purée or powder, and paprika.
- Whisk the mixture until combined.
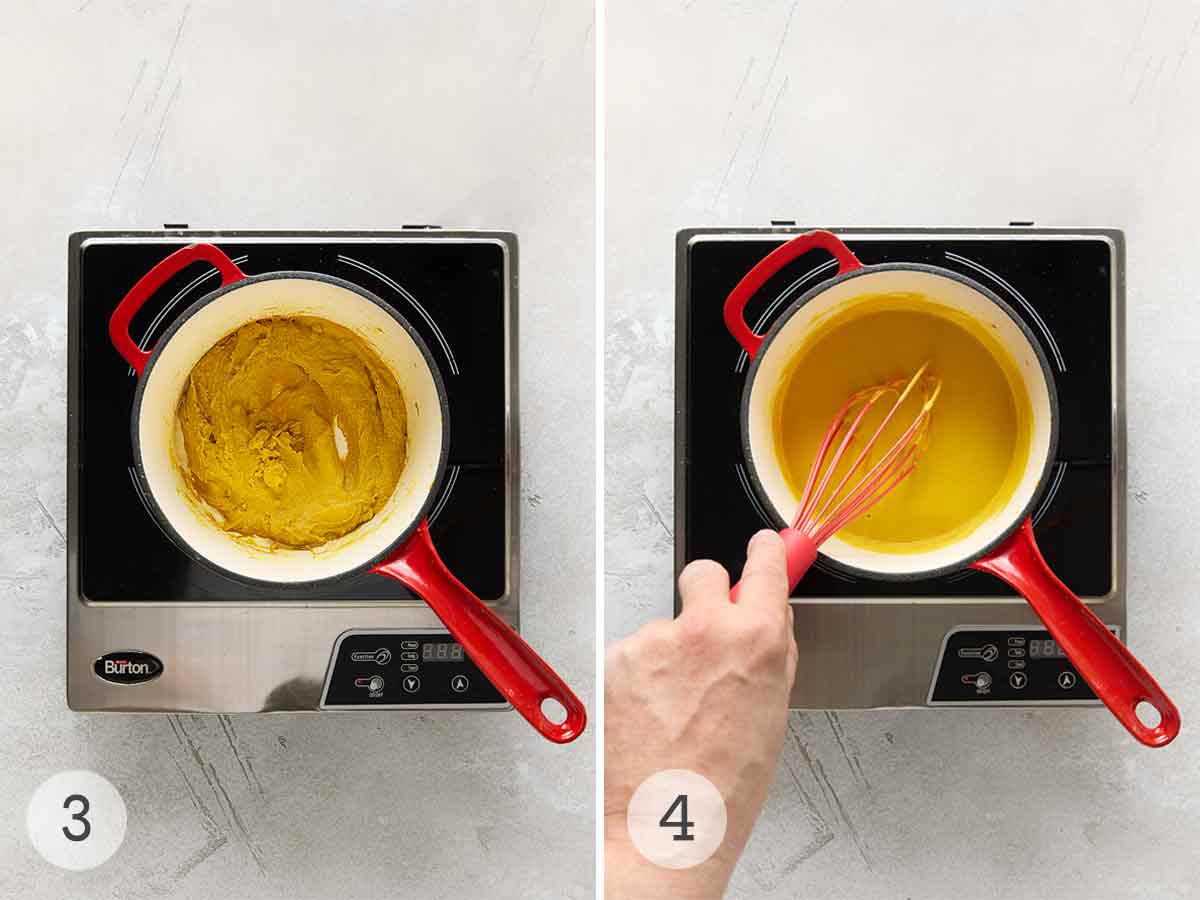
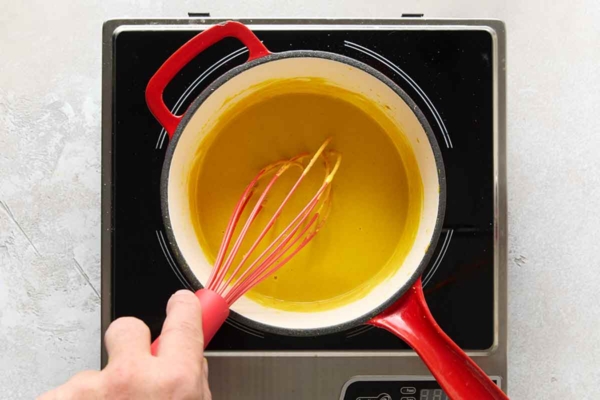
- Cook over medium-low heat until the mixture cooks down to a thick paste.
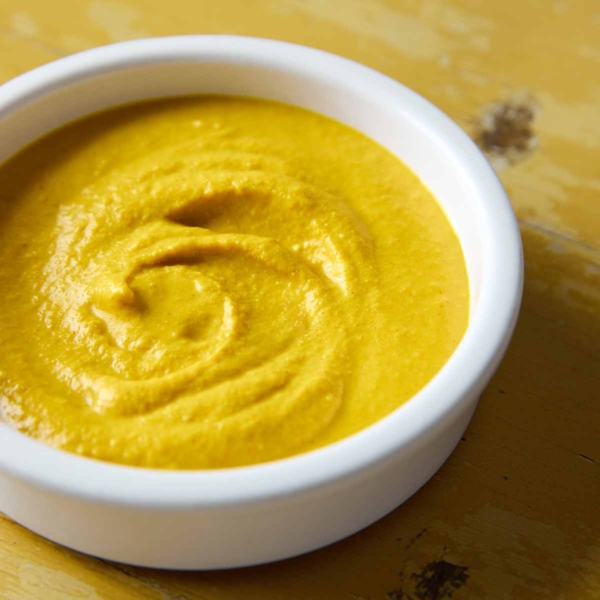
- Whisk the vinegar into the mustard paste, and cook until the mixture is a bit thinner than the desired consistency, then transfer to a trivet. The mustard will continue to thicken as it cools.
What is a non-reactive saucepan and why does it matter?
A “nonreactive” saucepan is one that doesn’t react with the food being cooked. By contrast, acidic foods are reactive and are typically problematic. Foods like tomatoes, wine, cranberries, lemon, vinegar, and pickling brine, can react with your cookware.
Why does this matter? Because chemistry, baby. Acidic ingredients will react with certain metals—leaving you with a damaged pot and metal material in your food. Stainless steel cookware is typically considered nonreactive, as are glass and earthenware. Enamel-finished cast iron pots are also non-reactive unless there are any chips or cracks in the enamel.
Your homemade mustard questions, answered
It is safe to can this mustard in quarter-pint or half-pint jars in a hot water bath for 10 minutes, adjusting for altitude if necessary. However, you will need to use garlic powder instead of garlic puree. There is too much potential for bacteria to be introduced if using fresh garlic.
Some significant chemical reactions take place while the mustard cooks. If your mustard tastes bitter immediately after making it, give it a few days in the fridge to mellow. To avoid bitter flavors developing, always use cold water when mixing the mustard and spices, and keep it over low or medium-low heat. The mustard should be gently burbling but not boiling.
Also, different mustard powders create different flavors. For this recipe, reach for simple yellow mustard powder. Leave the brown, black, Chinese, and wasabi mustard powders for other recipes.
Pro tips & troubleshooting
- This mustard will give off some potent fumes as it cooks. Be sure to have your exhaust fan on high and your windows open.
Want to save this?
Recipes that just beg for yellow mustard

Write a Review
If you make this homemade yellow mustard, or any condiment on LC, consider leaving a review, a star rating, and your best photo in the comments below. I love hearing from you.
–David
Featured Review
This recipe is very, very easy. The finished mustard is in a league of its own, so much better than commercially prepared mustards you buy. I found it cooked down much quicker than the recipe said. When something this good is so easy to make, it seems a shame not to!
Margaret Stares
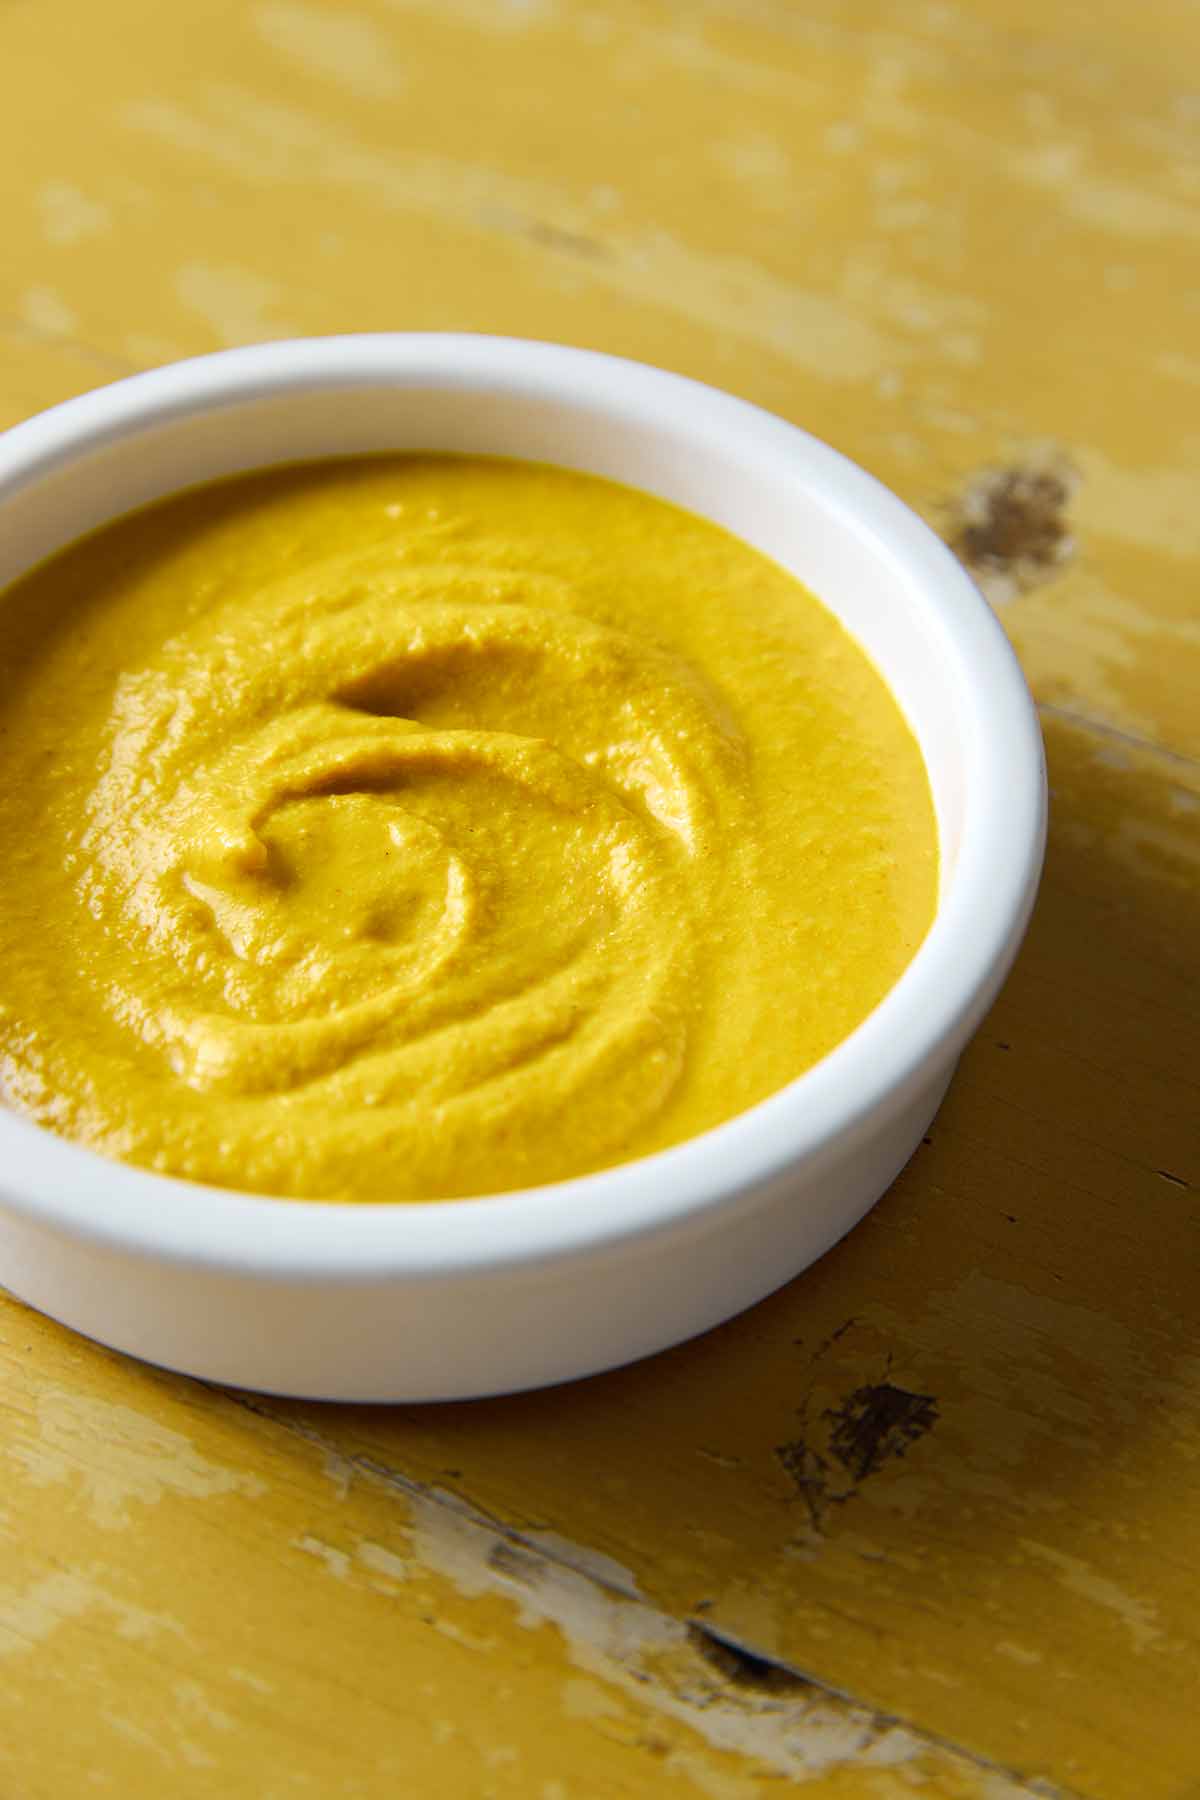
Homemade Yellow Mustard
Video
Equipment
- Nonreactive saucepan
Ingredients
- 1 cup cold water
- 3/4 cup yellow dry mustard powder, See note below*. (Avoid brown, black, or Chinese powders for this recipe.)
- 3/4 teaspoon coarse sea salt or kosher salt
- 1/2 teaspoon ground turmeric
- 1 teaspoon garlic purée, or 1/8 teaspoon garlic powder
- 1/8 teaspoon paprika
- 1/2 cup white distilled vinegar
Instructions
- Place the 1 cup cold water, 3/4 cup yellow dry mustard powder, 3/4 teaspoon coarse sea salt or kosher salt, 1/2 teaspoon ground turmeric, 1 teaspoon garlic purée, and 1/8 teaspoon paprika in a small nonreactive saucepan and whisk until smooth.

- Cook the mixture over medium-low to low heat, stirring often, until it bubbles down to a thick paste, 30 to 45 minutes.
☞ TESTER TIP: You’re definitely going to want to do this in a well-ventilated kitchen. Trust me. And that nonreactive saucepan is also essential or the mustard could take on an off color and hue.
- Whisk the 1/2 cup white distilled vinegar into the mustard mixture and continue to cook until it’s thickened to slightly runnier than store-bought mustard. It will thicken a bit when it cools, which can take anywhere from 7 to 15 minutes.
- Immediately remove the pan from the heat and move it to a cool burner or a trivet. Let the mustard cool to room temperature before spooning the mustard into an airtight container. Cover and refrigerate for up to 3 months.
☞ TESTER TIP: The mustard will be quite pungent the first few days or even weeks, but will mellow with time.

Notes
Explore More with AI
Nutrition
Nutrition information is automatically calculated, so should only be used as an approximation.
Recipe Testers’ Reviews
Did you know only 68% of the recipes we test make it onto the site? This recipe survived our rigorous blind testing process by multiple home cooks. It earned the Leite’s Culinaria stamp of approval—and the testers’ reviews below prove it.

You may ask yourself, WHY make my own mustard when store-bought mustard seems so inexpensive? Simple. CHEAP mustard is cheap. GOOD mustard is not. This homemade yellow mustard recipe is tasty and fun and, if you are anything like me, you love to make EVERYTHING from scratch, because it almost ALWAYS tastes better.
You could add your own touches—horseradish, pepper, whatever your heart’s desire—but it’s not necessary, as this has a bit of heat and, is quite good just as it is. I made mine exactly as described and, after adding the vinegar, cooked it down for another 5 minutes and ended up with some REALLY FINE ballpark-style mustard!

Having never made mustard before, I was a bit nervous. This homemade yellow mustard recipe made it super simple and worked out better than I expected.
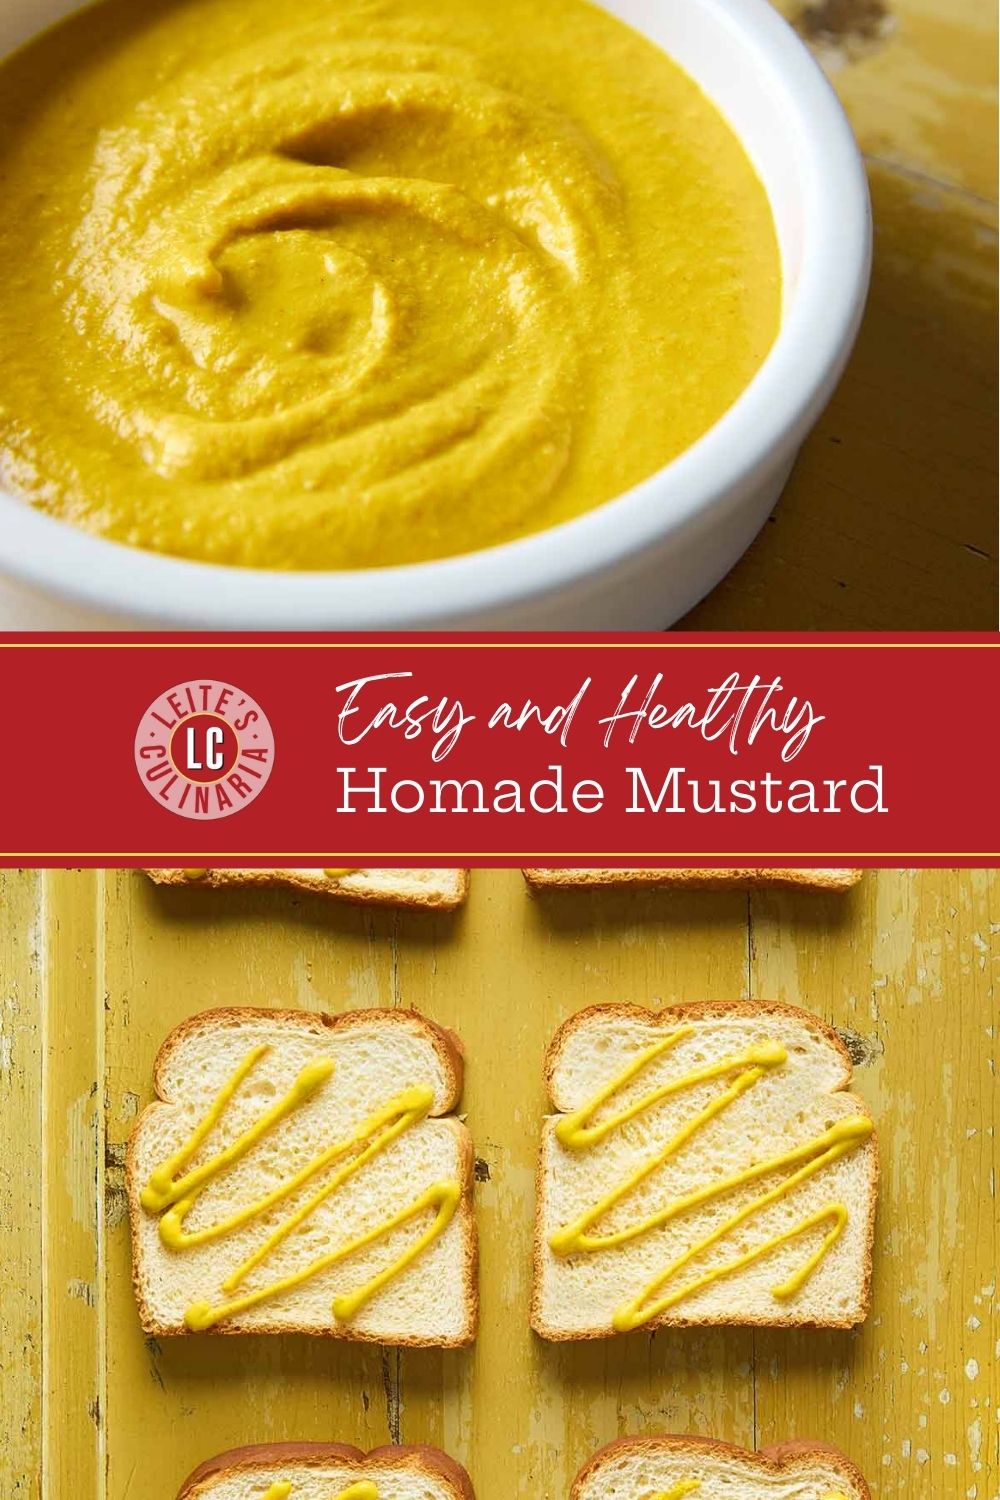
The mustard thickened quickly, within 5 minutes of being over the heat. Halfway through the cooking time, the mustard’s color changed to a bright yellow, just like the store-bought brands. By the time the initial cooking time was up, the mustard was very thick. I added the vinegar and it loosened right away. I cooked it for an additional 25 minutes to the typical squirt-bottle mustard consistency.
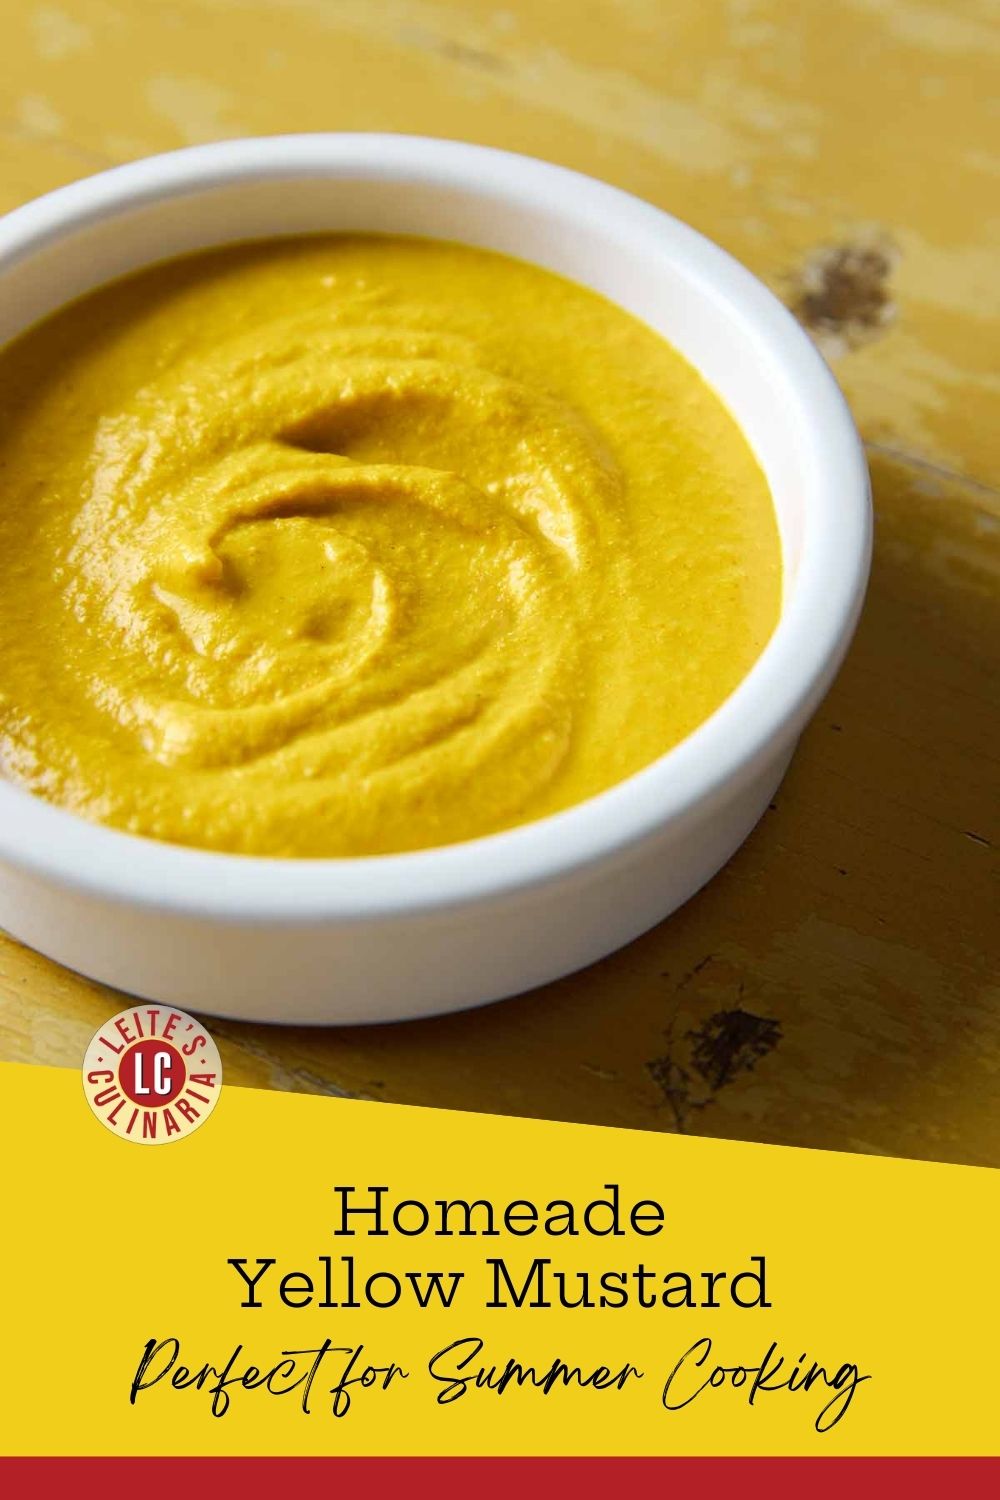
It tasted very similar to the store-bought variety, so I’m pretty sure I will not be buying any more yellow mustard at the grocery story. It was easier than I thought it would be, with the added bonus of knowing all the ingredients in my mustard. This recipe yields about 1 cup, which is more than enough for a backyard hot dog cookout this summer.
We go through a lot of mustard in our household, so it’s exciting to have a solid recipe for homemade yellow mustard that we can make ourselves in a fairly short amount of time. This recipe makes a basic mustard that’s quite a bit better and more flavorful than your typical ballpark yellow mustard. It was very easy to make and not too much of a time commitment.
My only caution is to be very watchful while the liquid cooks out of the mustard mixture or it will burn to the bottom of the pan. After 20 minutes of cooking at medium-low, I turned my burner down to low and put a cover that was slightly offset over the pot both to reduce the amount of mustard splatter and to keep it from burning. I also stirred constantly toward the end until I added the vinegar at just short of 1 hour.
The mustard seemed to mellow quite a bit between the time I started cooking it and the time I added the vinegar. I’ll be making this again.

After making the homemade ketchup on the site, I decided to try the homemade yellow mustard, too. It was perfect and tastes just like what you buy at the store. I’m not a mustard lover, but my son is, so I let him do the tasting. He gave it the official taste test versus the store-bought version and declared them too close in taste to distinguish the homemade.
I had a hard time keeping my burner low enough to not cook the water mustard mixture too quickly. The mixture became very thick, almost paste-like. I was worried I had ruined it with the higher-than-low heat. After whisking in the vinegar, I let it cook another 6 to 8 minutes, then I decided to let it cool.
I have to admit, I may never do this again, as the ingredients cost more than buying the prepared version and it took a little over an hour to make. But it’s nice to know I can duplicate it using ingredients I usually have on hand if I need to someday.
This homemade yellow mustard recipe is easy to throw together and ends up tasting just like the store-bought variety.
I messed up the first time I tried this recipe and mixed the vinegar in with the other ingredients at the beginning. After an hour of cooking, it was a very nice thickness and ready to cool. I made this again, adding the vinegar after the 1 hour cooking time, and it took 12 minutes (on my induction stove) to get to the right thickness. I didn’t notice any difference in the flavor or texture. I made this a third time (I know, overkill) but added some finely diced canned jalapeños with the vinegar, and it was fantastic.
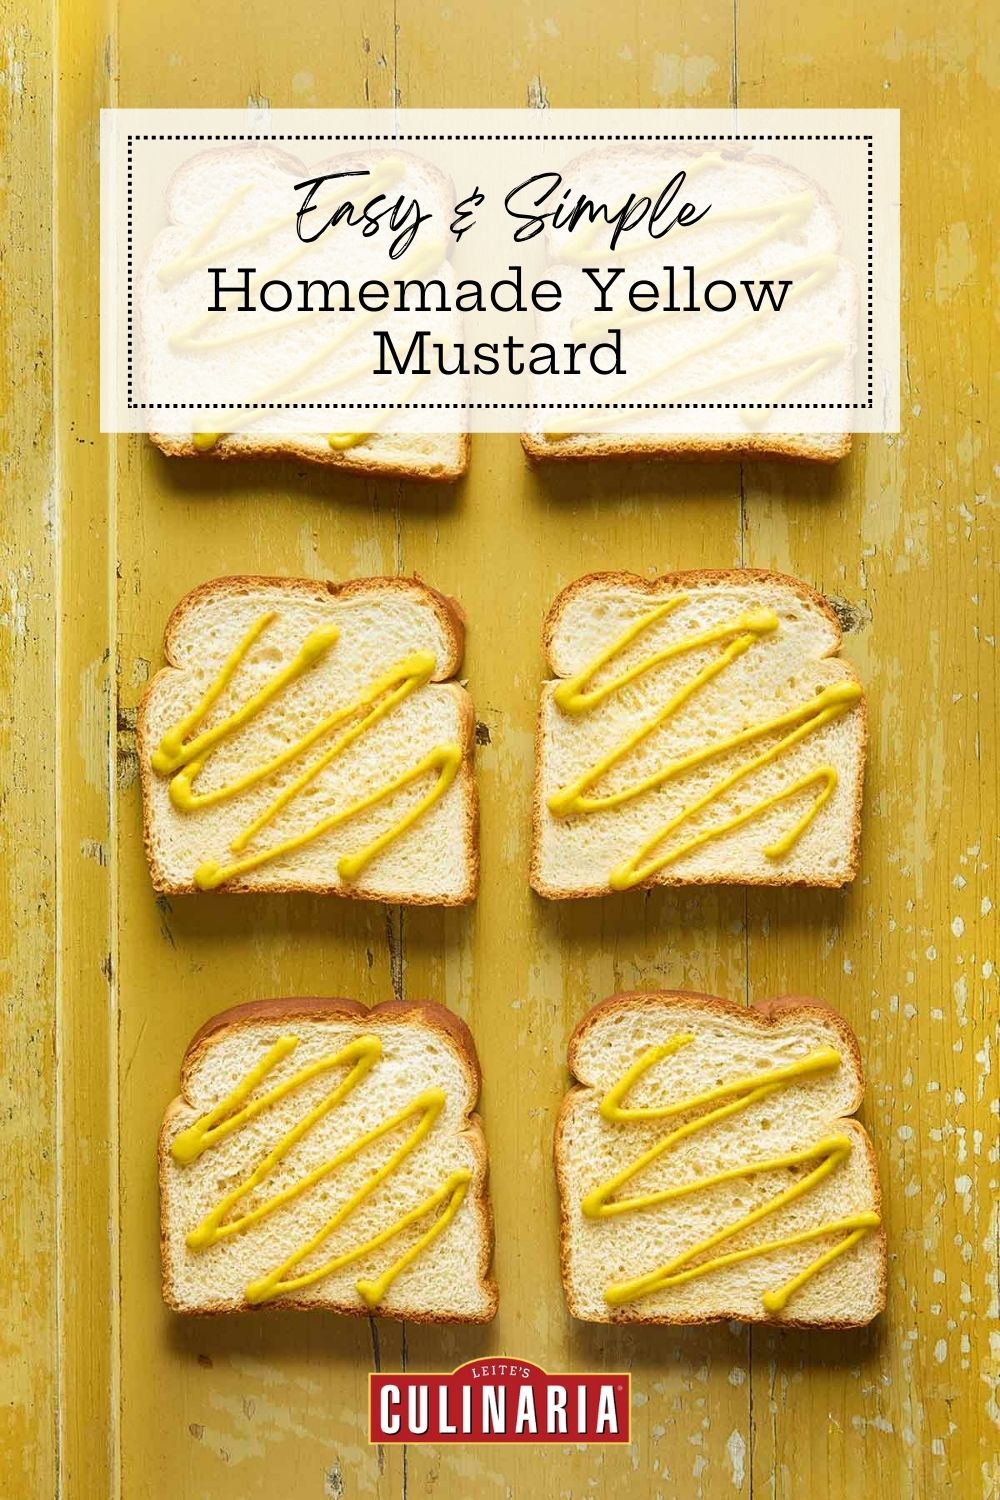
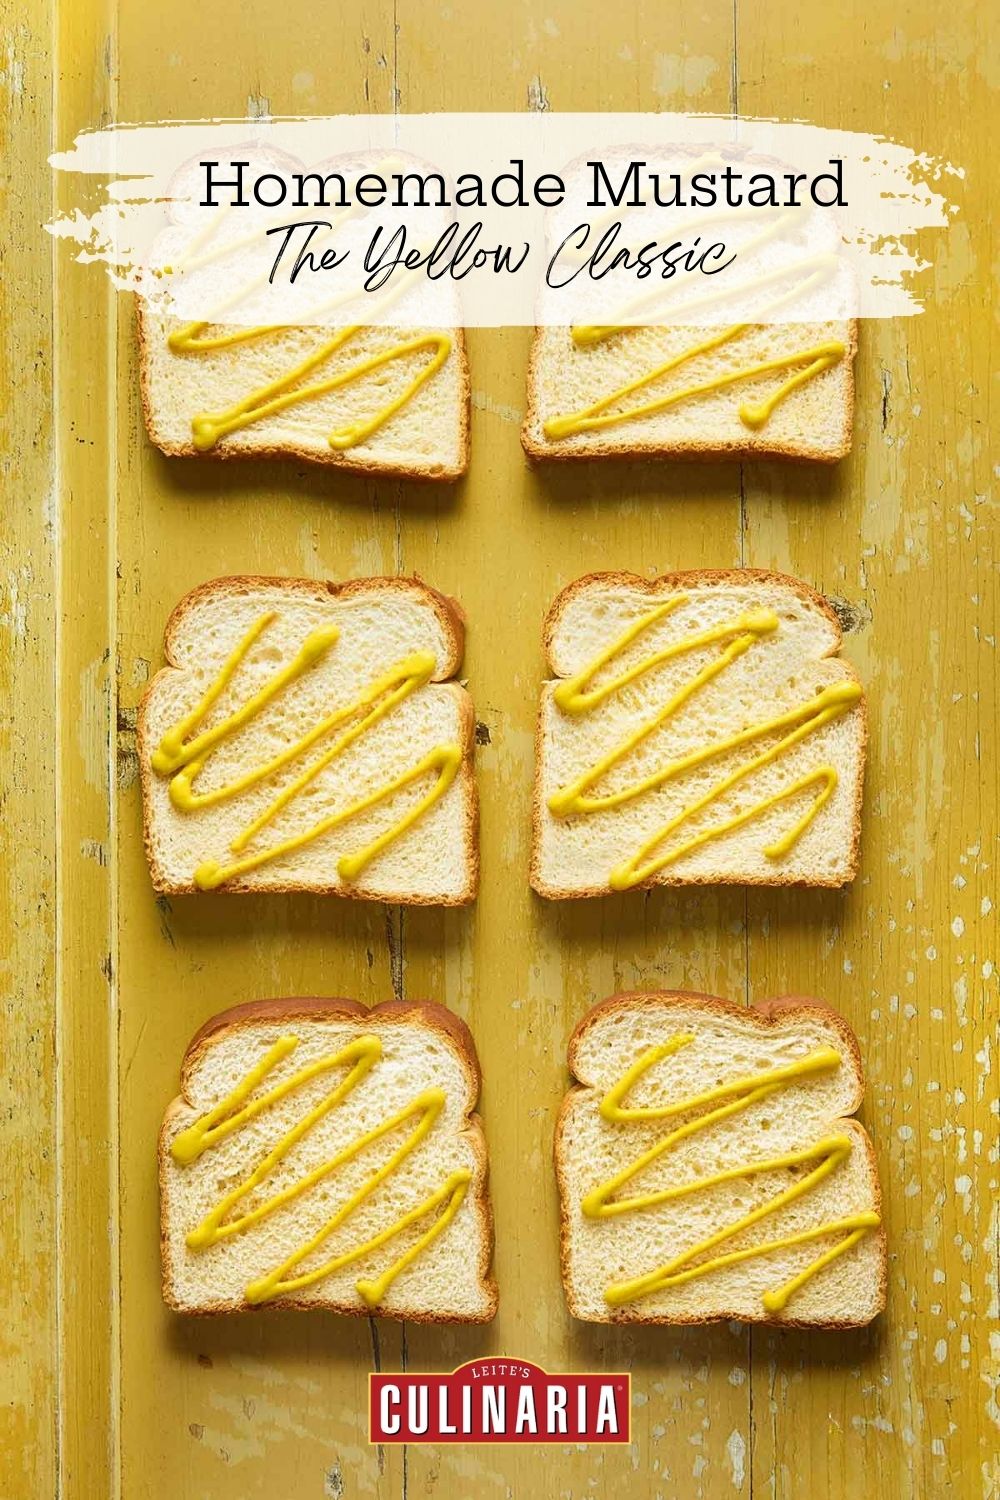
Who makes their own mustard? This girl—thanks to this super simple recipe and a whole lot of patience. This yellow mustard tastes just like I remember it (with that tangy zing), and it is really the perfect accompaniment for any ball-park hot dog.
It turns out mustard takes a lot (and I do mean a lot) of stirring. It, however, was totally worth the sore arm I had the next day. Because it really is cool to make something you never thought about making at home, and making it better than any store-bought brand.
A quick note, the mustard mixture sans vinegar became very thick for me and almost paste-like. I decided to be a bit rebellious and added the vinegar at that time. One word of caution, the mustard mixture is potent and may cause your eyes to tear up a bit. Wear goggles if you have them or just go ahead and cry at how amazing it is to never have to buy mustard again. The finished recipe made plenty to last awhile—or at least one BBQ.
This homemade yellow mustard is wonderful.
I admit I don’t usually cry in the kitchen and I was okay when I started this recipe but the second time I went to stir the yellow concoction, I had to turn the fan on high and stick my head outside for fresh air. The fumes can be overpowering, and this is not something you want to make the day of an event, such as a backyard picnic. It’s easy to make, though.
It tasted a little harsh the first couple days, but after a week it had mellowed a little and was great on bacon swiss burgers, though it still had a little bit of an understated bite to it. I had purchased mustard powder from a spice store, and the salesperson told me that mustard is harsh when you first make it and mellows with age, so keep the mustard at room temperature until it reaches a level you like and then put in the fridge to stop the mellowing process. When we first tried the yellow mixture, we were reminded of the mustard you get at Chinese restaurants—a hot bite that, if you’re not careful, will get deep in your nasal cavity if you inhale the aroma too deeply. We tried the salesperson’s tip of leaving the mustard out on our counter and tried a dab every day with pretzels. When it reached a level we liked, we put the mason jar of mustard in the fridge. Three days later, we had it on hamburgers.
Bring on the baseball games and hot dogs, we’re ready.

Mustard is one of those things that I would never think to make myself, seeing that there’s such a wide variety of different types of mustard available in the grocery store. However, this homemade yellow mustard recipe is fun to make because you get to see what actually goes into making mustard. This lovely combination of dried mustard, paprika, white vinegar, garlic, and turmeric was very flavorful and actually easy to make.
My only recommendation would be to add a touch more salt; I would amp that amount up to 1 whole teaspoon.
In terms of the time it took to cook the mustard, I cooked it on low for about 45 minutes to start and then after the addition of the vinegar, I cooked it for another 15 minutes. At this point it was not only fragrant, but also the correct consistency for yellow mustard.
I’m excited to try this mustard on a variety of different things. A hot dog perhaps…or a classic cheeseburger…maybe even with some seared sausage links and sauerkraut as an appetizer? Overall, this was a very trusty version of a condiment we all know and love.

This mustard was really, really good. Two people told me it tasted just like a well-known brand of mustard, but to me it tasted like a cross between a good Dijon mustard and the well-known yellow stuff. There was a small amount of mustardy heat but it was pleasant rather than sharp like some store-bought types.
I found that after cooking the mustard mixture for 10 minutes it was so thick that I couldn’t get my whisk to move in the pan. I know the heat wasn’t too high, as I have a special simmer burner on my stove for just such things and had it on the lowest setting. I pulled it off the heat and added 1/4 cup water to loosen it up, but after another 10 minutes, it was so thick again that I had to add another 1/4 cup water. A further 10 minutes after, that I just added the vinegar and cooked it for 15 minutes more until it was the consistency of store-bought mustard. Total time was about 45 minutes. I put it through a large mesh sieve to remove any lumps that may have formed because it had gotten so thick so quickly, and it was much smoother.
My end results were a really terrific mustard. I know that I’ll be making another batch soon, as the little bit I have left after everyone took a jar home won’t last for 3 months. By the way, the total cost for making my own mustard came in under 75 cents.


To make strong English mustard, omit the vinegar!
Thanks, Hugh!
Hi there! I’m not supposed to have turmeric. Is there a substitute for this? Or can it be left out? Thanks!
Hey, Laura. Turmeric is really just there to give it that classic, bright “ballpark” yellow. If you don’t have any on hand, you can totally skip it. The mustard will still taste fantastic, it’ll just be a more natural, pale-tan color. (Think Dijon.)
If you’re really dead set on the color, you could steep a pinch of saffron in the liquid, but honestly? I’d just leave it out and enjoy it as is. Let me know how it turns out!
Hi, just finished making the mustard, I must say I am impressed 🙂 it is cooling down right now, I had a lot of mustard seeds, so I ground them all up to make this, it is very strong but taste very good.
Hubby likes this type of mustard, I might put a drop or two of honey it will see after a day or two how mellow it gets but as of right now wow its got a kick….
ty Deb 🙂
Hi, Debbie. You ain’t kidding about that kick! Freshly ground mustard seeds always pack a much bigger wallop than the pre-ground stuff. The good news is you’re exactly right to wait; the heat will mellow significantly after a few days in the fridge as the flavors nuzzle together. If it’s still too fiery for your taste after that, whisking in that honey is a perfect fix. I’m glad it’s hubby-approved so far!