Jump To
- What’s deep-frying?
- What type of oil should I use for deep-frying?
- What does smoke point mean?
- How can I tell if my oil is hot enough for deep-frying?
- What if I don’t have a deep-fry or candy thermometer?
- How do I know when fried food is ready?
- Can I reuse cooking oil?
- How do I strain and store cooking oil?
- What tools do I need for deep-frying?
- What do I need to know about deep-frying safety?
What’s deep-frying?
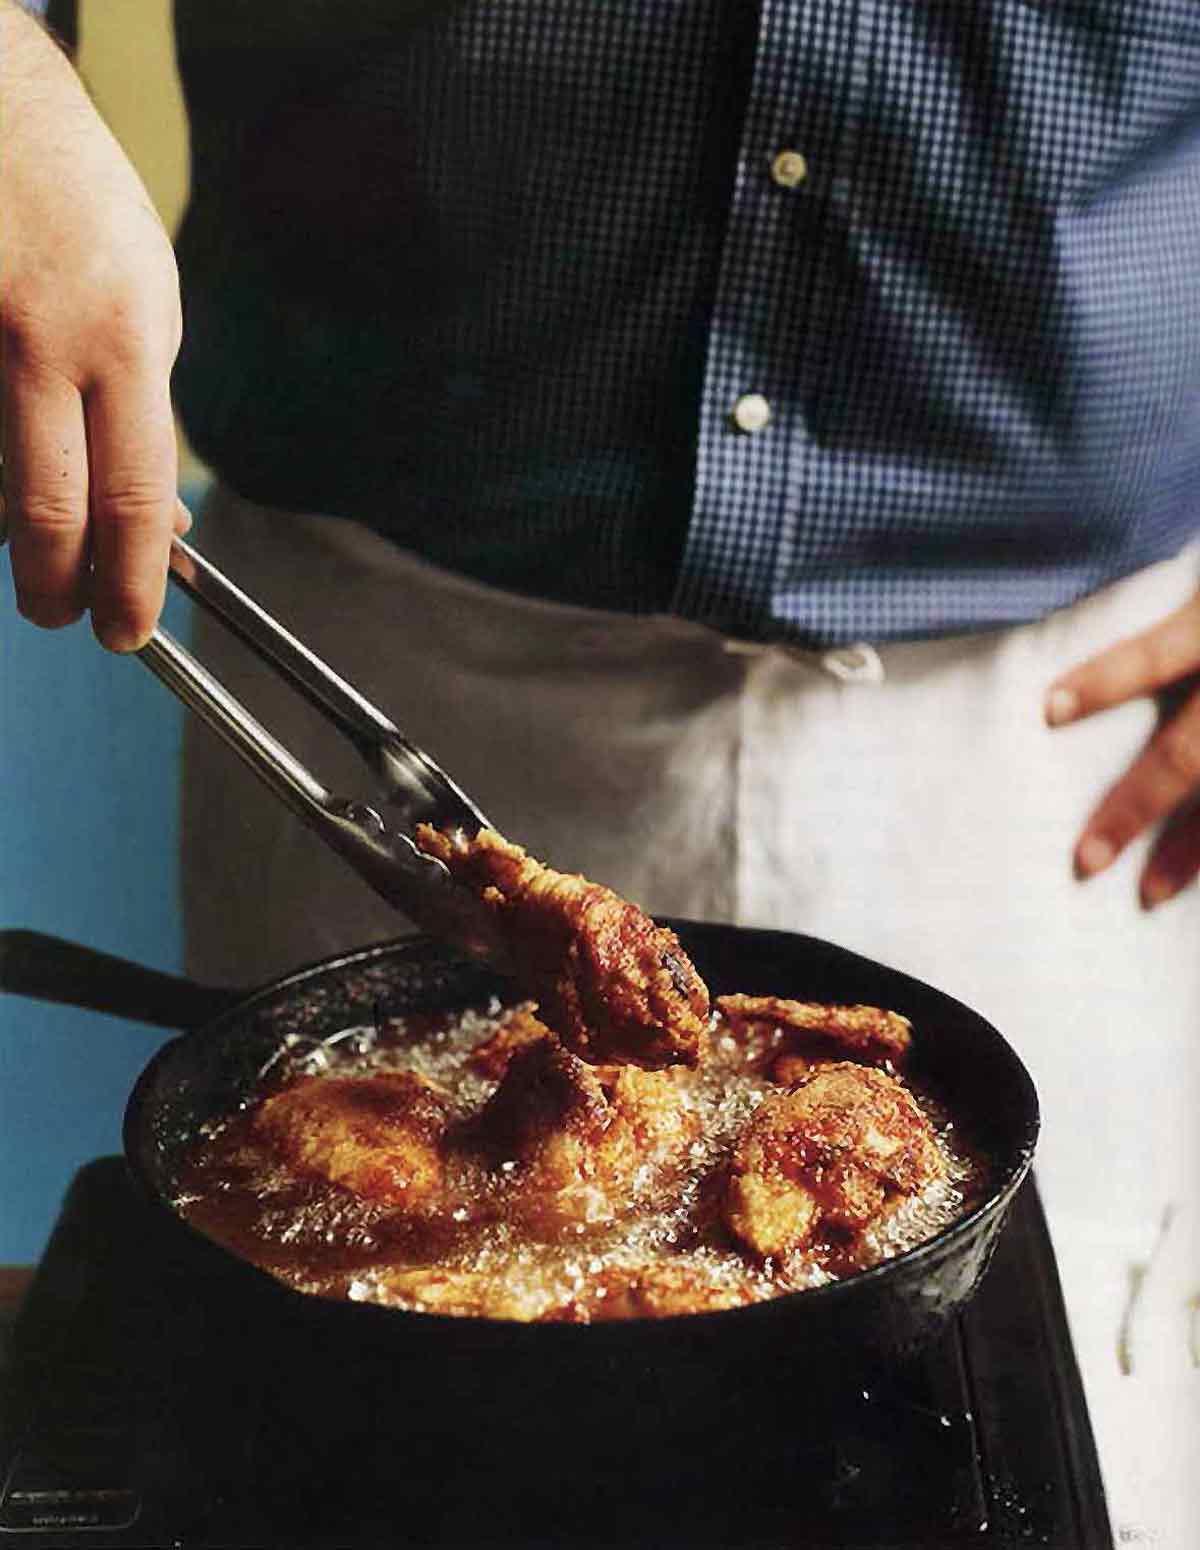
A common cooking method beloved around the world, deep-frying submerges just about any food in hot fat to render those calories crispy, crunchy, and golden. Lard was traditionally used, but today plant oil is more common. Normally, a deep fryer or deep sided cast-iron pan is used for frying, but a heavy-bottomed, deep pot will work just as well.
What type of oil should I use for deep-frying?
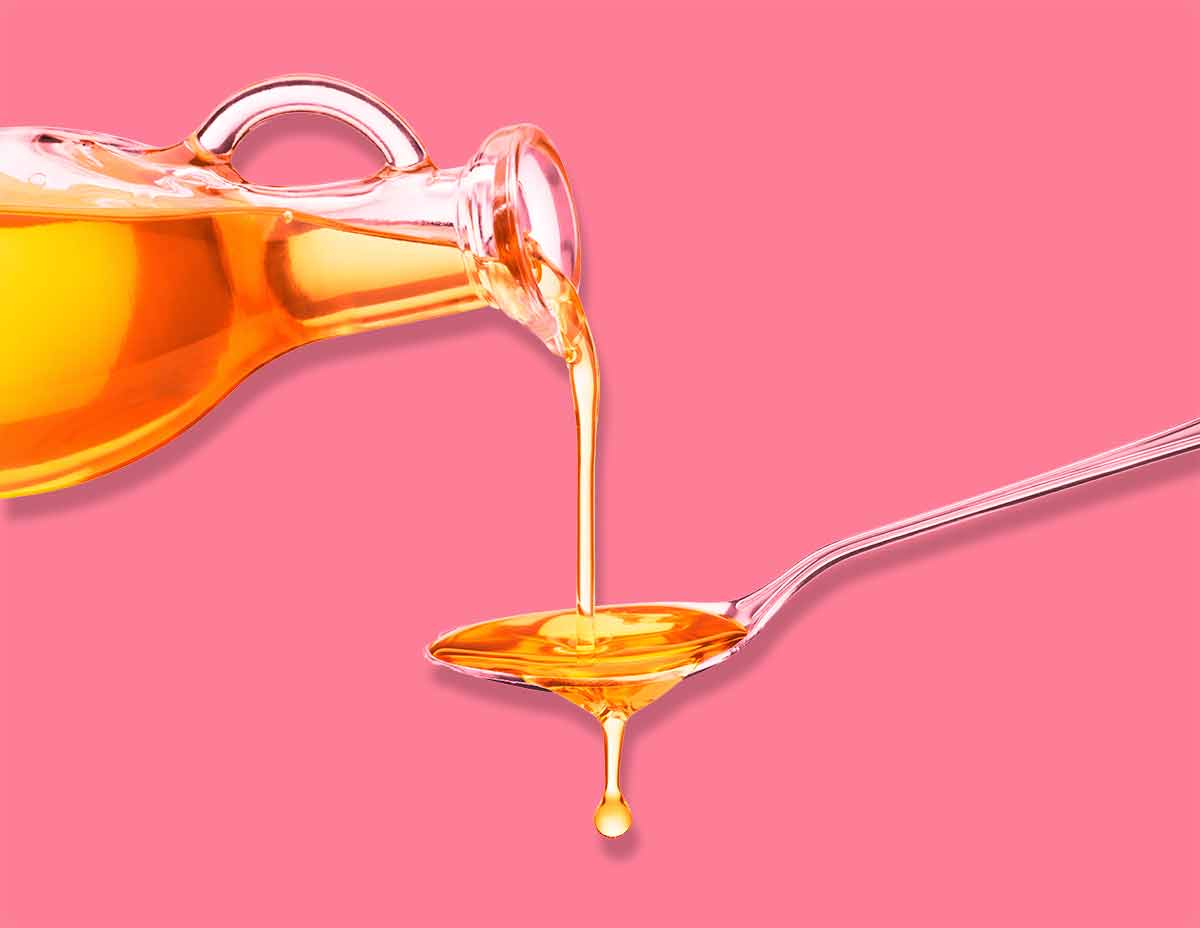
The most important factors for choosing a deep-frying oil are smoke point, a mild flavor, and cost. Choose an oil with a high smoke point (see below) so that you can get the oil hot enough to thoroughly and quickly cook everything you can get your hands on.
A mild flavored oil is important here, too. Keep in mind that the more refined an oil is, the less flavor it has. While richly flavored, unrefined oils are perfect for zingy salad dressings, they just won’t work in a deep-frying application; their flavor will just overwhelm your food.
There are lots of oils that fit into those two categories, however, the amount of oil needed to deep-fry something makes them unattractive, financially. There are also some gorgeously light, refined olive oils that would be fine to use–except that the cost would be staggering.
So then, what are some oils that fit into all three categories? Many of our staff and testers use peanut oil. It does an outstanding job when deep-frying and contrary to what you might think, refined peanut oil doesn’t have much of a nutty taste. Other terrific choices include canola, vegetable, and refined sunflower and safflower oils.
A few other things to consider when choosing an oil–the higher your heat, the more stable an oil should be–this isn’t the smoke point, though. Rather, it’s the stability of the oil when heated to high temperatures so that it doesn’t break down. As well, you’ll want to use filtered (or refined) oil. There’s nothing wrong with unfiltered oil but, when deep-frying, the little particles contained in the oil/left in the oil can burn quickly.
What does smoke point mean?
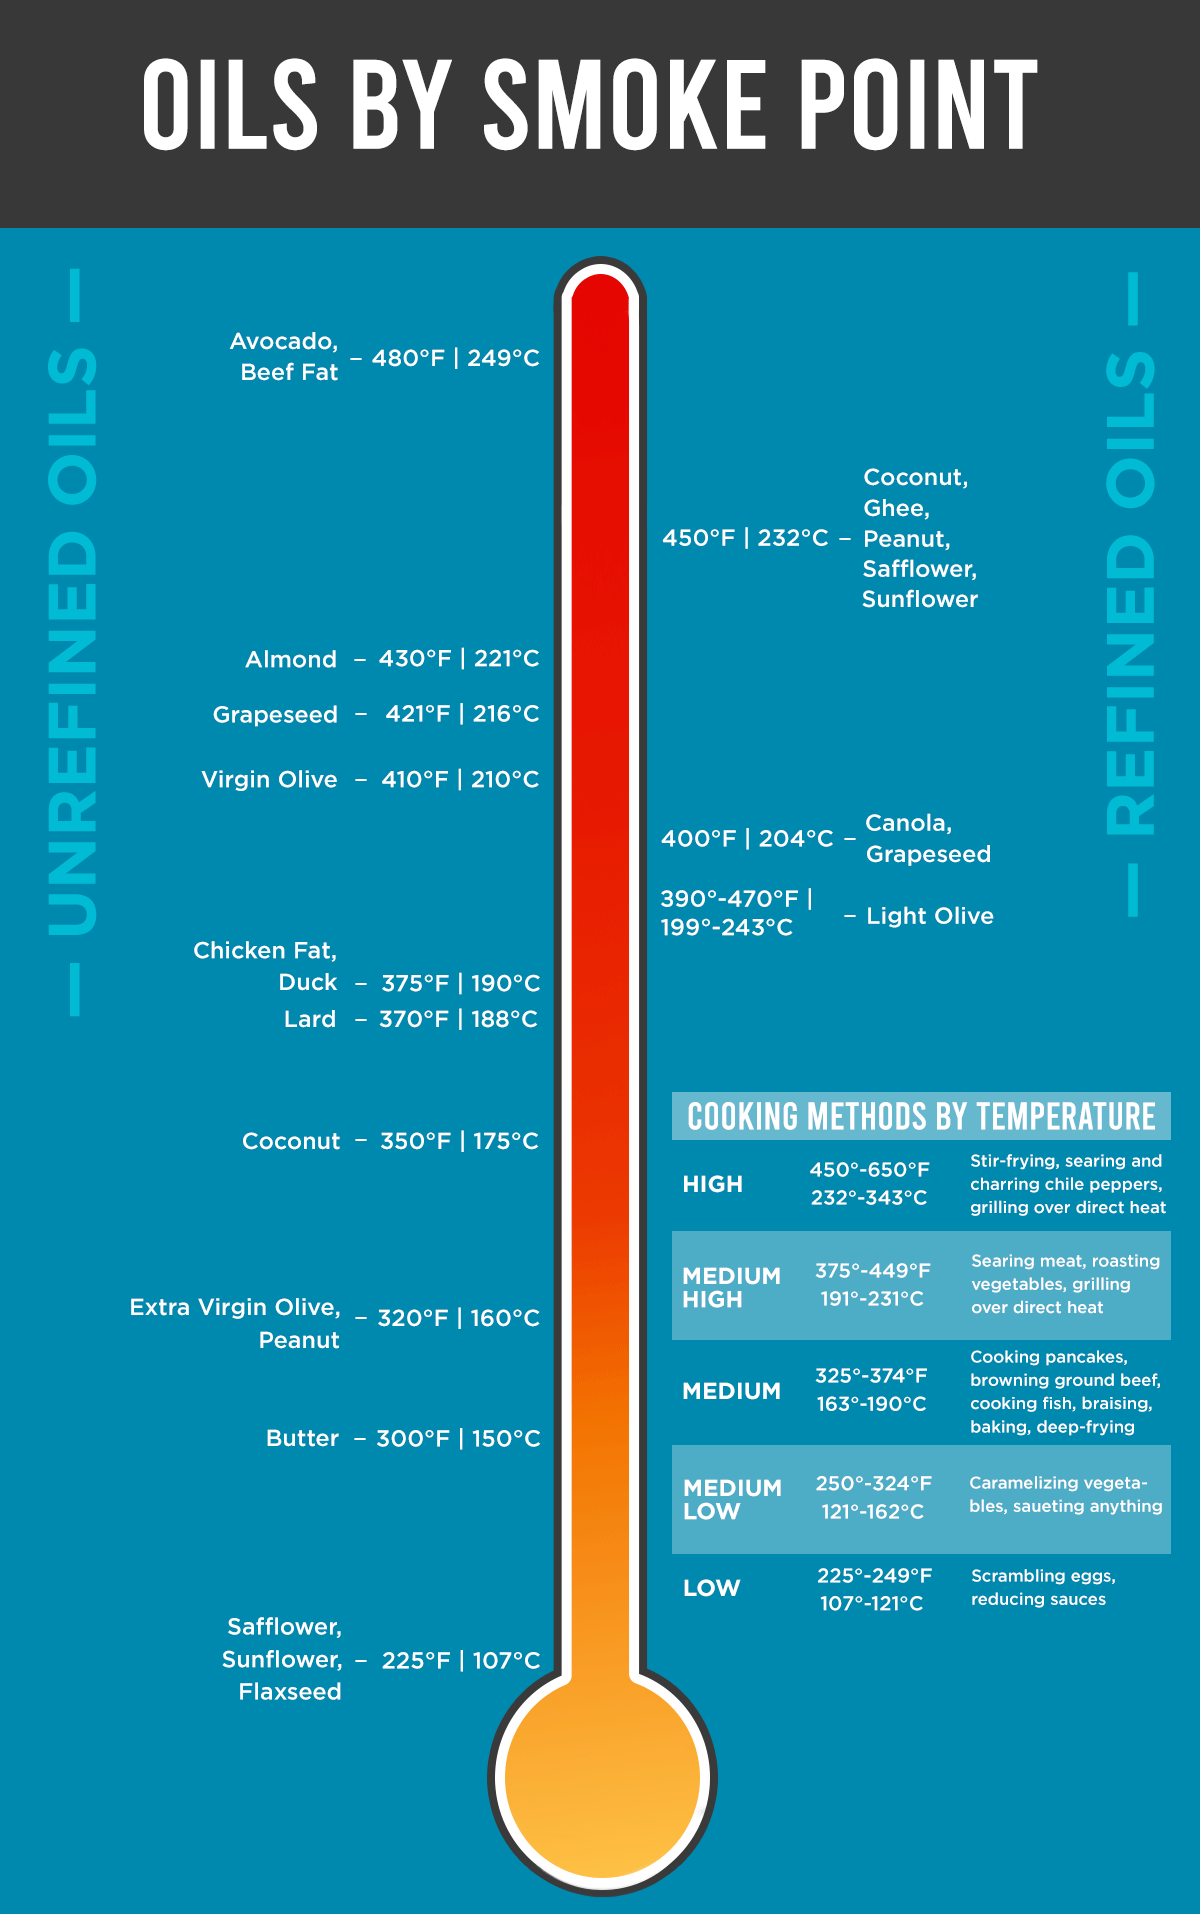
Smoke point is the temperature at which any given cooking fat–lard, butter, or oil–goes from shimmering to smoking. When oil starts smoking, it means a few things.
- First, it means that the compounds in the oil are starting to break down, possibly leaving you with burned flavors and that undesirable lingering acrid smell before you even drop a chicken wing into it.
- It also means that it’s getting closer to its flash point, the temperature where ignitable gasses begin to accumulate. Once oil starts to smoke, don’t panic! Just remove it from the heat and let it cool while you open a window and air out the kitchen. When cool, taste it. If it doesn’t have a bitter or burned flavor, you can still use it.
Highly stable oils with a smoke point of 400°F (205°C) or above are suggested for deep-frying. Here’s a comprehensive list of various smoke points, for your perusing pleasure.
How can I tell if my oil is hot enough for deep-frying?
When your oil isn’t the right temperature, you’re going to run into problems. If it’s too hot, the outside of the food will burn before the inside is cooked through. If the oil isn’t hot enough, the food will absorb too much oil and end up soggy and greasy, just like Florence Henderson said it would on those old Wesson Oil commercials. Remember, timing in a recipe is just a guideline. A lot of variables can occur and affect the timing of your fry. Crowding a pot or putting cold items into the oil, for example, will cause the temperature to drop and increase cooking time.
If you’re planning to get into deep-frying with any sort of regularity, and we do recommend it, a deep-fry thermometer is the only way to go. It takes the guesswork out of it, making it easier and safer to get the best results. There are all sorts of thermometers out there, in every price range and they make all the difference.
What if I don’t have a deep-fry or candy thermometer?
If you need deep fried pickles stat and have no thermometer, you can drop a cube of bread or a kernel of popcorn into your oil. You should have a crispy, golden crouton or popped corn within a few seconds, meaning that your oil is between 325 and 350℉ (162 and 177°C).
Another way to check is to dip the handle of a wooden spoon or chopstick into the oil–if bubbles form around the handle and start to rise up quickly, your oil is ready. However, if it’s bubbling hard, your oil is too hot and needs to cool off a bit.
How do I know when fried food is ready?
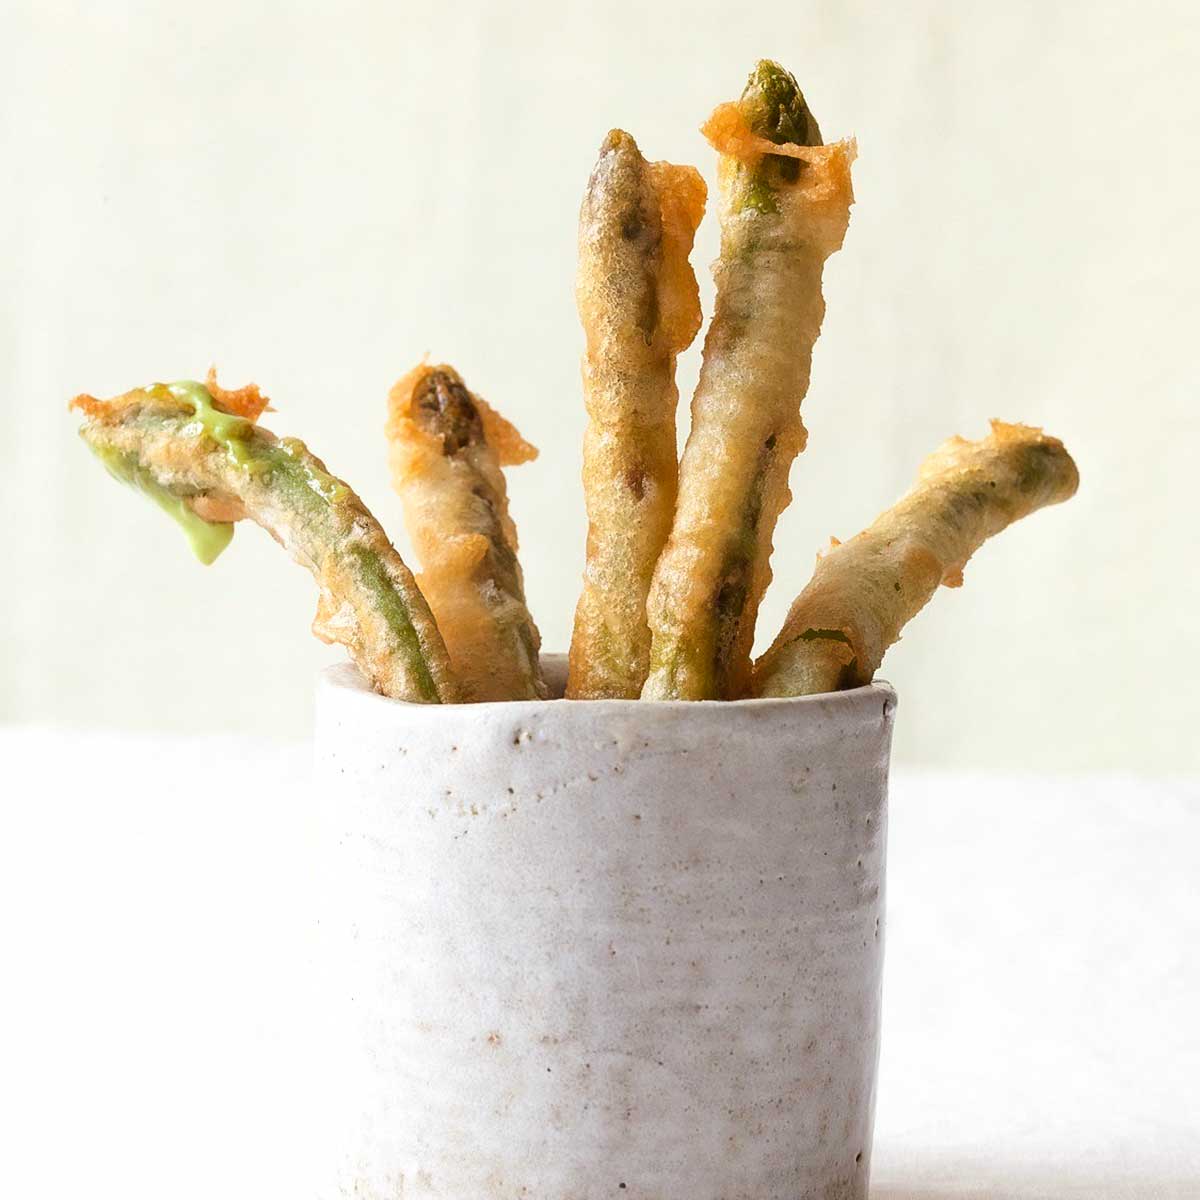
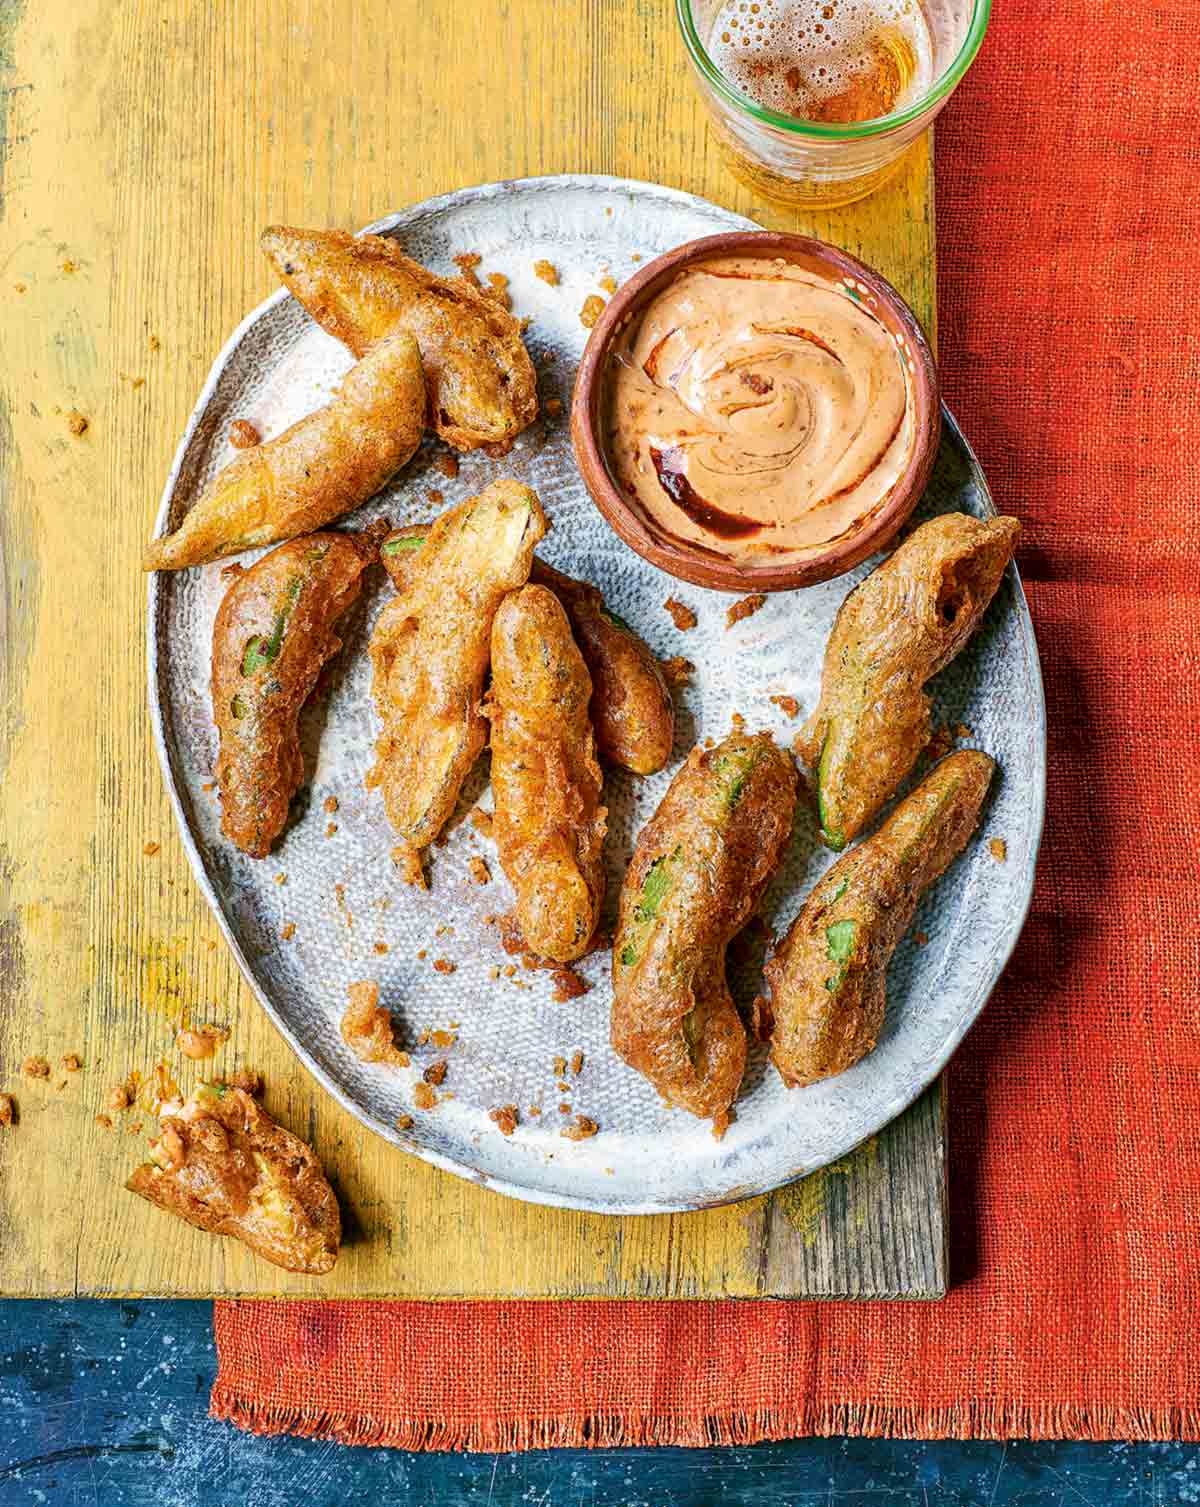
Not to sound like a broken record, but, again, a thermometer is your best weapon to check for doneness. But this time, a digital thermometer instead of a deep-fry thermometer. They’re especially useful for chicken, which needs to be at least 165℉ (74℃), or delicate items like the fried avocado dippers (above). Check meat for doneness by piercing it; if the juices run clear it should be ready.
Can I reuse cooking oil?
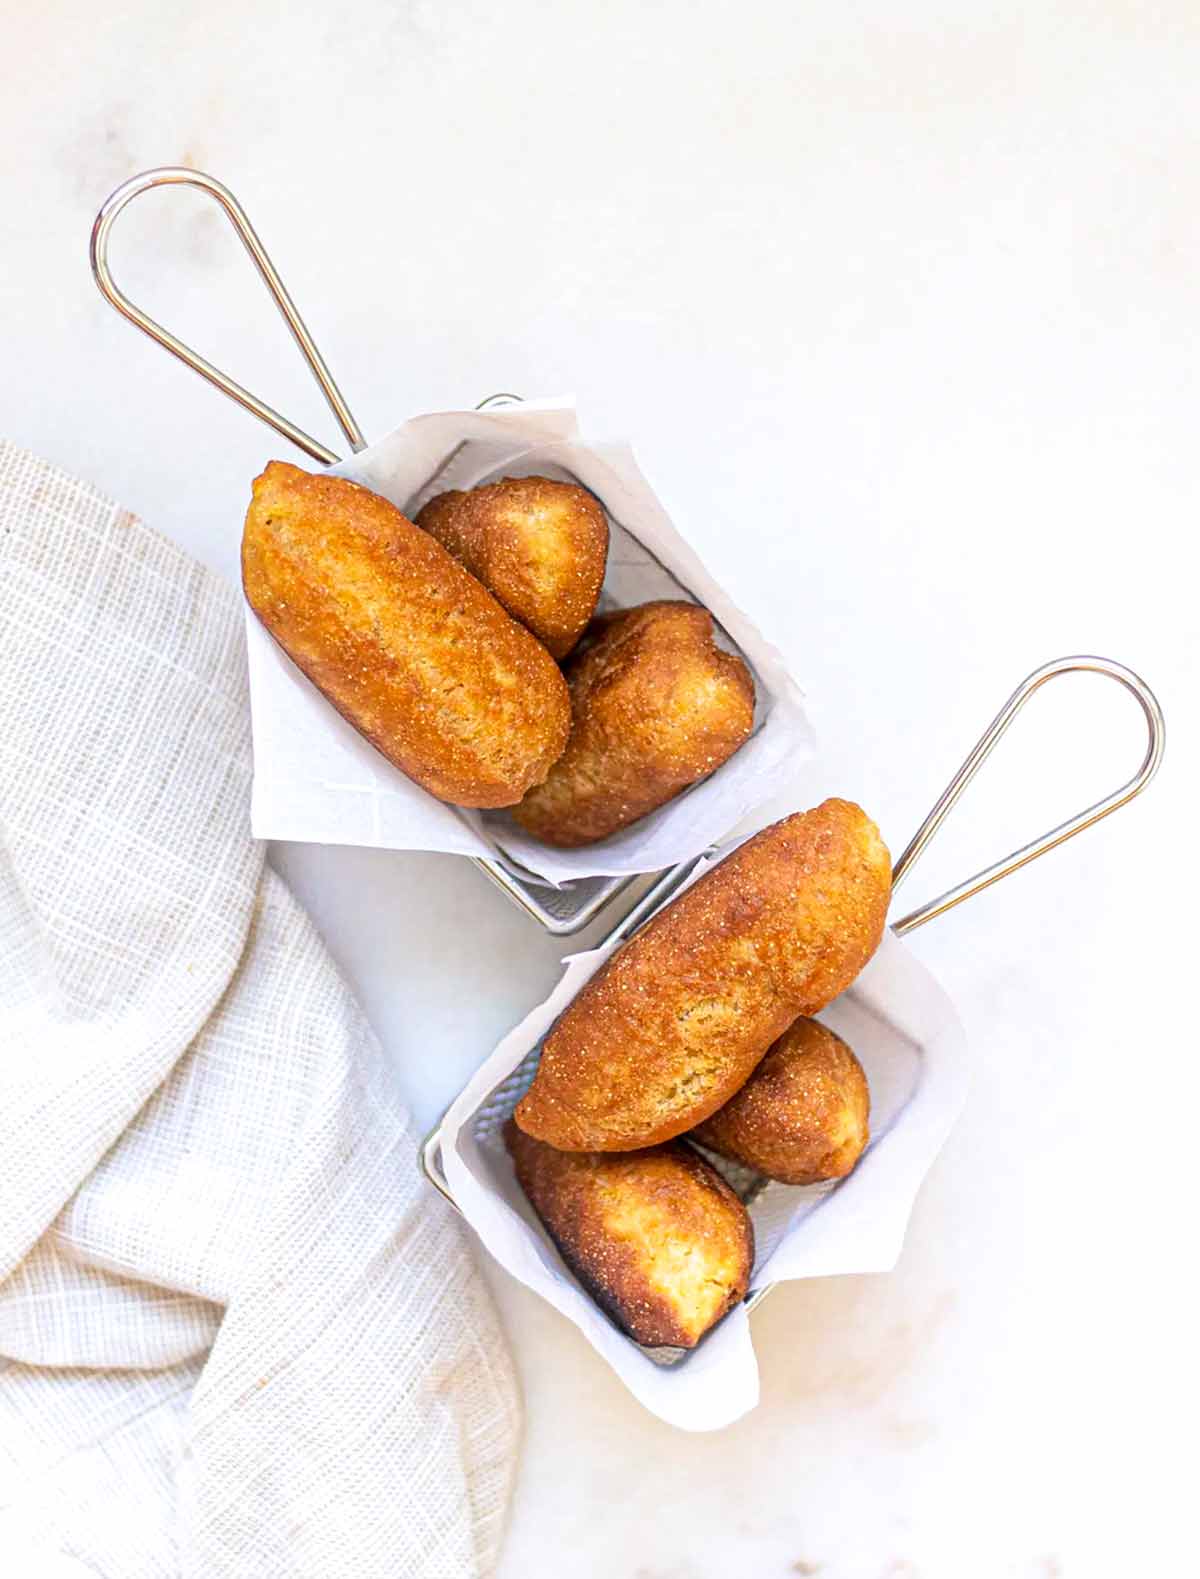
The short answer is yes. But there are a few caveats to that. First, it depends what you fried in it. You’re not going to want to fry your mini funnel cakes in oil that was last used for Southern fried catfish so you might want to keep separate oil for different dishes.
Remember that the smoke point of your oil degrades with each use, meaning that you’ll get a bitter taste and a smoky kitchen faster than the last time you used the oil. If your recipe doesn’t require super-high temps, you can likely get another use out of the oil. The better you strain it, the better reused oil will work. All those tiny particles from the last fry are still floating around in there and will start to burn in the blink of an eye.
How do I strain and store cooking oil?
Once you’ve eaten fries to your heart’s content, you’ll want to make sure that you’re storing that oil properly. Let the oil cool completely–and we mean completely. Oil burns are truly awful and the best way to avoid them is to make sure everything is cool before you start wrestling with that big ole slippery pot.
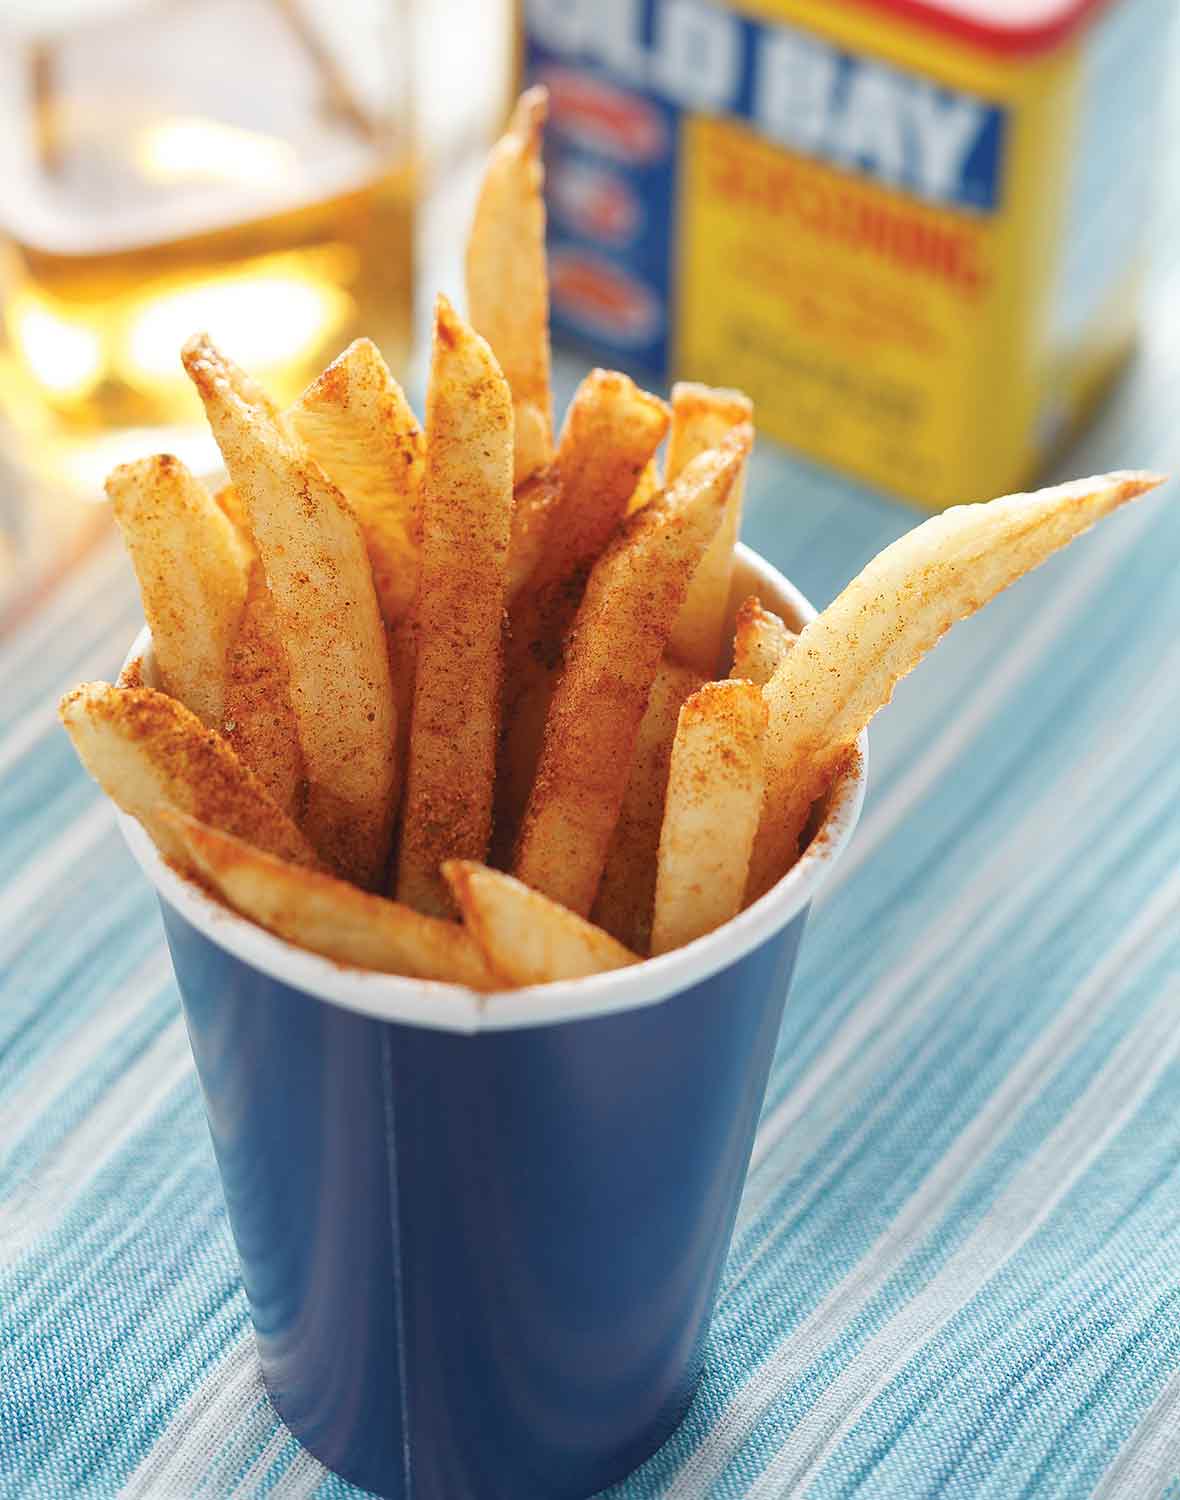
Next, line a strainer with a few layers of cheesecloth or a paper coffee filter and pour the oil through into a large measuring cup. Then, use a funnel to pour the clean oil into an appropriate container (like a glass jar or even the container it originally came in.) While it’s tempting to leave your oil unstrained, remember what we said about those little particles! Next time you fry, you’ll end up with a burned taste before your first fried artichoke is even on the plate. You’ll be glad you took the time to strain it.
Finally, put the container of oil someplace cool and dark, like the fridge or pantry. Once you’ve reused it a few times, the best way to dispose of the oil is to pour it back into the resealable container and put it in the trash–definitely not down the drain, because you’ll end up having to call the plumber like David did. Several times. Or gain bonus karma points by finding a place that recycles cooking oil in your area.
What tools do I need for deep-frying?
We don’t think that most home cooks need a large, hard-to-clean deep-frying contraption. But we do suggest that you invest in a heavy, relatively deep pot with a capacity of 4 to 6 quarts. Cast-iron retains heat well, which helps to keep the temperature from changing too quickly. And a light enamel interior makes it easier to see what you’re doing, so you’re less likely to overcook your food.
Again, you really do need a thermometer. One that can accurately register at least 350°F to 400℉ (177°C to 204°C). Deep-fry thermometers usually clip to the side of the pot, which is handy, but a probe thermometer can work in a pinch, too.
You’ll also find that a metal skimmer or spider is an essential tool for scooping those golden bits out of the oil. Some cooks prefer the more tactile experience of using tongs but we think that it wouldn’t be so crazy to pick up one of each. You know, for science.
Want to save this?
A metal rack and sheet pan are also a huge help. Draining fried foods on paper towels might seem like a good idea but unless you’re eating it immediately, the trapped steam between the crisp crust and the paper towel will just lead to soggy bottoms and disappointment. Letting food cool on a rack with air circulation keeps it perfectly crunchy. Of course, line the sheet pan with a paper towel and lay it underneath the rack, though. Whatever makes clean-up less of a chore, right?
Finally, some cooks like to use a splatter shield but that comes down to personal preference. If you’re more hands-on when cooking, you might find that removing and replacing the screen is more trouble than it’s worth.
What do I need to know about deep-frying safety?
There are a few things to keep in mind when deep-frying to keep things safe, no matter what your level of experience.
- If the oil starts to smoke, immediately turn off the heat and leave the oil to cool.
- Use a large, wide, sturdy pot and only fill it two-thirds full. This will help prevent the oil from boiling over if things get too hot.
- Make sure you have a well-fitting lid and keep it within reach. If, by chance, the oil does overheat and catches fire, that lid will cut off the oxygen supply to the flames. Salt and baking soda will also work, as will a fire blanket or fire extinguisher.
- NEVER try to put out an oil fire with water. This will only cause the oil to spread and continue to burn. And never use flour–it’ll burn and make things worse.
- Keep any pot handles turned toward the back of the stove and away from you, so the pots won’t be accidentally knocked over.
- Water and oil don’t mix. Pat dry anything without batter–like French fries, onion strings, or chicken wings–before frying. Otherwise, the oil will splatter everywhere.
- Never leave hot oil unattended.


Go ahead and spring for a good quality thermometer. It will save you much disappointment and help keep track of the oil temps. Cold oil soaks into food before the outer crust can form and just takes longer to cook.
Next recommendation would be use a good quality veg. oil. And filter and skim any crumbs, flour, etc. out as soon as the oil is cool enough to work with. Some oils thicken a little when completely cold and are harder to filter. Check with a local restaurant supply, if you have such available, and get filters for fryer oils if you can. Not absolutely needed, but they do make life a little easier.
Last thing, be willing to try new things and experiment. There are more goodies to be fried and enjoyed than most folks can imagine. With a little care, frying up baskets of wonderful treats, or solid meals is much easier than many folks may believe.
Thank you, Vincent. Lots of great suggestions!