Want to Save This?
How to Clean Cast Iron Pans
Dear Never Cook Naked Guys: Okay, so what about the great debate over cleaning cast iron pans? To scrub or not to scrub? Soap or no soap?—Clean Freak
Dear Clean Freak: If you ever come to our house and scrub our cast iron cookware with soap, we’re never inviting you back. You can forget about a Christmas letter, too.
Back when one of us was in cooking school and the other was passed out drunk in grad school somewhere, the culinary instructors kept their cast iron omelet pans under lock and key lest any student be dumb enough to wash them. See, the surface of cast iron is a warren of microscopic nicks and gashes. Over time—and after enough frying—fat fills in these crevasses. This creates a smooth, sealed surface, thereby lending the cookware a naturally nonstick finish.
Soap dissolves that prized patina of crud. Wash a nicely seasoned skillet with suds just once and there goes years of work, quite literally, down the drain. Cast-iron cookware should instead be cleaned with coarse-grain salt. Think kosher salt. Pour some in the skillet, add a little warm water, and work the crystals back and forth across the surface with a wadded-up paper towel (leave that sponge in the sink; it may contain some residual soap). You’ll dislodge burned-on bits without destroying the built-up finish. Rinse the cookware, then place it over high heat until it’s smoking to 1. sterilize it, 2. preserve the coating, and 3. dry the pan out completely so the iron doesn’t rust. Cool the cookware to room temp and it’s ready to go.
Do this and you’ll end up with a shiny nonstick surface. Plus, you’ll stay in our good graces. This year’s Christmas letter promises to be more detailed than ever: every meal we ate, every dish we cooked, every vacation we enjoyed, every breath we took. Thrilling. Just thrilling. Originally published August 8, 2013.
Some of our Favorite Cast Iron Pans

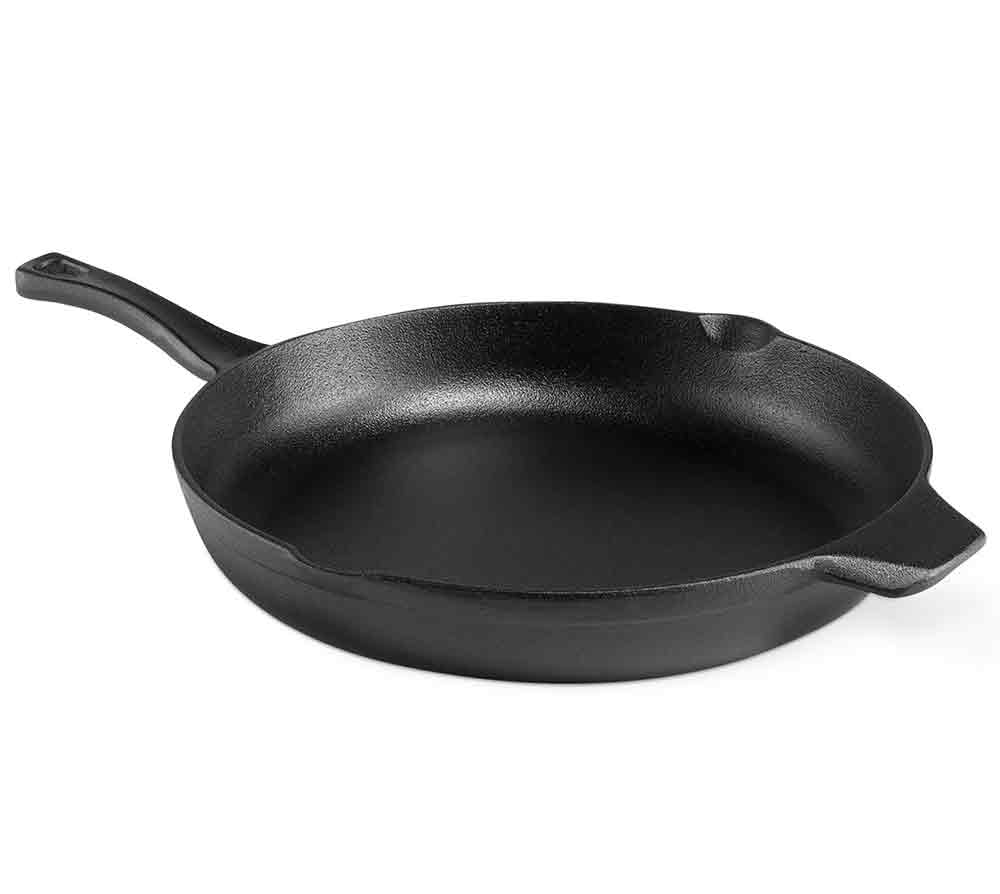
Calphalon Pre-Seasoned Cast Iron 12″ Fry Pan
Adding brilliant, robust flavors and precious nutrients to your food, this cast iron beauty comes pre-seasoned and ready to cook. The stick-resistant interior prompts powerful heating & effortless food release. Oversized helper handle. Safe for all stovetops. Oven and broiler safe. Lifetime warranty. $49.99

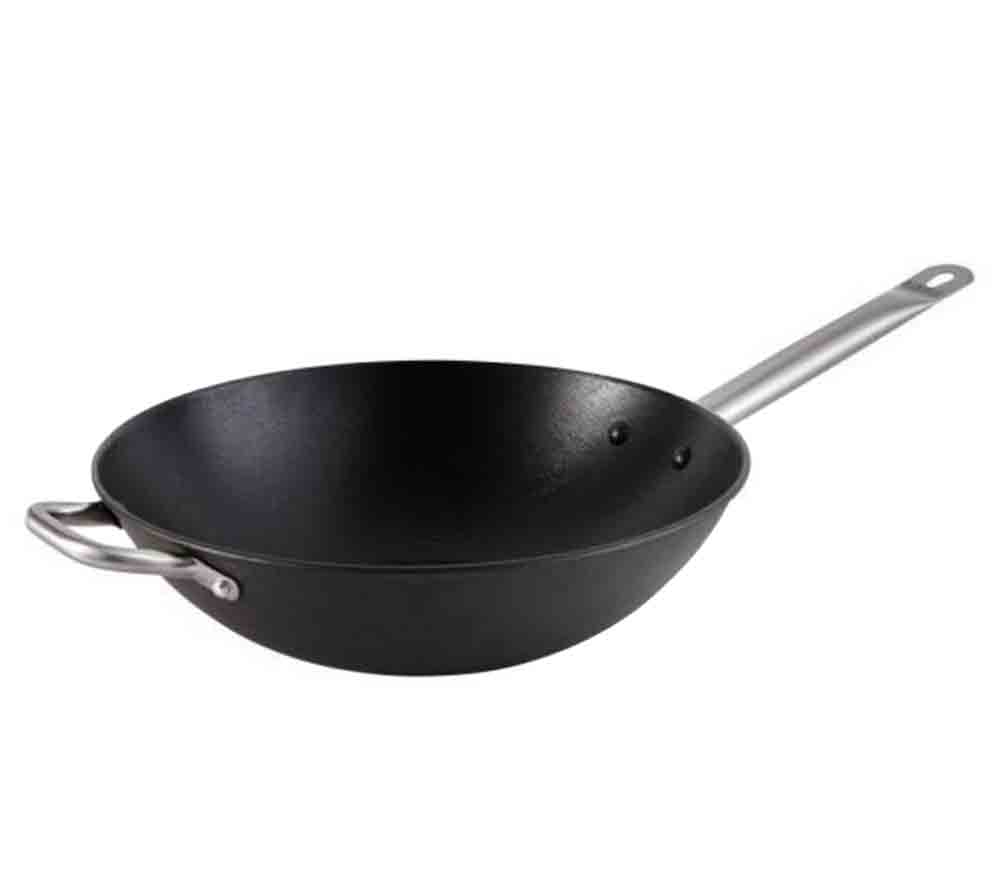
IMUSA 14″ Wok with Stainless Steel Handles
The IMUSA Wok is a must-have to exploring Asian cuisine. Developed by the Chinese 2,000 years ago, the wok is ideal for quick, healthy cooking. Stir-fry meat, fish, vegetables, poultry and rice over high heat with minimum oil. Made of lightweight cast iron. Pre-seasoned interior. Safe for stovetops, grills, burners, and ovens. $59.99

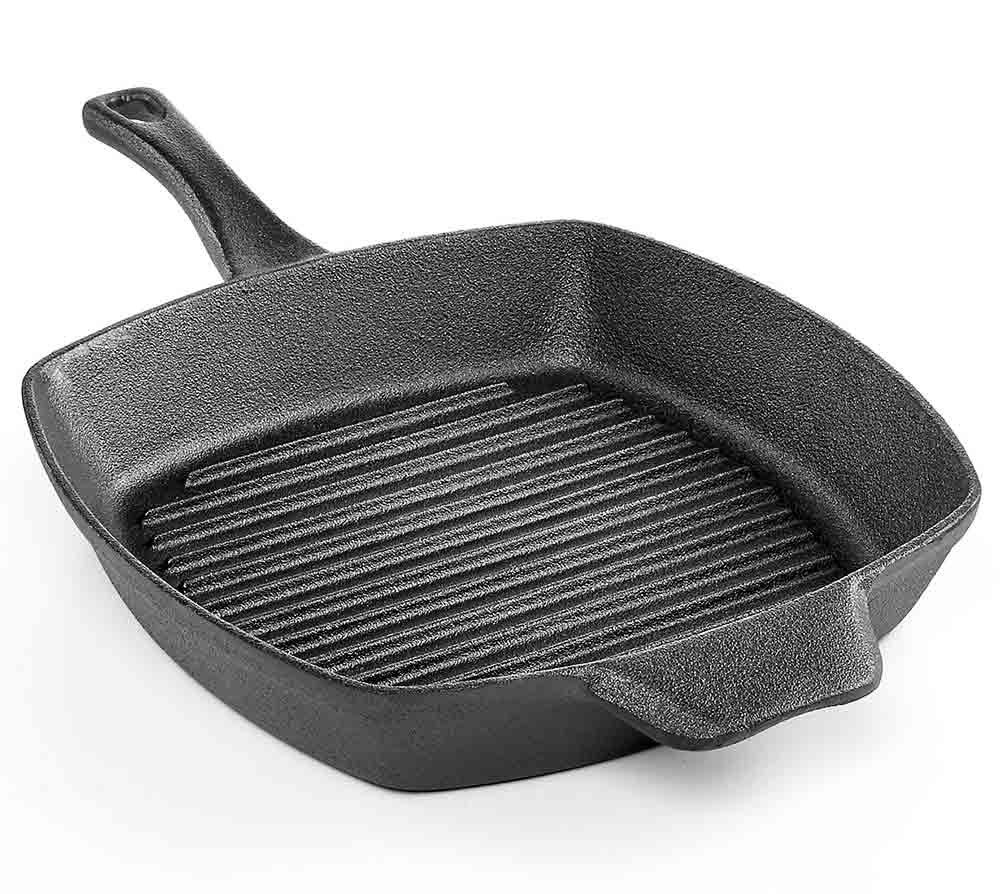
Calphalon Pre-Seasoned Cast Iron 10″ Square Grill Pan A must-have for indoor grilling. Like the classic skillet above, this cast iron grill comes pre-seasoned and ready to cook. The stick-resistant interior prompts powerful heating & effortless food release. Contoured handle & oversized helper handle. Black matte interior masks staining. Stovetop, oven, and broiler safe. Lifetime warranty. $42.99
Our very clever, very clothed Never Cook Naked columnists are at your disposal, able to troubleshoot everything from questionable table etiquette to tricky cooking techniques (as well as, natch, proper cooking attire). Curious to learn more solutions to culinary conundrums? Just ask! Drop us a comment below.


David, what about restoring cast iron? I have some wonderful pans that were stored a long time and have a bit of rust here and there. And also, some have ancient, thick icky stuff, mostly on the outside. What I can I do to restore them? I know how to season them but not how to get them ready for that process.
Valerie, sure!
1. Pull out some steel wool or a metal scrubbie and go at it to remove any last bit of grime, food, and rust.
2. Wash the pan in warm water–you can use soap at his point.
3. Dry the pan.
4. Coat the pan–top and bottom–with a thin film of vegetable oil.
5. Slide foil on the bottom rack of the oven–not the floor. Place your pan face down on the top rack.
6. Crank the heat to 350°F.
7. “Bake” your pan for 1 hour. Let it cool completely in the oven.
8. Do a little jiggy dance!
Great article!
Question: should this be applied to dutch ovens?
Thanks LC crew!
Seth, absolutely–as long as they’re cast-iron!