
Jump To
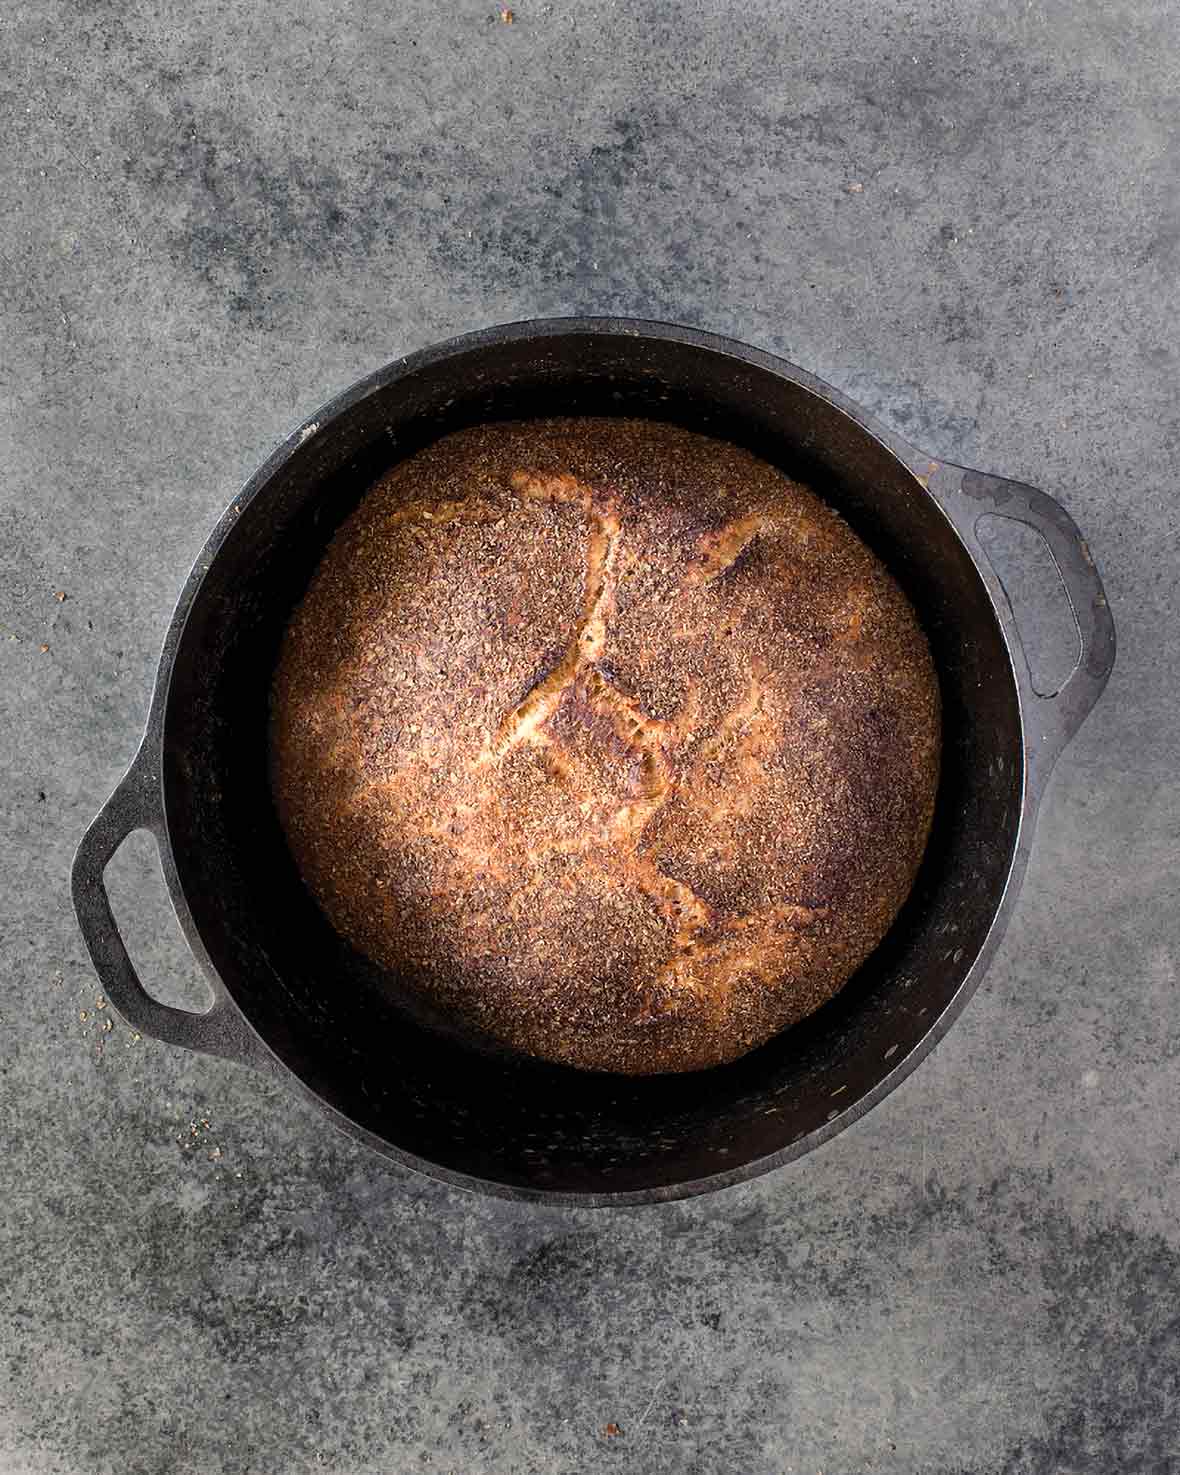
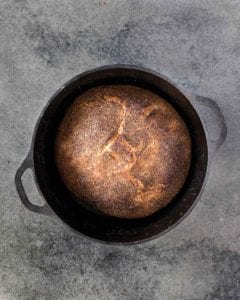
No-knead whole-wheat bread is a brilliant innovation that brings you healthfulness with ease. And that’s to say nothing of the nutty, not overly healthful taste. More of that, please.
Featured Review
Fantastic easy recipe. Soooo tasty with a delicious crust. If you have never made bread before this is a great starting point. Penny.
Storage & reheating
Room temp: I cut the loaf in half, turn the pieces cut-side down, and let them sit on a cutting board or counter up to two days. You can also store it in a tight red box or wrapped in a beeswax cover.
Fridge: Nope, nope, and nope.
Freezer: I always cool it completely. (That means… completely.) Wrap the loaf in foil, then in plastic, and slip it into your freezer. To defrost it, unwrap it and set it on the counter.
Reheating: Some bakers run their days-old bread under water before reheating. I think they run the real risk of over-soaking the loaf. Me, I generously spritz the bread then reheat in a 350°F (176°C) oven for about 10 minutes. This is a short-term resurrection, though. After a couple of hours, it’ll go back to its formal state. So spritz and reheat only what you’ll eat at that meal.
More no-knead bread recipes from Jim Lahey
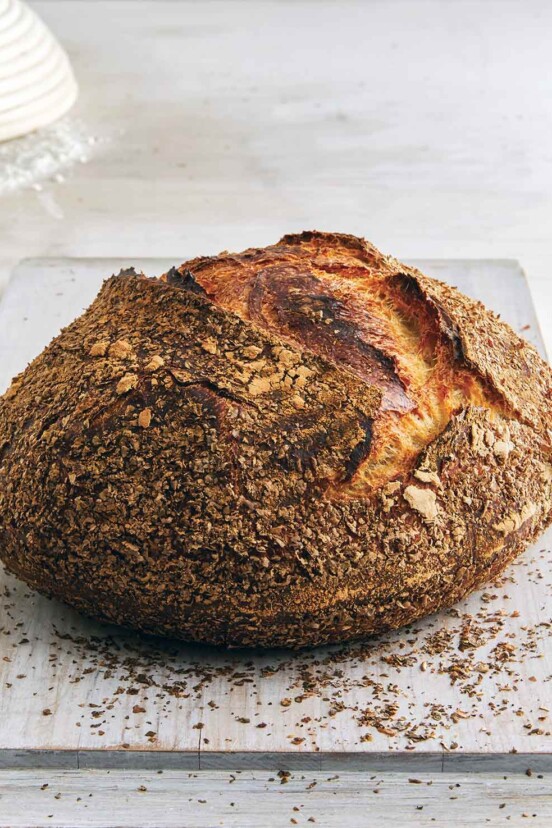
Jim Lahey’s No-Knead Sourdough Bread
1 d 11 hrs 40 mins

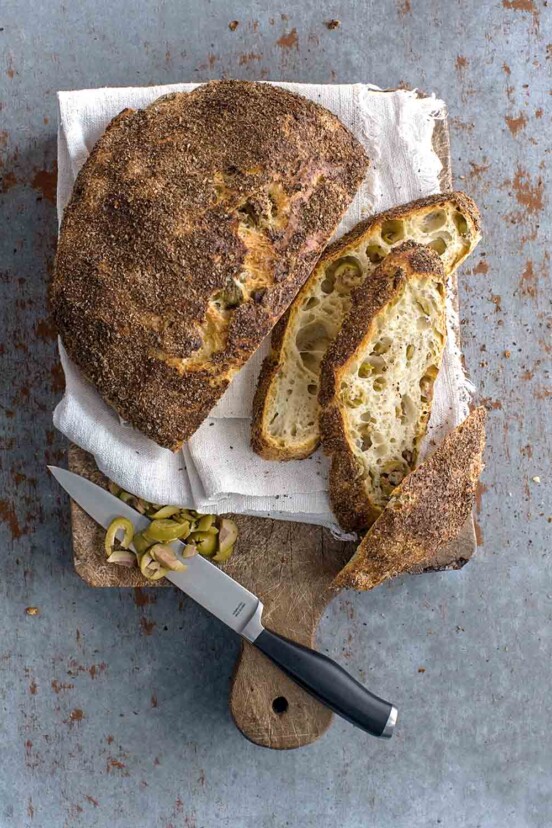
Jim Lahey’s No-Knead Olive Bread
15 hrs 15 mins

Jim Lahey’s No-Knead Bread
15 hrs 30 mins
Once you’ve mastered Jim’s simple hands-off magic, you might be itching to explore more variations. For a bit of tang, why not try a tangy, no-knead sourdough loaf with that signature Lahey lilt? Perhaps you’re craving something with more punch? These skinny little stecca baguettes studded with tomatoes, olives, or garlic are perfect for snacking. If olives are your utter reason for living, there’s his wonderfully savory olive bread that practically makes itself. For those seeking to get back to basics, Jim’s original OG no-knead loaf, which started it all, is the place to begin.
Write a Review
If you make this Dutch oven bread recipe, or any loaf of bread on LC, consider leaving a review, a star rating, and your best photo in the comments below. I love hearing from you.–David
Featured Review
So I have revisited this recipe a few times recently and have fallen in love with it again. Making a few each week. Consumes zero time, and it’s delicious. I have taken to 1 cup of whole wheat and 2 all-purpose, plus seed and nut add-ins. Currently, I have one in the oven with flax seed, sunflower seeds, crushed walnuts, and raisins. I added an extra 1/3 cup of water and dough still seemed a bit drier than without any add-ins… Very versatile!
Annerieke
Want to save this?
No-Knead Whole-Wheat Bread
Ingredients
- 2 1/4 cups bread flour, plus more for the work surface
- 3/4 cup whole-wheat flour
- 1 1/4 teaspoons table salt
- 1/2 teaspoon instant or other active dry yeast
- 1 1/3 cups cool (55 to 65°F | 13° to 18°C) water
- wheat bran, cornmeal, or additional flour, for dusting
Instructions
- In a medium bowl, stir together the 2 1/4 cups bread flour, 3/4 cup whole-wheat flour, 1 1/4 teaspoons table salt, and 1/2 teaspoon instant or other active dry yeast.
- Add the 1 1/3 cups cool (55 to 65°F | 13° to 18°C) water and, using a wooden spoon or your hand, mix until you have a wet, sticky dough, about 30 seconds.
- Cover the bowl and let it sit at room temperature until the surface is dotted with bubbles and the dough has more than doubled in size, 12 to 18 hours.
- Generously dust a work surface with flour. Use a bowl scraper or rubber spatula to scrape the dough onto the surface in 1 piece. Using lightly floured hands or a bowl scraper or spatula, lift the edges of the dough in toward the center. Nudge and tuck in the edges of the dough to make it round.
- Place a clean towel on your work surface and generously dust it with wheat bran, cornmeal, or additional flour. Gently place the dough on the towel, seam side down. If the dough feels tacky or sticky, dust the top lightly with wheat bran, cornmeal, or flour.
- Fold the ends of the tea towel loosely over the dough to cover it and place it in a warm, draft-free spot to rise for 1 to 2 hours. The dough is ready when it is almost double in size. When you gently poke the dough with your finger, it should hold the impression. If it springs back, let it rise for another 15 minutes.
- About half an hour before you think the second rise is complete, preheat the oven to 475°F (245°C). Adjust the oven rack to the lower third position and place a 4 1/2-to-5 1/2-quart heavy Dutch oven or pot with a lid in the center of the rack.
- Using pot holders, carefully remove the preheated pot from the oven and uncover it. Unfold the tea towel and quickly but gently invert the dough into the pot, seam side up. (Use caution—the pot will be very hot.) Cover the pot and bake for 30 minutes.
- Remove the lid and continue baking until the loaf is a deep chestnut color but not burnt, 15 to 30 minutes more. The bread is done when it registers 200°F to 210°F (93°C to 99°C) on an instant-read thermometer.
- Use a heatproof spatula or pot holders to carefully lift the bread out of the pot and place it on a rack to cool thoroughly.
- Slice and…sigh.
Notes
Jim Lahey’s No-Knead Whole-Wheat Bread Variation
Seeded Whole-Wheat Bread You can make this sturdy whole-grain loaf even more substantial–and satisfying–when you consider pretending you’re German and tossing in a handful of walnuts or maybe some pumpkin and sunflower sesame seeds when mixing the dough. Consider it bread that sprecheksn the Deutch. Slightly More (Or Less) Hearty Whole-Wheat Bread You can easily adapt this whole-wheat bread recipe to turn out loaves that are a little less hearty by tweaking the proportion of all-purpose to whole-wheat flours. The recipe currently offers a 3:1 ratio, but feel free to nudge it slightly up or down, making it closer to 4:1 or even 2:1 (all-purpose : whole-wheat) depending on how pale or dense a loaf you like.
Explore More with AI
Nutrition
Nutrition information is automatically calculated, so should only be used as an approximation.
Recipe Testers’ Reviews
Did you know only 68% of the recipes we test make it onto the site? This recipe survived our rigorous blind testing process by multiple home cooks. It earned the Leite’s Culinaria stamp of approval—and the testers’ reviews below prove it.

This whole-grain no-knead bread is so simple to make it has become my go-to bread recipe. (I rarely buy bread.) It has a chewy crust and a well-developed flavor.
When making bread with all whole-wheat flour and/or adding bran, I’ve found that adding about a tablespoon of any kind of sugar or syrup really helps jump-start the yeast; otherwise, it must sit for considerably longer than 12 hours to finish the first rise.
My favorite thing about this recipe is that it lends itself well to experimentation; I’m still trying to figure out which combination and proportions I like best!
This no knead whole wheat recipe makes it easy to turn out crusty loaves of chewy whole-wheat bread that will have you turning up your nose at supermarket bread in no time.
It also invites experimentation, begging to be tweaked with more or less whole-wheat flour and the addition of nuts and seeds (flax, sunflower, or pumpkin). Loaves of bread don’t last long in our house, so there are very few days now when we don’t have a bowl of dough rising on the counter.










David? I’m in!!! What about those of us who may have … gasp 🫢… leftovers? There’s only two of us in the household. What’s the best way to store the bread? Beeswax-lined cotton bread bag? Bread box? Also what is the best way to revive stale bread? What’s YOUR recommendation?
Valerie! You’re in. Marvelous.
And, well, you’ve caught something: there’s no storage note on that post at all. That’s a gap, and I’m going to fix it right after replying to you, so danke.
Here’s how I store and revive homemade artisan bread:
1. The counter, not the fridge. The fridge is the worst place in your kitchen for a loaf of bread. It’ll go stale in there faster than it would sitting out on the counter. It’s that in-between temp (think of it as a kind of bread limbo). The starch firms up quickest right around fridge-cold (~38°F/3°C). So, countertop or freezer, nothing in the middle.
2. Bread box or beeswax bag, your call—but not on day one. The beauty of this loaf (aside from it being wicked easy) is the crust, and any bag will soften it. For the first day or two, I just stand it cut-side down on the board. The One grew up with bread boxes, so that’s what we use, but a bag is fine. I found perforated bags that keep the bread soft and the crust crisp.
3. As it’s just two of you, freeze half the day you bake it. First let it cool completely. Then slice it in half. Wrap the extra in foil, then in plastic, and stash it in your freezer. It’ll keep for weeks and be about 90% as good as fresh. To defrost it, unwrap it and set it cut-side down on the counter.
4. To perk up a loaf that’s a day or two old, you need a hot oven and water. Some folks run the loaf under the tap for a second; I like to heavily spritz it. Then I slide it onto the rack in a 350°F (176°C) oven for ten minutes or so. And this isn’t a trick to fool your brain into thinking it’s fresh; heat does a damn fine job of softening those clenched starch crystals. Caveat: It’s not a cure, but rather a temporary fix, just long enough for you to enjoy it with your meal. That means freshening up what you’re about to eat, not the whole loaf.
And if a heel goes MIA for a bit, use it in this açorda de mariscos or my white gazpacho with crab. Chow!
I’m delighted with your very thorough response! Yay!! I’m going to fearlessly jump right in. Thanks for all you do!
Yabba dabba do! Please report back with pictures. Chow.