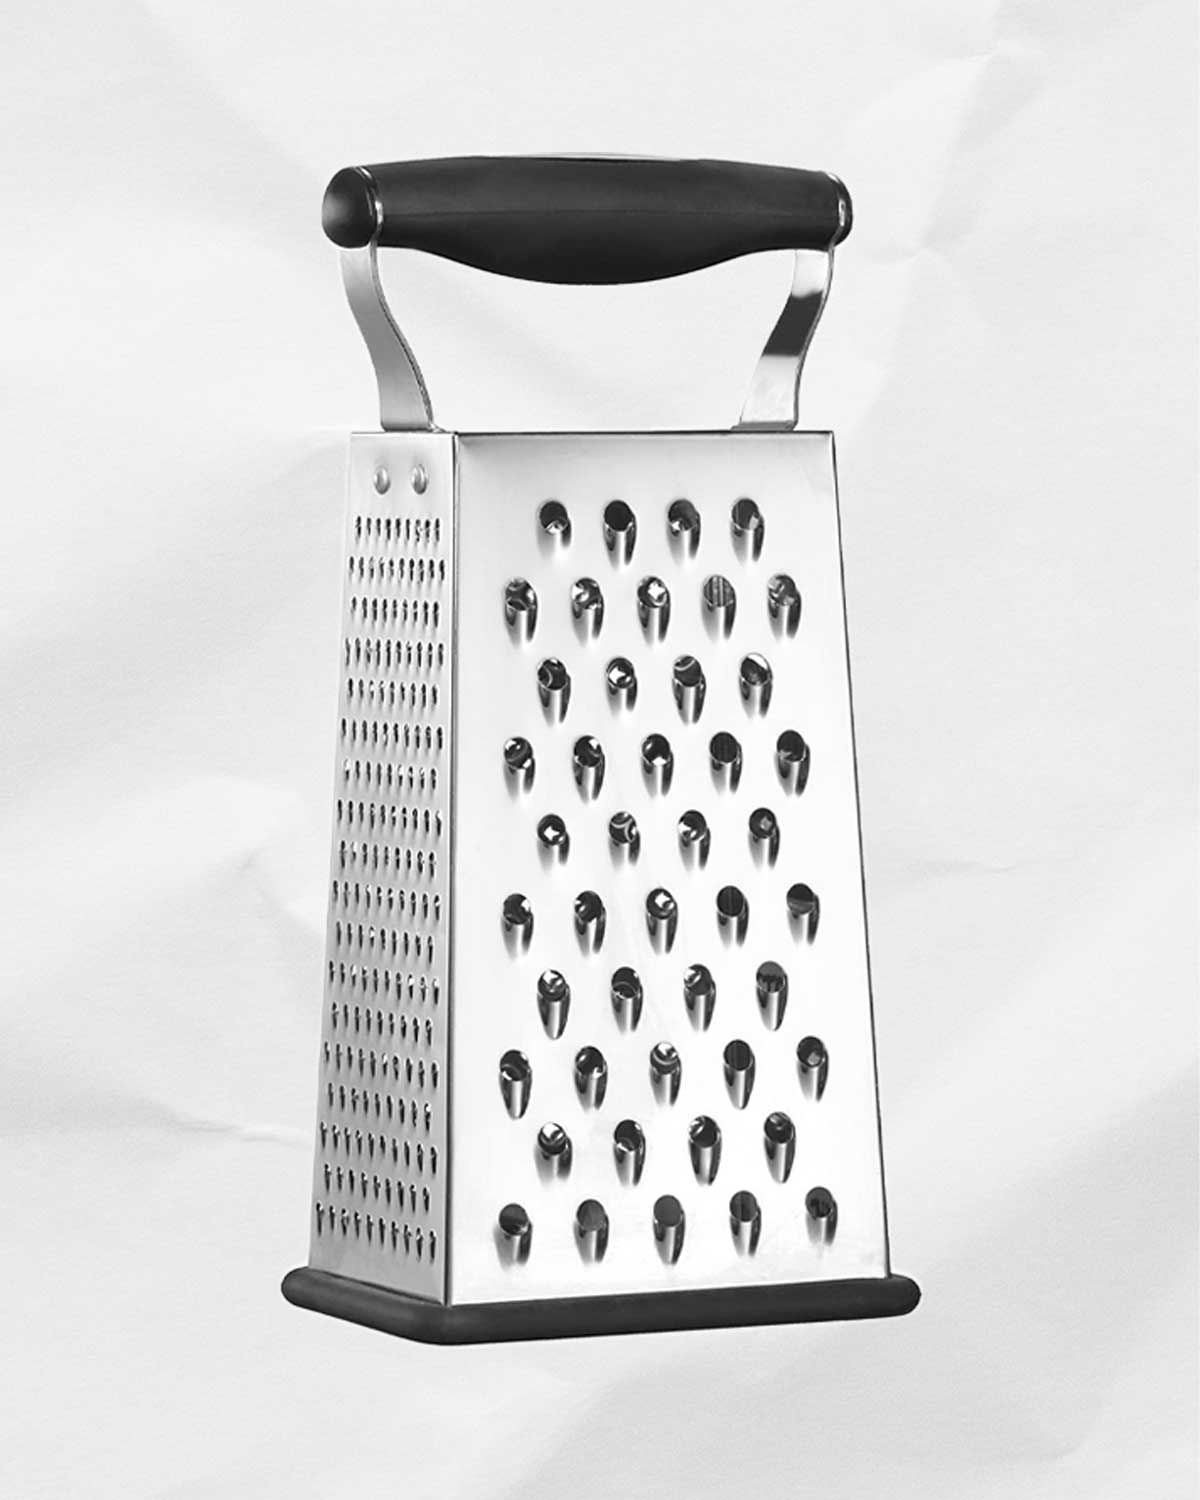
However, box graters almost never come with instructions. As a result, they’re often relegated to shredding cheese on their coarse side and nothing else and we’re left wondering whether it’s really worth the space it takes. Time to rinse them off and bring them back to everyday use. Here’s how.
Coarse grating side
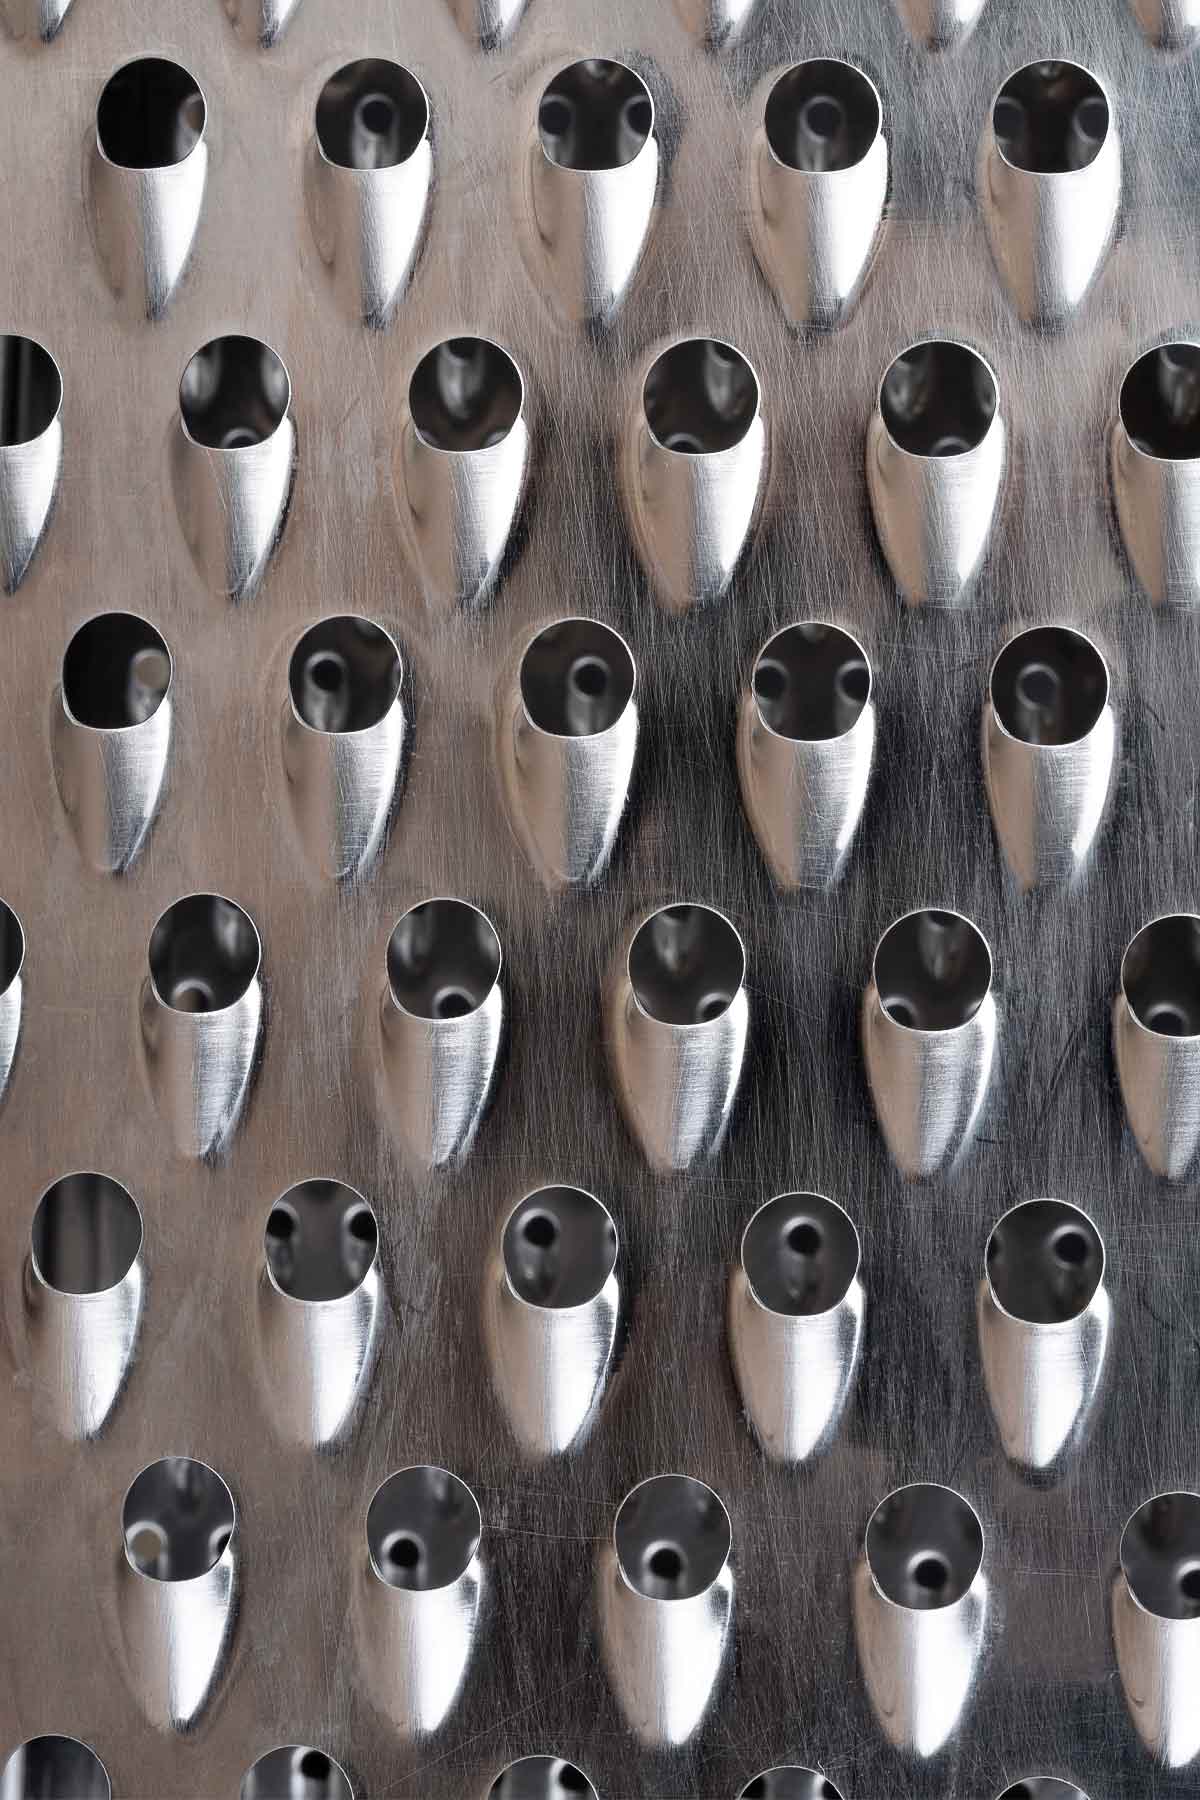
This is probably your old standby and certainly the most commonly used side of the box grater. (Have you ever found a cheese you didn’t like?!) These holes produce tapered shreds that are thinner at the ends, which results in faster and more even melting of cheese than their industrially produced shredded counterparts.
Fortunately, these large holes serve a great many other purposes beyond facilitating our copious mac and cheese consumption. Apart from also shredding potatoes for hash browns, you can grate zucchini for quick breads, fritters, zucchini slaw, and old-fashioned zucchini cake. Or turn your bumper crop of tomatoes into a quick weeknight tomato sauce.
Tester Tip: If you need to shred a mountain of softer cheeses, pop the cheese in the freezer for about 10 minutes to firm it. Then, give the coarse side of your grater a quick spray with a nonstick cooking spray. This reduces friction and makes your work (and cleanup) a whole lot easier.
Fine grating side
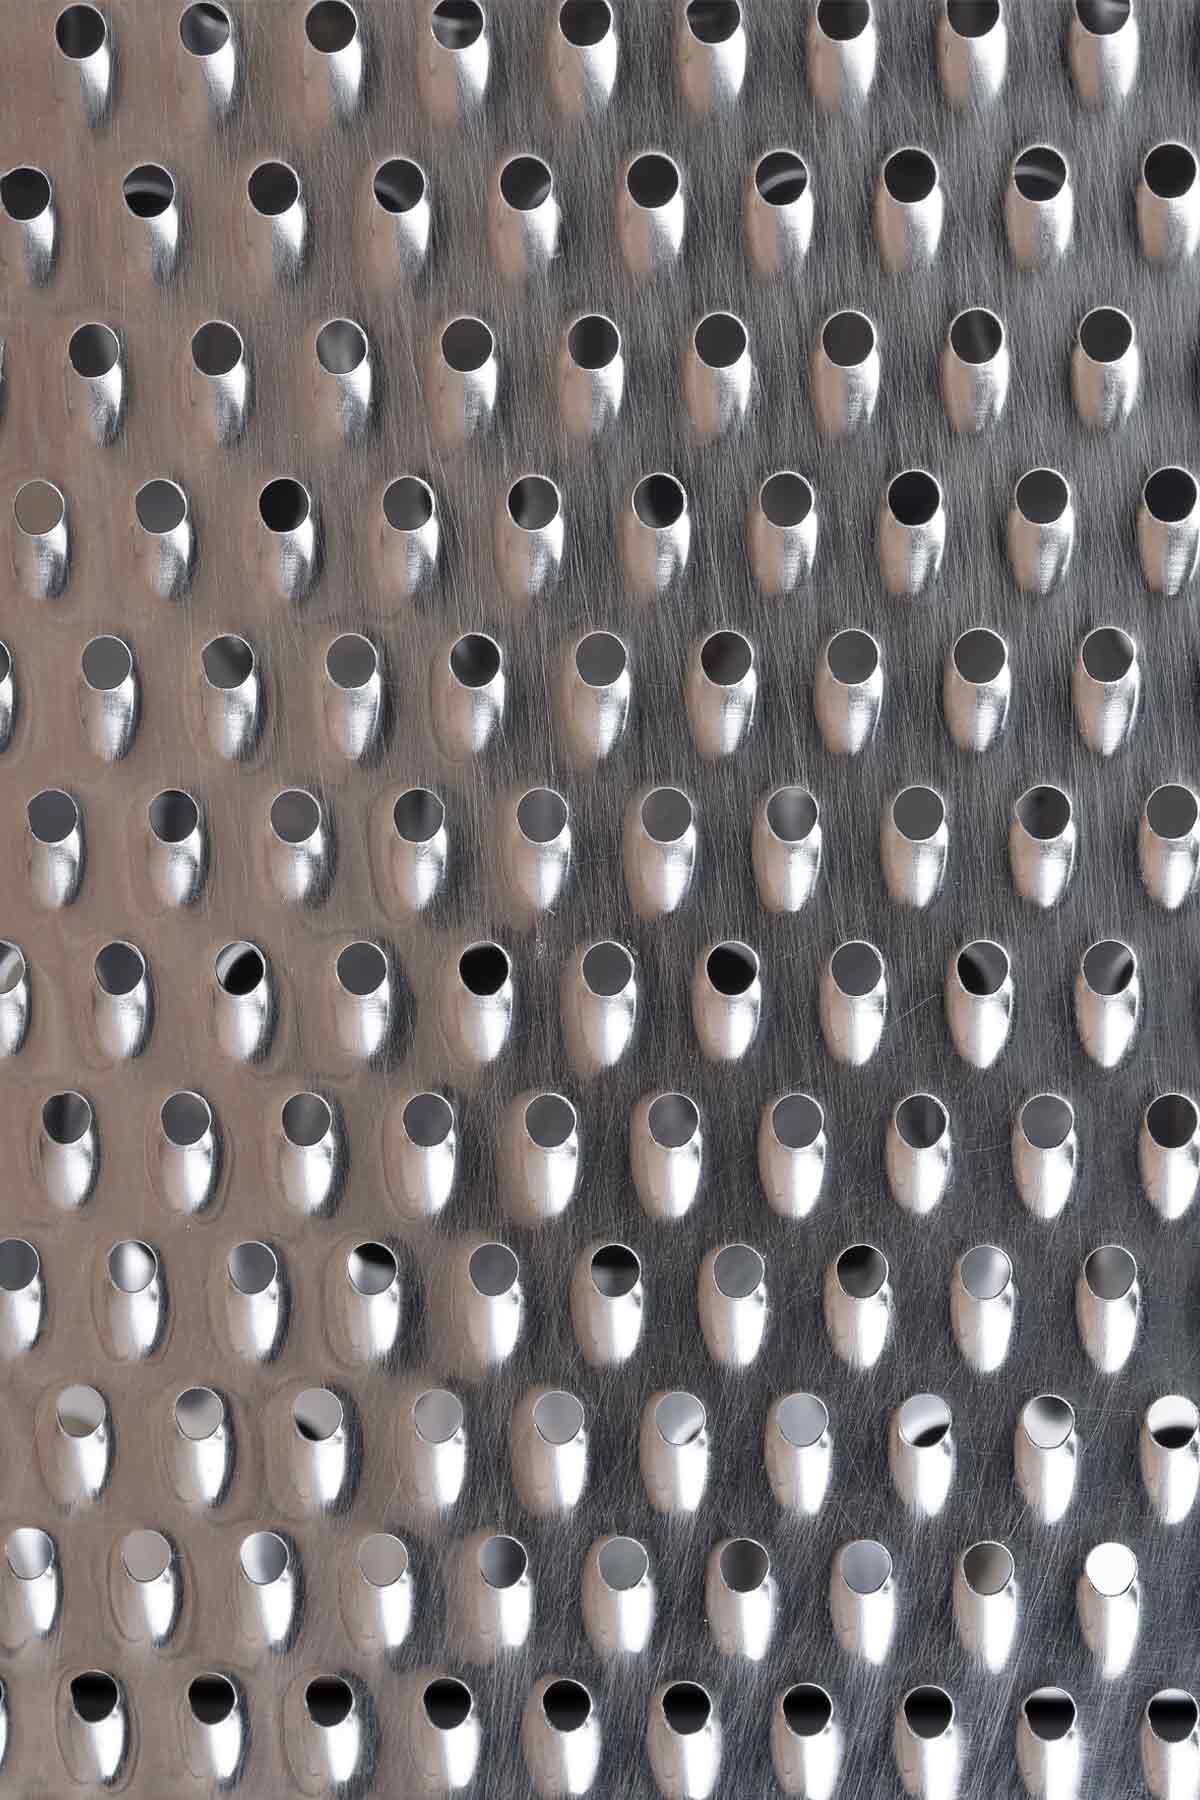
This side behaves just like the coarse side you already know and love, only with smaller holes. We like to think of this as our “finishing cheese” side, where we turn to get the light, lofty shreds that grace our finished pastas. You’ll achieve the best results from firmer aged cheeses here, such as Cheddar, Grana Padano, and Manchego.
Additionally, when grating something for a dish in which you don’t care for the rustic appearance of the larger shred, carrots and zucchini perform equally well here. Good things come in small packages.
Cheese planer side
Want to save this?
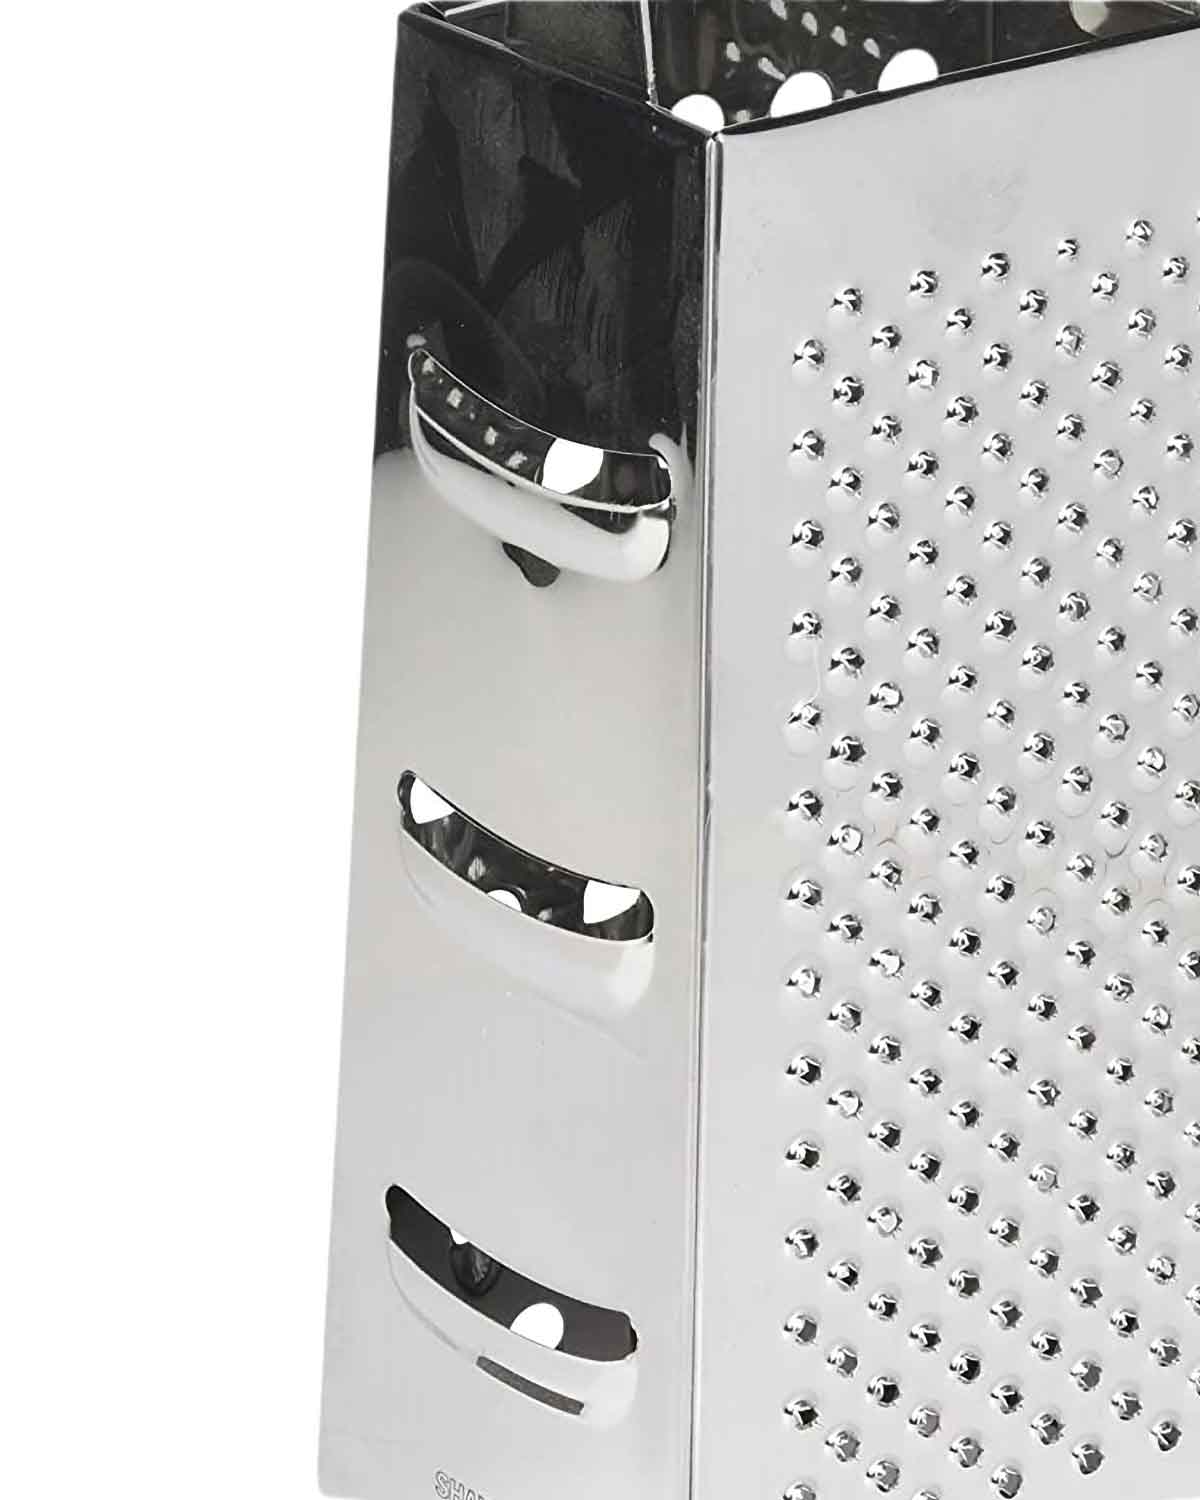
Usually featuring one to three wide cuts, this side is your go-to for making those fancy cheese shards to drape across salads or those elegant chocolate shavings for desserts.
While it’s possible to slice semi-soft produce here (including potatoes, zucchini, cucumbers, summer squash, and eggplant), we caution you to proceed at your own risk. Box graters often aren’t sharp enough to do this exceptionally well, and can result in injury trying to force produce through them that isn’t meant for it. Best to stick to your mandoline, food processor, or knife skills for all these slicing needs.
Zester side
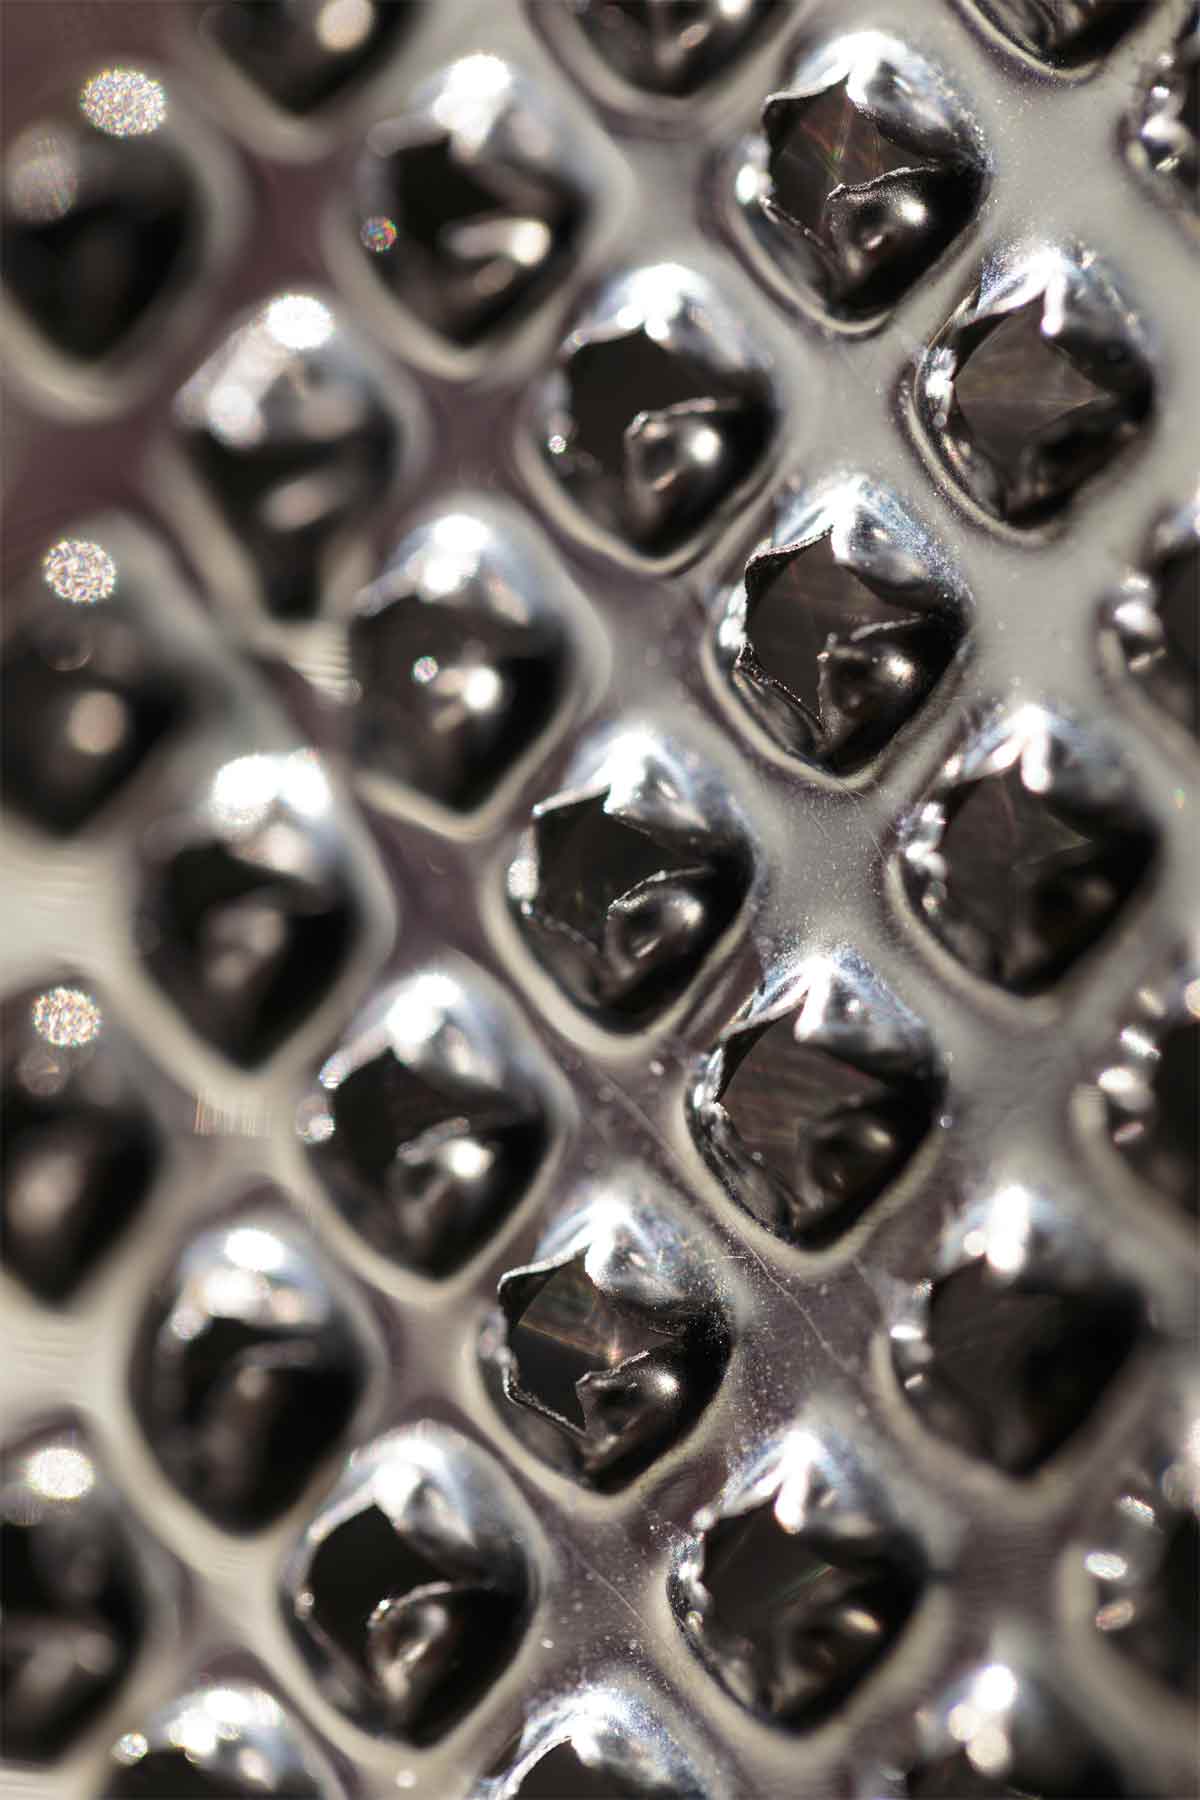
You might have steered clear of this side because it looks like something pulled from a medieval torture dungeon. Yeah, we used to be scared of it, too, although once we understood the mechanics of those little protuberances, we’ve never looked back. Unlike all the other faces, the goal of this side is not for food to pass through to the inside, but to be torn with abrasion right on the front. By passing a wedge of Parmesan across its surface, the friction with the spiky knubs breaks the cheese into the coarse snow you expect from the stuff labeled “grated Parmesan” you’ll find at the supermarket. Sometimes a little cheese will get stuck between the spikes, but all it takes are a few little love taps to shake it loose.
You’ll also find this side to be just as useful when you need a dusting of nutmeg or cinnamon. While this side is also known for zesting citrus, we love our Microplane rasps and will never go back.
What to look for in a box grater
Most people don’t pick their box graters, rather the grater picks them in the form of a housewarming present, a wedding gift, or a hand-me-down. In other words, you get what you get. So we’re of the opinion that the best box grater is the one you don’t have to buy yourself. However, if you lost yours or never received one, there are a few key things to look for.
You want a box grater with stability, where the base can sit firmly on your counter with a solid hand grip on top. Sometimes they can have rubber reinforced bases to help with grip so the grater won’t move around on you while you’re working, which is sorta essential if you like the skin on your knuckles to remain intact.
You’ll also want to make sure it’s made of stainless steel so it doesn’t rust.
Some box graters come with little collection cups on the underside, but oftentimes these make them wobbly and less stable.
A couple of our favorite box graters
If you’re someone who probably will only use your grater once a month or so, this straightforward model will likely do all you’ll ever need.
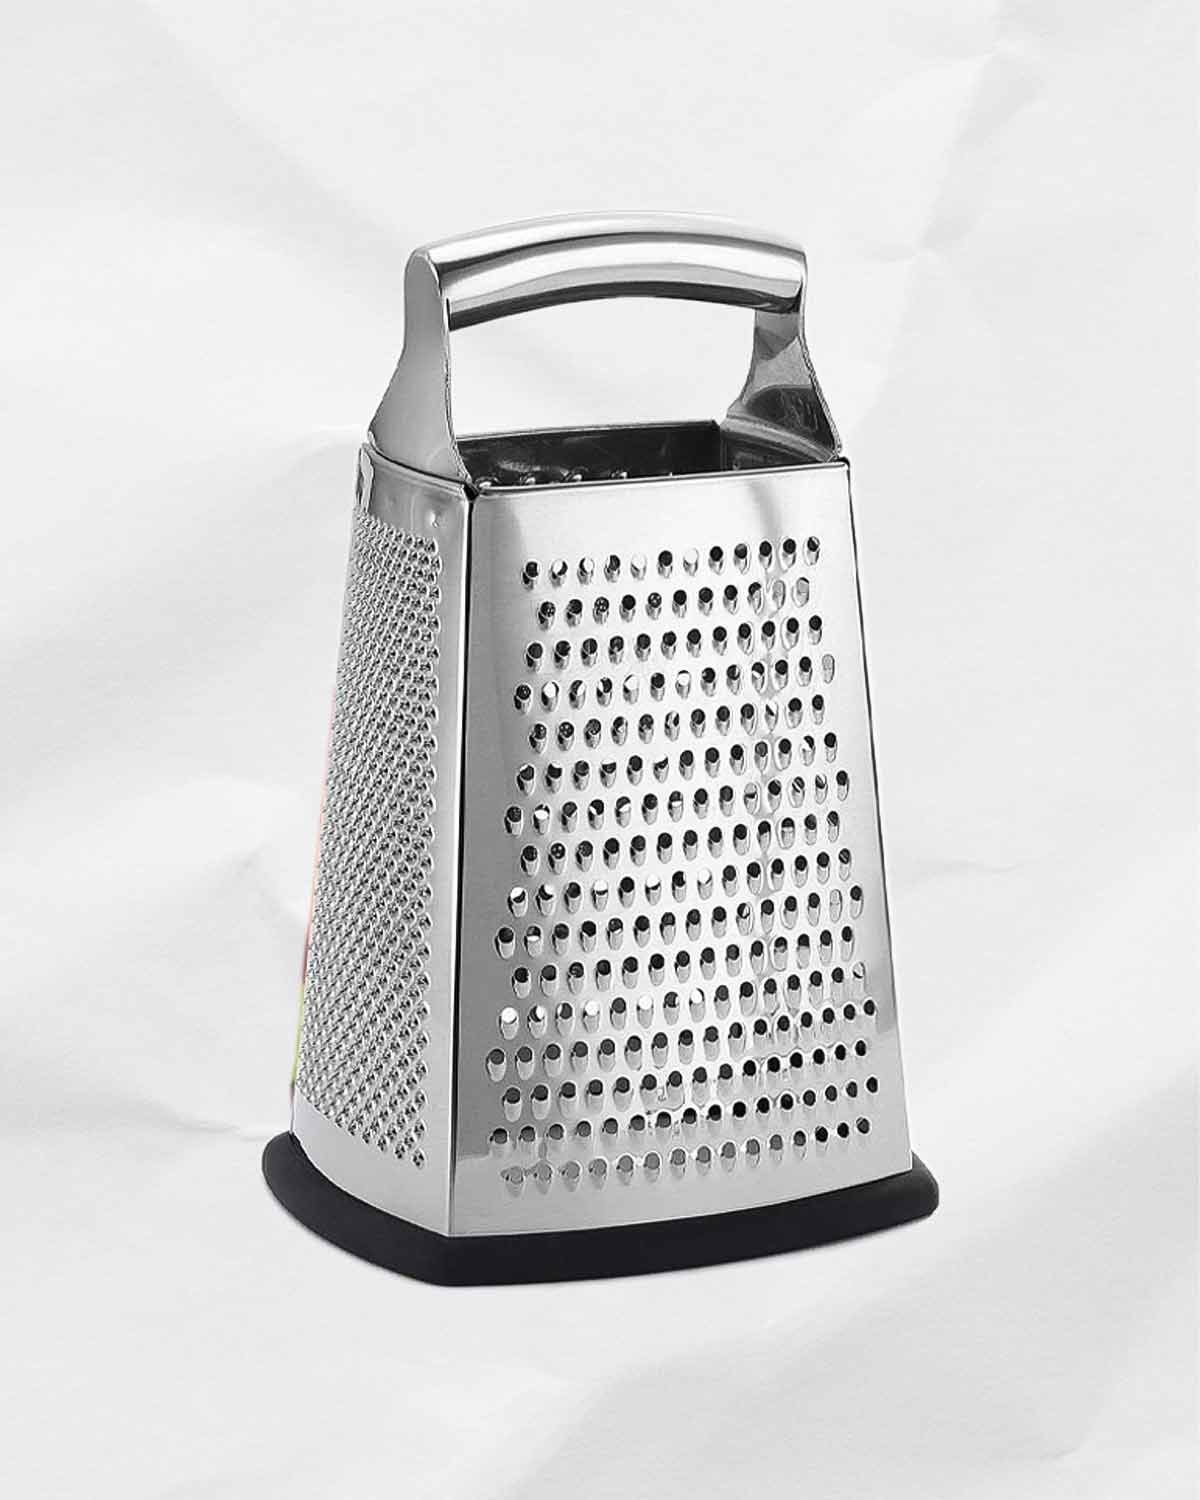
However, if you’re someone who plans to use it all the time, this Cuisipro model offers convenient additional features to make the job easier, such as grooves to help guide your food across the grating surfaces, markings to track how many cups of shredded cheese have built up inside, and a sturdy base that doubles as a detachable ginger grater.


That star side is not a zester, zesters look and are designed like the fine grating side (opposite the standard grater end)
Mike, I can see your point. I might be showing my age here, but before, there were dedicated zesters (I’m talking the 70s and 80s), and the star grater was all we had. It was used for grating hard cheese and fruit.