Why altitude matters when baking
Baking at high altitude is a piece of cake, said no one ever. That’s because recipes developed at sea level (which is pretty much every recipe developed for magazines, cookbooks, and most blogs) can function differently at high altitude.

If you’ve ever baked at high altitude, then you’re likely no stranger to flat cookies, collapsed cakes, and dry baked goods. Trust me when I tell you that you are not alone. For someone who grew up baking at high altitude and has made somewhat of a career out of it, I still have baking failures. Unfortunately, it’s just part of the game.
High altitude affects more than just baking, too. Something as simple as making rice can be frustrating, as it needs more liquid and cooking time the higher in elevation you go. Soups seem to soak up liquid faster than you can add it, and many casseroles and big pieces of meat can take longer to cook through.
Don’t be discouraged, though. Understanding why recipes turn out differently at high altitude is half the battle. Once you understand the “why”, the adjustments will make more sense, and the more you cook and bake, the more confident you will become.
What is Considered “High Altitude”?
Anything above 3,500 ft (1,070 m) is technically considered “high altitude.” In my experience, you don’t really start to see the effects until you get closer to 6,000 ft (1,830 m). Without getting too technical, let me try to break down why cooking and baking at high altitude is different than at sea level.
Why are Cooking and Baking Different at High Altitudes?
The main reason for kitchen failures at high altitudes is due to the lower atmospheric pressure. As altitude increases, atmospheric pressure decreases. And decreased pressure affects recipes in three major ways:
- Liquids boil at lower temperatures
- Moisture evaporates faster
- Leavening gases expand more rapidly
Want to Save This?
These changes can affect your food and cooking in a variety of ways.
Have you ever tried to cook anything in boiling water at high altitude? It. Takes. Forever. That’s because the boiling point of water decreases about 1°F (0.6° C) for every 500 ft [155 m] of gain above sea level, and that lower temperature means longer cooking. At high altitude, any foods cooked in liquid take longer.
Because there is excess evaporation at altitude, you may need to add extra liquid when cooking foods in water or stock. Moisture evaporation also has many ramifications on baked goods. They can be prone to sticking, and sugar becomes more concentrated. Some quick breads and cakes don’t set, or by the time they do, they’re too dry.
When gas bubbles expand too quickly, baked goods rise before they can stabilize, which results in unstable baked goods. Often, that leads to collapse.
How Do I Adjust for High Altitude?
My home kitchen sits just below 7,000 ft (2,135 m). And our “ski condo,” where we escape to on the weekends, is at 8,200 ft (2,500 m). Many of my private chef clients live at elevations of up to 9,000 ft (2,745 m). I’ve had a ton of experience cooking at altitude, so I can tell you, without a doubt, that there are no hard and fast rules when it comes to adjusting recipes for high altitude. I have a set of guidelines that I turn to when something goes awry. Success in the kitchen comes from playing around and often adjusting a recipe a few times until you get it right! With baking, I start by making one or two adjustments—usually decreasing sugar and leavening—and go from there. If you’re having difficulties with a recipe, use the following tables to troubleshoot.
A Guide to Baking and Cooking at High Altitudes
Here’s a quick, downloadable guide to everything you need to know about baking and cooking at high altitudes. [Download here.]
Baking at High Altitudes
| How to Adjust | Why | |
|---|---|---|
| Oven Temperature | Increase the oven temperature by 15 to 25 percent and decrease baking time by 5 to 10 minutes per hour of baking time called for. | Evaporation happens more quickly at altitude, so the idea is that a higher oven temperature will stabilize the structure more quickly. Therefore, baking at a higher temperature means the baked goods will be done more quickly. |
| Eggs | Be careful not to overwhip eggs when incorporating them into baked goods. Always use large eggs. Sometimes I’ll even use extra-large. | Overbeating the eggs creates too much air, which lends to an unstable structure. Eggs add extra moisture and protein, which helps stabilize baked goods. |
| Flour | Add 1 to 2 tablespoons more flour per 1 cup [140 g] called for. | Additional flour can help strengthen the structure of a baked good. |
| Leavening | Decrease baking soda and/or baking powder. I recommend using 1/8 teaspoon less per 1 teaspoon at 4,000 to 6,000 ft [1,220 to 1,830 m], 1/4 teaspoon less per 1 teaspoon at 6,000 to 7,500 ft [1,830 to 2,290 m], and 1/2 teaspoon less per 1 teaspoon at 7,500 to 9,000 ft [2,290 to 2,745 m]. | Leavening is what gives baked goods their poof/rise! Leavening agents are more powerful at higher altitudes, and if baked goods rise too quickly, they fall. Decreasing the leavening allows for a more stable rise. |
| Liquid | Increase by 1 tablespoon per 1 cup [240 ml] called for at 3,000 ft [915 m]. Add an additional 1/2 tablespoon for each 1,000 ft [305 m] in elevation gain. | Extra liquid prevents baked goods from drying out due to higher oven temperatures and excess evaporation. |
| Sugar | Decrease by 1 to 2 tablespoons per 1 cup [200 g] called for. | Sugar concentrates at higher altitudes, which can weaken the structure of what you’re baking. |
| Yeast | Keep an eye on rise time, as you’ll likely need to do a shorter proof. Move the dough to a cooler spot in the kitchen to slow down the rise. You could also try decreasing the amount of yeast called for by 10 to 15 percent. | Yeast doughs rise more rapidly at high altitude. Good flavor is dependent on a full rise, so adjust to ensure you get a good rise! |
Cooking at High Altitudes
| How to Adjust | Why | |
|---|---|---|
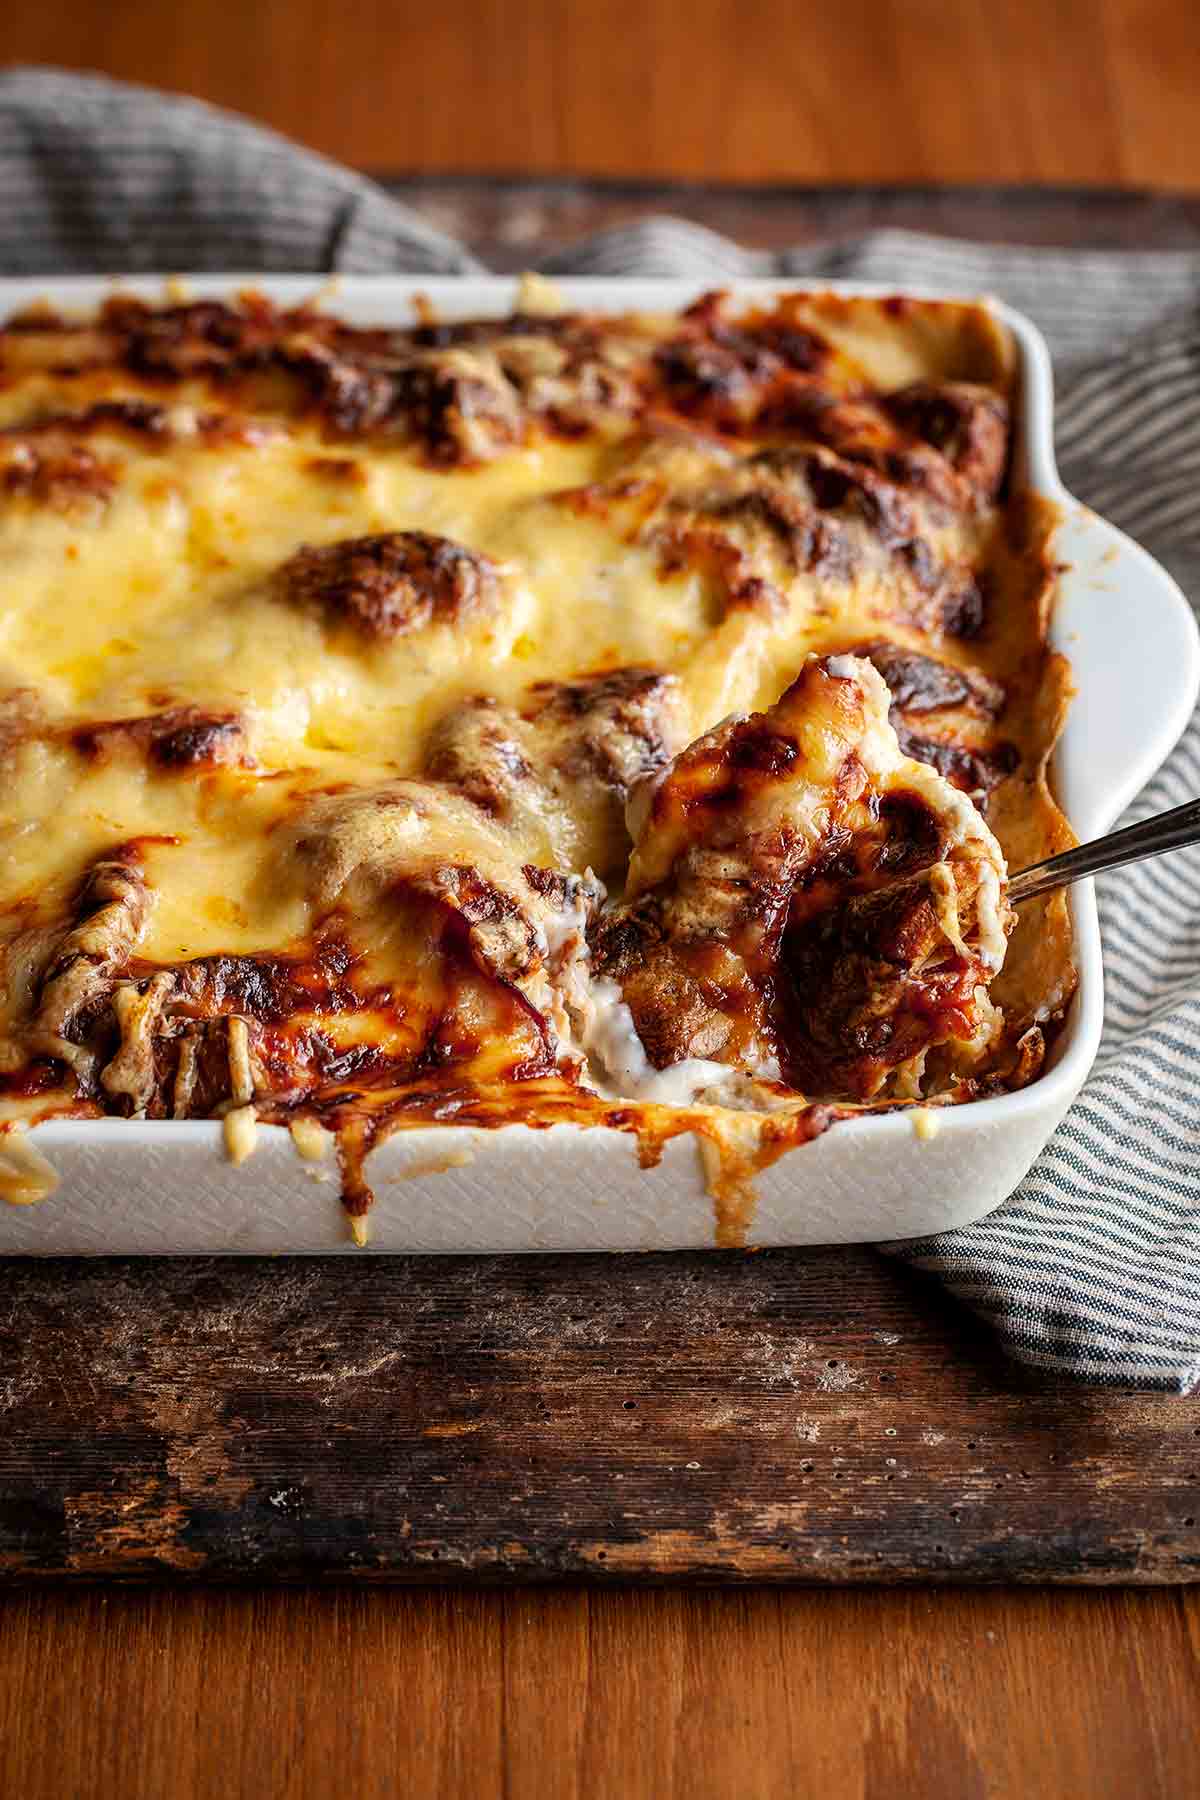
| Casseroles | Add a few minutes of extra cooking time and keep covered for the majority of the cooking time. | This compensates for the additional time it takes for the food to cook through, and covering helps keep food from drying out. |
| Grilling | Avoid direct heat for too long. Baste meat during the last 5 to 10 minutes. | This prevents food from drying out. |
| Meat | Add up to 25 percent more cooking time than called for. A food thermometer is key. Test often so you don’t overcook. | Food takes longer to cook at altitude—especially large cuts of meat. By monitoring the interior temperature with a thermometer, you can avoid overcooking and drying out the meat. |
| Oats | Use quick oats, or if using old-fashioned oats, give them a rough pulse before using in baking recipes. | Old-fashioned oats tend to dry out baked goods, as they absorb more liquid. |
| Pasta | Add 10 to 15 percent more cooking time than the recipe calls for. | Pasta takes longer to cook, as the boiling point is lower. |
| Rice | When making rice, add 15 to 20 percent more liquid and cook for a few minutes longer than called for. | This additional time allows for the rice to cook through and counteracts the excess evaporation that happens at high altitude. |
| Soups, Stews, and Chilis | Add 10 to 20 percent more liquid than the recipe calls for. | The additional liquid compensates for rapid evaporation. |


Thank You so much for the Valuable information. I live at approximately 5,000 ft above sea level and am learning by practice and error. I appreciate the the advice so I can avoid MORE errors. Best to you ❤️
Cynthia, you are MORE than welcome. Living at sea level all my life, I never encountered the difficulty of high-altitude cooking and baking, but I do know it’s daunting.