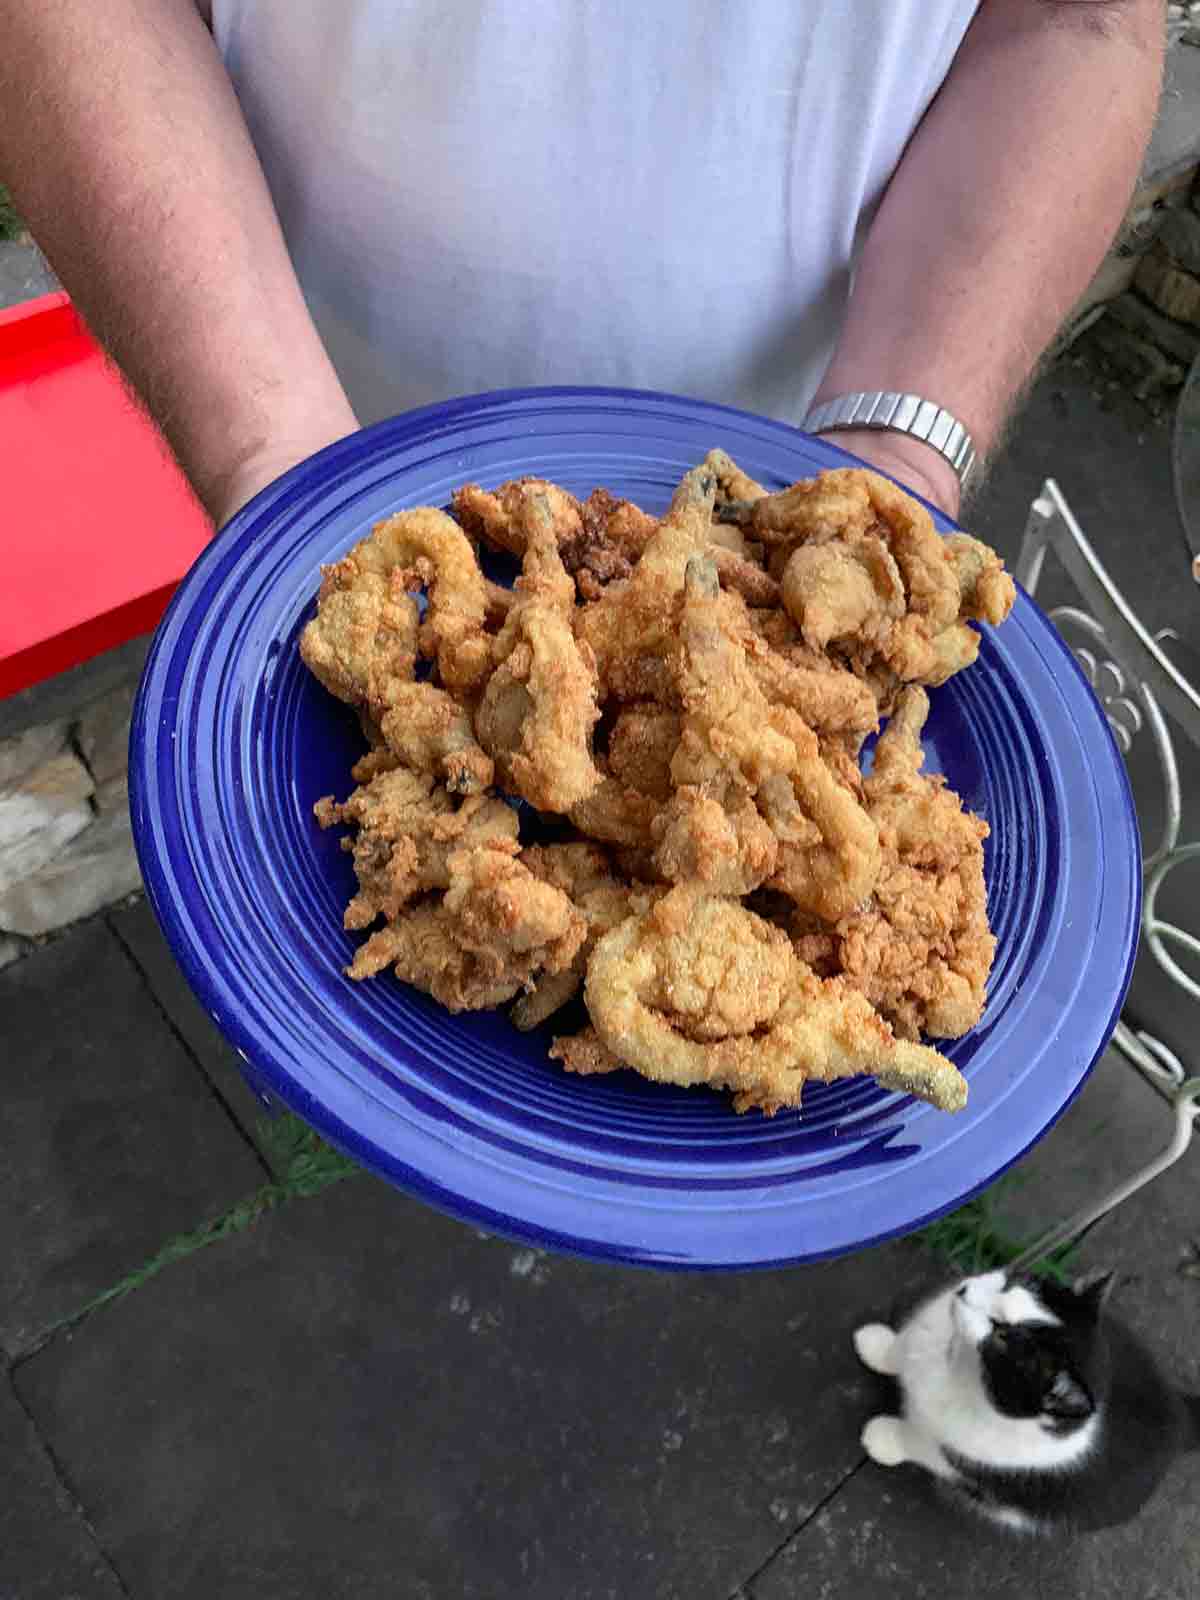
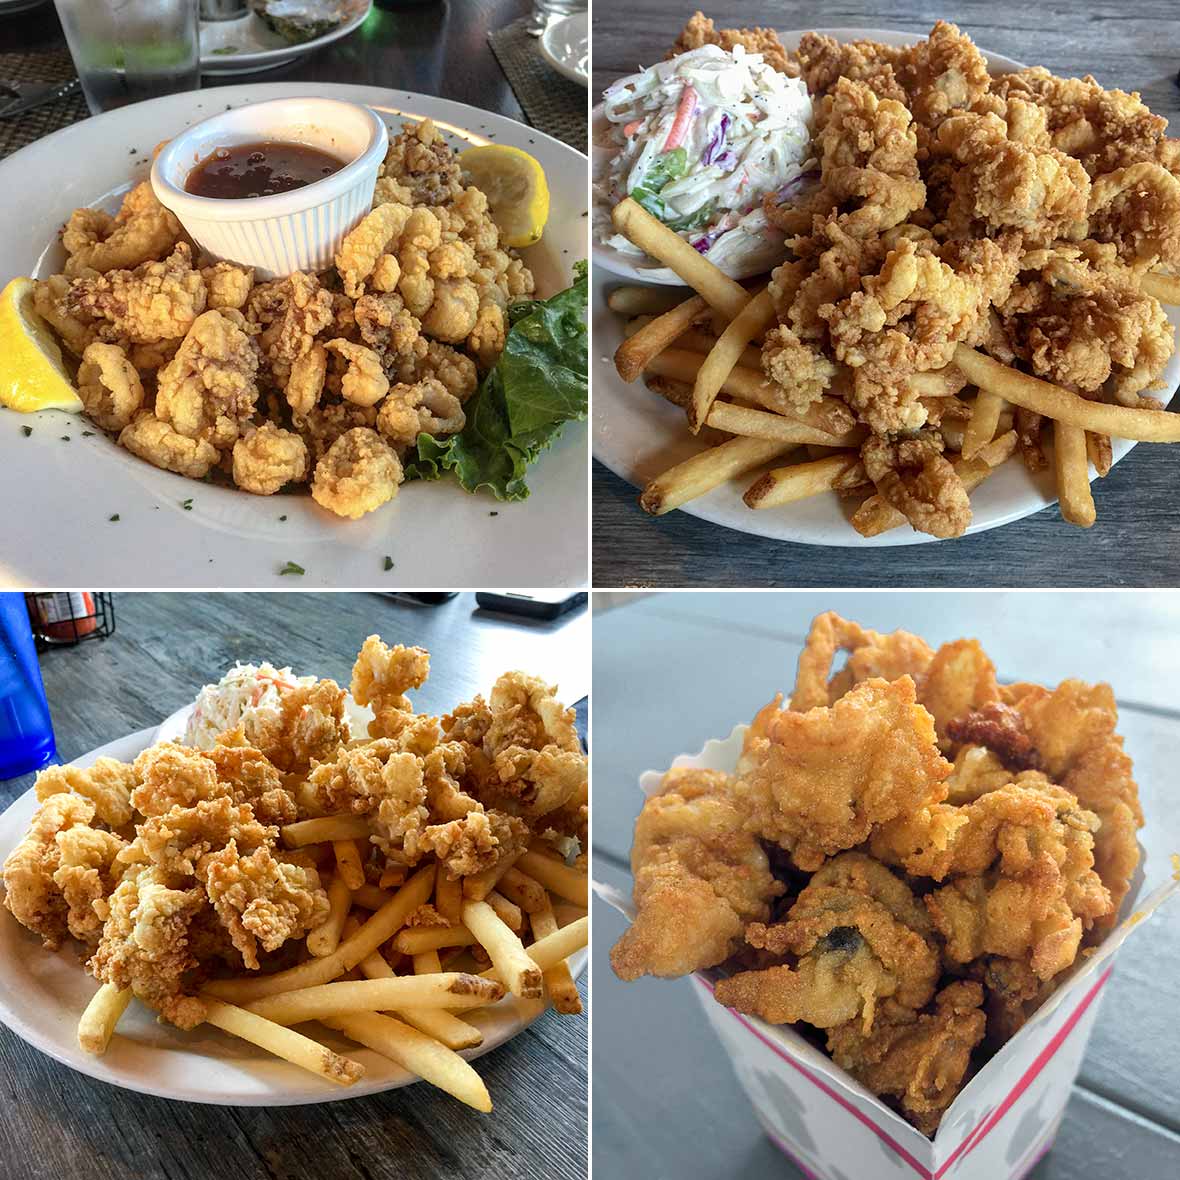
I’ve made no secret of my absolute addiction to fried clams—especially clam shack-style fried clams with big, luscious, profane whole bellies. I remember going as a kid to Macray’s, a local clam shack in Westport, MA., several Sundays during the summer. There my parents, grandparents, godparents, cousins, and I dove into pints of deep-fried oceanic goodness. My only regret as I tapped the last bits of crumbs from the greasy red-striped box into my mouth was that we couldn’t make them at home. That little snag meant this treat would be relegated to the hot, steamy days of a New England summer.
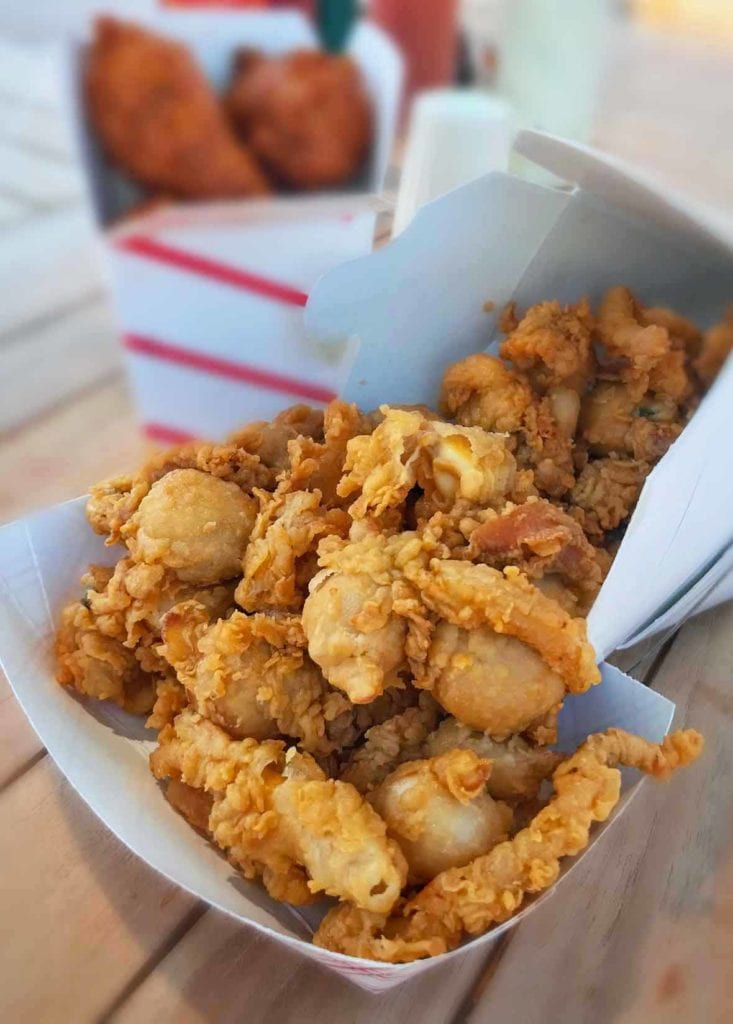
That is until I learned to shuck steamer clams at home. It’s a simple process of dipping the clams in boiling water for several seconds, which helps pop the shells but doesn’t cook the meat. The clams are then dumped into cold water. Then it’s a matter of taking a knife and releasing the clam from its shell.
When I made this recipe, adapted from the great Jasper White, I was tempted to doctor up the coating mix with all kinds of herbs and spices. (Yes, for a moment I thought of myself as the Colonel Sanders of Seafood.) “The secret to fried clams,” says Chickie Aggelakis, owner of The Clam Box in Ipswich, Mass., “is the flavor of the clams.” The coating and its crunch protect the tender belly meat. Mucking it up with spices—which is hard to resist—should be avoided at all costs.–David Leite
Want to Save This?
Clam Shack Style Fried Clams FAQs
Alas, no. Canned clams are fully cooked and therefore would fall apart. Plus, they’re tiny. You want large steamers for fried clams.
Again, no. Littlenecks and cherrystones are different types of clams. They’re chewier and don’t have the same texture and taste as steamers
Steamer clams are also called soft-shell clams, Ipswich clams, and Maine clams.
Corn flour is essentially very finely milled cornmeal made from the entire kernel of corn—the germ, the bran, and the endosperm. Corn meal—whether coarsely ground, medium grind, or finely ground—is not an acceptable substitute due to the textural difference. However, masa harina, which you can find in the Latin section of most supermarkets, is a perfectly fine swap.
A caution to our friends the Brits and Aussies and Canadians. We understand that in your corners of the world, “corn flour,” or rather “cornflour,” is synonymous with “cornstarch,” but that’s not what we’re talking about here. Cornstarch is ground from only the endosperm of the corn and makes a lousy coating for fried clams. Trust us.
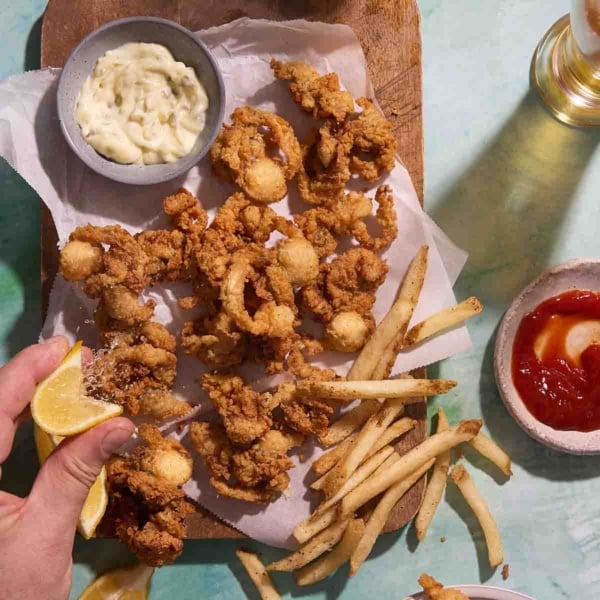
Clam Shack-Style Fried Clams
Video
Courtesy: Capt. John’s Bar in Maine
Equipment
- Deep-fry or candy or instant-read thermometer or an electric deep fryer, a wire-mesh skimmer or a pasta basket, a pair of tongs
Ingredients
For the New England style fry mix
- 1 cup corn flour, (not cornmeal; see FAQ above)
- 1 cup all-purpose flour
- 1 teaspoon fine sea salt or table salt
- 1/2 teaspoon freshly ground black pepper
- 1/4 teaspoon cayenne pepper
For the clams
- 1 1/2 pounds of shucked whole belly steamer clams
- About 6 cups peanut, canola, or other vegetable oil, for deep-frying
- 1 cup buttermilk, (either low-fat or full-fat)
- New England-Style Fry Mix, (above)
Instructions
Make the New England style fry mix
- Combine the flours, salt, and both peppers in a large mixing bowl and mix well. You’ll have more than you need for this recipe, so whatever is left over you can store in an airtight glass container in the refrigerator for several weeks or more.
Fry the clams
- In many cases, you'll be frying in batches to avoid the problems that can happen if you overcrowd your fryer. In anticipation of this, line a baking sheet with a clean brown paper bag, and preheat the oven to 250ºF (121°C).
- Heat 3 inches of oil to 375°F in a 4- to 5-quart Dutch oven over medium heat or in a deep fryer.
- While the oil is heating, pour the buttermilk into a large bowl, and put the fry mix in another. Drop the clams into the buttermilk and stir gently. Using a wire-mesh skimmer or a slotted spoon, carefully lift up a small batch (in this case, about half of the clams you're frying), allowing the excess buttermilk to drip back into the bowl.
- Drop the clams into the fry mix and gently toss them to coat evenly with the mix. Quickly dry off the skimmer.
- When the oil reaches temperature, lift the clams out of the fry mix with the skimmer, gently shake off the excess, and slip them carefully into the oil.
- Try to spread the food out in the pot so there is less chance of the pieces sticking to each other.
☞ TESTER TIP: The first few moments are crucial: let the seafood cook for 15 to 20 seconds without moving the clams (or the fryer basket)—if you do, some of the breading could fall off, making the dish greasy.
- Stir the clams so that they cook evenly, 1 to 1 1/2 minutes more. This also helps to loosen any pieces that might have stuck together. If anything sticks to the bottom of the pot, loosen it with tongs. Stay right there at the fryer, moving the seafood occasionally so it cooks evenly.
- Transfer the clams from the hot oil to the paper-bag-lined baking sheet to drain. You can keep the clams warm in the oven while you fry the second batch.
- Transfer the clams to a platter with lemon wedges and parsley sprigs–and fries aren't out of the question.
Explore More with AI
Nutrition
Nutrition information is automatically calculated, so should only be used as an approximation.


Found this recipe on the always reliable Leite’s Culinaria.
We get to dig our own clams, shuck them (not fun!) and in the oil in less than an hour!
I do use half the wheat flour and replace the other half with corn starch for a lighter batter. Also, I add Old Bay Seasoning instead of cayenne.
Thanks, Scott. We’re so pleased that you enjoyed them. It must be amazing to enjoy them so fresh.
so… you use 1/4 cup all purpose and 1/4 cup constarch, plus a cup of corn flour? Old Bay might be a nice addition. 😉 Thanks for the suggestion.
Hi, I bought fresh clams in the shell and I have purged them and frozen them. I want to try this recipe. How should I defrost them, in the fridge or under cool running water? Thanks.
Steve
Steve, I’ve never cooked with frozen clams, so I can’t vouch for the quality/texture. But…to thaw clams, remove them from the bag, place them in a bowl of cool water until completely thawed, or place them not in water in the refrigerator for 24 hours until thawed.
Thank you.
Steve, you’re more than welcome. Take some pics and post them.
Definitely.
Steve, ideally you want to let them thaw overnight in the refrigerator. But, if you’re in a rush, cold running water will thaw them quickly.
I spent all my summers in New England and fell in love with fried clams. I could eat them every day! Living in VA, they are impossible to come by. I was delighted to find and try your recipe! It is fantastic. Thank you so much! I plan to try the batter with flounder too!
Cathy, they look exceptional!! Exceptional!!!
I finally got around to making these again, and really enjoyed them!! I didn’t have and could no find cornflour, so I must admit… I used a cornmeal… it worked fine and the taste is still superb, but you are right… the texture is a bit “grainier”. I still loved them though. I even threw a few scallops in there this time and they were deelish!!! Thanks again for sharing this recipe and the coaching on shucking.( Not my favorite part, but necessary, and… It gets easier the more you do. 😉
Cathy, they look divine!! Just lovely. How long did the scallops take to cook?
Thank you!
You’re welcome, Steve.
Do you wash the clams in cold water? What I’m reading is they are just drained, is that correct?
Scott, you’ll want to rinse them with cold water before shucking to get rid of any sand.
Thank you Angie. I should have been more clear. I’m buying a pint of already shocked clams. Should these also be rinsed?
I don’t think you need to rinse them, Scott. The liquor that the clams will come in has plenty of flavor, so I’d just drain them before coating and frying.
Scott, nope. You don’t want to rinse the clams. you want that brininess.