
Want to save this?
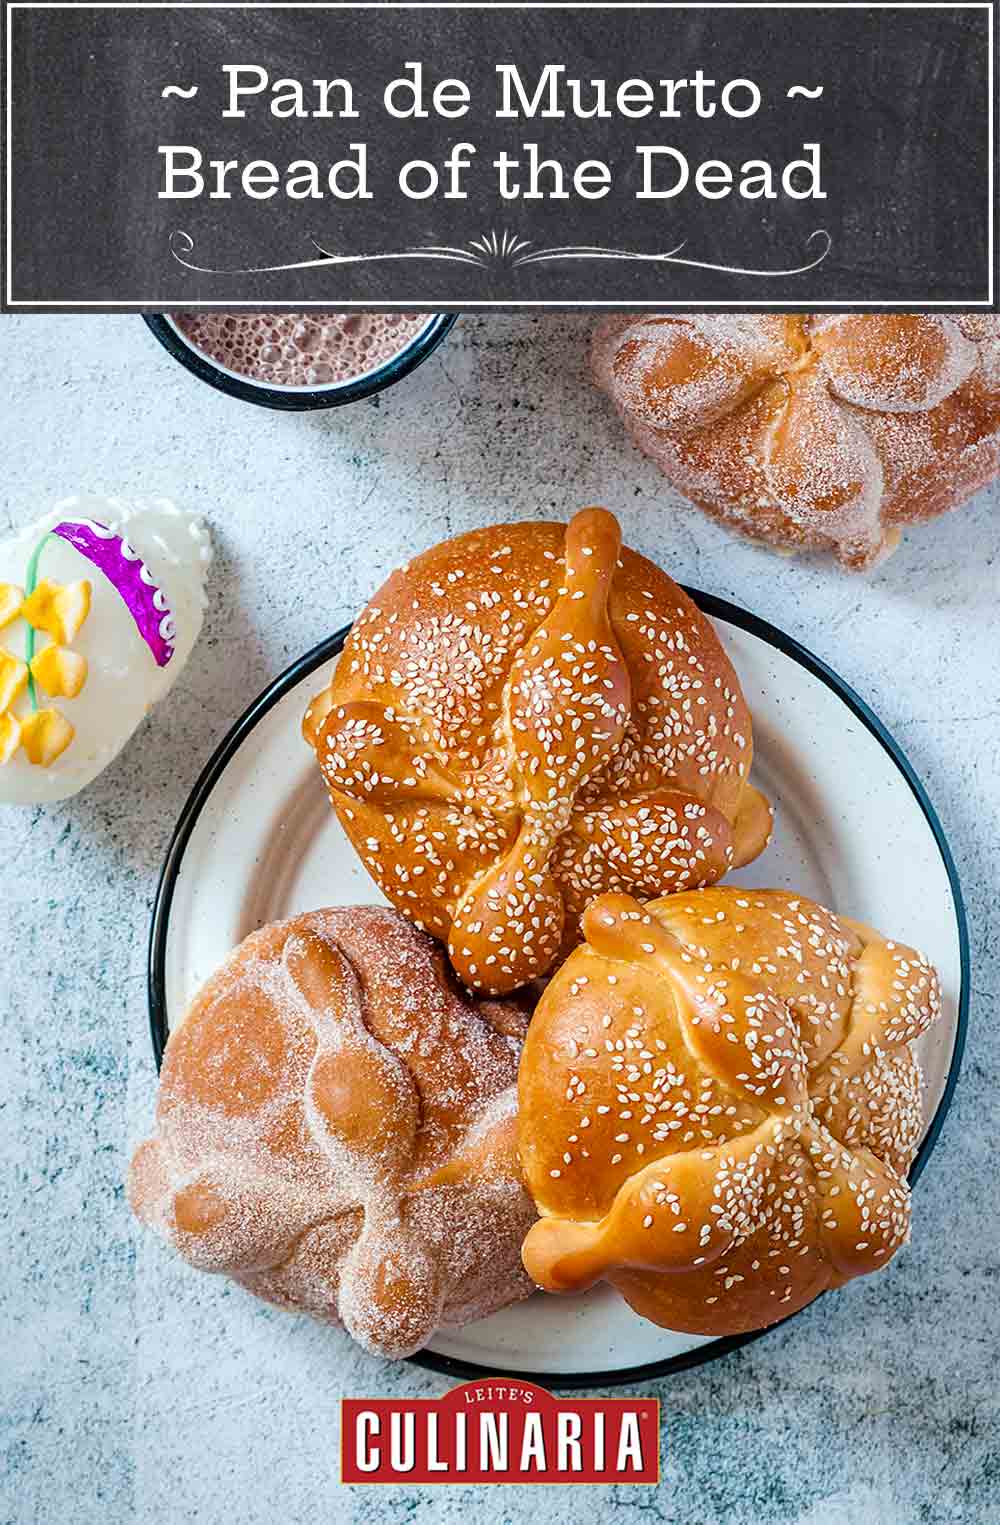
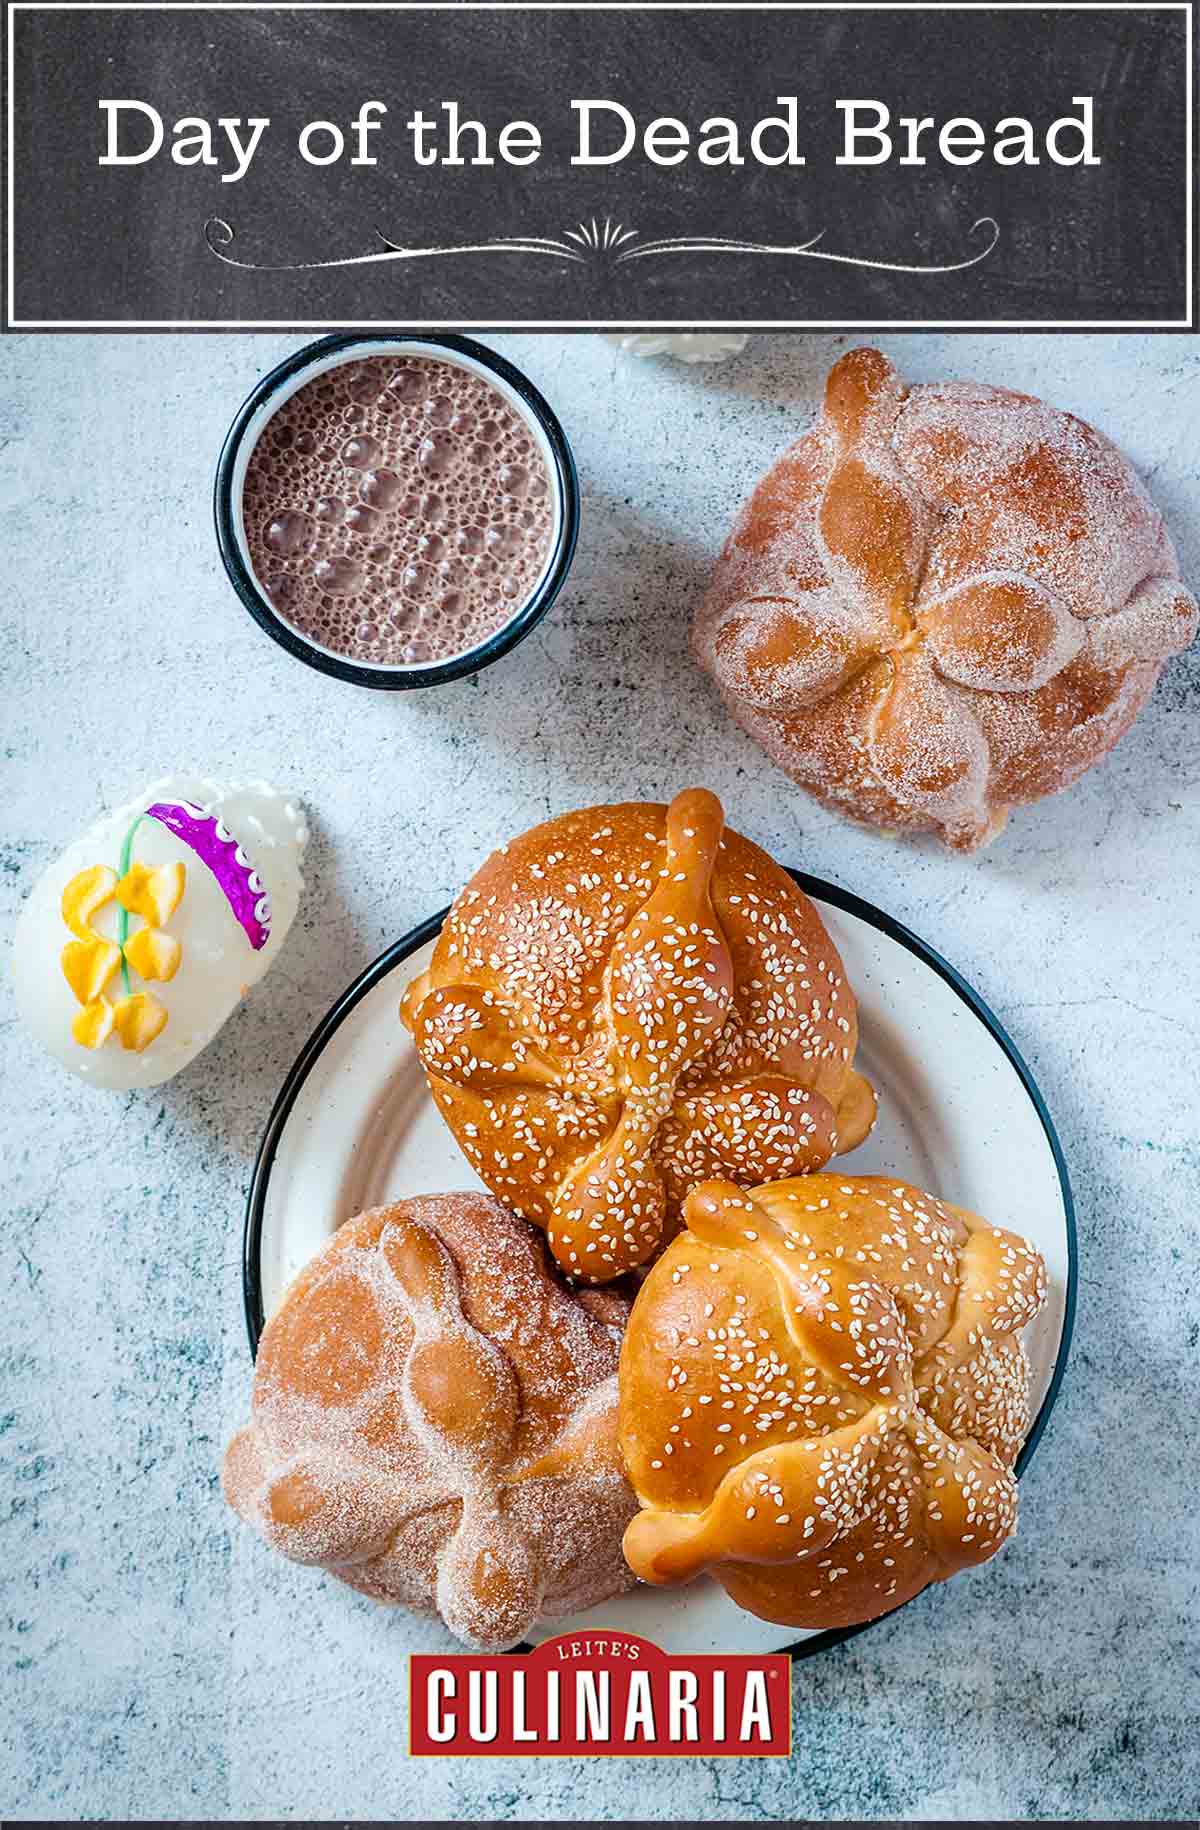
During Mexico’s Days of the Dead, which occur on November 1 and 2, it’s believed that the souls of the departed are allowed to return to earth. Friends and relatives welcome these spirits at their tombs with food, music, and small gifts. Nowadays most families celebrate the holiday with a simple gathering graveside to pay respects, followed by celebrating at home. Many celebrate with a rich, sweet yeast Day of the Dead bread recipe. The recipes are modeled after the altar breads that are special feast-day offerings in Europe. The Mexican imagination placed a new spin on it by shaping the loaves into different images. The famous pan de muerto (bread of death) comes in the shape of human figures, alligators, lizards, and other animals, though most often skulls and crossbones or teardrops and crosses, all gaily decorated with colored sugar crystals.–Zarela Mártinez
HOW DO I DECORATE DAY OF THE DEAD BREAD?
Authentic Day of the Dead bread, or pan de muerto, share certain commonalities, although there are plenty of variances. Some recipes stir a little anise into the dough. Others glaze the baked bread with colored sugar. But all of them tend to decorate the top of the loaf with some sort of symbolic shape, such as a bone for a lost soul, tears to express sorrow or any other soulful expression.
Day of the Dead Bread
Ingredients
- 2 envelopes dry yeast
- 1/2 cup warm water
- 3 1/2 to 4 cups unbleached all purpose flour, or as needed
- 1/2 teaspoon teaspoon salt
- 9 tablespoons unsalted butter, room temperature and cut into small pieces, plus more for the bowl
- 3 large eggs
- 3 large egg yolks
- 7/8 cup condensed milk
- 1 tablespoon orange flower water, (available in gourmet stores and Italian and Middle Eastern markets.)
- Sugar or colored sugar crystals or sesame seeds for sprinkling
Instructions
- In a small bowl, dissolve the yeast in the water and let sit in a warm place for 5 minutes.
- When the yeast is foamy, stir in 4 to 5 tablespoons of the flour to start a sponge. Cover with a damp towel and let sit in a warm place until it's full of bubbles and about doubled in bulk, roughly 45 minutes.
- Meanwhile, place a scant 3 1/2 cups flour and the salt in a large bowl or on a pastry board or clean counter. Cut or rub in the butter with a pastry blender or your fingertips until the dough resembles the texture of coarse cornmeal.
- Beat 2 of the whole eggs and the 3 egg yolks and add to the dough. Gradually add the condensed milk and orange flower water, working them in with your fingertips. Add the sponge and work it in, adding flour as necessary to make a soft but kneadable dough.
- Knead the dough on a lightly floured work surface until smooth and silken, about 10 minutes. (Alternatively, use the dough hook of an electric mixer.) Lightly butter a large bowl and place the dough in it, turning to coat it with the butter. Let sit in a warm place, covered with a damp cloth or piece of plastic wrap, until doubled in bulk, 1 1/2 to 2 hours.
- Punch the dough down. If making undecorated loaves; shape the dough into 3 equal-size round loaves. If making decorated loaves; cut off about one-eighth of the dough and set aside. Divide the rest of the dough into 2 equal portions, shaping each into a ball. Place side by side on a buttered and floured baking sheet, remembering that the loaves will expand during baking. Fashion skull and crossbones with the remaining dough by first dividing it into into four portions. Roll 2 pieces between your palms into long, narrow strips for crossbones. Cut each strip in half and then crisscross 2 strips over each loaf. Shape the two remaining pieces into 2 small balls and lightly press them into the loaves above the crossbones, trying to shape them into skulls. (If you have difficulty in getting them to stick, make gashes in the loaves with a small, sharp knife and press the balls into the gashes.) Cover lightly with a damp towel and let rise in a warm place until doubled in bulk, about 1 hour.
- Preheat the oven to 375°F (190°C).
- Beat the remaining egg and brush lightly over the loaves and decorations. Bake the bread for about 40 minutes, until the loaves are golden brown and sound hollow when tapped. Sprinkle the loaves with sugar or, if desired, sesame seeds and return to the oven for about 1 minute to melt. Let cool slightly before showing off the loaves and slicing into. Originally published May 9, 1995.
Explore More with AI
Nutrition
Nutrition information is automatically calculated, so should only be used as an approximation.
Recipe Testers’ Reviews
Did you know only 68% of the recipes we test make it onto the site? This recipe survived our rigorous blind testing process by multiple home cooks. It earned the Leite’s Culinaria stamp of approval—and the testers’ reviews below prove it.

This Bread for Day of the Dead was delicious for the living! The history of the bread was interesting, and the recipe produced a slightly sweet bread, very similar to brioche. I made the three round loaves instead of the traditional “bread of death” shapes. I used four cups of flour, and the dough was soft and spongy.
The resulting bread was beautifully golden colored from all the egg yolk in the dough and made fantastic toast for breakfast. I’ll definitely keep this bread around all year long–not just during Mexico’s Days of the Dead!
Dia de Los Muertos is highly celebrated in my area (South Texas) and when the opportunity came to test out this recipe, I had to jump on it, especially as it came on Halloween, the day before it is traditionally served. Pan de Muerto is basically a citrus take on an enriched dough like a brioche which is formed and decorated for the holiday of Dia de Los Muertos. This recipe didn’t disappoint although my results didn’t look at all like the photo since I followed the directions for forming the skull and crossbones as the directions indicated.
It takes most of a day to make, decorate, and bake this bread so plan in advance if you wish to have it for the holiday. Hands-on time for this recipe is right about 1.5 hours and with the rising time, it took me closer to 5 hours than 4 but may have been due to house temp rather than the recipe itself. I used instant yeast in this recipe as that is what I keep on hand for baking so didn’t need the 5-minute “proofing” time in the first step of the recipe but other than that followed its directions as well as possible.
I used my oven as a proofing box by turning on the oven light and placing the dough in there to rise. The “sponge” took the 45 minutes suggested and the first rising of the dough took the full two hours. I followed the directions for decorated loaves and I allowed them to rise an additional hour before brushing with egg and baking as directed for 40 minutes. I might alter the directions just a little bit as my loaves got very dark in that 40 minutes. Next time, I’ll let them bake for 20 or maybe 30 minutes and then shield them with foil to keep them from getting as dark.
I couldn’t get the sugar to stick to the baked loaves at the end, even with additional egg wash so I might consider using sanding sugar and putting it on before baking next time so I can get the beautiful, colorful finish I wanted.
The flavor of this bread is terrific! Slightly sweet with a hint of citrus and on the few bites that the sugar stuck to a beautiful crunchy surprise hit of sweetness. It was wonderful hot out of the oven with a little butter, and for breakfast the next day toasted with more butter. It reminds me of the dough used to make King Cake and has similar notes of citrus. I use Fiori di Sicilia when making that and may consider using that next time I make this Pan de Muerto. Other than the difficulty with the decorating and darkening, I would definitely make this again and might even consider making it in different shapes for different holidays!


The Day of the Dead does not just get celebrated in Mexico. In my country of birth, Italy and most of Europe, the day of the dead is celebrated. Thanks for the recipe. I have to try this!
Should I use active dry yeast or instant dry yeast?
David I also wanted to say that your website is my favorite, I love that you offer such diverse recipes from so many different cultures and your giveaways are awesome!!!
Thank you so much!!!!
Kristiina, use active dry yeast—which needs to be dissolved in water. And thanks for the kind words about the site. Keep coming back!