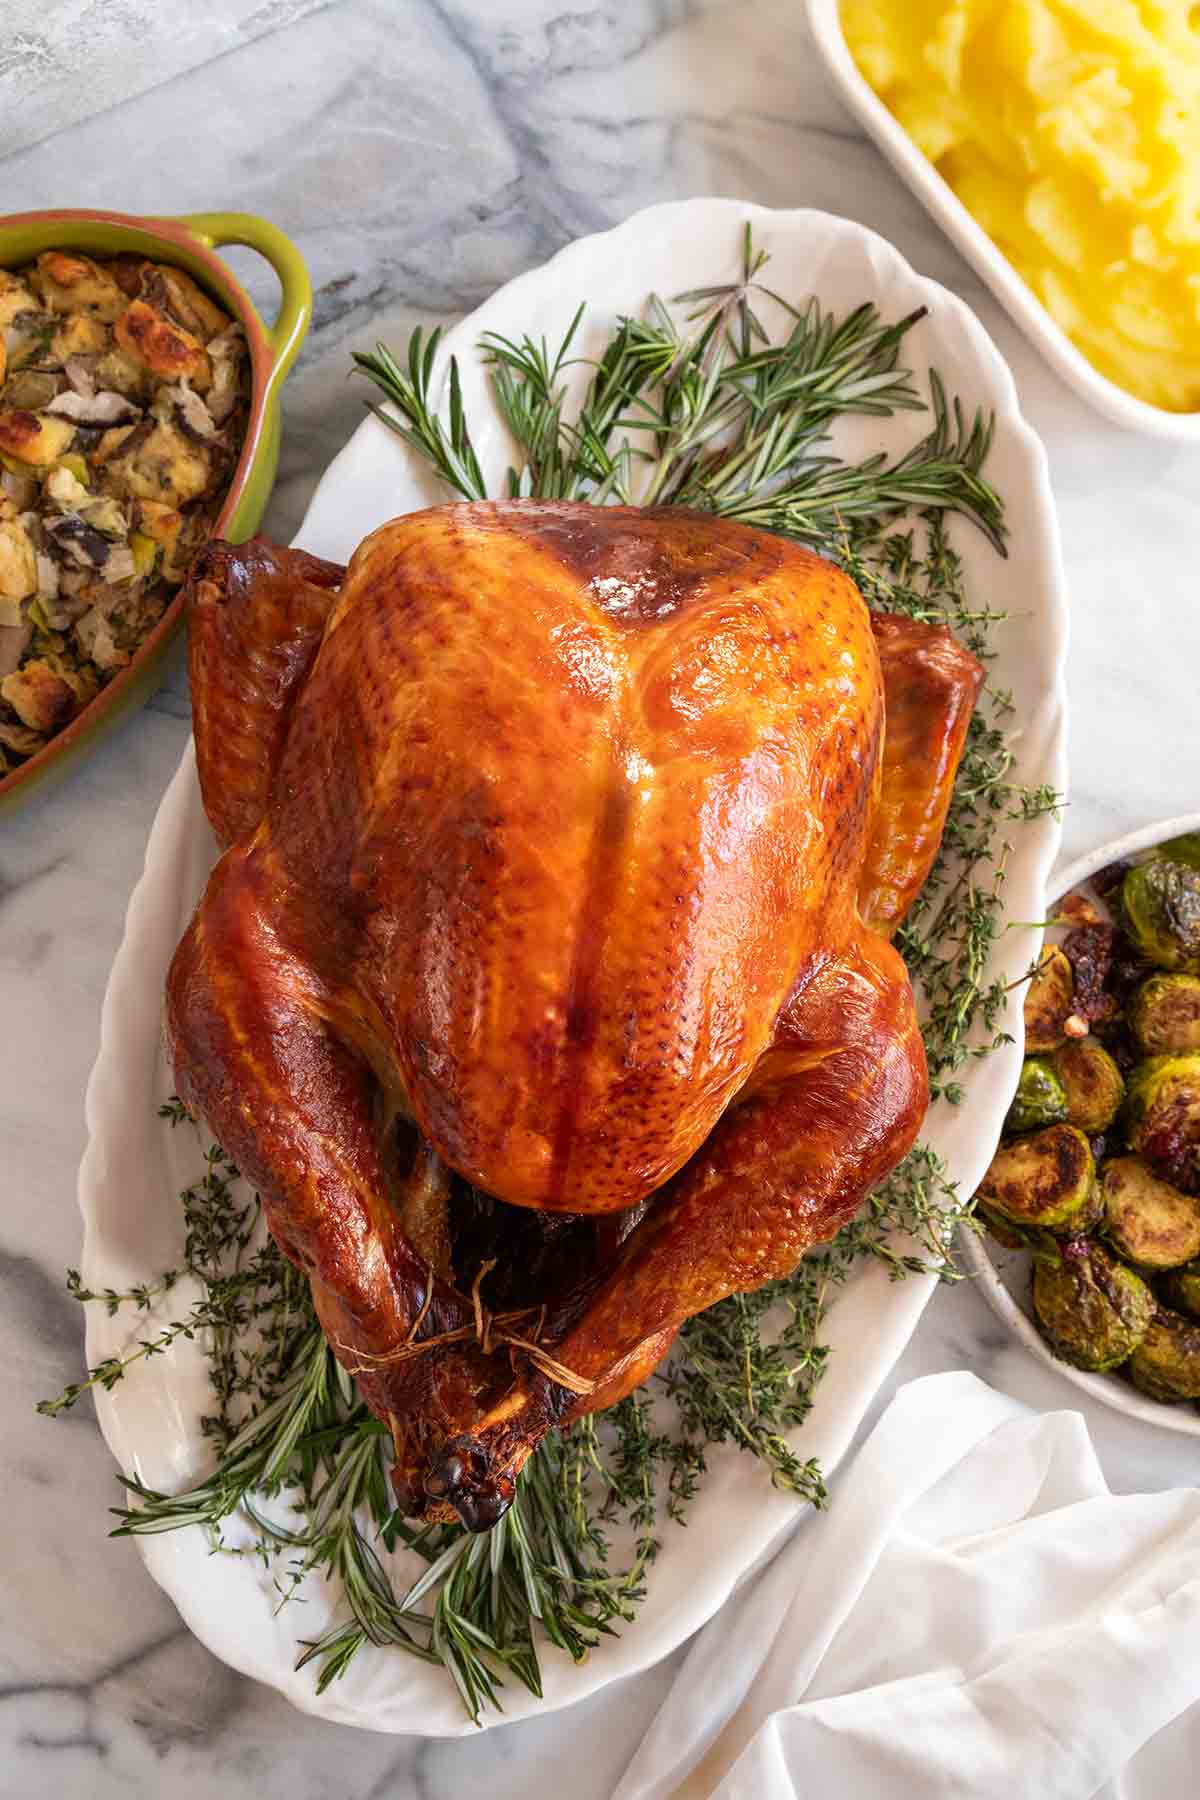
TL;DR (Quick-Answer Box)
- What it is: A superior method for a perfectly moist and flavorful Thanksgiving or holiday turkey, using a simple overnight salt and brown sugar rub instead of a messy liquid brine.
- Why you’ll love it: It delivers incredibly crispy, golden skin and unbelievably juicy, seasoned meat without any fuss—no basting or finding a huge brining bucket needed.
- How to make it: Rub the turkey with salt and sugar, refrigerate for 24-36 hours, rinse thoroughly, pat dry. Stuff with fresh herbs, brush with oil, and roast until the thickest part of the thigh reads 175°F (80°C).
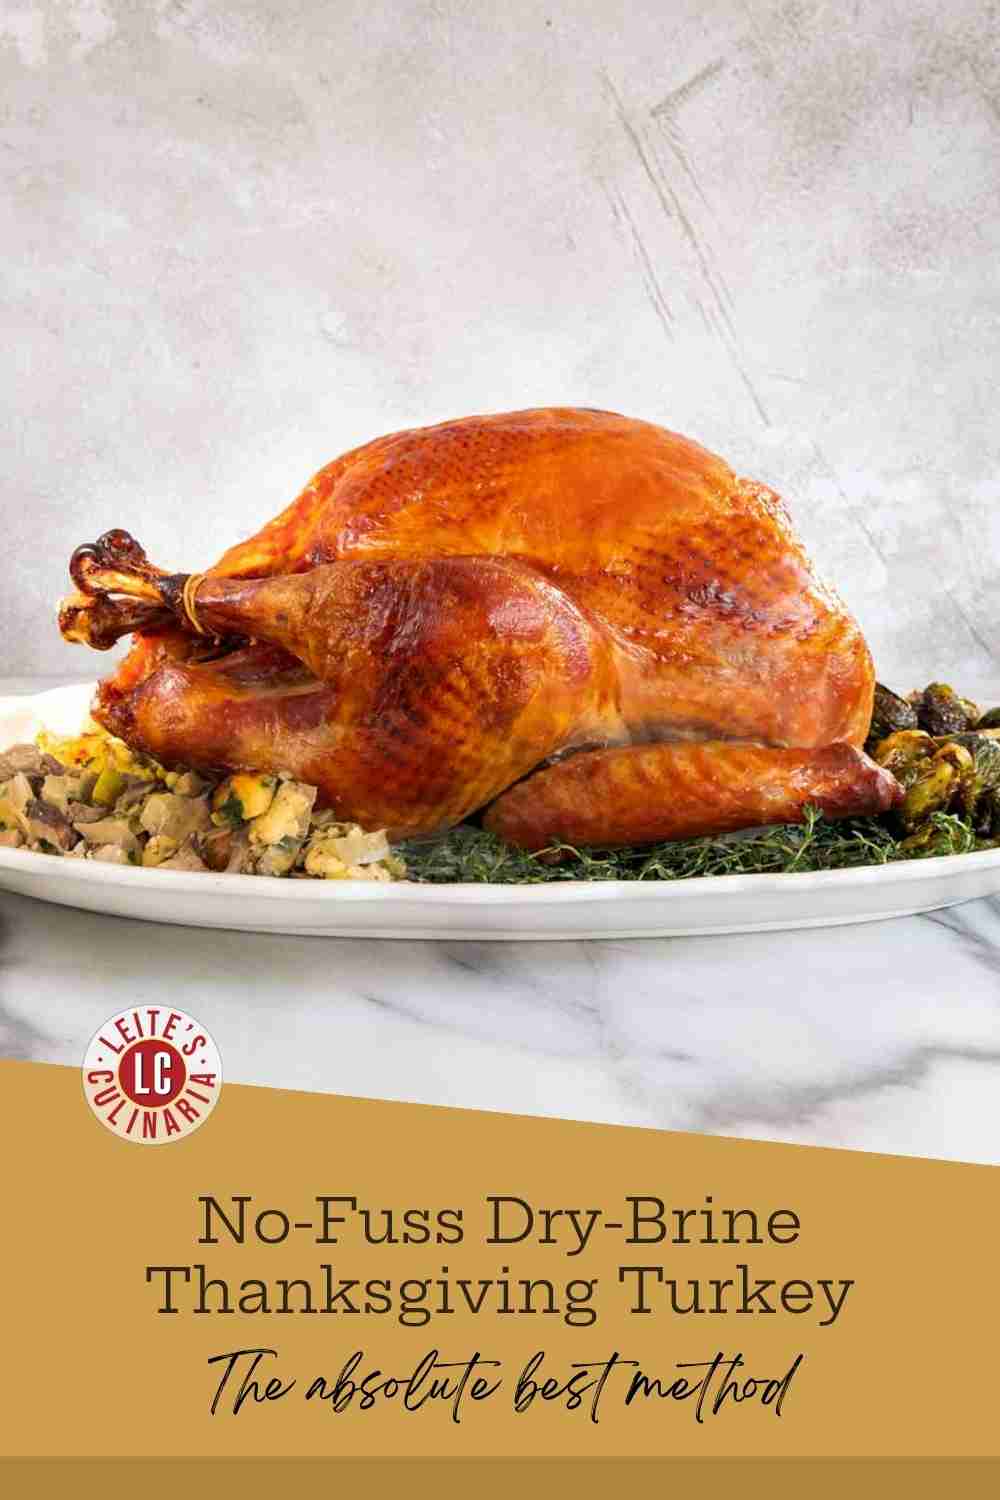
Featured Review
This is the best recipe for dry-brining that I’ve tried, and I’ve tried countless over the years. The prep takes just a few minutes. There’s no need to babysit the bird once it’s in the oven. I scaled the recipe for a 4-pound chicken, and it was delicious. The skin was beautifully caramelized and the breast meat was unbelievably juicy and flavourful. I added lemon and onion wedges to the herbs in the cavity. Definitely a keeper!
Sadie
Jump To
I’ve made a lot of turkeys in my career. Some were flops, others were good, few were stellar. Then, there is this bird. It’s in a category by itself. It’s exceedingly juicy and perfectly seasoned. But the skin? Astoundingly crisp. And I’ve never made a bird that demands so little of me. And being someone with an overdeveloped demand phobia, that’s a good thing!
All of this is due to a nifty little trick known as dry brining. And as the name implies, it achieves the same tremendous effects as regular wet brining but with virtually no effort, fuss, or fridge overwhelm.
Chow,

Jump To

Why Our Testers Loved This
Tester Kristen K. was delighted that this dry brine turkey recipe requires no basting, making it an easy set-it-and-forget-it meal. Joel J. describes it as “extremely delicious and moist.”
Notes on Ingredients
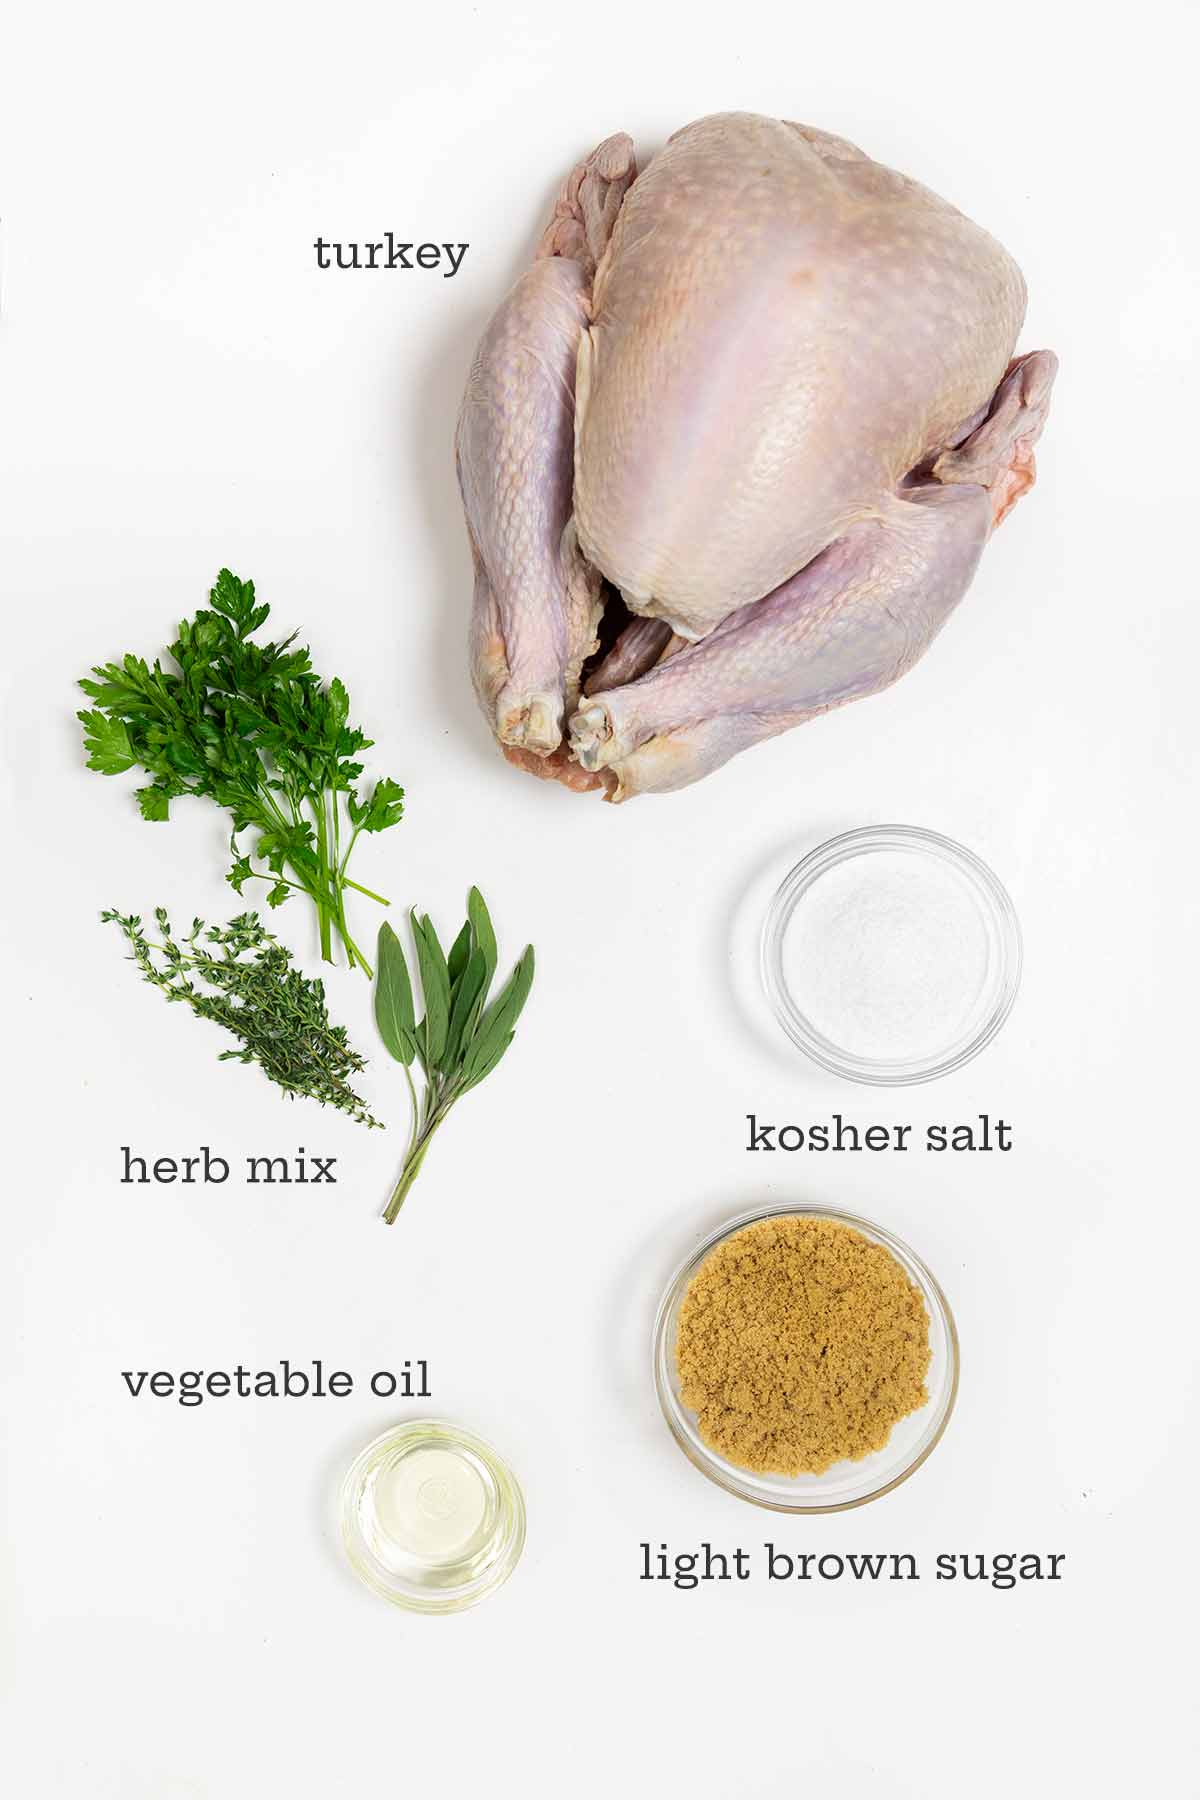
- Kosher salt–The crystal size varies significantly among kosher salt brands, which affects volume, so I strongly recommend that you weigh your salt if you’re not using Diamond Brand kosher salt. You need 270 grams of salt for this recipe.
- Turkey–The recipe works well for a 13-to-15-pound turkey. If you are cooking a bird that’s larger or smaller, you’ll need to scale the amount of dry brine.
- Fresh herbs–Any combination of thyme, parsley, rosemary, or sage will do. Most any markets carry clamshells of poultry blend herbs, which also work well here.
Step-by-Step Instructions
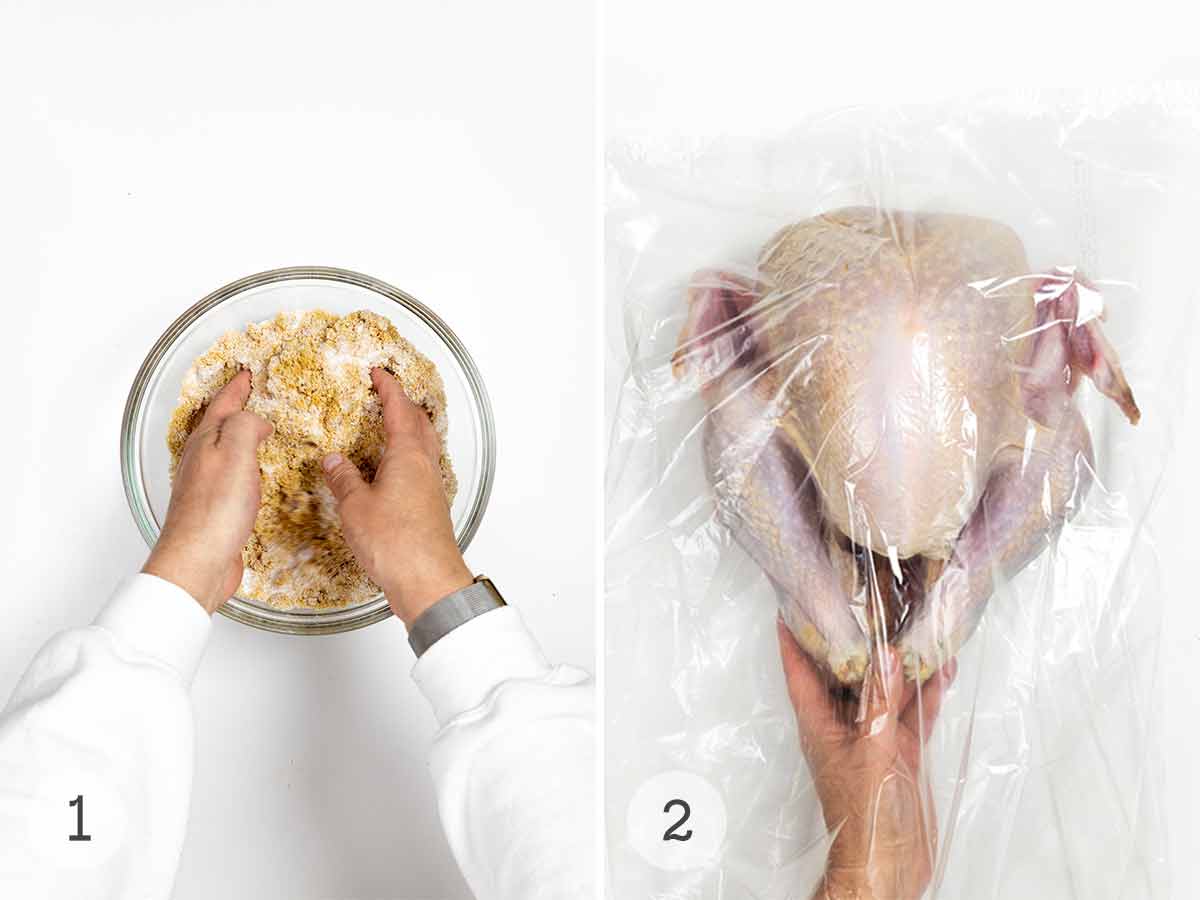
- Combine the brown sugar and salt in a large bowl.
- Place the turkey inside a large bag.
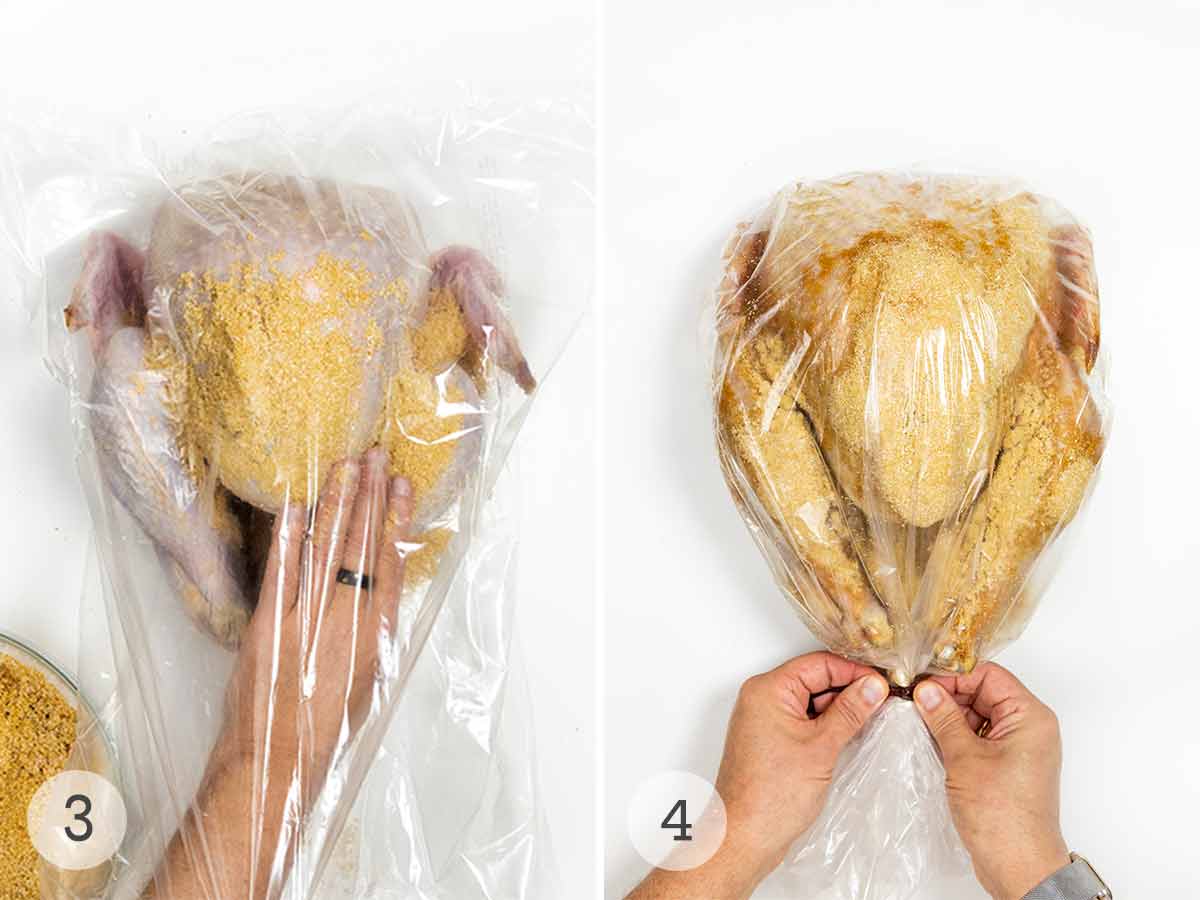
- Coat the turkey all over with the dry brine. Use all the brine.
- Seal the bag and refrigerate the turkey for 24 to 36 hours.
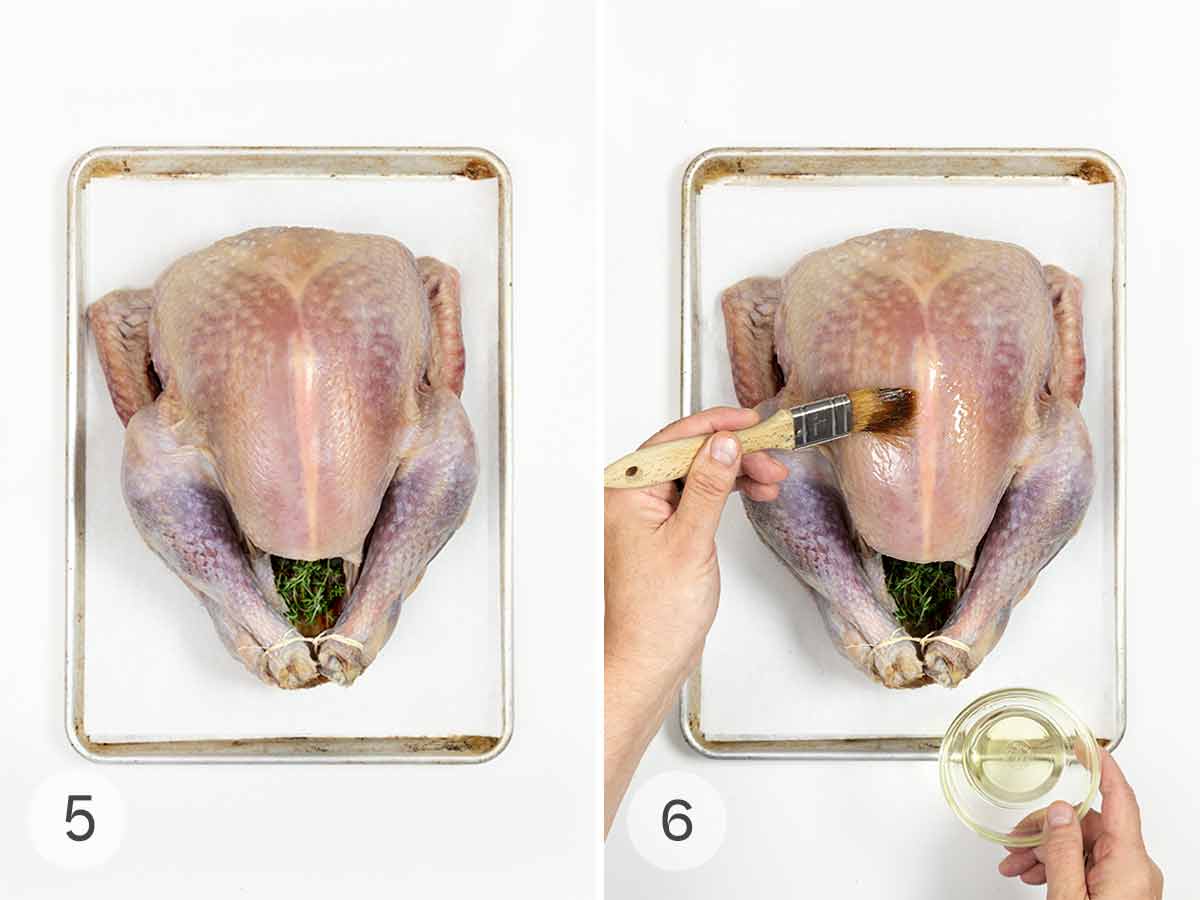
- Rinse off the brine and pat the turkey dry. Stuff the herbs into the cavity of the turkey. Tuck the wings under the bird and tie the legs together.
- Brush the bird all over with oil. Roast until golden brown and reaches an internal temperature of 165°F (74°C) in the breast and 175°F (80°C) in the thigh.
Want to Save This?
Your Dry-Brine Turkey Questions, Answered
It is absolutely critical that you use kosher salt, preferably Diamond Crystal brand, for this dry brine turkey recipe. Trust me. Regular salt is too fine and will permeate the fibers of the turkey, and you’ll be unable to rinse it off, ruining your bird.
Your turkey needs to brine between 24 and 36 hours before cooking. The larger a piece of meat is, the longer it needs to brine. And remember to add more time to that if you need to thaw your turkey before brining it!
For this recipe, you need a natural turkey. You won’t be able to use either a kosher or a pre-basted turkey because they’re both already pre-salted. Adding a dry brine is just going to put more salt into that poor bird, so stick with a natural turkey.
Wet brining involves soaking the turkey in a saltwater solution that has spices added to it, while dry brining is done by rubbing the turkey in a mixture of salt, sugar, and other spices. Both methods result in a tender, flavorful turkey, however, if space is limited, dry brining is more practical, as you don’t have to find a pot large enough to hold the turkey and several gallons of brine.
Thanks to the magic of salt, brined turkey is more tender and retains more moisture during cooking, resulting in a juicier bird. The brining process allows the seasoning to permeate the meat, making for a perfectly seasoned turkey. And the skin is amazingly crispy.
Pro Tips & Troubleshooting
- If you’re making this with a turkey under 9 pounds, use half of the dry brine.
- For best results, always start with a fully thawed turkey before brining it.
- I find if the turkey is slightly moist, the dry brine will stick better than if the bird is patted dry.
- Leftover turkey can be stored in a sealed container in the fridge for up to 4 days or frozen for up to 3 months.
Write a Review
If you make this recipe, or any dish on LC, consider leaving a review, a star rating, and your best photo in the comments below. I love hearing from you.–David
Just the right formula for a delicious turkey that won’t take up the entire fridge for days before the big dinner. Dry brining is certainly easier than finding room for an enormous brining bucket. There’s no chance of accidentally slopping the brine around in the fridge, and it ensures crispy, beautiful skin.
Lisa
Dry Brine Turkey
Ingredients
- 3 cups packed light brown sugar
- 1 1/2 cups Diamond brand kosher salt*, (if you are using a different brand of kosher salt, you’ll need to weigh out 270 g)
- One (13-to-15-pound) fresh turkey
- 1 bunch fresh thyme, parsley or sage, or a combination
- 3 tablespoons mild vegetable oil
Instructions
- In a medium bowl, combine the 3 cups packed light brown sugar and 1 1/2 cups Diamond brand kosher salt*. Place the One (13-to-15-pound) fresh turkey in a large plastic bag and place the bag in a roasting pan.
- Pack the sugar mixture all over the turkey's breast, legs, and wings, pressing firmly so as much of the mixture sticks as possible. Carefully close the bag, just for neatness’ sake, and then pop it into the fridge for 24 to 36 hours. Flip the turkey halfway through the brine.
- About 4 hours before you plan to serve the turkey, preheat the oven to 325°F (165°C).
- Take the turkey out of the bag and rinse it under cold running water, gently rubbing it until every last speck of the brining mixture comes off. Don’t forget to rinse out the inside, too. It’s okay if the turkey looks a little dry. Trust us on this one.
- Place the turkey on a rack in a roasting pan and dry it with paper towels. Place the 1 bunch fresh thyme (and/or parsley and sage) in the cavity and tie the legs together with twine. Bend and tuck the wing tips under the back. Brush the turkey all over with the 3 tablespoons mild vegetable oil.
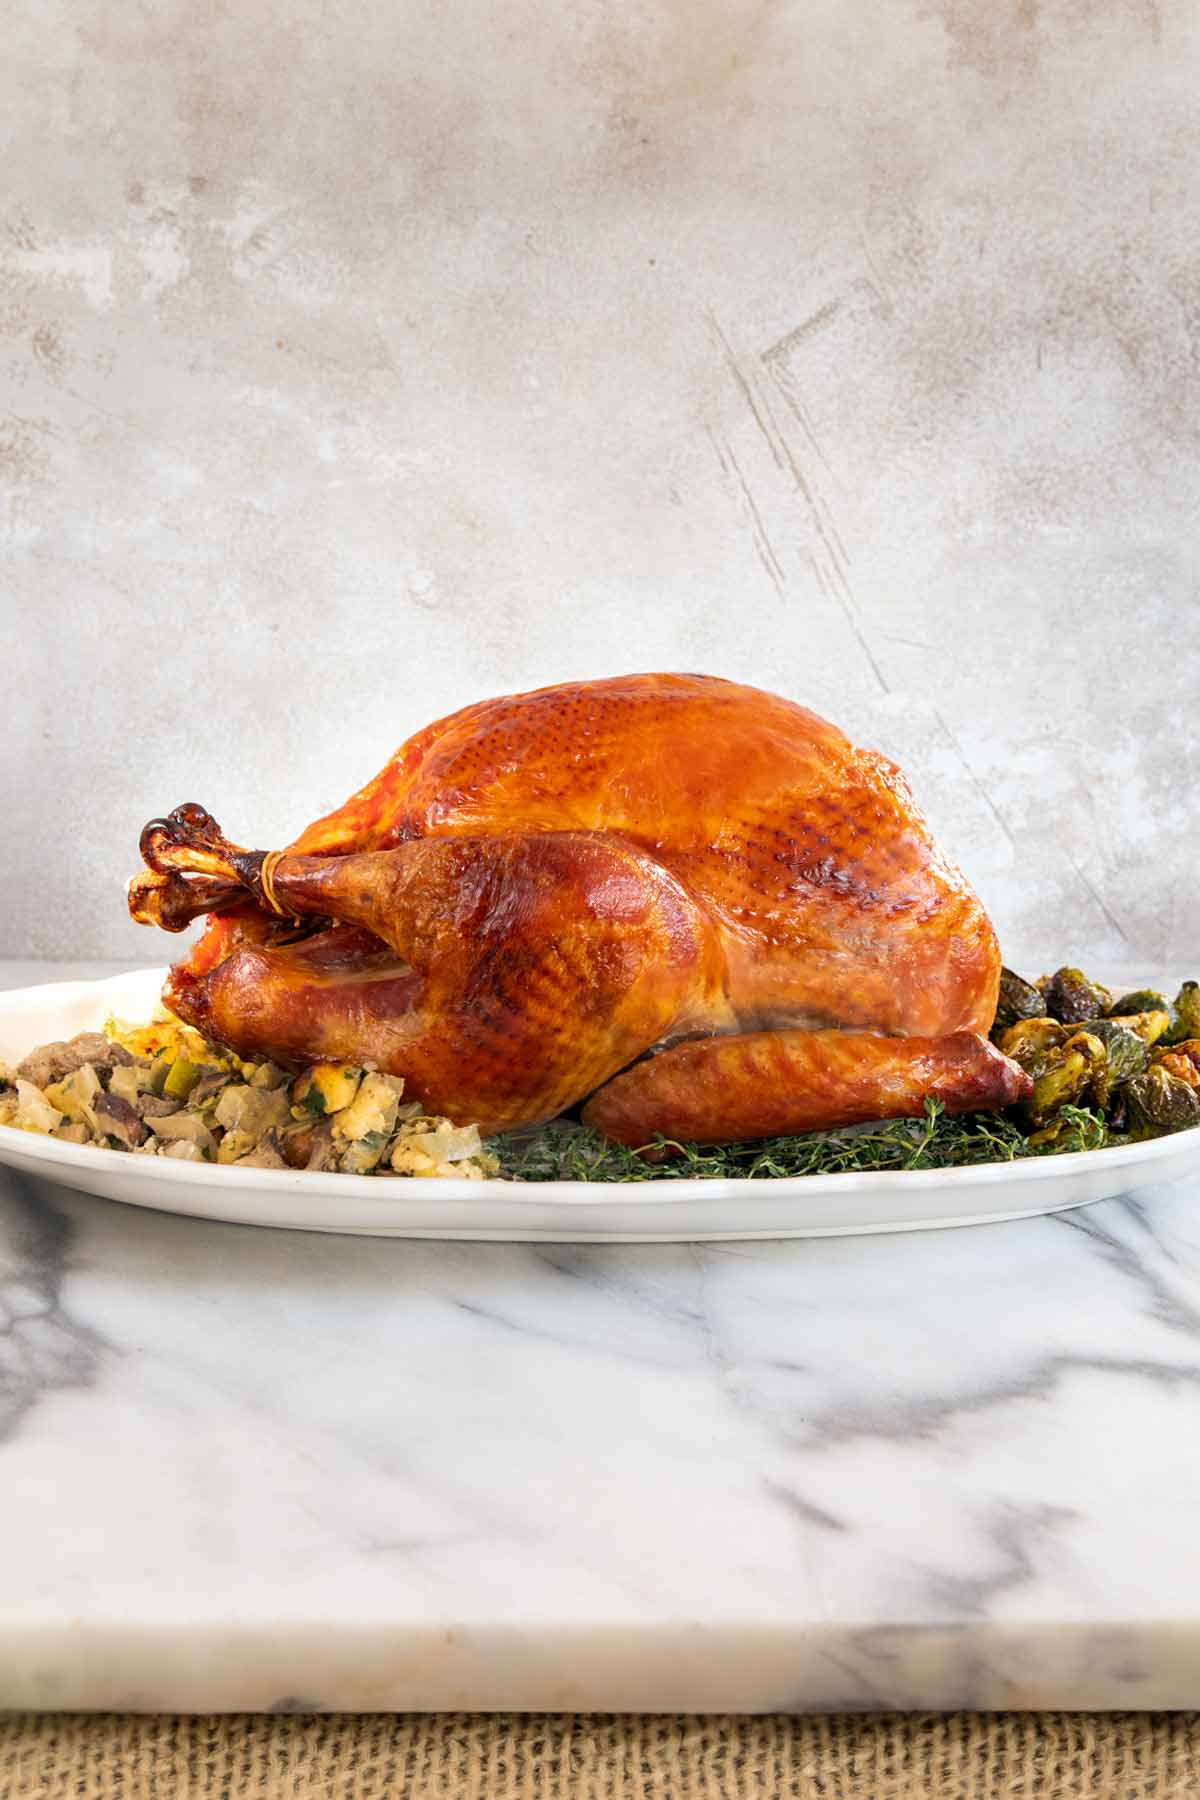
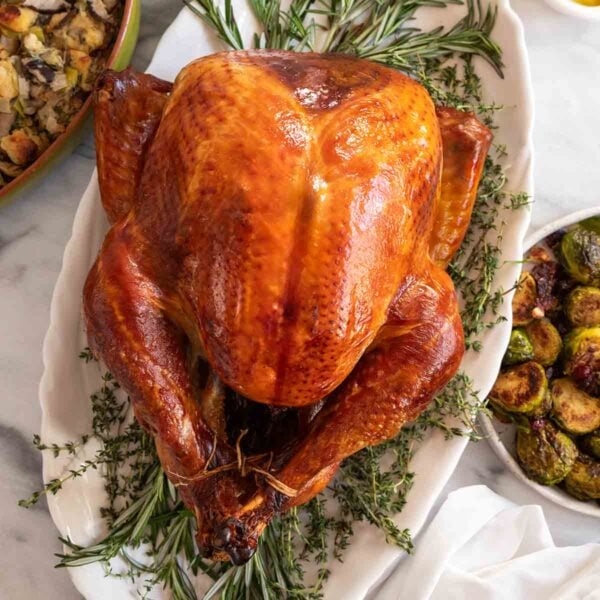
- Roast until a thermometer inserted into the thickest part of the thigh reads 175°F (80°C), 3 to 3 1/2 hours. Transfer the turkey to a carving board and tent loosely with foil. Let rest at least 30 minutes and as much as an hour before carving.
Notes
- Scaling–If you’re making this with a turkey under 9 pounds, use half of the dry brine.
- Thaw your turkey–For best results, always start with a fully thawed turkey before brining it.
- Storage–Leftover turkey can be stored in a sealed container in the fridge for up to 4 days or frozen for up to 3 months.

Explore More with AI
Nutrition
Nutrition information is automatically calculated, so should only be used as an approximation.
Recipe Testers’ Reviews
I’m very happy I invited guests over to try this dry-brined turkey recipe because it was amazing. The turkey was perfectly seasoned and incredibly juicy, with gorgeous, crisp skin.
I coated a 12.8-lb Butterball in the dry brine mixture for 24 hours. Since I used Morton’s sea salt, I weighed 270 g. Some brine was left over, but my turkey was on the small side, so I think the recommended amount is perfect.
There was no specification about placing brine inside the turkey cavity, so I just sprinkled a little in there. I followed the rest of the recipe, using both sage and thyme and then placed the turkey in the lower third of my oven. After 3 hours, the turkey was a gorgeous bronze color and perfectly cooked.
I removed the turkey from the oven and covered it loosely with foil for one hour. I grew up in a one-oven home, so this hour was standard because we needed to cook all the side dishes after removing the bird from the oven.
I served it with my great-grandmother’s oyster dressing and homemade gravy. I can’t wait to impress my family with this on Thanksgiving! With no need to baste, I can throw this bird in the oven and forget about it, giving me back three hours of my life. I don’t care who you are—that’s priceless on Thanksgiving.
Extremely delicious and moist. It’s much easier to dry brine than wet brine, that’s for sure.
I brined the bird for 26 hours using Diamond Kosher salt. At first, I was a bit worried because the turkey looked very dry, almost desiccated, but it was perfect.
The cook time was accurate. We served 7 people, with all the traditional Thanksgiving fare, and had plenty of leftovers for turkey sandwiches, turkey tetrazzini, and soup.


Is it better to leave turkey exposed in the fridge for dry brining instead of using a bag? I agree a bag is neater but wonder if one method is better than another. I cannot wait to try this. I am a terroible cook and praying I don’t destroy the turkey.
Ann, I’ve let birds (without a dry-brine) rest overnight in the refrigerator uncovered. That way it forms the pellicle (dry, slightly tacky skin), which results crispy skin. Because of the salt in the dry brine, a lot of water will be drawn out and could make a real mess in the fridge. I think that’s the last thing you want on Thanksgiving! My advice: Put it in the refrigerator in the bag. I’m sure it’ll come out looking and tasting amazing. You’ll be in my thoughts!
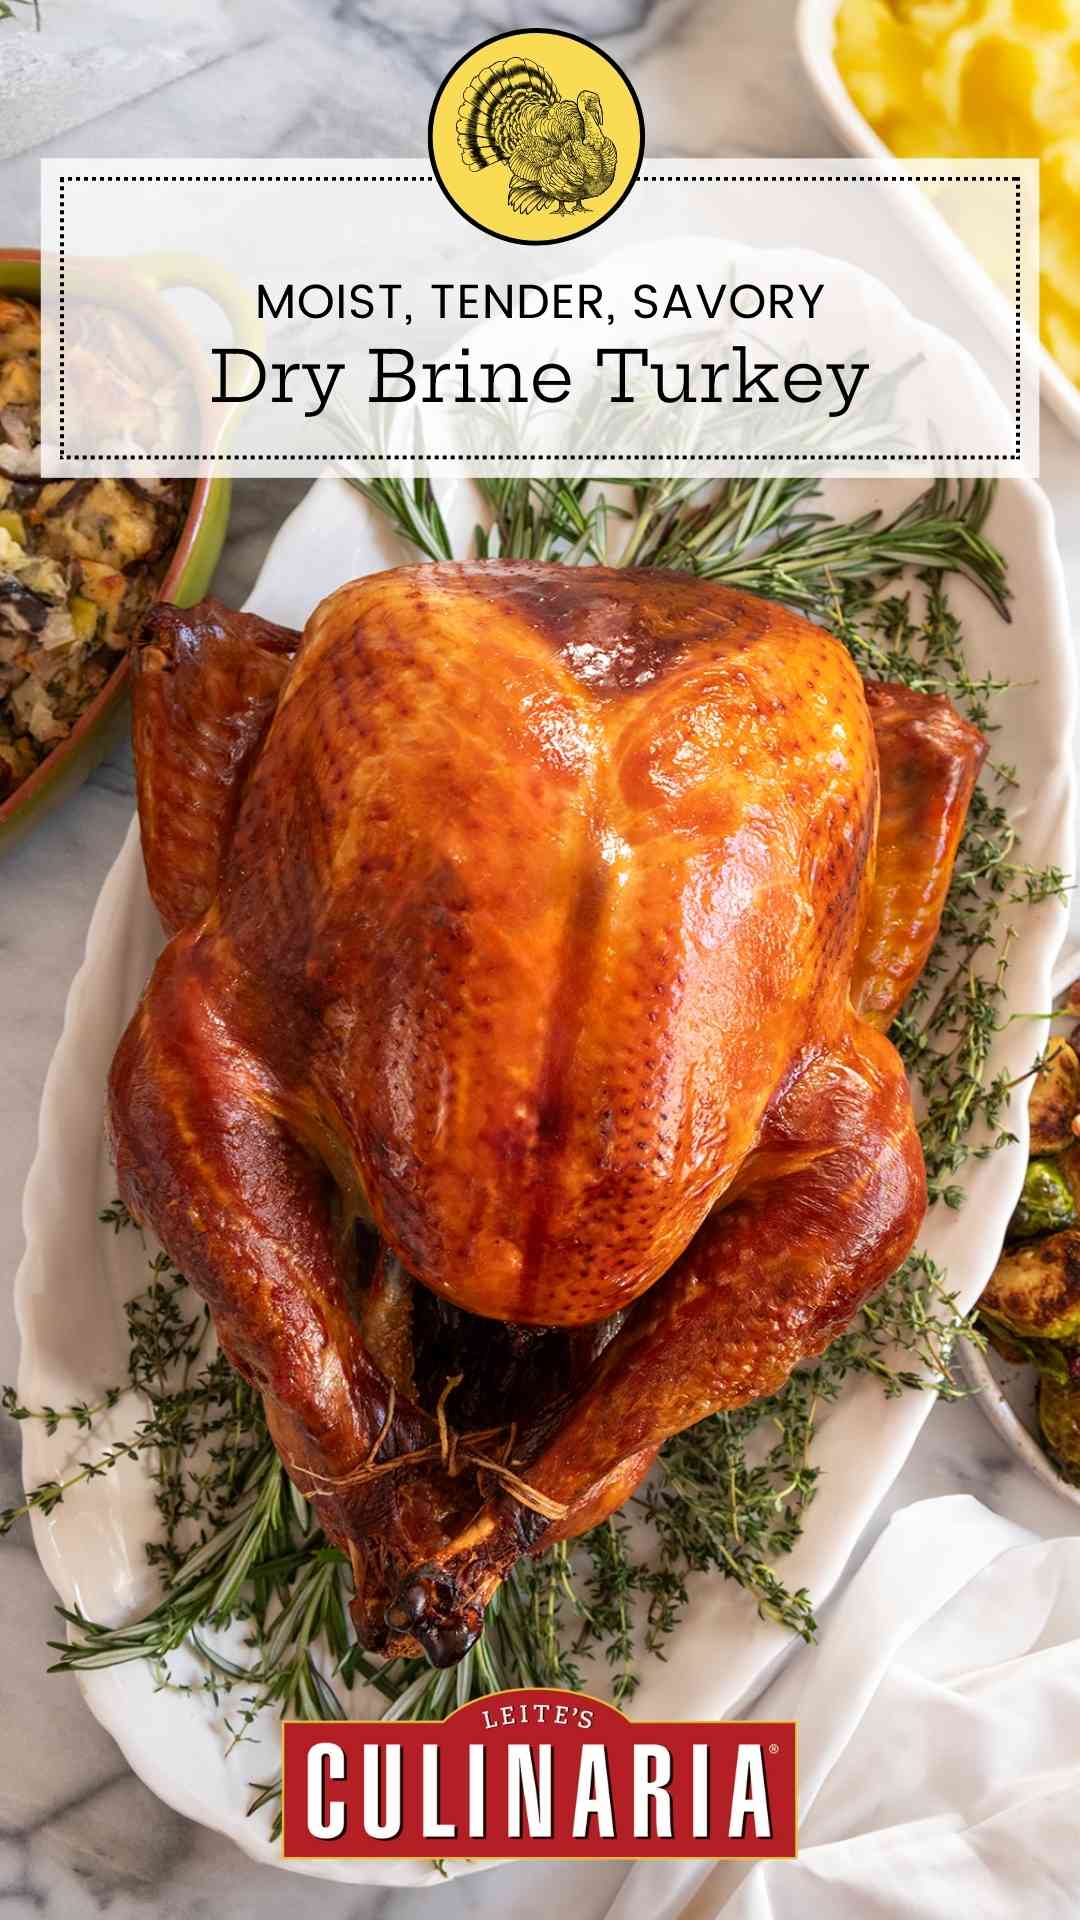
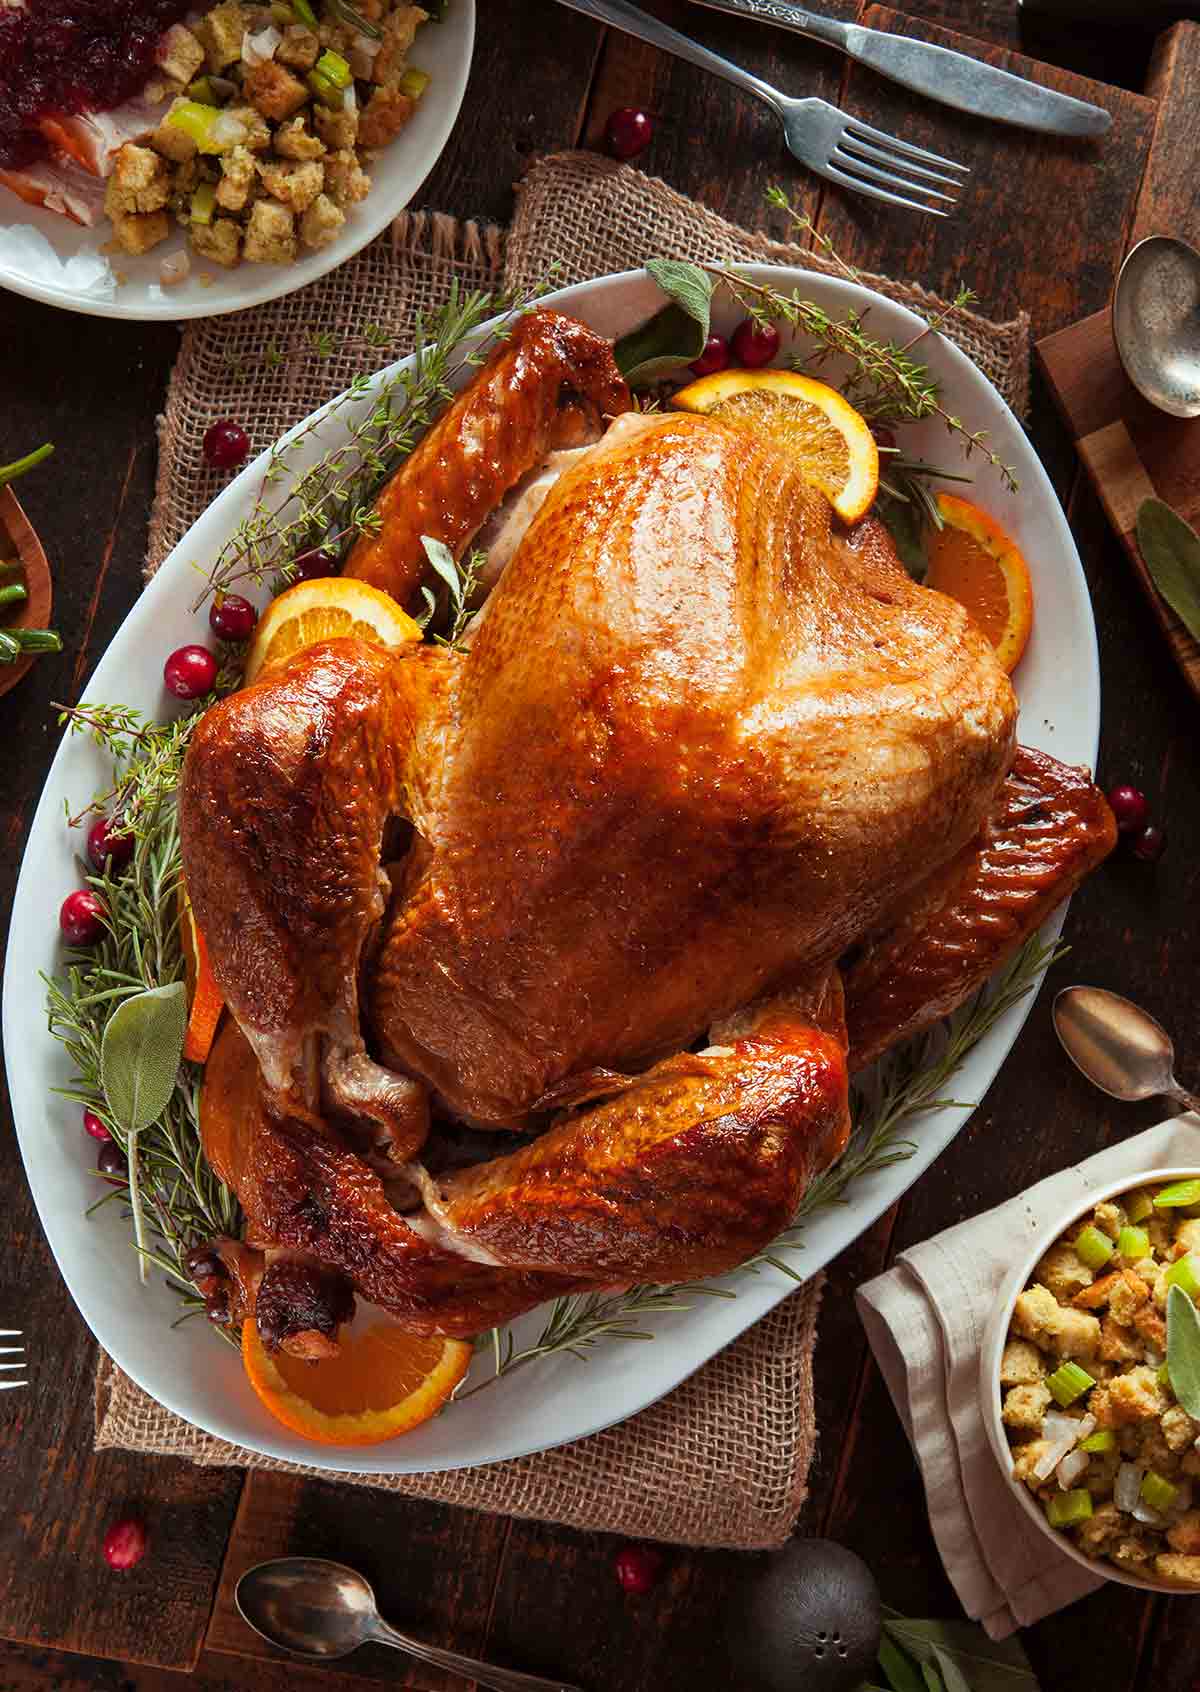
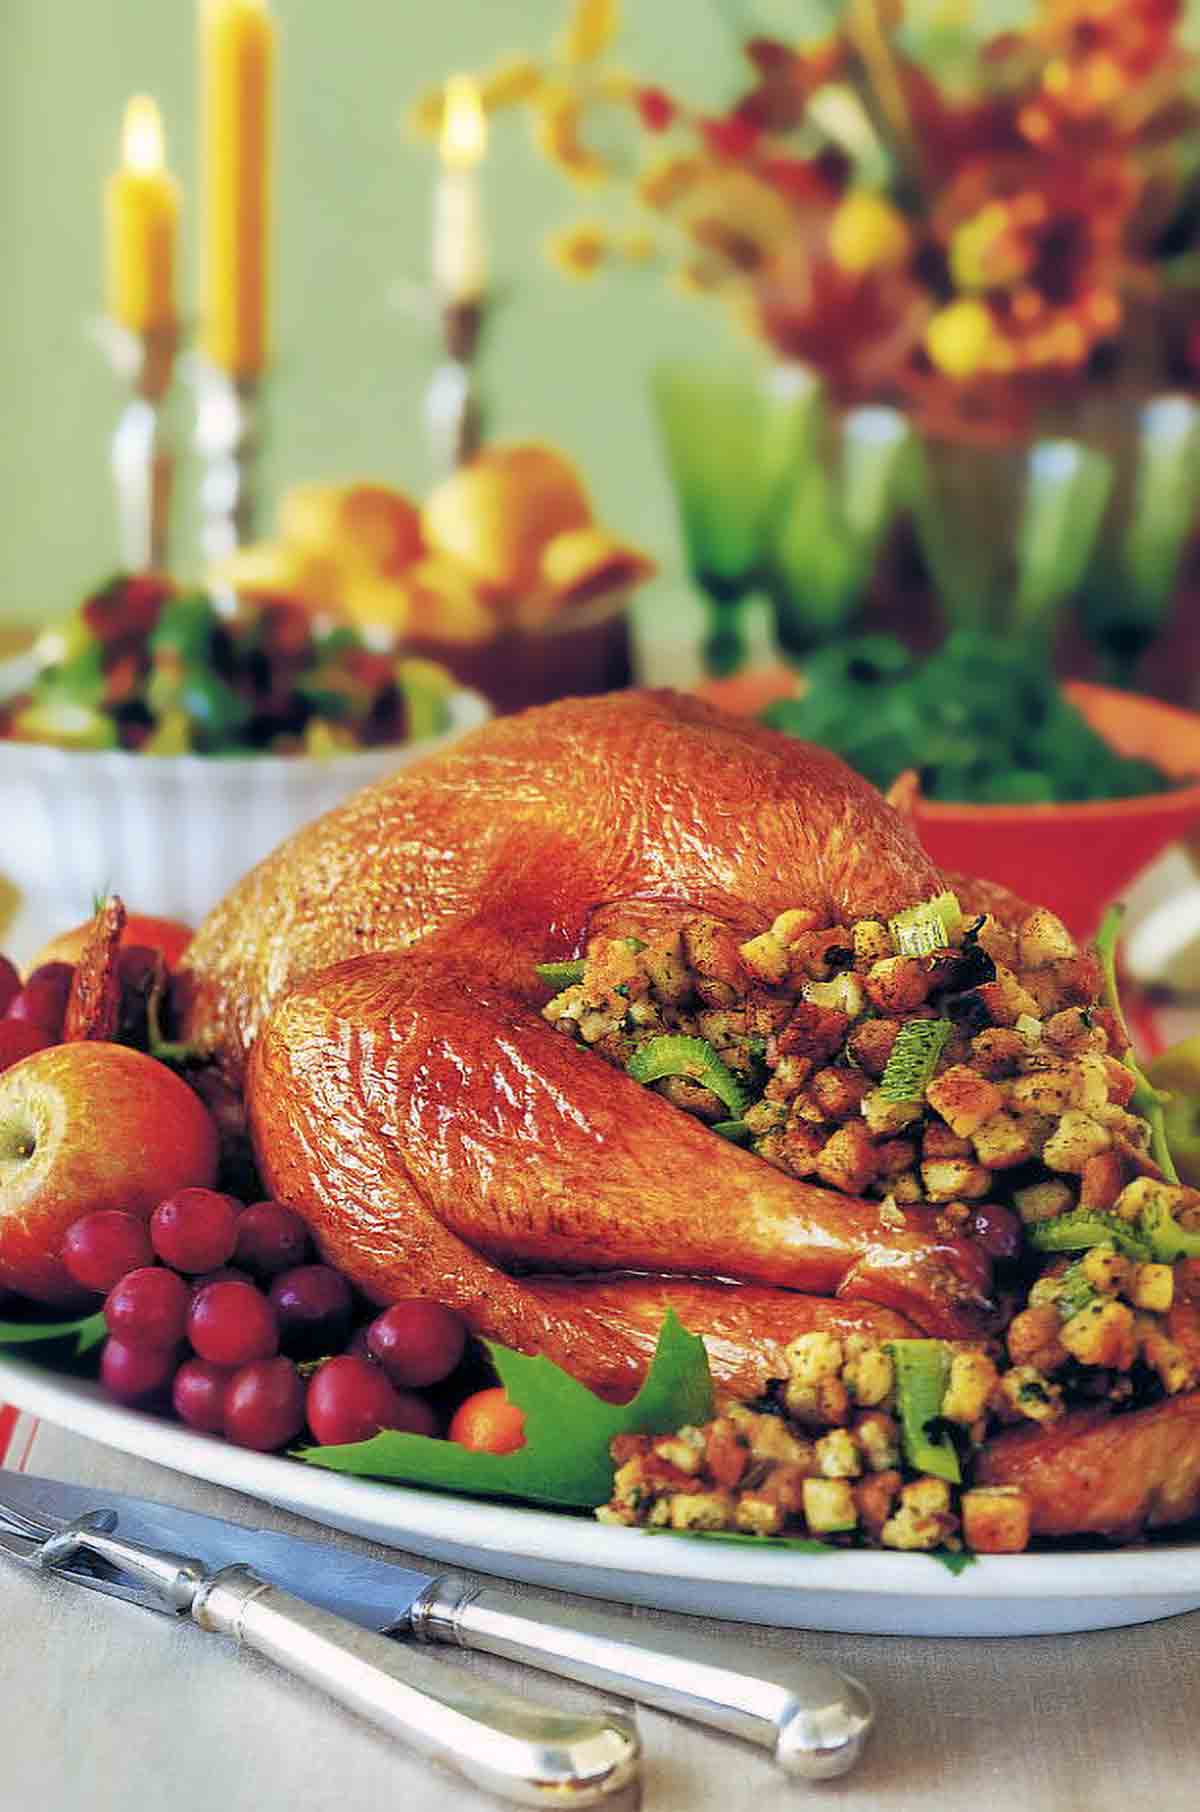
“ This dry-brine turkey is blanketed in a salt, sugar, and herb rub overnight and then rinsed and roasted until golden ”
You mention an herb rub in the intro, but there is no “herb rub” in the i gredients or the instructions. Only fresh herbs stuffed in the cavity.
Herbs added to the dry brine sounds appealing, what do you recommend?
Adriana, gack! I’m so, so sorry. Yes, the herbs are placed in the birds cavity. (I fixed the top text.) But…having said that, you could take some of the herbs, minced them, and add them to the dry brine for a little extra flavor. Thanks for your eagle eye.