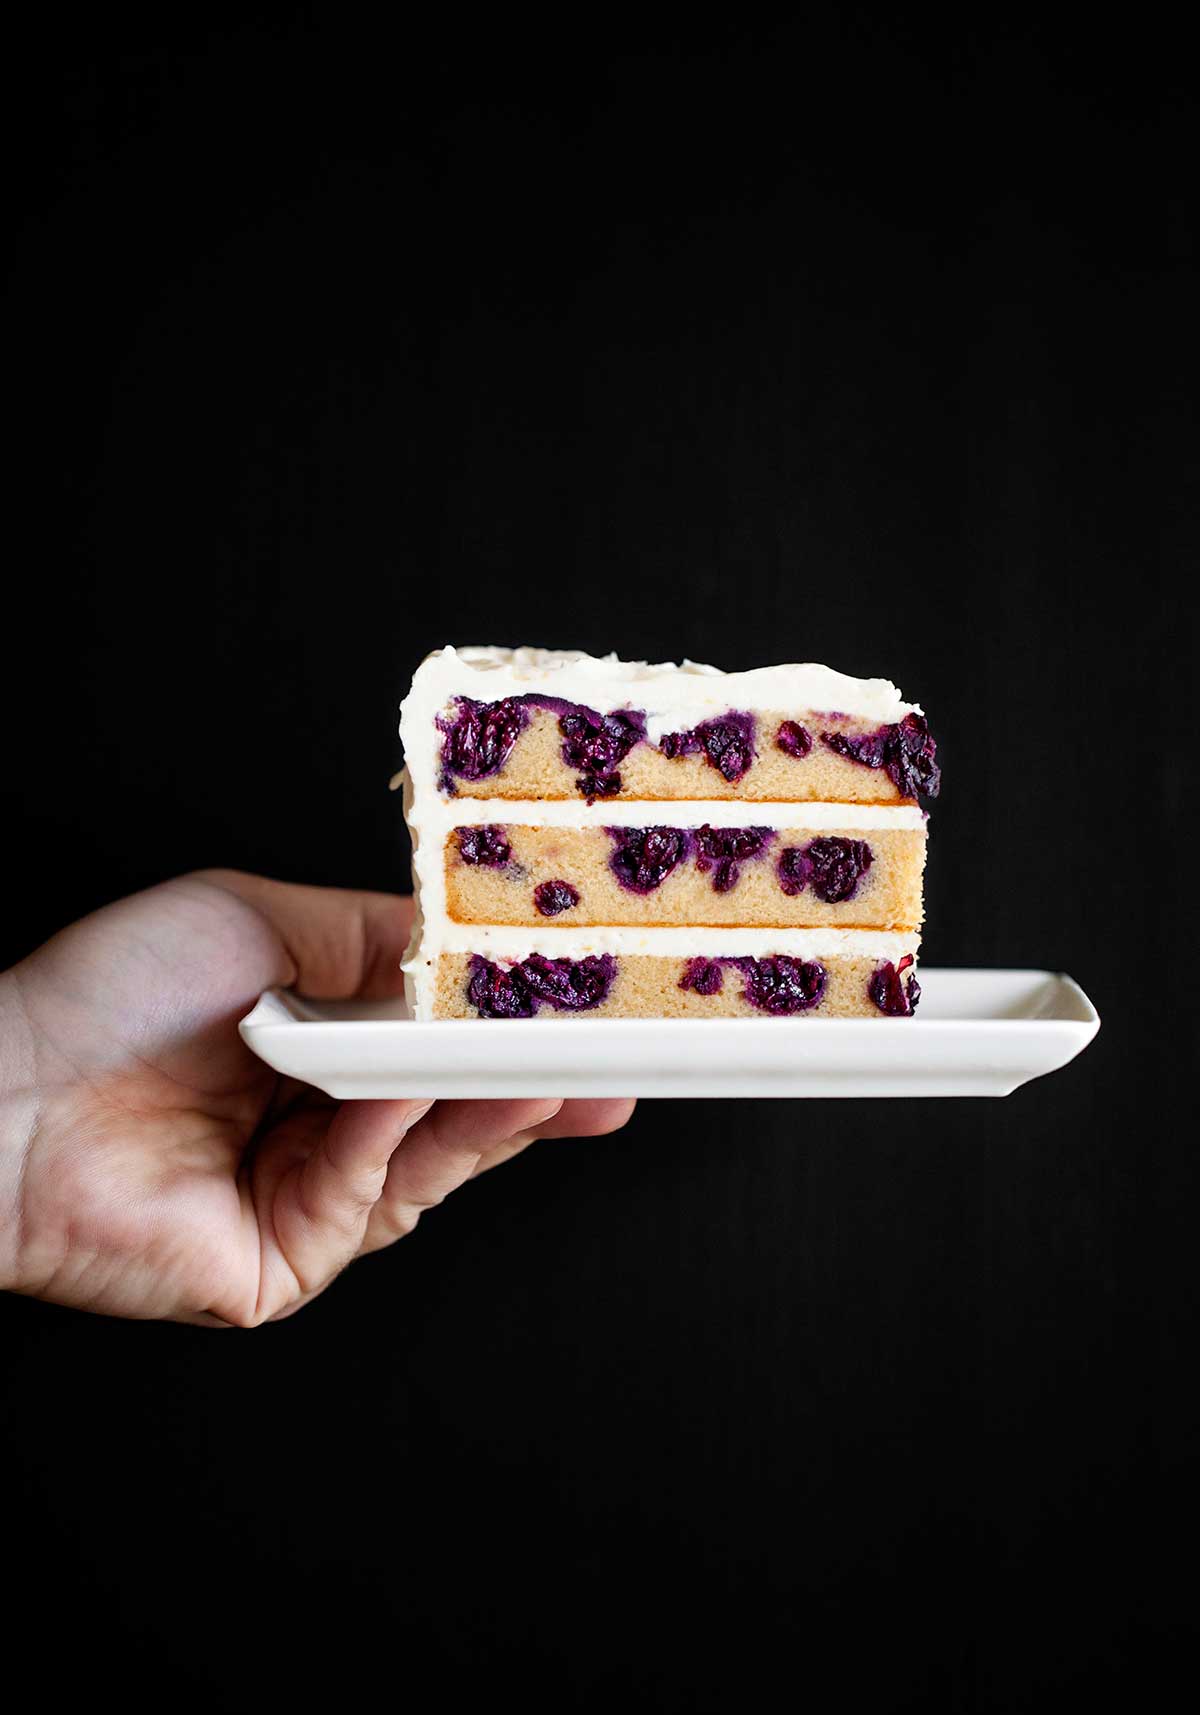
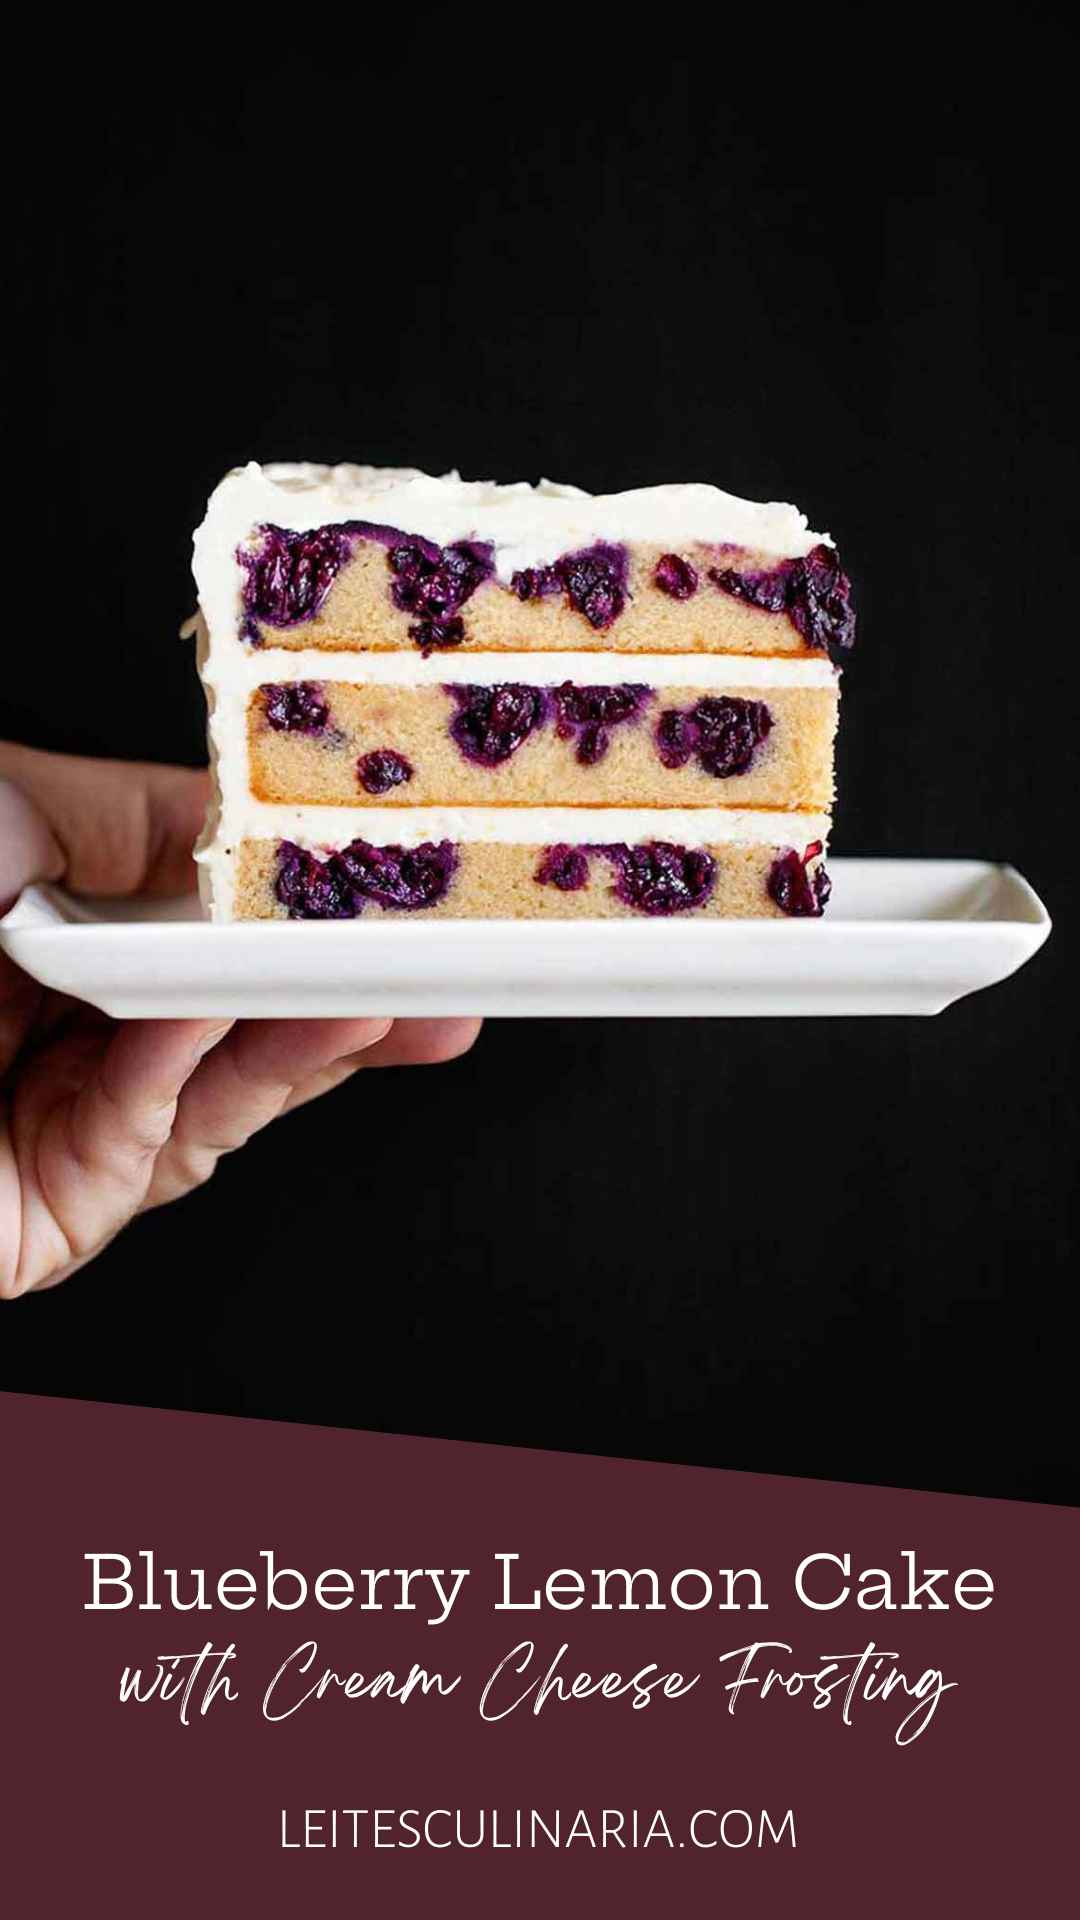
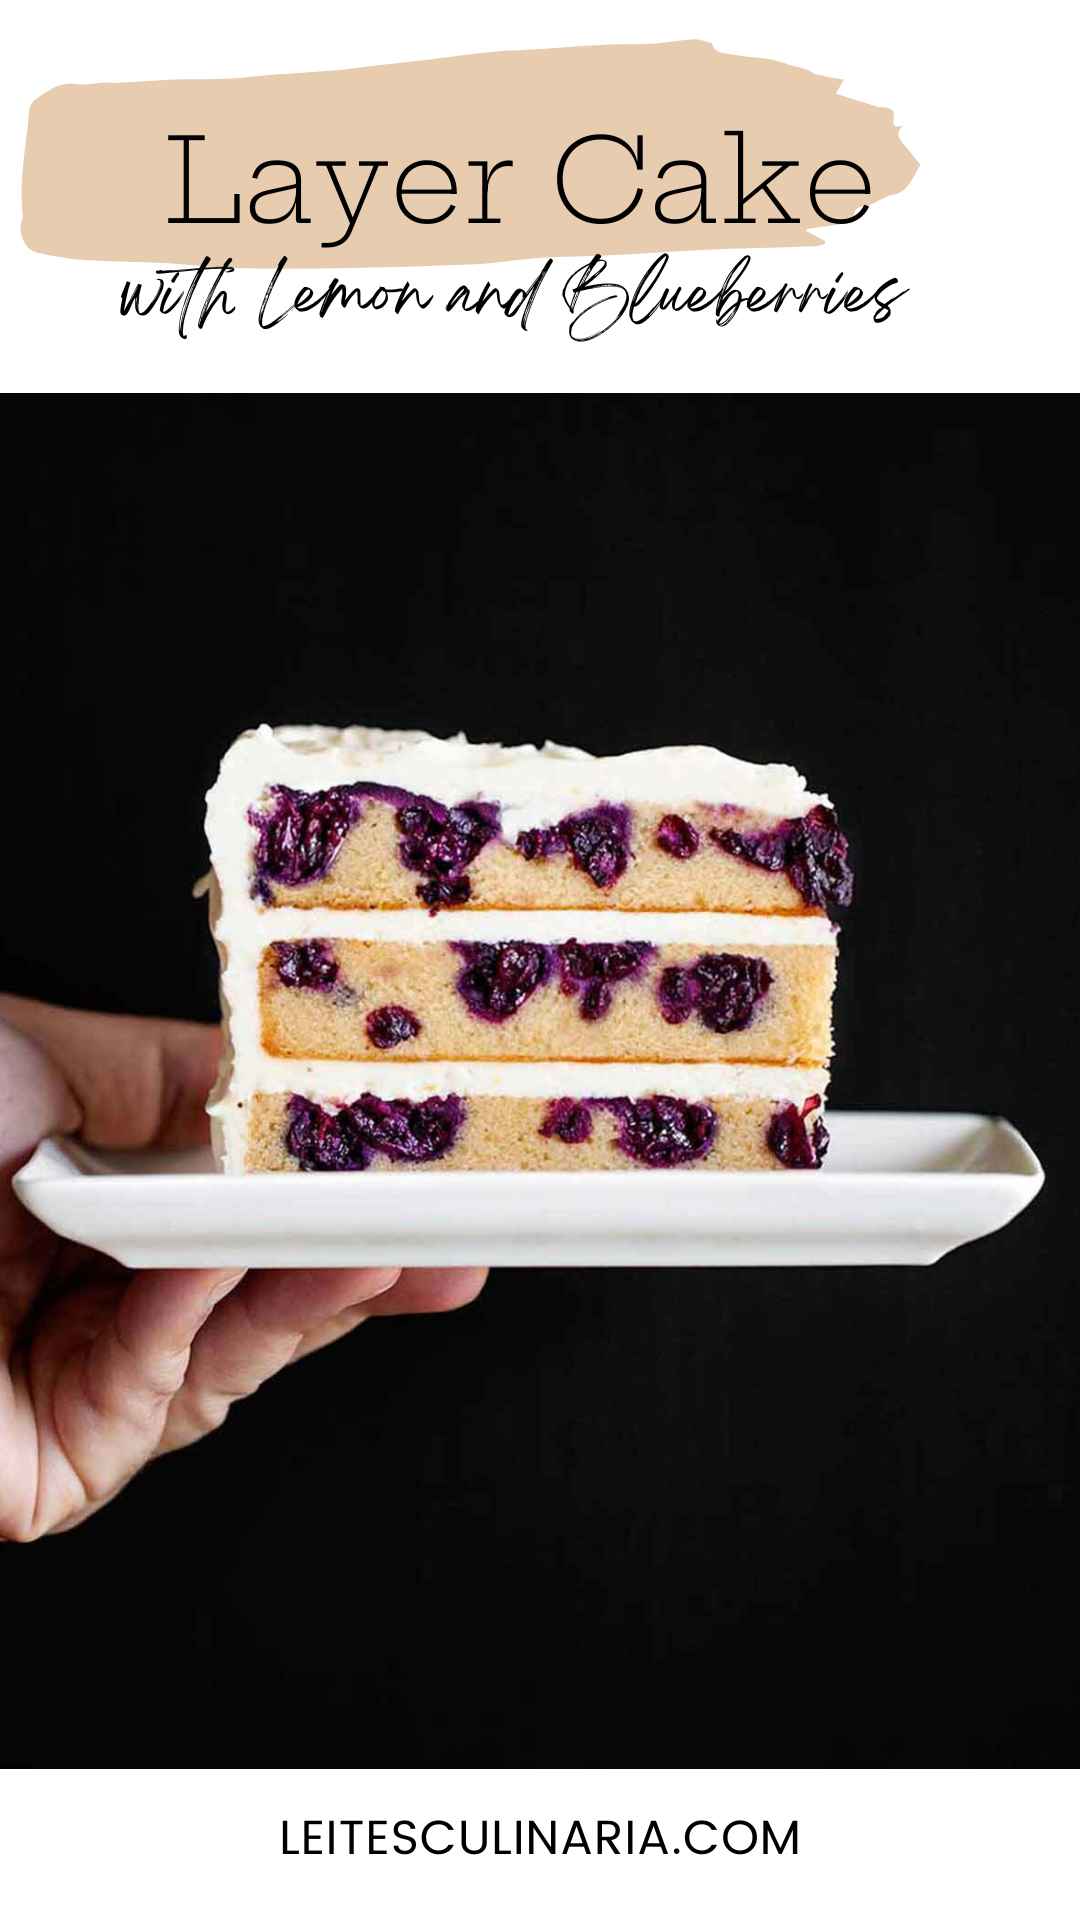
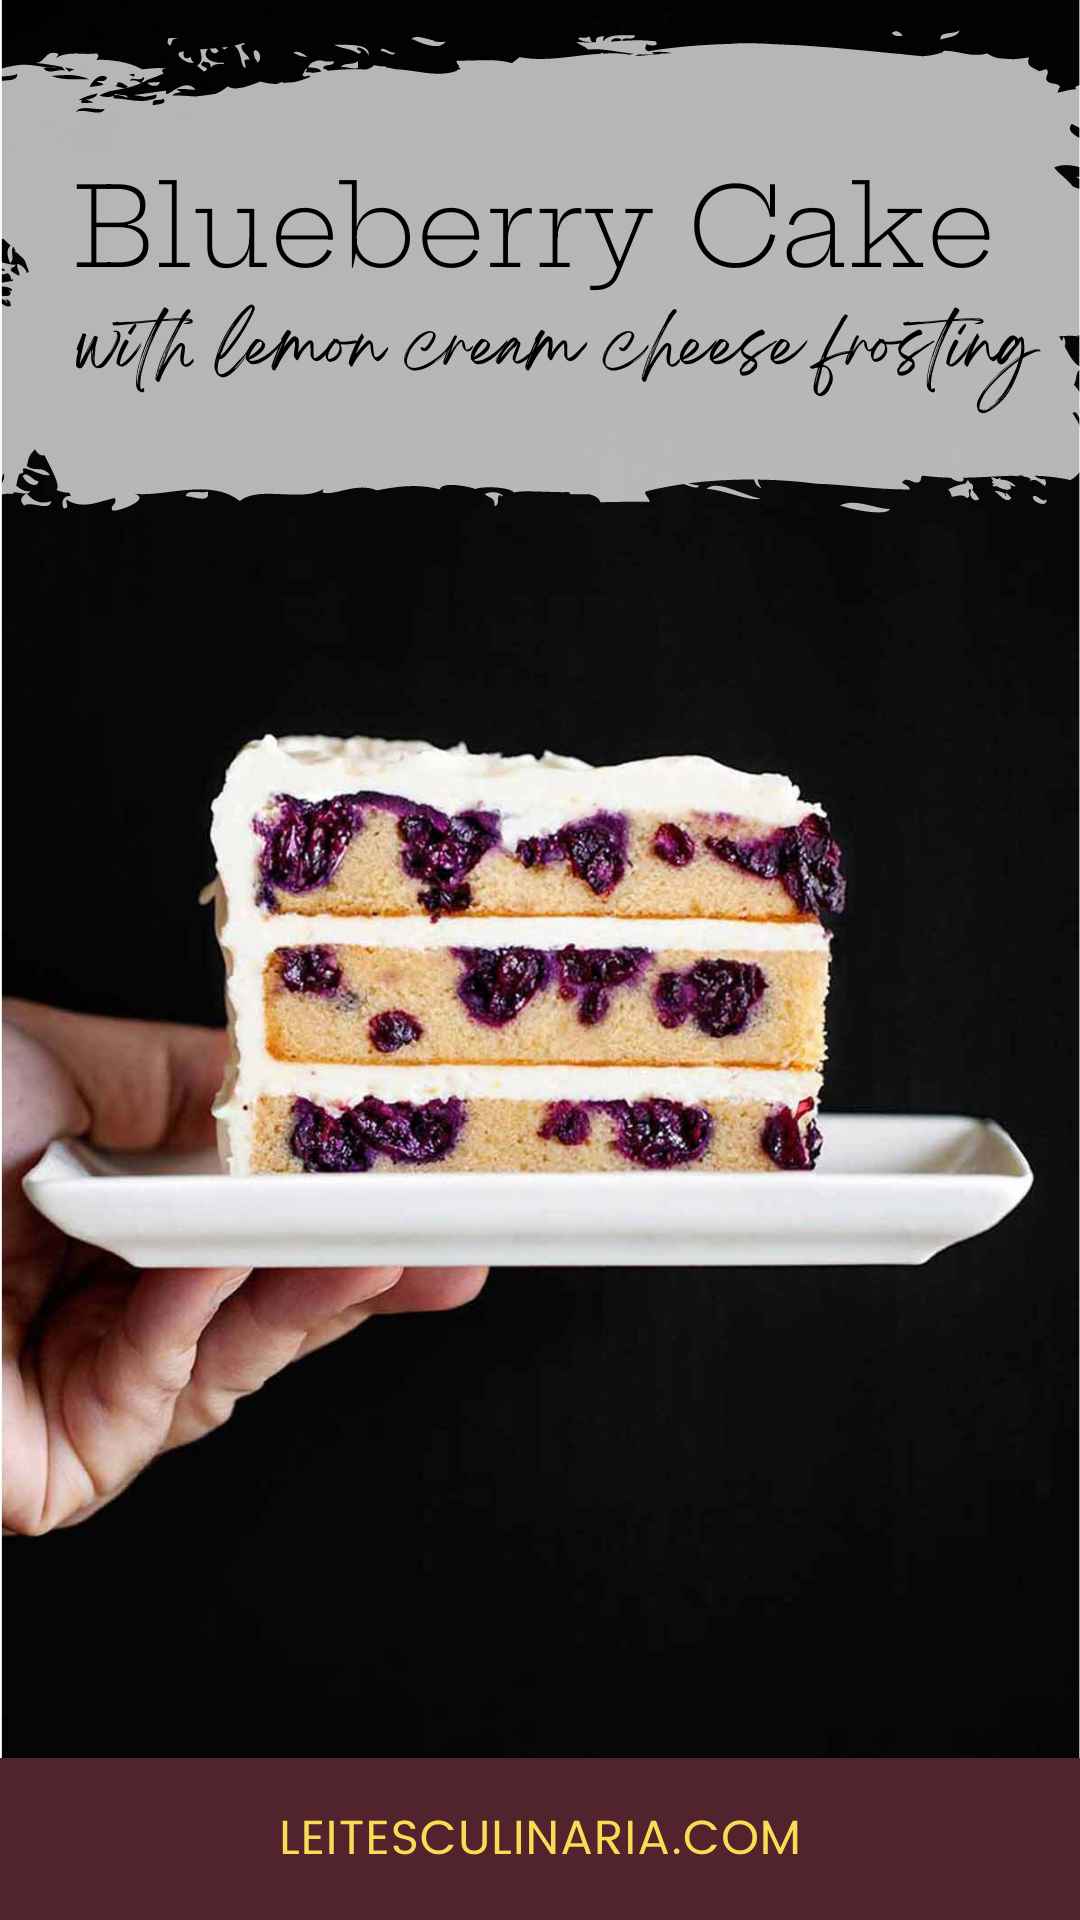
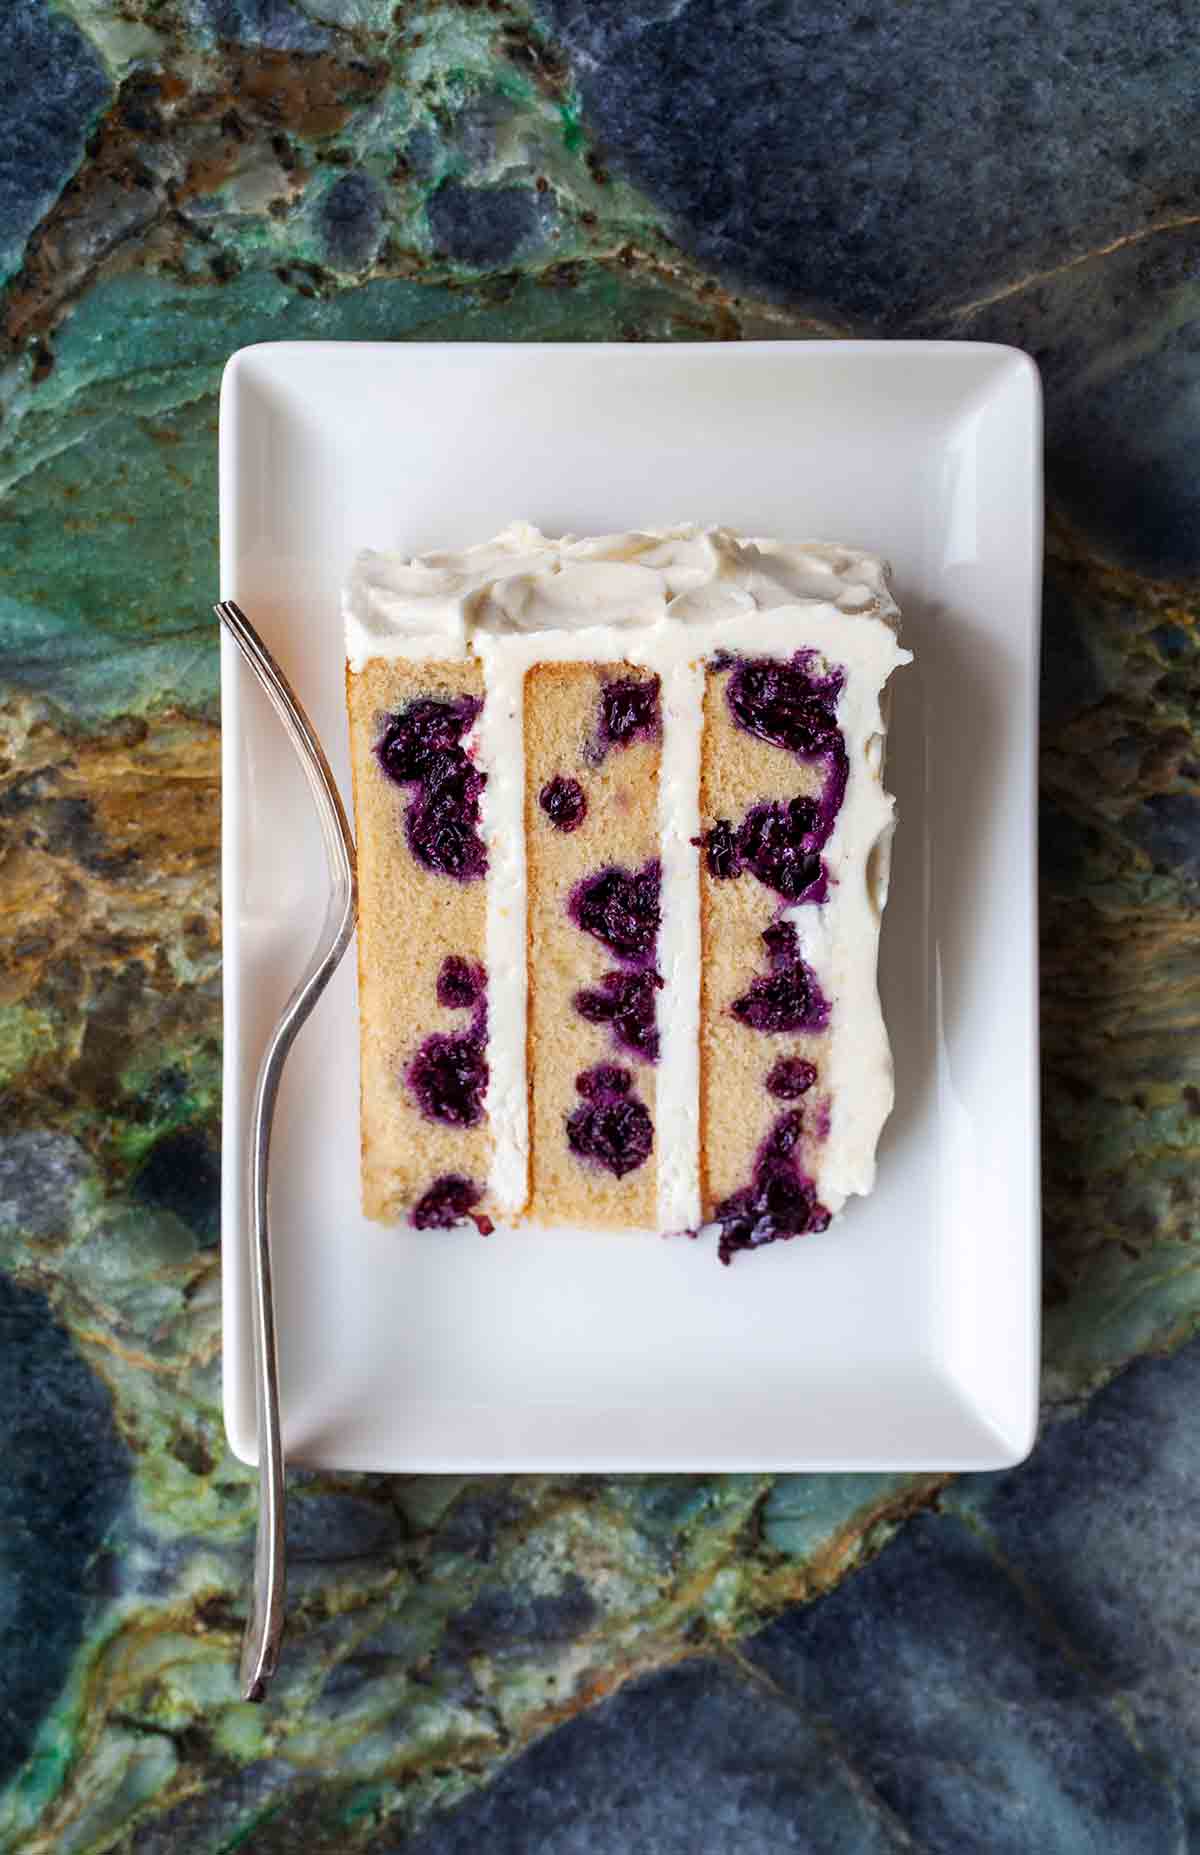
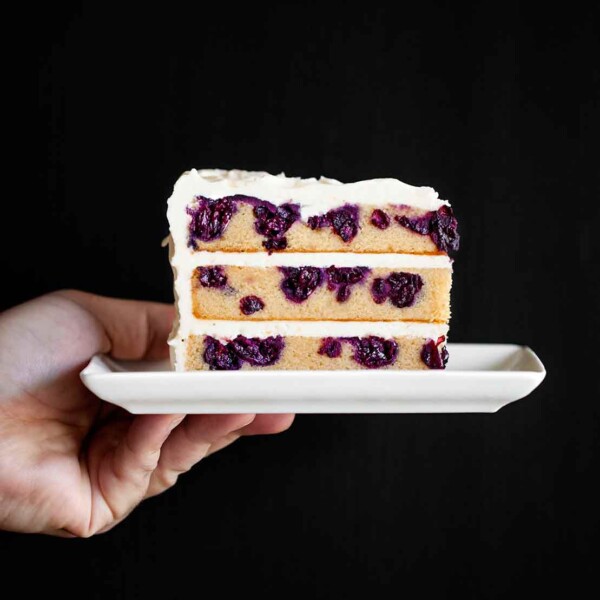
Every once in a great while, I whip up a cake that causes people to stop, look, sigh, taste, and then do face-plants. This blueberry-lemon layer cake is one of those desserts. No matter where I serve it–at home, at a potluck, as a birthday cake at a surprise party–people simply stop talking. (Yes, it’s because they’re stuffing their faces, and I take it as the greatest compliment.) And I know the same will happen for you, even when it’s not peak blueberry season, since the little orbs are available year-round, so you can enjoy this cake any time you wish. Lord knows The One and I have.–David Leite
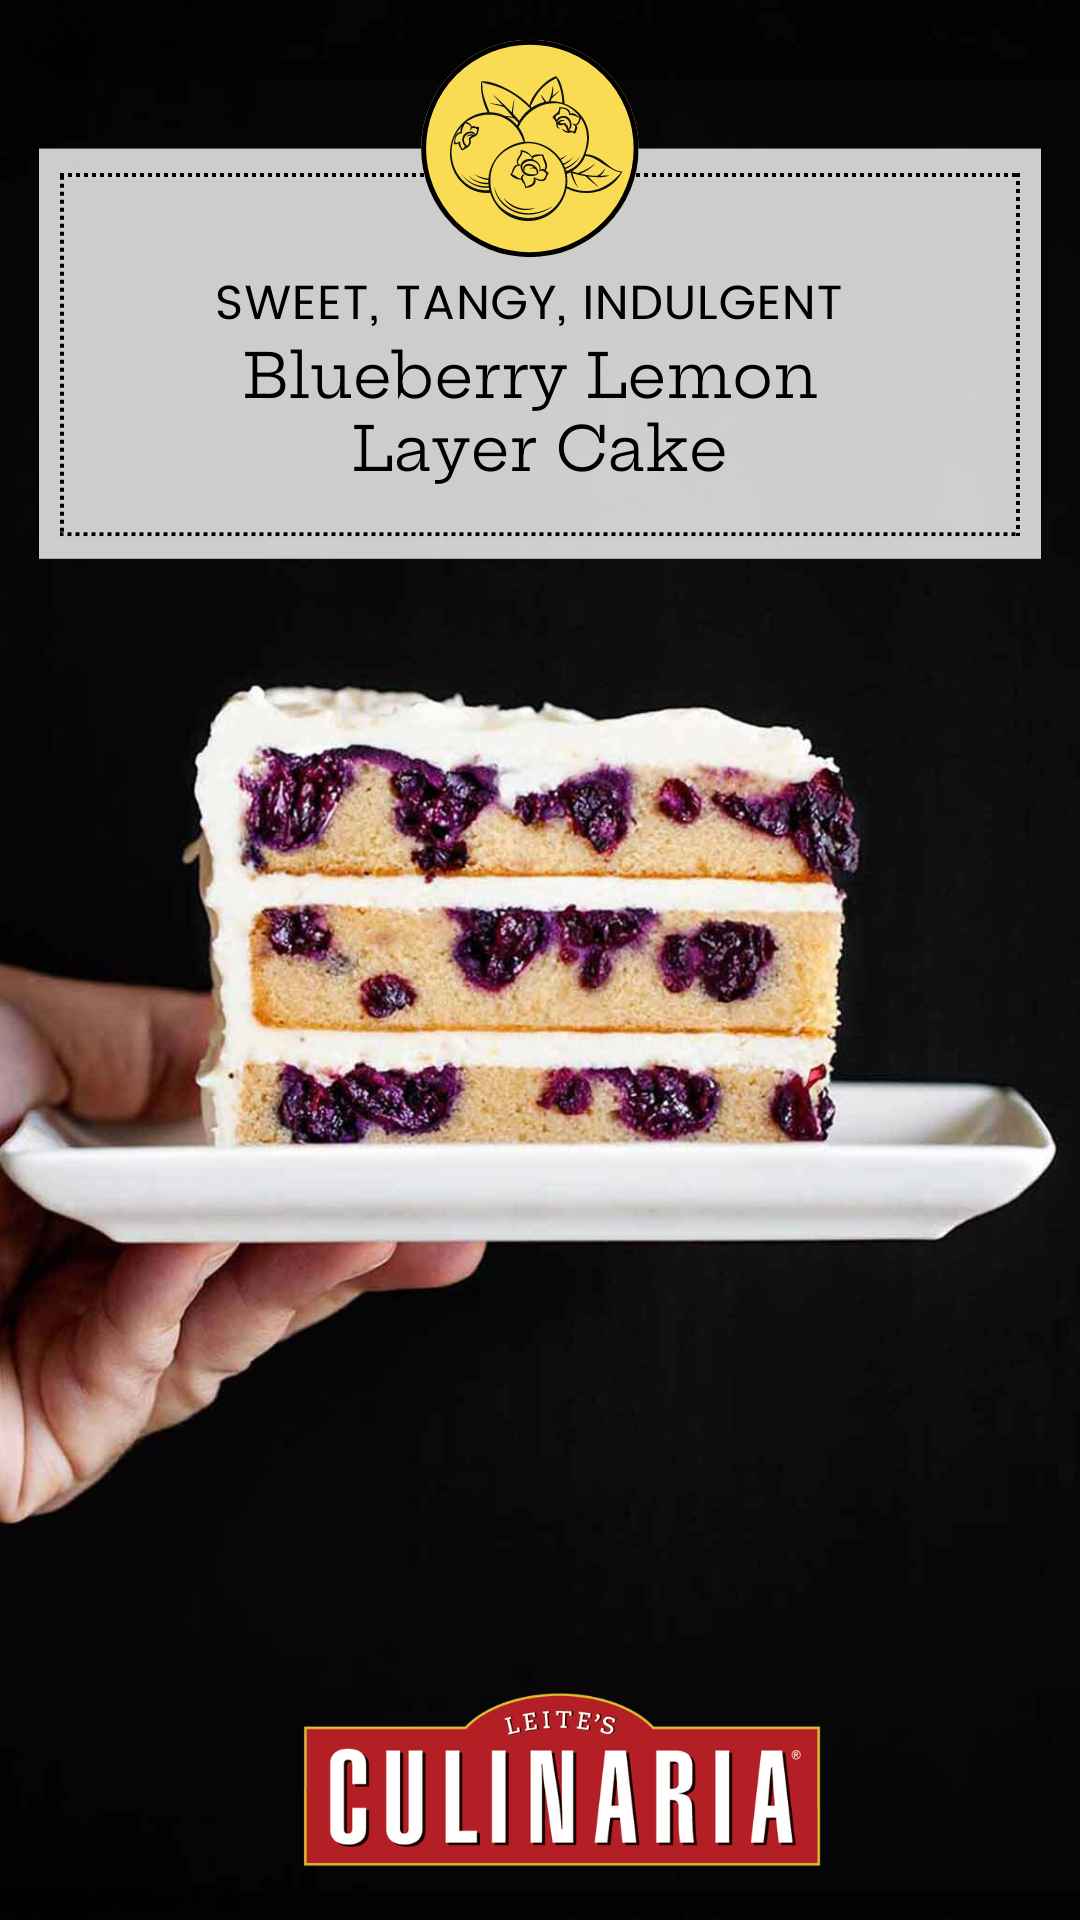
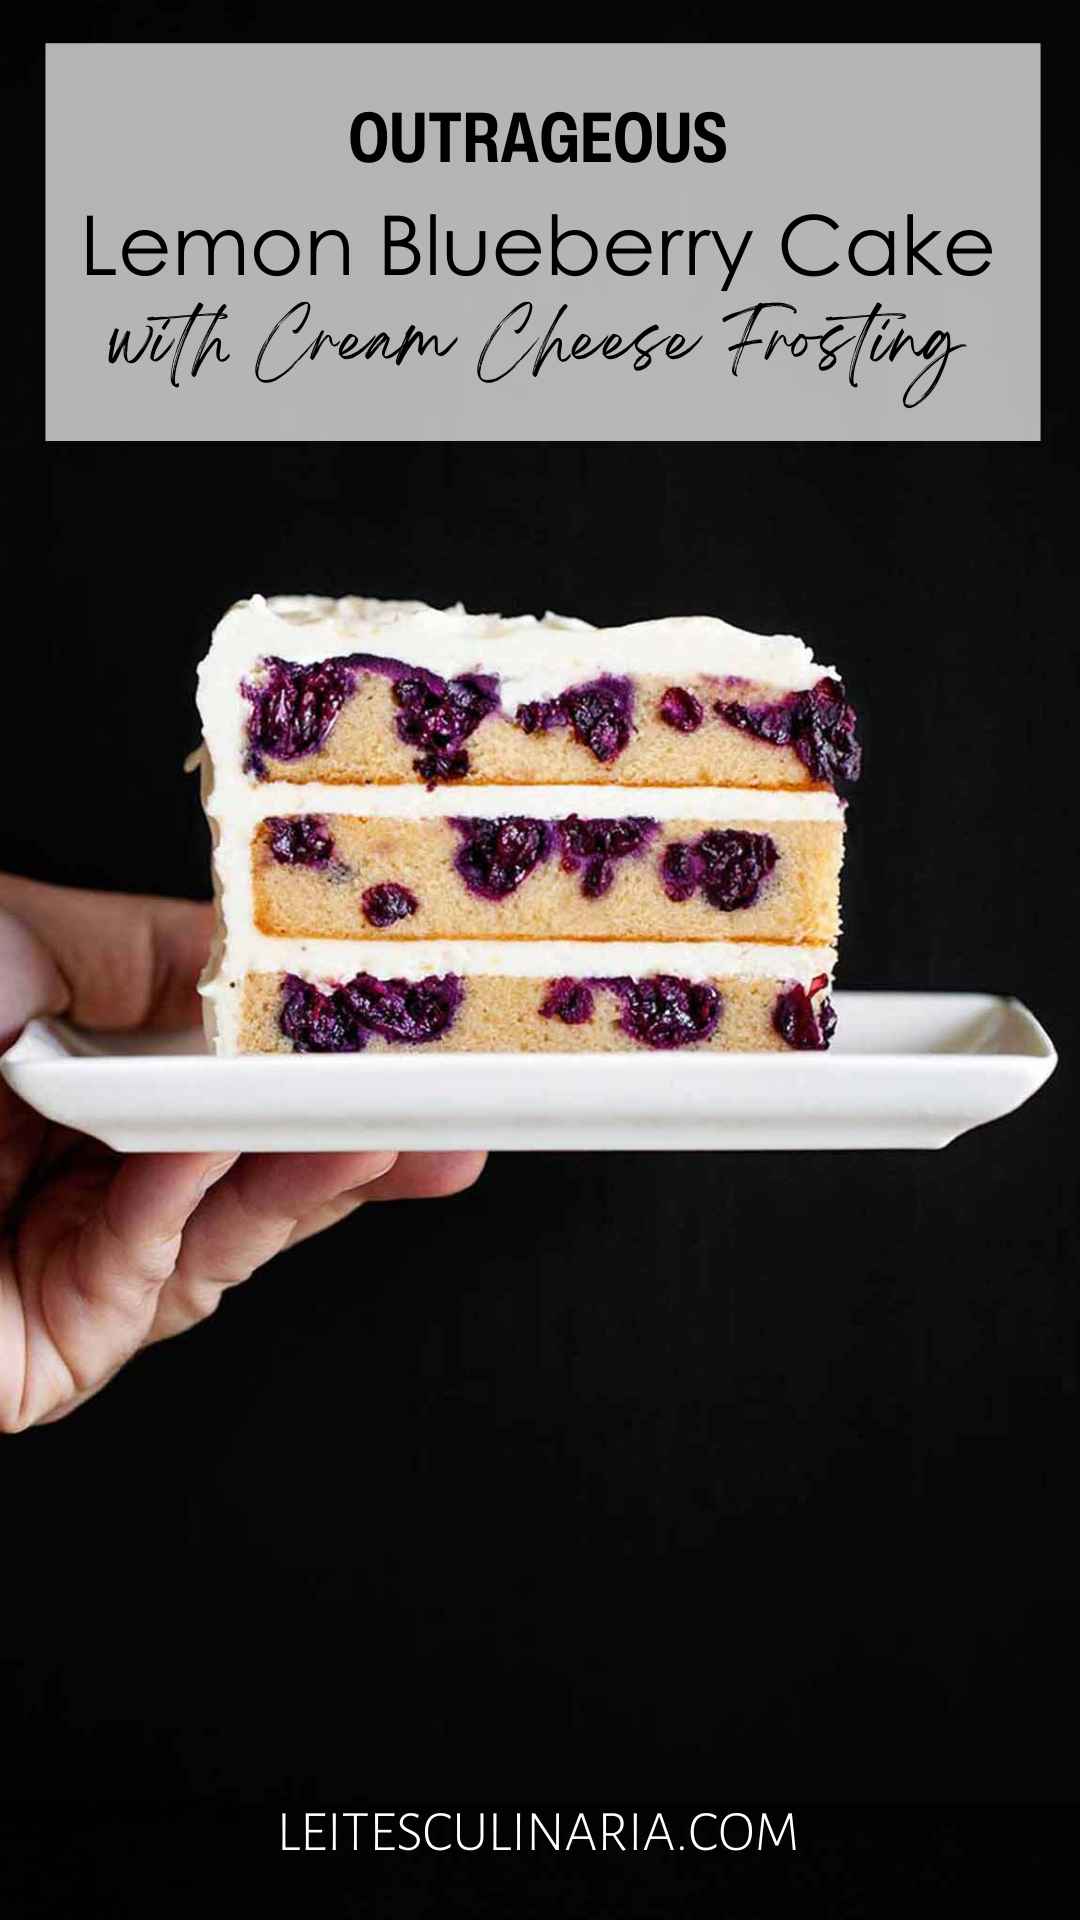
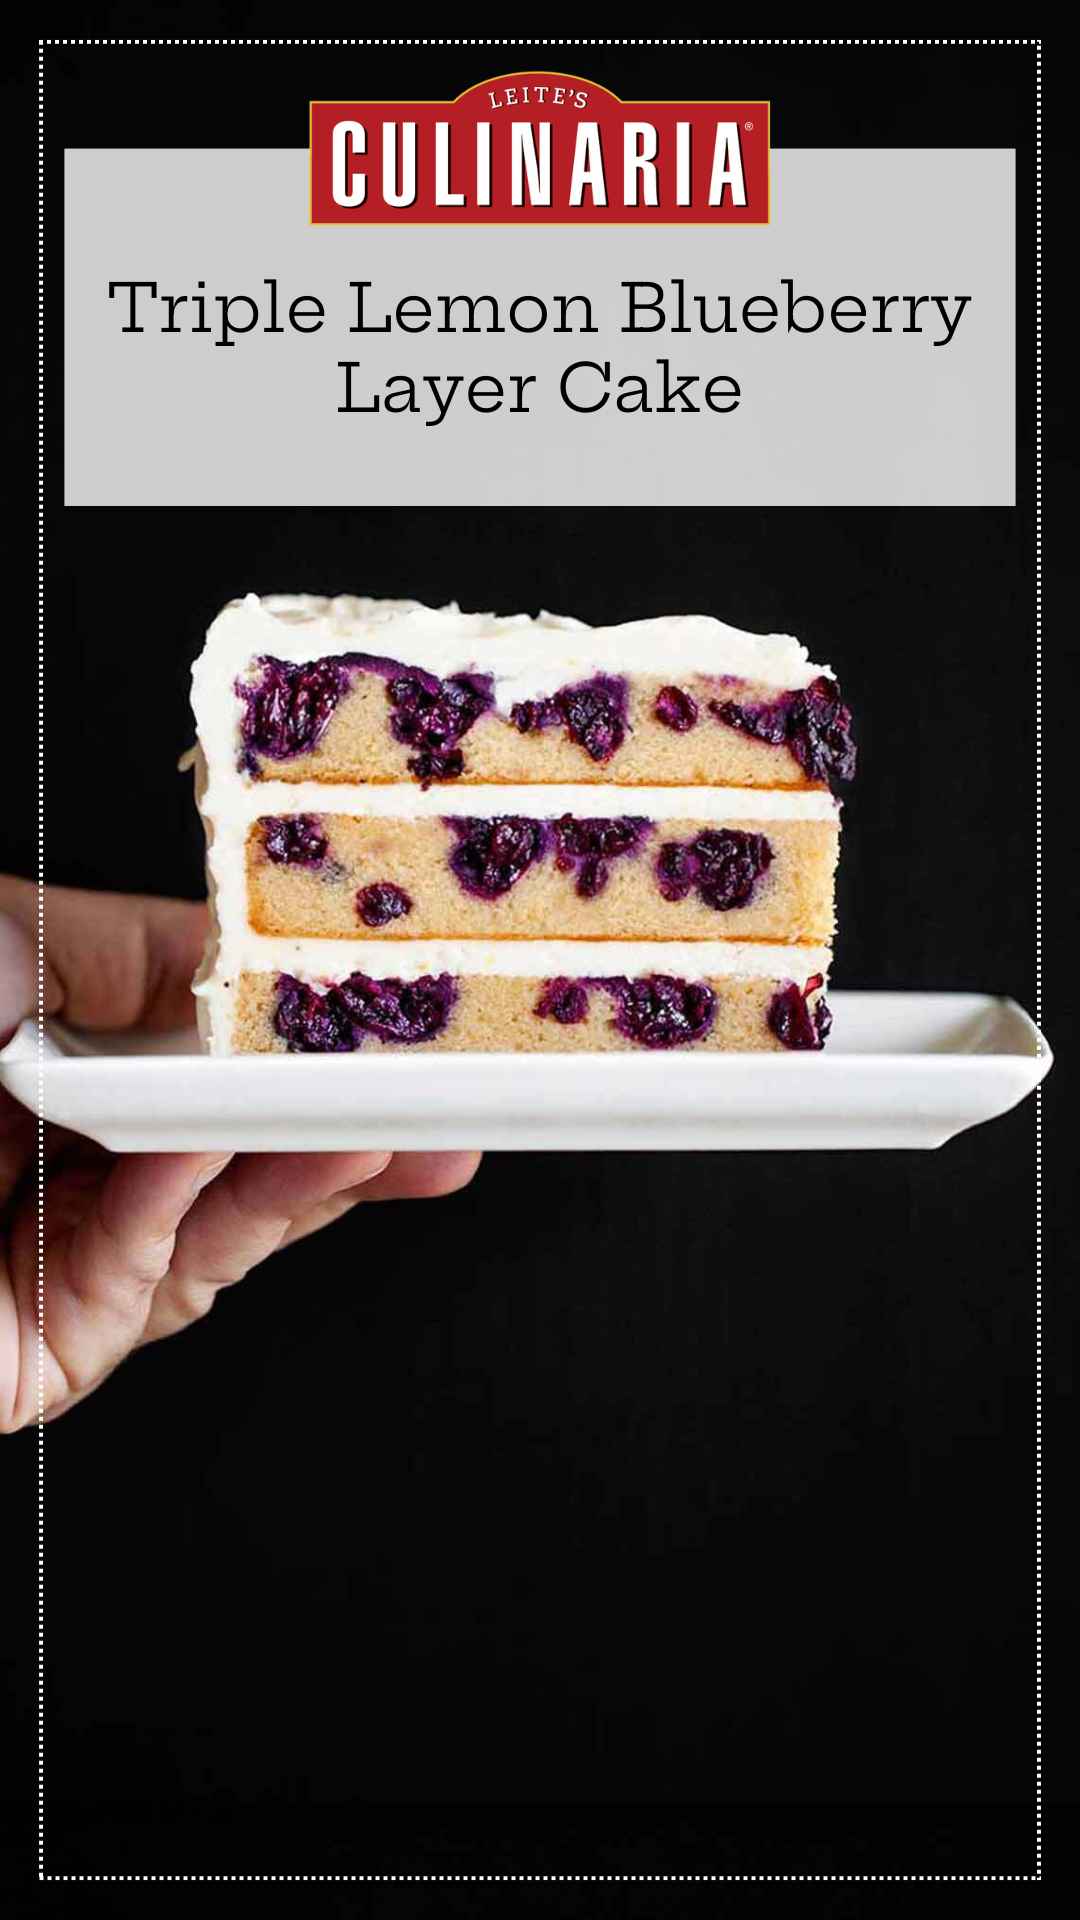
David Leite’s Blueberry Lemon Layer Cake
Ingredients
For the blueberry-lemon cake
- Butter or nonstick baking spray
- 2 1/2 cups cake flour
- 2 teaspoons baking powder
- 1 teaspoon table salt
- 3 cups (16 oz) fresh blueberries, from 2 pint containers
- 2 sticks (8 oz) unsalted butter, room temperature
- 1 cup granulated sugar
- 1/2 cup dark brown sugar
- Grated zest of 2 lemons (about 4 teaspoons)
- 4 large eggs
- 1 cup buttermilk
- 1 1/2 teaspoons vanilla extract
For the lemon-cream cheese frosting
- Two (8-ounce) packages cream cheese, room temperature
- 1 1/2 sticks (6 oz) unsalted butter, room temperature
- 4 cups confectioners’ sugar
- Grated zest of 2 lemons (about 4 teaspoons)
- 1/8 teaspoon table salt
Instructions
Make the blueberry lemon layer cake
- Crank the oven to 350°F (176°C) and position the oven racks in the upper and lower thirds of the oven.
- Generously coat three 9-inch (23-cm) cake pans with butter or baking spray. Line the bottoms with parchment paper circles and butter or spray the paper.
- In a medium bowl, whisk together the flour, baking powder, and salt.
- In a large bowl, combine the blueberries and 2 tablespoons of the flour mixture, and toss to coat the blueberries.
- In the bowl of a stand mixer fitted with the paddle attachment (or in a bowl using a good old-fashioned hand mixer), beat the butter on medium speed until creamy, 2 to 3 minutes.
- Gradually add the sugar and then the lemon zest and beat until the mixture is light and fluffy, 4 to 5 minutes.
- Plop the eggs in, 1 at a time, and beat until incorporated.
- Alternate adding the flour mixture and milk to the mixer, starting and ending with the flour. Mix in the vanilla. Gently fold in the blueberries. Divide the batter equally among the pans.
Bake the cake
- Bake the cakes until a toothpick inserted into the center comes out clean, 25 to 30 minutes. Cool the cakes in their pans on a wire rack for 10 minutes, then invert them onto the rack, peel off the parchment, and cool completely, about 1 hour more.
Make the lemon-cream cheese frosting
- Meanwhile, in a stand mixer fitted with the paddle attachment (or the old-timey way with a bowl and hand mixer), beat the cream cheese, butter, confectioners’ sugar, zest, and salt until fluffy, about 4 minutes. If the frosting is a bit thin, let it sit in the fridge while the cake cools.
Frost and serve the cake
- Place a cake layer on a platter or cake stand and evenly spread a heaping 3/4 cup of frosting on top.
- Repeat with the second layer and another heaping 3/4 cup of frosting.
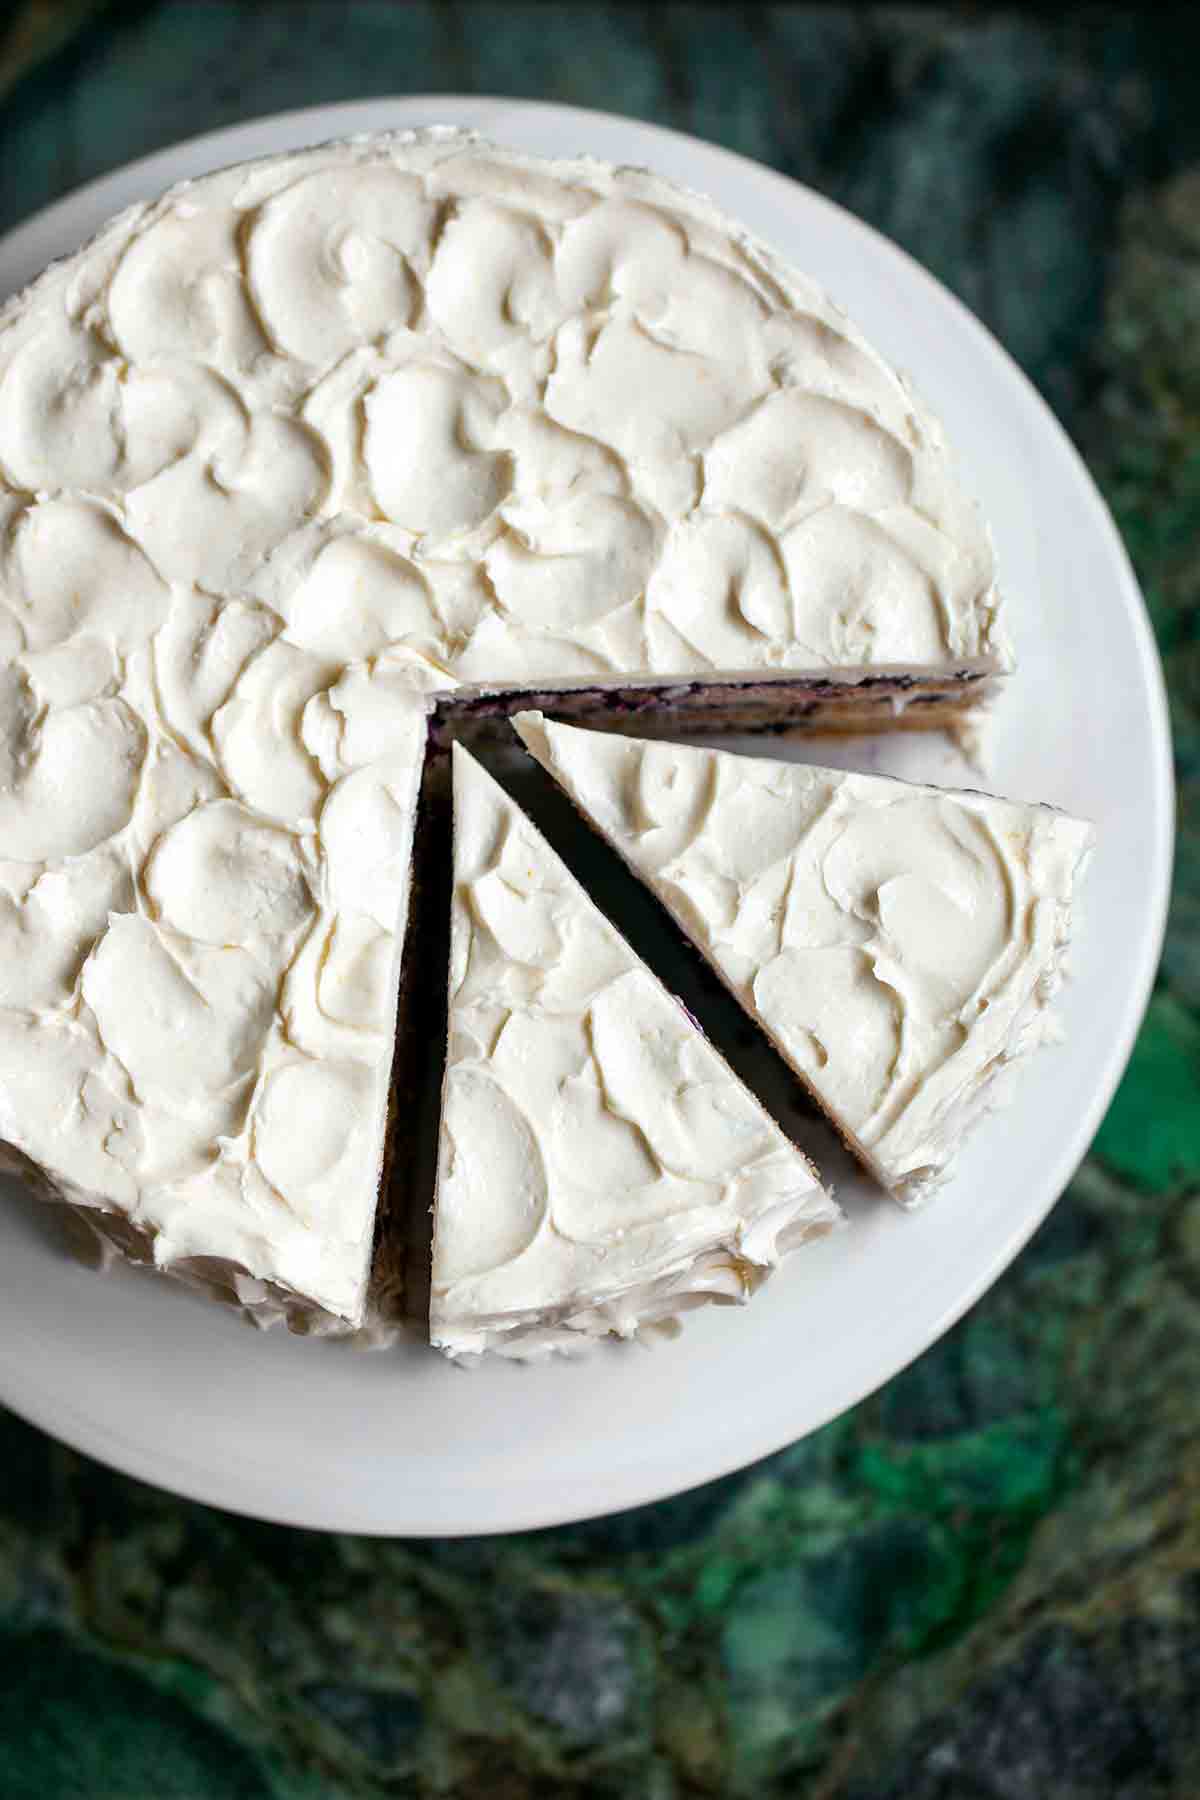
- Top the stack with the third layer and spread more frosting generously over the top and sides, swirling magnificently.
- Refrigerate for at least an hour to help the frosting to set. Take the cake out of the fridge about 30 minutes before serving.
Notes
How to turn this into a two-layer blueberry-lemon cake
This stunning cake can easily be made with just two layers in case, like some of us, you have only two and not three cake pans. Simply divide the batter between two 9-inch (23-cm) and bake for 30 to 35 minutes, until a toothpick inserted into the center comes out clean.
An LC Original
View More Original RecipesNutrition
Nutrition information is automatically calculated, so should only be used as an approximation.
Recipe Testers’ Reviews
While we had declared this the “Summer of Pie” in our house, I could not resist this blueberry lemon layer cake recipe. (We had just recently gone blueberry picking in New Hampshire and I have a refrigerator filled with 13 pounds of blueberries.)
I made the cake and frosting in the afternoon and let the layers cool until the evening. Then I frosted and refrigerated it overnight. When I served it after dinner the next day, my husband, who is not a cake person, gave this a 10 out of 10. I asked if there was anything he thought needed improvement, and he couldn’t think of a thing.
The frosting is FLUFFY in the best possible way. If you love someone and want to show them, I would strongly encourage you to make this cake. Truly, I would say my only criticism would be that there was more frosting than I really needed, and I frosted generously. However if someone wanted to make buttercream rosettes or something, you will have plenty to do that with the existing proportions.
This is the kind of cake I would serve for any summer special occasion where I want to impress our guests. It’s decadent without being heavy. It’s lemony without overpowering the blueberries. And it tastes like a cake, not a muffin, which was one of my fears when putting it together.
The blueberries do sink, even with a coating of the flour mixture, meaning you don’t get flawless dispersal of berries. But the layers are thin enough that it doesn’t really matter. You also don’t get a ton of rise in this batter. But the cake still is fluffy. Not sure what alchemy makes that work. But I will not complain.

I consider this blueberry lemon layer cake recipe to be incredibly delicious, velvety, and just completely indulgent. These cakes are VERY moist and spongy; getting them off the cooling rack was difficult but I learned that applying parchment paper to the rack before turning the cakes out made it much easier to lift them off it later.
Other than that, this recipe was straightforward and lovely. This is a rich, dreamy, lemony cake, a bit like muffins but much more fabulous. So happy I had people to share it with! And each one of them totally loved it.
I used butter instead of baking spray and this worked well. I baked my cakes for 30 minutes each and this yielded beeeautiful, buttery, exquisite layers. I actually served this cake fresh rather than chilled and it sliced beautifully; the frosting wasn’t set per se but it wasn’t sloppy, either. Post-refrigeration, though, the rest of the cake was even easier to slice! Very neat and lovely layers.
I think you might even get 14 servings out of this rich, decadent cake.
This blueberry lemon layer cake is beautiful and delicious. Cream cheese frosting is not a fave in my household but everyone raved about this yummy, lemony icing. (Even family visiting from Chile dug this cake, which surprised me. My Chilean family are brutally honest, and usually find cake here in the US to be too dry. Not this time. Éxito total.)
I refrigerated the cake overnight for a party next day. Took the cake out 2 hours before dessert. Perfect.


Ooh, or a Bundt pan! I have that too. Baking times for that?
Tina, this wasn’t tested in a Bundt pan, and they tend to bake quite differently than regular cakes. We’d recommend sticking with your round or rectangular pan here.
LOL, I have only one 9 inch round pan, but a 9×13… What would be my baking instructions for that?
Tina, you could bake the cake in batches using your single round pan, or you could put most of the batter in the 9-by 13. It may not all fit, and you would want to take care that you didn’t overfill it. Baking time would likely be similar to the variation that uses two 9-inch pans, 30 to 35 minutes.
I love the flavors of blueberry and orange together. What do you think of substituting orange zest for the lemon zest in this cake and frosting?
I’d give it a try, Ellen. And please let us know how it turns out.