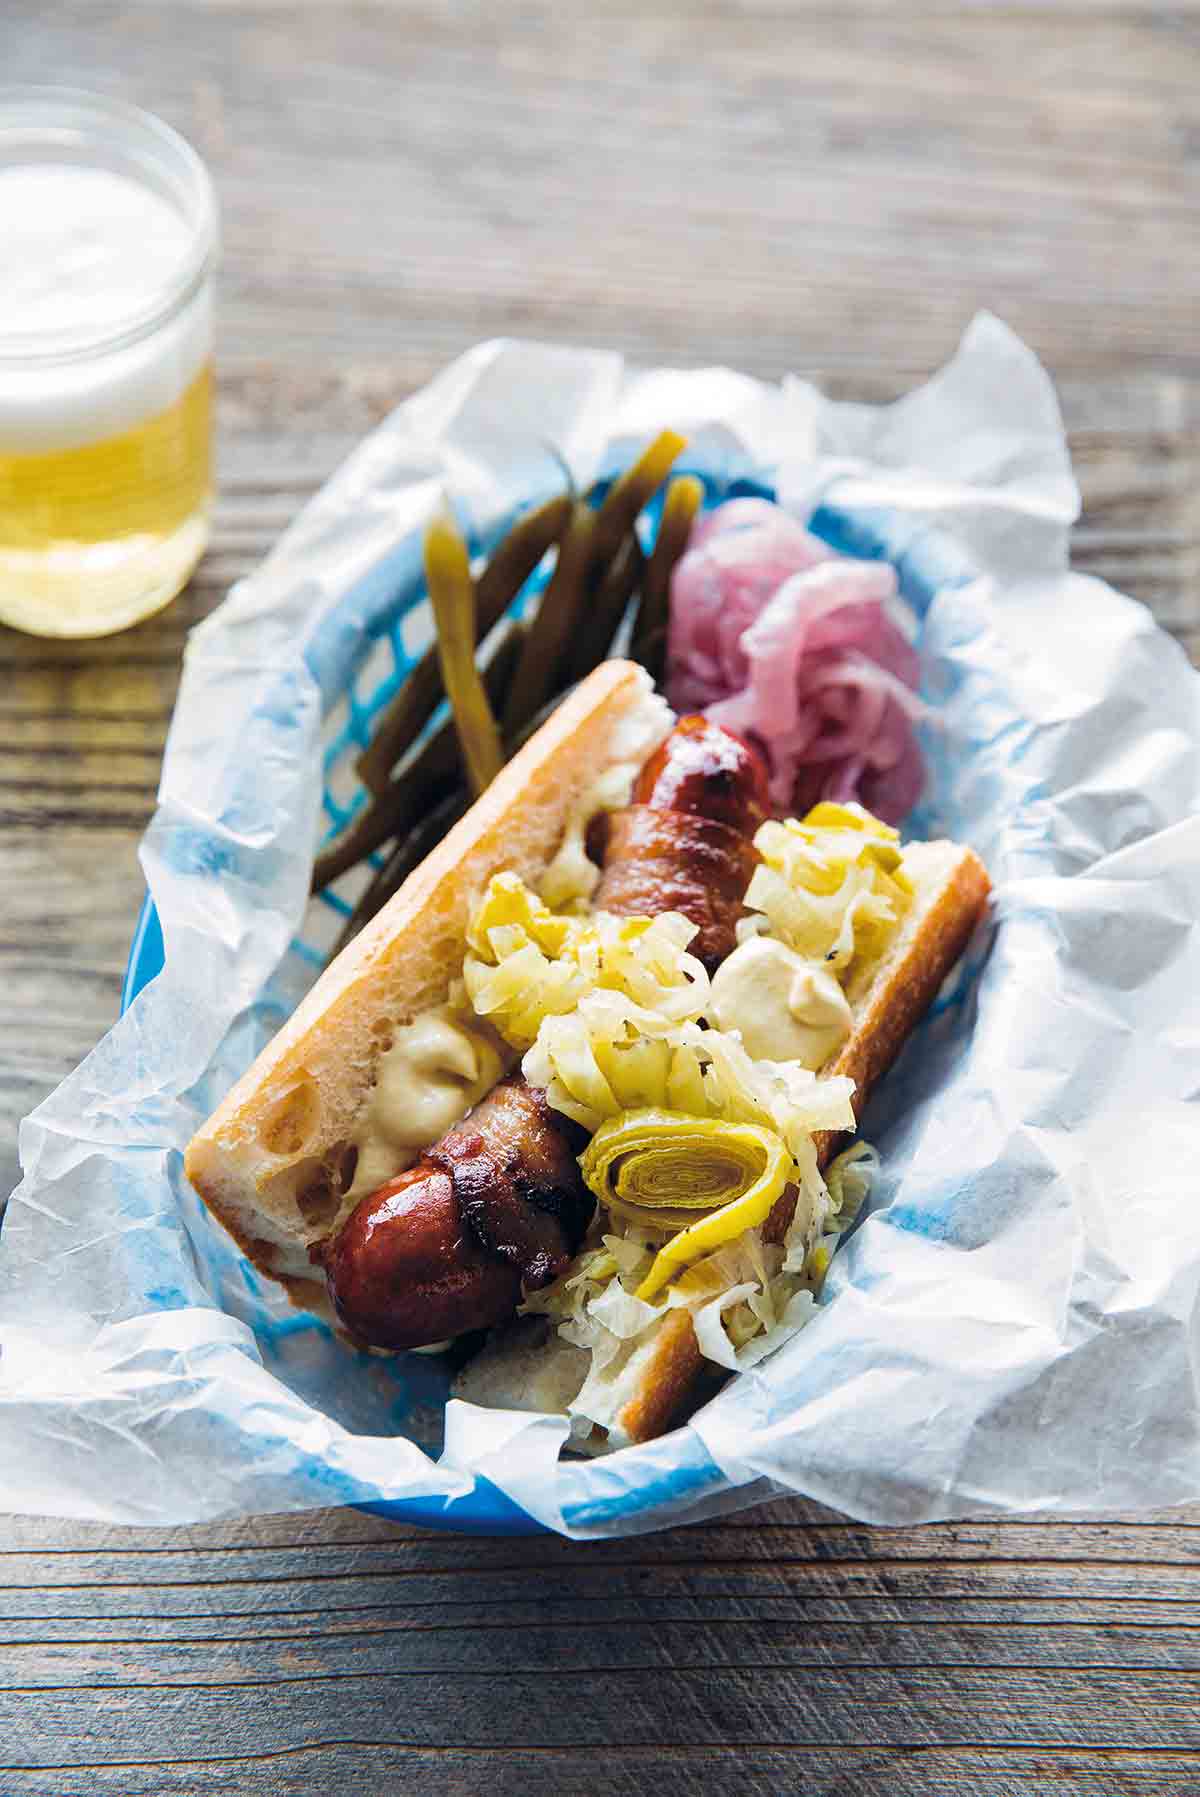
Why put off that bacon-wrapped hot dog craving for the stadium when you can make them in less time than you’d spend standing in line? These crisp, kraut-topped dogs and a (not overpriced) cold beer will make you feel like you’re at the game, except the seats are far better. Plus there’s no line to the bathroom.–Angie Zoobkoff

Bacon-Wrapped Hot Dogs
Ingredients
- 8 slices good-quality bacon
- 8 good-quality hot dogs
- 8 hot dog buns
- Store bought or homemade sauerkraut, for serving
- Store bought or homemade mayonnaise or Sriracha mayonnaise for serving
Instructions
- Take a slice of bacon and a hot dog and, starting at one end of the dog, wrap the bacon around it, covering as much surface area as possible. The ends of the bacon strip will hang loose and that’s okay.
☞ TESTER TIP: If you prefer to secure your bacon in place, break a toothpick in half and use each piece to attach the ends of the bacon slice to the hot dog.
- Heat a large skillet over medium heat. Add the bacon-wrapped hot dogs in a single layer, with the loose ends of the bacon tucked underneath the dog.
- Fry the hot dogs, carefully turning occasionally with tongs, until the bacon is cooked through and crisped into place, about 15 minutes.
- Top the buns with mayonnaise, nestle a bacon dog into each, and top with generous amounts of sauerkraut, if desired.

Explore More with AI
Nutrition
Nutrition information is automatically calculated, so should only be used as an approximation.
Recipe Testers’ Reviews
Did you know only 68% of the recipes we test make it onto the site? This recipe survived our rigorous blind testing process by multiple home cooks. It earned the Leite’s Culinaria stamp of approval—and the testers’ reviews below prove it.

When you leave “The Yard” at the end of a Giants’ baseball game, you’re greeted by the aroma of bacon-wrapped hot dogs being cooked on flat-top grills. They always smell so intoxicating. However, between wanting to start getting home and not knowing who is doing the cooking and under what conditions, we’ve never stopped to taste them. Well, here I had control over all of those variables, and even though I won’t stop to buy one from the folks selling these on the street, I will continue to make them myself.
I love hot dogs. Always have. But I insist on buying good-quality dogs. That’s the first, and most important, unwritten rule. (Perhaps it should be written.) My bacon stayed wrapped on one dog, but for the other, I needed to break a toothpick in half and used each small piece to secure the bacon slice.
Buy a good-quality kraut if you don’t want to make your own. You can buy it at specialty bulk shops or farmers’ markets. I made a Sriracha mayo to use for this recipe. This made a wonderful and festive lunch. A simple dish that will be repeated.
This was one of the easiest and most effective recipes for bacon-wrapped dogs I’ve run across. Cooking them slowly in a pan led to crisp bacon, snappy dogs, and everything stayed wrapped together perfectly. It didn’t take much longer than a regular hot dog preparation, whether that be grilling or boiling.
I didn’t make the kraut because I couldn’t procure a large enough crock or jar in time. But I served the hot dogs with homemade aioli and store-bought kraut. The overwhelming consensus among my guests was that the dogs needed another layer of acid, like mustard or more lemon in the aioli, and I feel like the homemade kraut may have just fit the need.
I made 8 hot dogs and it fed 4 people in my house. I used Nathan’s all beef hot dogs.


Mayo on a hot dog is just wrong and sounds disgusting, I have to agree with Daisy.
Wow, low and slow, you sound more prickly than usual today! We prefer not to use the “D-word”; we have an eat-and-let-eat attitude here. And let me ask you: Do you put mayo on your BLT? That calls for bacon. This has bacon. Most hot dogs are a combo of pork and beef unless it states they’re all-beef. Not so weird.
Thank you but my mayo is for the tomato sandwich.
That’s why there’s chocolate and vanilla, low and slow.