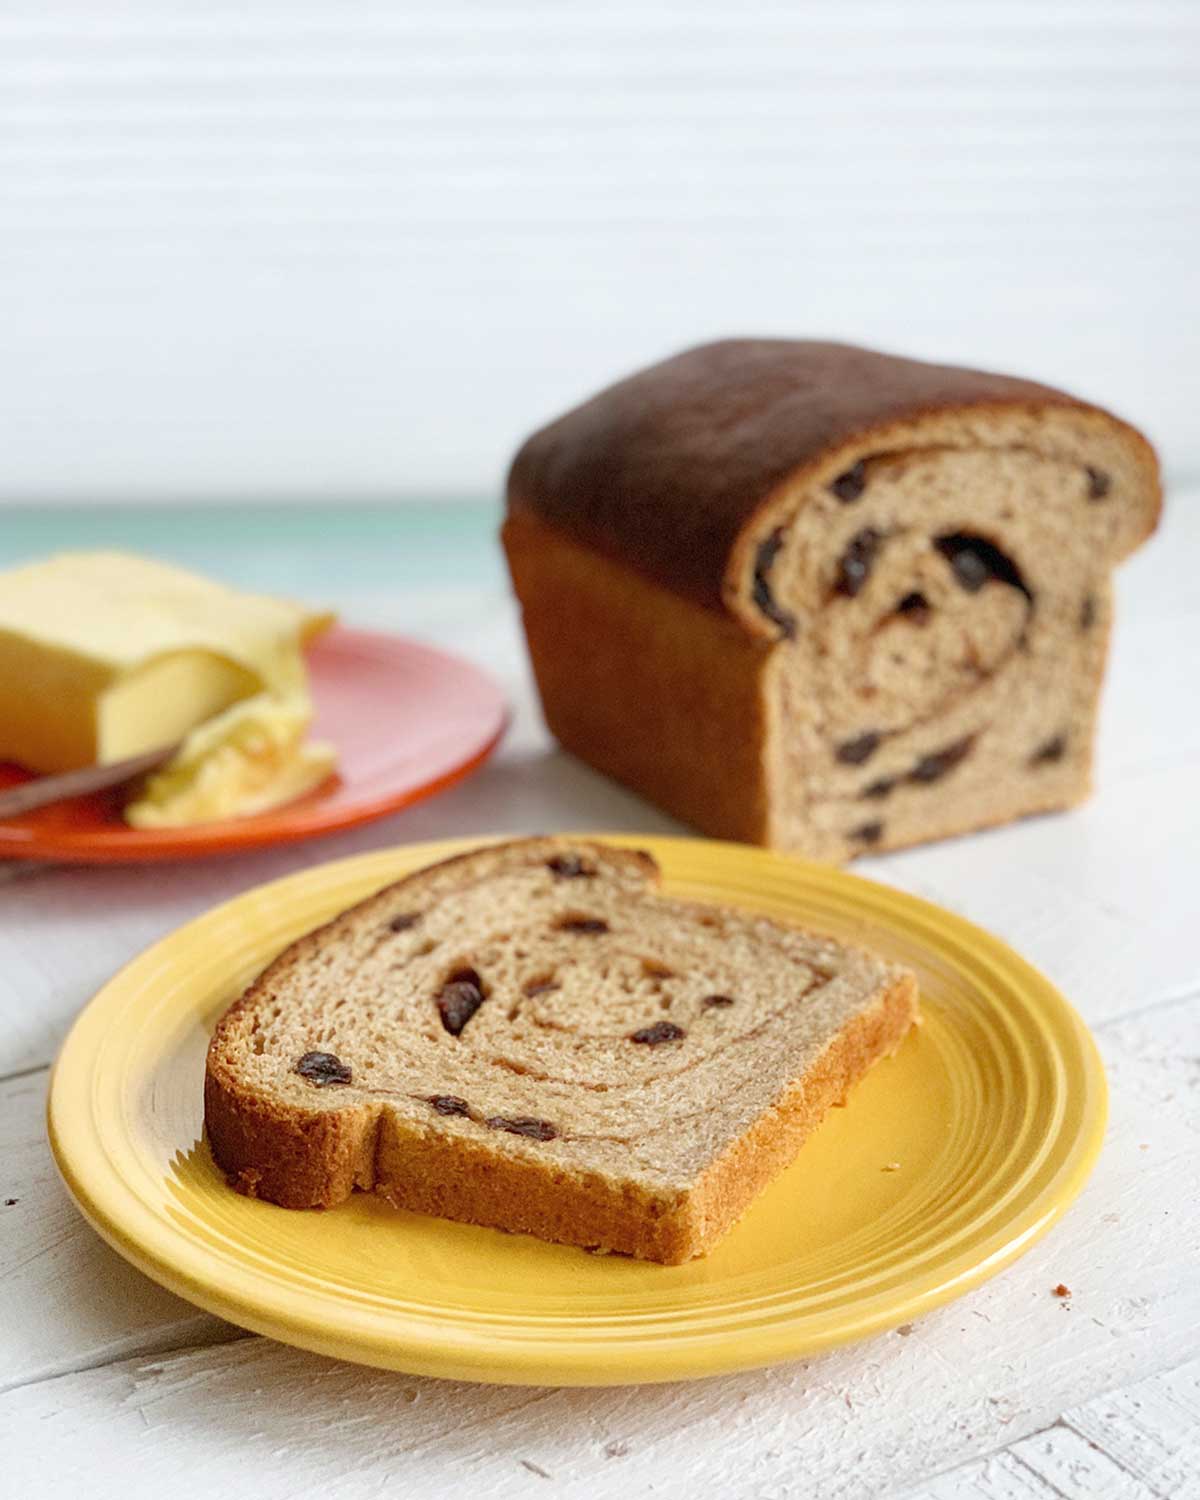
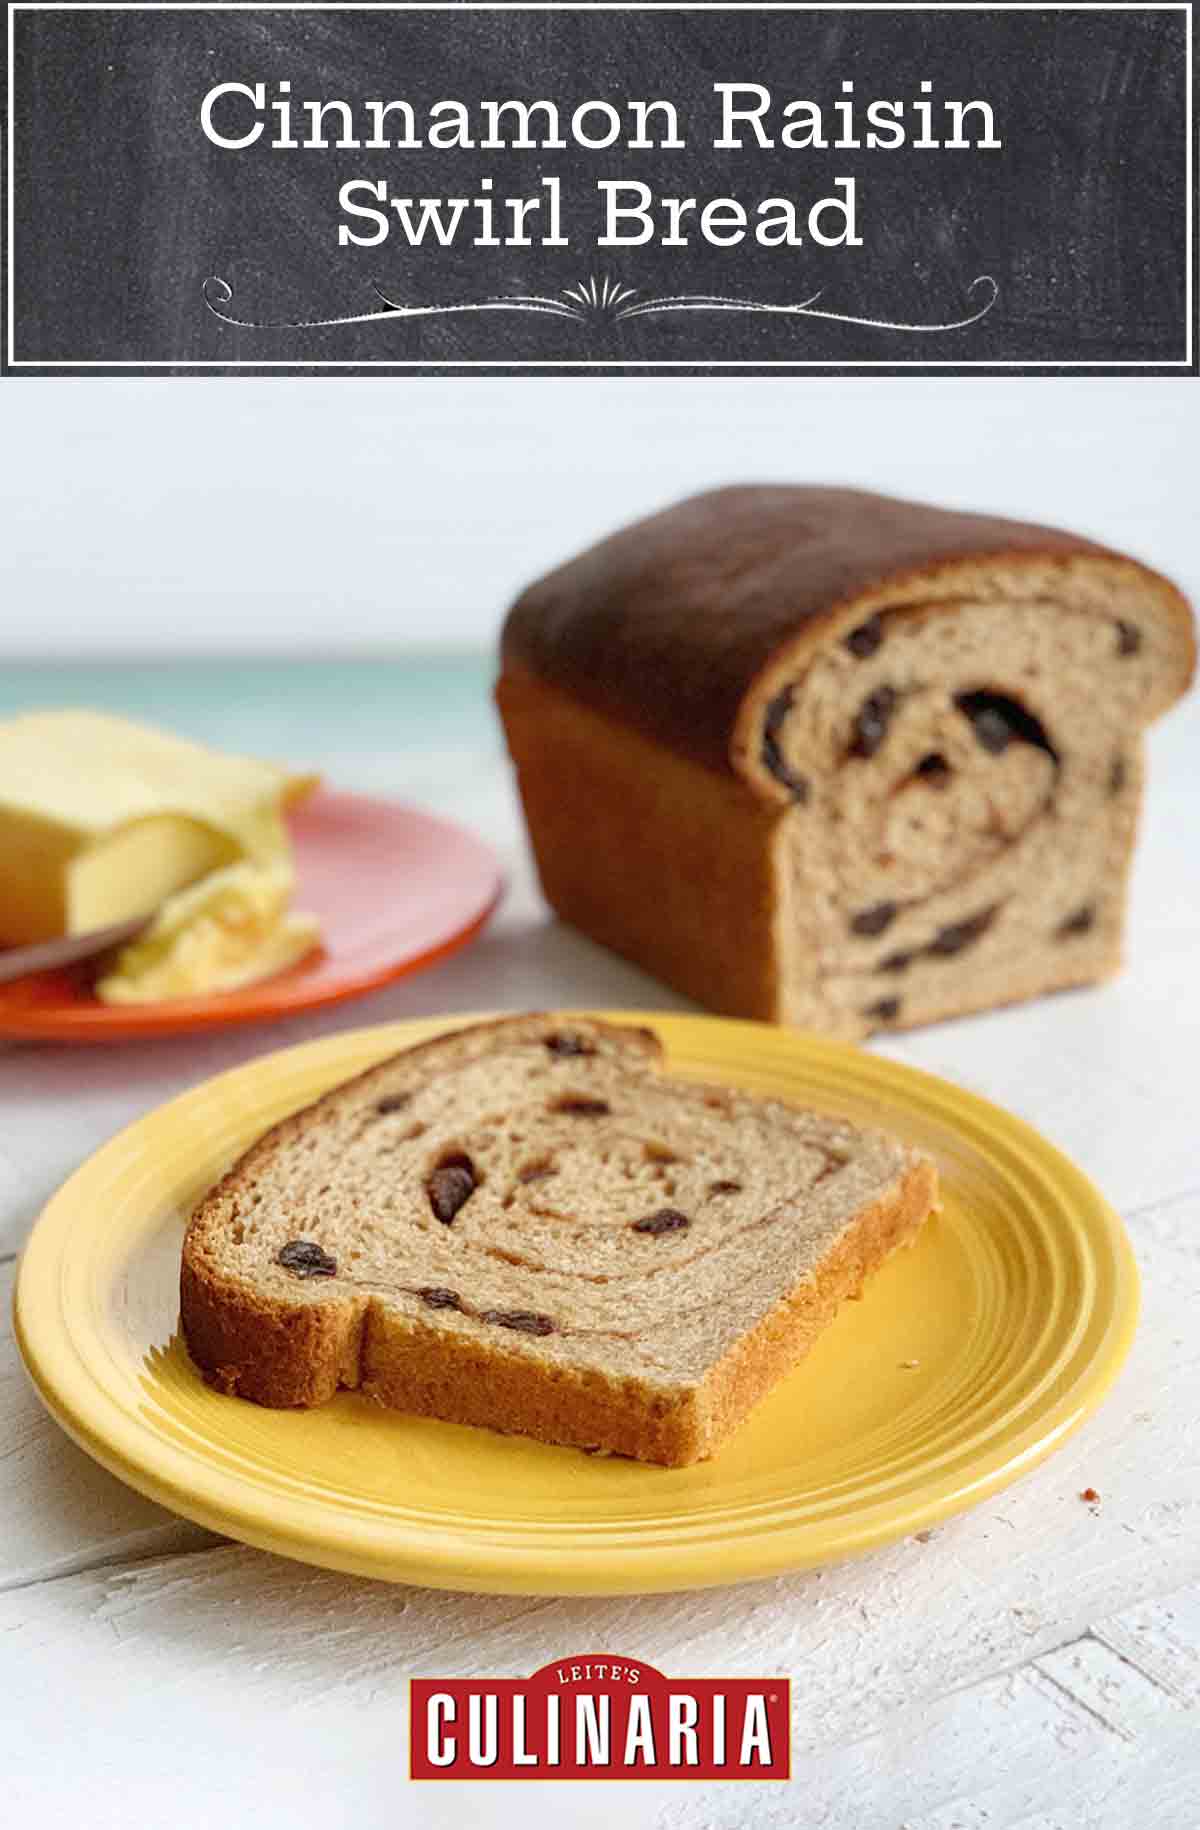
This light loaf of cinnamon-raisin swirl bread owes much to the magnificently talented Stella Parks, author of the James Beard Award-winning cookbook, BraveTart. The bread itself pretty much hews to Stella’s, but I went off the rails when with my idealized notion of the cinnamon raisin swirl. We had some fragrant Ceylon cinnamon and freshly bought plump raisins just crying out to make this bread their swan song. Think California raisins with a death wish. What came out bested anything from Pepperidge Farm, my childhood go-to bread. Spread toasted slices of the bread with salted butter, your favorite nut butter, or my all-time favorite: peanut butter and sliced bananas.–David Leite
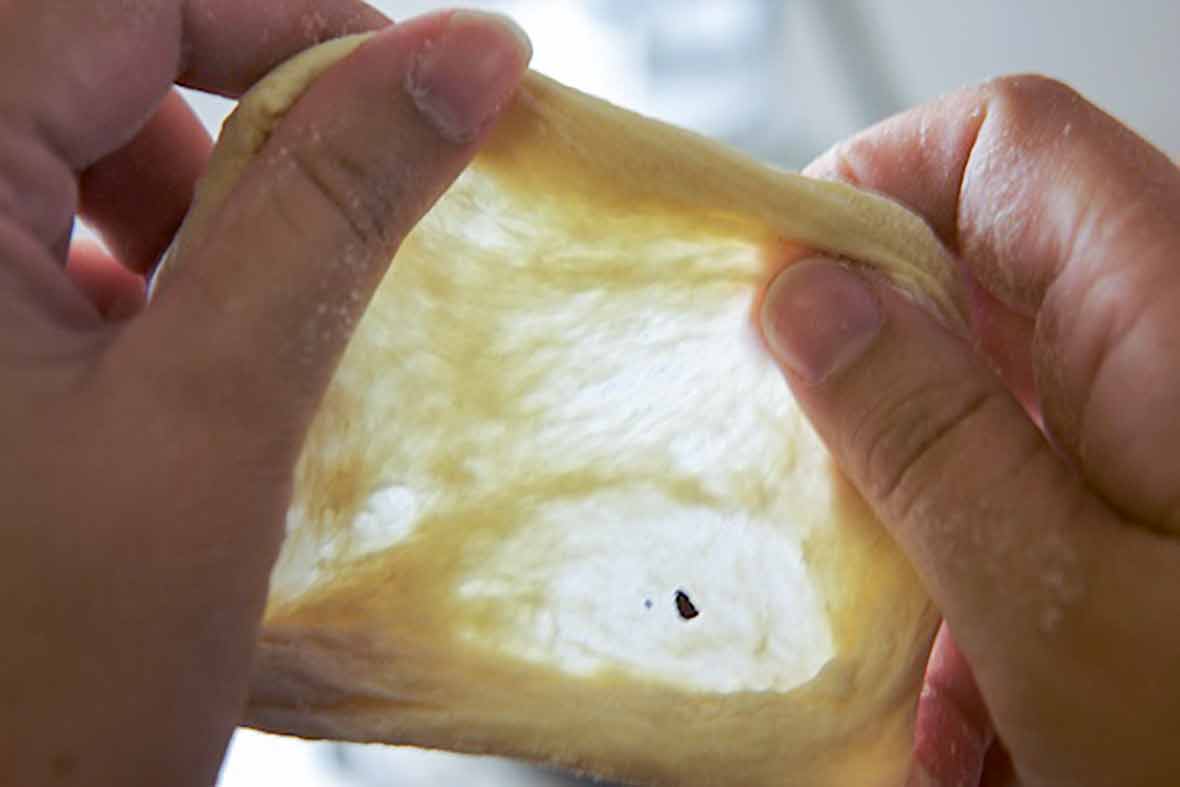
WHAT IS THE WINDOWPANE TEST?
The term windowpane test refers to the state of a dough that has been kneaded or folded enough to form a strong gluten network. To take the test, slice off a walnut-sized lump of dough and roll it into a ball. With both hands, slowly stretch and rotate the dough in all directions, pulling it into a translucent sheet. Keep stretching! If the dough tears in half, return it to the bowl, knead 5 minutes more, and test again. If the dough forms an irregularly shaped hole, knead 3 minutes more and test again. Clever, yeah? (Photo courtesy PinchMySalt)
Want to save this?
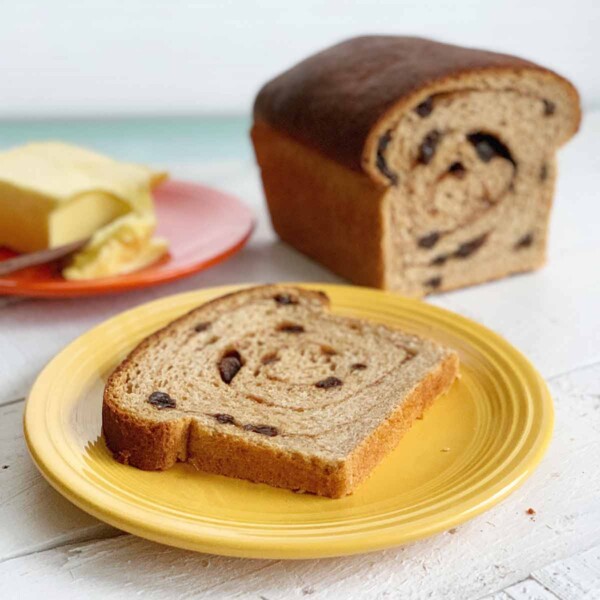
Cinnamon-Raisin Swirl Bread
Ingredients
For the hot water slurry
- 1/3 cup all-purpose flour
- 3/4 cup whole milk
For the bread dough
- 1 1/3 cups all-purpose flour
- 1 1/2 cups whole wheat flour
- 2/3 cup oat flour or whole wheat flour
- 1/4 cup honey
- 1/3 cup malted milk powder
- 2 teaspoons instant dry yeast (not rapid-rise)
- 1 1/2 teaspoons kosher salt
- 1 cup whole milk
- 1/4 cup coconut oil, solid but creamy (about 70°F | 21°C)
For the cinnamon-raisin swirl
- 1/4 cup dark brown sugar
- 1 tablespoon ground cinnamon
- 2 teaspoons all-purpose flour
- 2 tablespoons (1 oz) unsalted butter, melted, plus more for the pan
- 1 large egg, beaten
- 1/2 cup fresh raisins, you want to make sure there is moisture in them thar raisins
Instructions
Make the hot water slurry
- Sift the flour into a 2-quart (1.9-liter) saucepan. (If you’re using cup measures, spoon the flour into the cup and level the top with a knife before sifting.)
- Add the milk, stirring with a spatula until smooth. Set the pan over medium heat and cook, stirring, until a thick mashed potato-like paste forms, 2 to 4 minutes. Remove from heat and let cool to 120°F (48°C), 5 to 10 minutes.
Make the bread dough
- Sift the flours into the bowl of a stand mixer fitted with a dough hook (If you’re using cup measures, spoon the flour into the cup and level the top with a knife before sifting.)
- Add the honey, malted milk powder, yeast, salt, milk, coconut oil, and the slurry. Stir to combine, then knead on low until the dough passes the windowpane test* (see NOTE below), 12 to 23 minutes. The dough may feel sticky. That’s normal.
- Cover the mixer bowl with plastic wrap and prepare a warm place for the dough to rise. (You can microwave a mug of water until boiling hot, then push it to the back of the microwave so it continues to radiate heat and steam). Let the dough rise until puffy and light, though not doubled, 40 to 50 minutes.
- With flour-dusted fingertips, gently press the dough. If it springs back, let rise 15 minutes more. If it feels firm but retains a shallow impression, it’s ready to shape.
Make the cinnamon-raisin swirl
- In a medium bowl, combine the sugar, cinnamon, and flour.
Shape and bake the loaf
- Adjust oven rack to lower-middle position and crank the heat to 350°F (177°C). Lightly butter a 9-by 5-inch loaf pan.
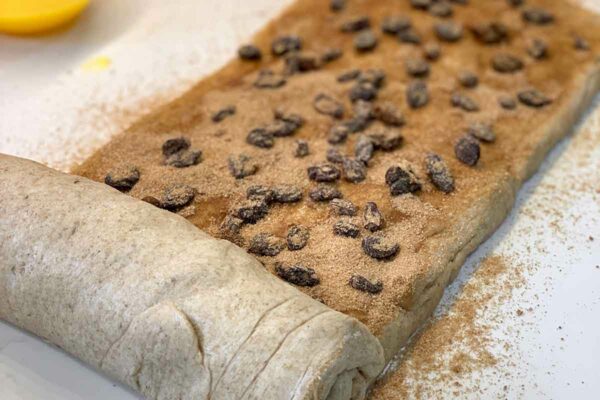
- Gently pat and pull the dough into a 20-by 6-inch (51-by 15-cm) rectangle, with the long side toward you.
- Brush the dough with egg until fully coated. Sprinkle with the cinnamon-sugar mixture and evenly dot with the raisins.
- Beginning with a short end, carefully roll the dough into a stout log. Pinch the ends closed as well as the bottom seam. Snug the roll, seam-side down, into the pan.

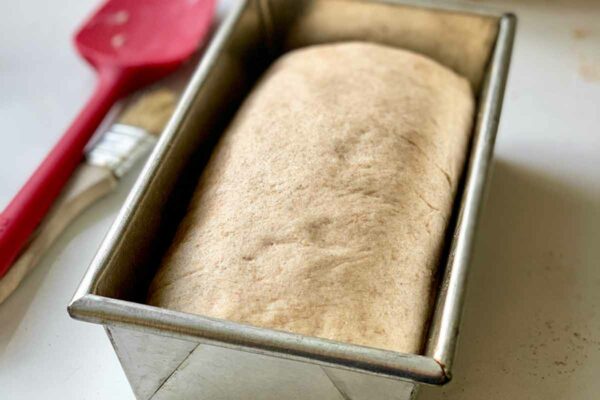
- Let the loaf rise uncovered until it crowns the pan by a good inch, 45 to 60 minutes.
- Bake the loaf until the internal temperature registers 195 to 200°F (90 to 93°C), 50 to 60 minutes. Start checking the loaf after 30 minutes. If at any point it seems to be browning too quickly, tent it with a sheet of aluminum foil.
- Remove the pan from the oven and repeatedly brush the top with the melted butter until all the butter is used, waiting a couple minutes in between applications to let the butter soak in.
- Gingerly tip the bread out of the pan and let it cool on a wire rack.
- Use all patience and willpower available to resist slicing into the loaf until it cools completely, at least 1 hour.
Notes
Why does my cinnamon-raisin swirl bread separate?
Great question. The most common reason cinnamon-raisin swirl bread will separate along the roll is that there’s no binder to hold the swirl filling to the dough. Many recipes have you roll out the dough, sprinkle the cinnamon sugar and raisins over it, and roll it up. That’s courting disaster. In this recipe, the eggwash you brush on the dough acts as the binder, giving the cinnamon sugar and raisins something to grab on to. The result? A delicate, loopy swirl with no gaps.
An LC Original
View More Original RecipesExplore More with AI
Nutrition
Nutrition information is automatically calculated, so should only be used as an approximation.
Recipe Testers’ Reviews
Did you know only 68% of the recipes we test make it onto the site? This recipe survived our rigorous blind testing process by multiple home cooks. It earned the Leite’s Culinaria stamp of approval—and the testers’ reviews below prove it.
I’m not an experienced bread maker and decided I needed to tackle my favorite breakfast bread. I was pretty impressed with my results—a sign of good bread is to eat it “naked.” No butter, no nothing, and it satisfied my every taste bud.
Making the dough was fairly straightforward. I kneaded mine for 23 minutes total until it passed the windowpane test. I really liked the tip of microwaving the water and placing the dough in with it to rise.
Shaping the dough and rolling it in the cinnamon mixture was a cinch. The loaf didn’t quite crown the pan after 1 hour, but the texture felt good to the touch. Next time I’ll use yeast that doesn’t expire the month I’m using it and will expect more of a rise, but no issues to be found in the end result.
Definitely recommend pouring on ALL the butter, it gives it a nice glisten and touch of butter flavor.
As with all homemade breads, it needs to be used up in a few days and I can attest to its ability to transform in the toaster on the third day into more wonderfulness.
I love baking bread and was attracted to the slightly different method of mixing and diverse ingredients.
The bread seemed to be getting too brown after 30 minutes in the oven so I lightly covered it with foil for the remainder of the baking time. I left it for 15 minutes and then took it out and left it on a cooling rack for about 2 hours. It was painful to wait to try a slice–it smelled divine and was a beautiful loaf.
When sliced, the swirl was picture perfect. We toasted 2 slices and spread some butter on each slice. It was very, very good and will be a breakfast to look forward to every day this week. I might try freezing some slices for the future as there are only 2 of us.
The end product was delicious. I’m curious about the malt powder and the roux? We didn’t taste the malt flavor and I’m only guessing that the roux has something to do with the texture? Same for the oat flour and coconut oil? I might like a bit more cinnamon filling and will try it again with a tad more sugar and cinnamon. It was a bit time-consuming but well worth it.


I have used egg on the dough, but still it separated. Any other tips?
Geri, happy to help, but can you be a bit more descriptive? Do you mean when you brush the beaten egg on the dough? And what do you mean by “separated?” I’m unclear. Thanks.