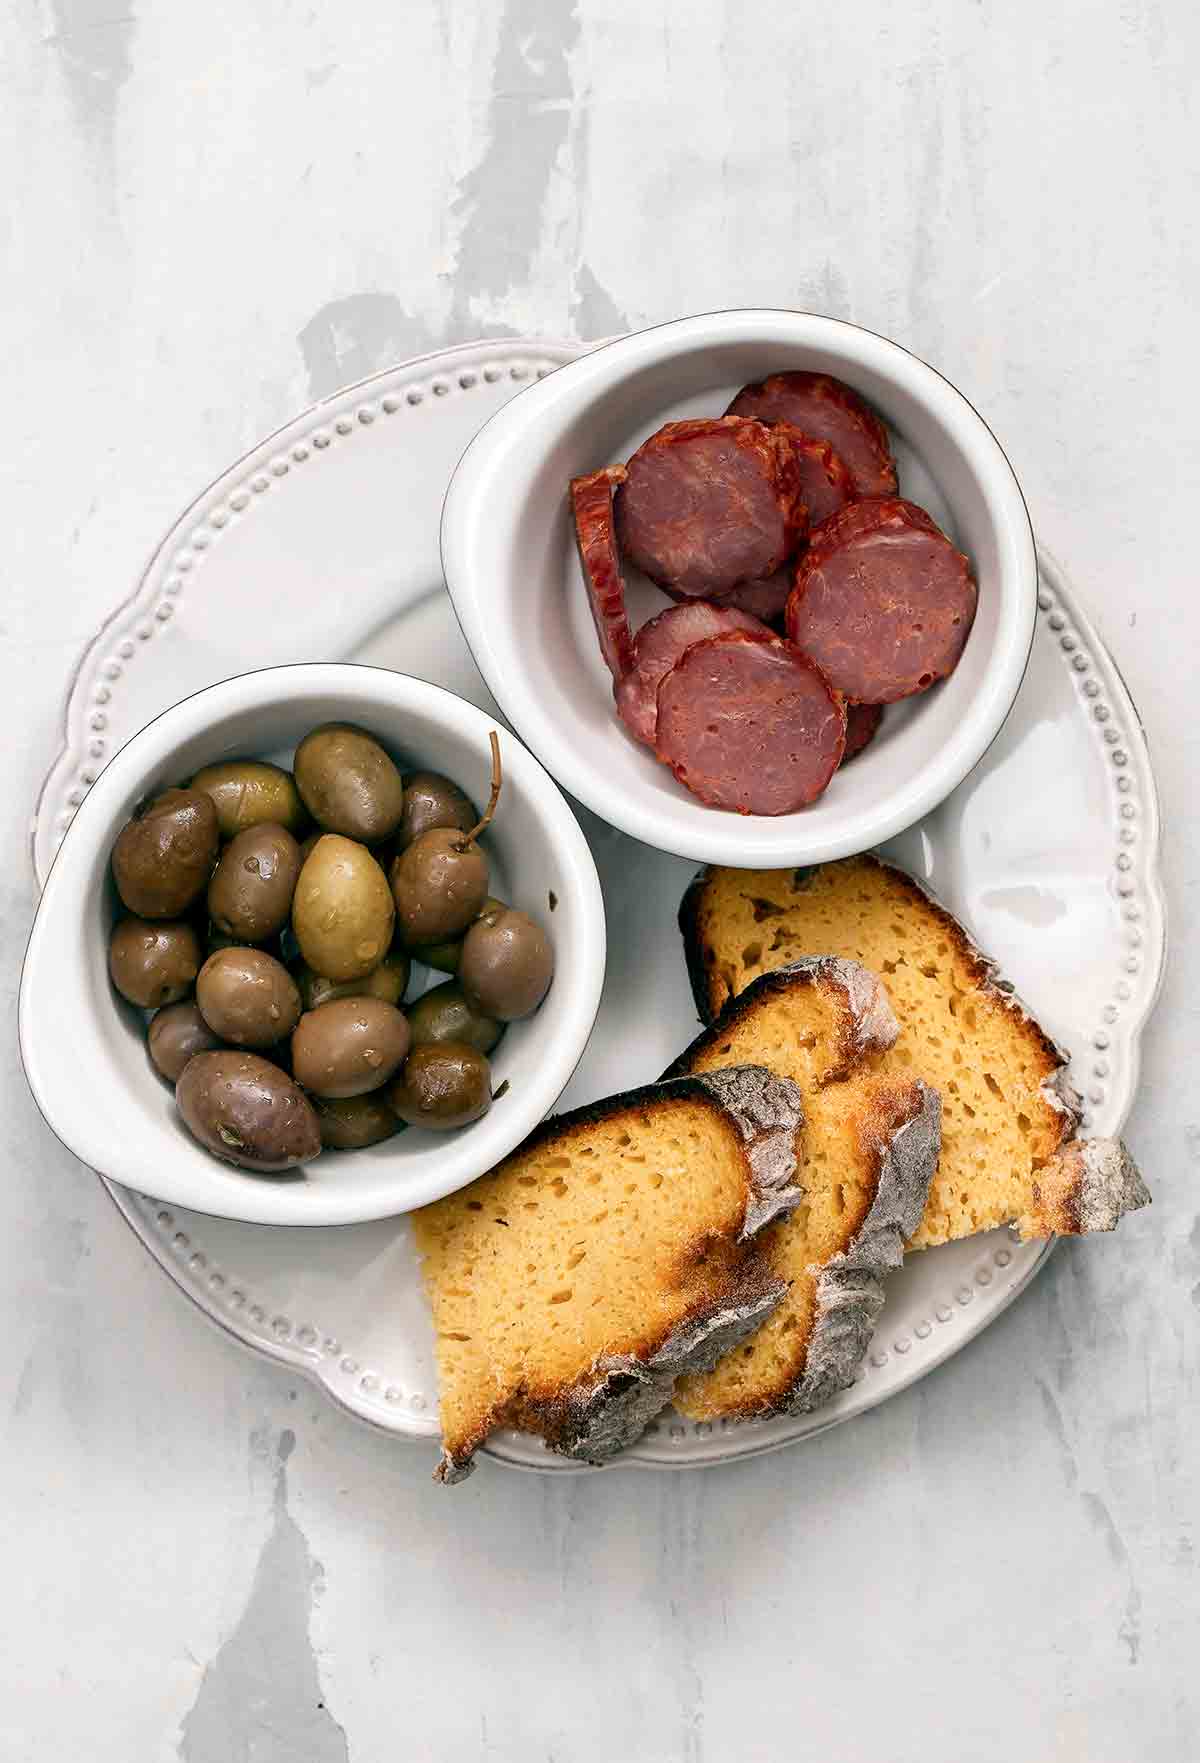

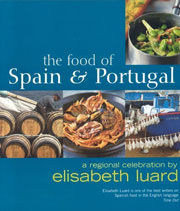
Broa, a bread made with yellow or white cornmeal, is the daily grain food of the poorer regions of Portugal, mountain territory where the semi-wild pigs of the old ibérico breed provide a cash crop. It has a distinctive whitish crust, which cracks to reveal a golden-brown crumb. Corn, a hardy grain, an introduction from the New World which proved a boon to upland farmers, is combined with wheat flour in varying proportions. The higher the proportion of wheat flour, the lighter the loaf. Although this recipe uses a high proportion of wheat to cornmeal — 2:1 by weight — broa is never dainty. It tastes good, though, and is an excellent keeper. Perfect with a spoonful of Queijo da Serra (mountain cheese: ripe and runny in winter and spring, firm and pungent later in the year) or a few slivers of the region’s magnificent salt-cured hams and sausages. [Editor’s Note: Broa is also an integral component of this traditional Portuguese bread and shrimp soup.]–Elisabeth Luard
Broa | Portuguese Corn Bread
Ingredients
- 2 pounds white unbleached bread flour
- 1 pound (3 cups) fine-ground cornmeal, (polenta)
- 1 teaspoon fine sea salt
- Two (2/3-ounce) fresh yeast cakes
- About 5 cups warm water
For finishing
- Flour, for dusting
- Oil or lard, for greasing
Instructions
- In a warm bowl, combine the flour, cornmeal, and salt.
- In a small bowl, dissolve the fresh yeast in 1 cup of the warm water and sprinkle with a spoonful of the flour mixture. Let rest until bubbly and foamy, 5 to 10 minutes.
- Work the yeasty liquid into the flour, adding as much of the remaining water as you need to make a soft, sticky, rather wet dough. Knead the dough by gently pushing and tugging and turning the dough. If the dough is unmanageable sticky, you may need to sprinkle it with a little more flour, but keep in mind, it will be stickier than most bread doughs. Form it into a ball and dust it with a little more flour. Let the dough rise under a damp cloth in a warm place until more than doubled in size, which will probably take a couple of hours. Don’t rush it. You need well-risen dough with nice big bubbles to get a crisp, light crust.
- Dust your hands and your work surface with flour. Scoop out the dough and punch it down roughly with your fists to distribute the air. Cut the dough in half, work each piece into a ball, and generously dust with flour.
- Slick a baking sheet with oil or lard and place the bread on top. Cover the dough with a cloth and let it rise again in a warm kitchen for 30 minutes.
- Preheat the oven to 400°F (200°C).
- Bake the bread until well-risen and hollow-sounding when you tap the bottom, about 1 hour. Don't undercook the loaves or they'll be heavy. The surface will be white from flour and probably cracked. That's normal.
Notes
Explore More with AI
Nutrition
Nutrition information is automatically calculated, so should only be used as an approximation.
Recipe Testers’ Reviews
Did you know only 68% of the recipes we test make it onto the site? This recipe survived our rigorous blind testing process by multiple home cooks. It earned the Leite’s Culinaria stamp of approval—and the testers’ reviews below prove it.

Sometimes I crave airy, squishy bread; other times I crave a hearty and dense bread. Broa is for the hearty and dense bread cravings. This is another of those Portuguese breads that I have to travel outside of my local community to purchase. Making it at home both satisfies the immediacy of this hearty reward, and obsession over baking bread. In just over 4 hours, with only 30 minutes of hands-on time, I was rewarded with 2 hefty boules of broa.
I followed this recipe exactly except for the use of a greased baking sheet. As described, the dough for this bread is sticky and wet. From prior learned lessons, the easiest way for me to handle this type of dough is on my silicone mats, so that’s what I used. I warmed a glass bowl for 1 minute on high in the microwave. I didn’t really understand the necessity of this step but did it anyway. I also wasn’t sure that my fresh yeast cake would work because it was in the fridge for a while and had dry cracks on the surface. I reshaped the yeast cake using only interior smooth pieces and the pieces dissolved well and created bubbles in the warm water. That was my sign that the yeast remained active.
The dough was soft and very sticky and wet. I needed an extra 50 g of AP flour to assist the dough into a ball. I needed another 50 g of AP flour for shaping the bread. Yup, the recipe did say to dust generously. In the end, I might have dusted a bit too generously but this gave the outside crust that rustic crackled top characteristic of broa. I happened to have white corn flour (very fine cornmeal) and so my breads were quite white. Yellow cornmeal would have also looked great although the flavor would not have changed.
My bread was baked in 1 hour as evidenced by its rise, hollow sound when tapping bottom, and my added security of internal temperature which was 206F. I’ve bought this bread before when the center isn’t well baked and it becomes mushy and yeasty, spoiling rapidly. I definitely wanted to avoid this. While my hpllow-sounding yet hearty bread rested, I just couldn’t resist thawing and quick roasting a Portuguese blood sausage that I enjoyed smeared on a slice of my freshly baked broa with extra slices of fresh paprika pepper.
I stored my second broa in the freezer wrapped in parchment paper and aluminum foil. To thaw, I moved it directly from freezer to preheated oven at 375F in same wrapping. It was as fresh as if just initially baked after 25 minutes in the oven. The broa crusts were quite crunchy and I may have overdone the exterior flour a bit. The crumb was exactly like I would expect broa crumb…airy and chewy, hearty and delicious!

This bread is decisively rustic, chewy, and a great accompaniment to any hearty soup or stew. It comes together easily using a stand mixer (which isn’t called for in the recipe) or by hand since it’s a soft, wet dough.
To simplify preparation, I used instant yeast instead of fresh yeast cakes, converting 2/3 ounce of fresh yeast to 2 1/4 teaspoons or 1 packet active dry yeast. I allowed the broa to cool for 30 minutes but couldn’t stand it anymore and cut a slice and slathered with butter. Nice crisp crust. Delicious!
I’d never had or made broa before but I’m a convert and will make this again! Now that I made this recipe, I’m going to try David’s recipe in his “New Portuguese Table” with the boiling water technique.


Follow up question–if I were to do the whole process and bake the bread the night before, would it be too hard to eat the next day?
Kassia, because of the cornmeal, it does tend to firm up quite a bit by the next day. If you decide to bake it tonight, here is how to keep it from turning into a brick:
1. Cool completely: Let the loaves cool for at least 3 hours on a wire rack. If you wrap them while they’re even slightly warm, the condensation will make the crust gummy.
2. The Double Wrap: Wrap the whole, unsliced loaves tightly in plastic wrap, then place them in a heavy-duty zip-top bag. Squeeze out as much air as possible.
3. The Next-Day: Before you head to church, wrap the loaves in foil and pop them into a 350°F (175°C) oven for about 10 to 15 minutes. This re-stems the moisture, if you will, inside and softens the crumb.
I hope this helps.
Thank you so much!! I will try one method or the other and report back about the results. 🙂 This Bread seemed easier than papo secos for my first try but I will definitely be trying those soon. My husband’s parents are Azorean and the nearest Portuguese bakery is a couple hours away!
Kassia, yes, these are way easier. Let me know how they turn out!
Hello David!
I am crazy and decided to ignore your advice and attempt an overnight proof. It worked out great!! However, it doesn’t look anything like your photos. But it has a crisp crust and soft interior and is delicious!
I used organic popcorn that I ground at home, all purpose flour, and just 2 1/4 tsp of active dry yeast. I had to punch it down twice before putting it in the fridge at bedtime. It was fully risen again in the morning. I shaped it and let sit out while the oven preheated, then baked for 1 hour and let cool while we were at church. Delicious! I am serving it with your carne assada recipe too!
Kassia, THAT LOOKS AMAZING! And good on you for ignoring what I said—I absolutely love a kitchen rebel.
As for that lighter crust, I suspect it was a combination of your swaps. Since you ground popcorn at home, the meal was probably coarser and less uniform than standard cornmeal, which can change how the surface of the dough absorbs moisture and browns in the oven.
The overnight proof could’ve played a role, too. Long fermentation can sometimes leave a loaf paler if too much of the available sugar gets used up before baking. And the switch from bread flour to all-purpose likely changed the texture of the crust a bit, though probably less its color than the grind and fermentation did.
But honestly? If the crust is crisp, the interior is soft, and it tastes great, you’ve nailed it.
I don’t know if you will see my comment in time, but I want to try to make this Bread to serve after church. What would be better–make it the night before and do a slow proof in the refrigerator, then bake in the morning? If so, would I reduce the amount of yeast? Or do I need to get up extra early to do the whole process in the morning?
Also, have you ever tried substituting some Whole wheat for the white flour?
Kassia, I hope I’m not too late. I love that you’re bringing Broa to church! (Broa and church have a very long history in Portugal.)
To be honest, I haven’t tested an overnight-fridge proof for this particular recipe, so I wouldn’t recommend trying it for the first time when you have a deadline—I’d hate to mess up for you. Your best bet for the freshest, most reliable loaf is to get up early and do the full process in the morning.
As for the whole wheat, you can definitely substitute some of the bread flour, but just keep in mind that it will make an already hearty bread even more dense and potentially a bit drier.
Do you think I can substitute the 2 2/3 ounce fresh yeast cakes for 1.5 ounces sourdough starter?
Hey Jacob, No, I don’t recommend that direct swap. 1.5 ounces of sourdough starter doesn’t have enough lifting power for 3 pounds of dense flour and cornmeal. Fresh yeast is highly concentrated, and sourdough starter behaves very differently.
To make this with a starter, you’d need closer to 8 to 10 ounces of active, bubbly starter. You’d also have to adjust the water content in the dough and extend your rising time significantly—likely to an overnight rather than just a couple of hours.
If you can’t find fresh yeast cakes, you’re better off substituting about 4 1/2 teaspoons of active dry or instant yeast. Sorry. 😞