Many of the recipes for classic regional breads, such as this ciabatta recipe, begin with a starter dough made from small amounts of flour, water, and yeast allowed an initial fermentation. The starter, known as biga in Italy, or bighino when in small amounts, not only gives strength to what in Italy are weak flours, it also produces a secondary fermentation from which come the wonderful aroma, natural flavor, and special porosity of the final loaves and wheels of bread.
The important point about a biga is that the breads made with it develop a wonderful taste because their risings are long and bring out the flavor of the grain. Another benefit is that the loaves remain fresher and taste sweeter than those made with large amounts of commercial yeast.
Want to save this?
In Italy, bakers use dough from the previous day’s baking to start a new dough. I keep some starter on hand at all times; by having it around, I can decide to make pane pugliese or ciabatta in the morning and have it for dinner that night. Because the first biga must come from somewhere, though, you may make it following the instructions below. It’s remarkable. It freezes very well and needs only about 3 hours at room temperature until it is bubbly and active again, or it can be refrigerated for up to 5 days.–Carol Field
LC Obliged to Biga Note
Behind each and every memorable bite of proper Italian bread we’ve daintily nibbled, hungrily inhaled, or otherwise somehow consumed, we have a biga to thank. So we’re feeling much obliged to Carol Field for this recipe. Nonna not included.

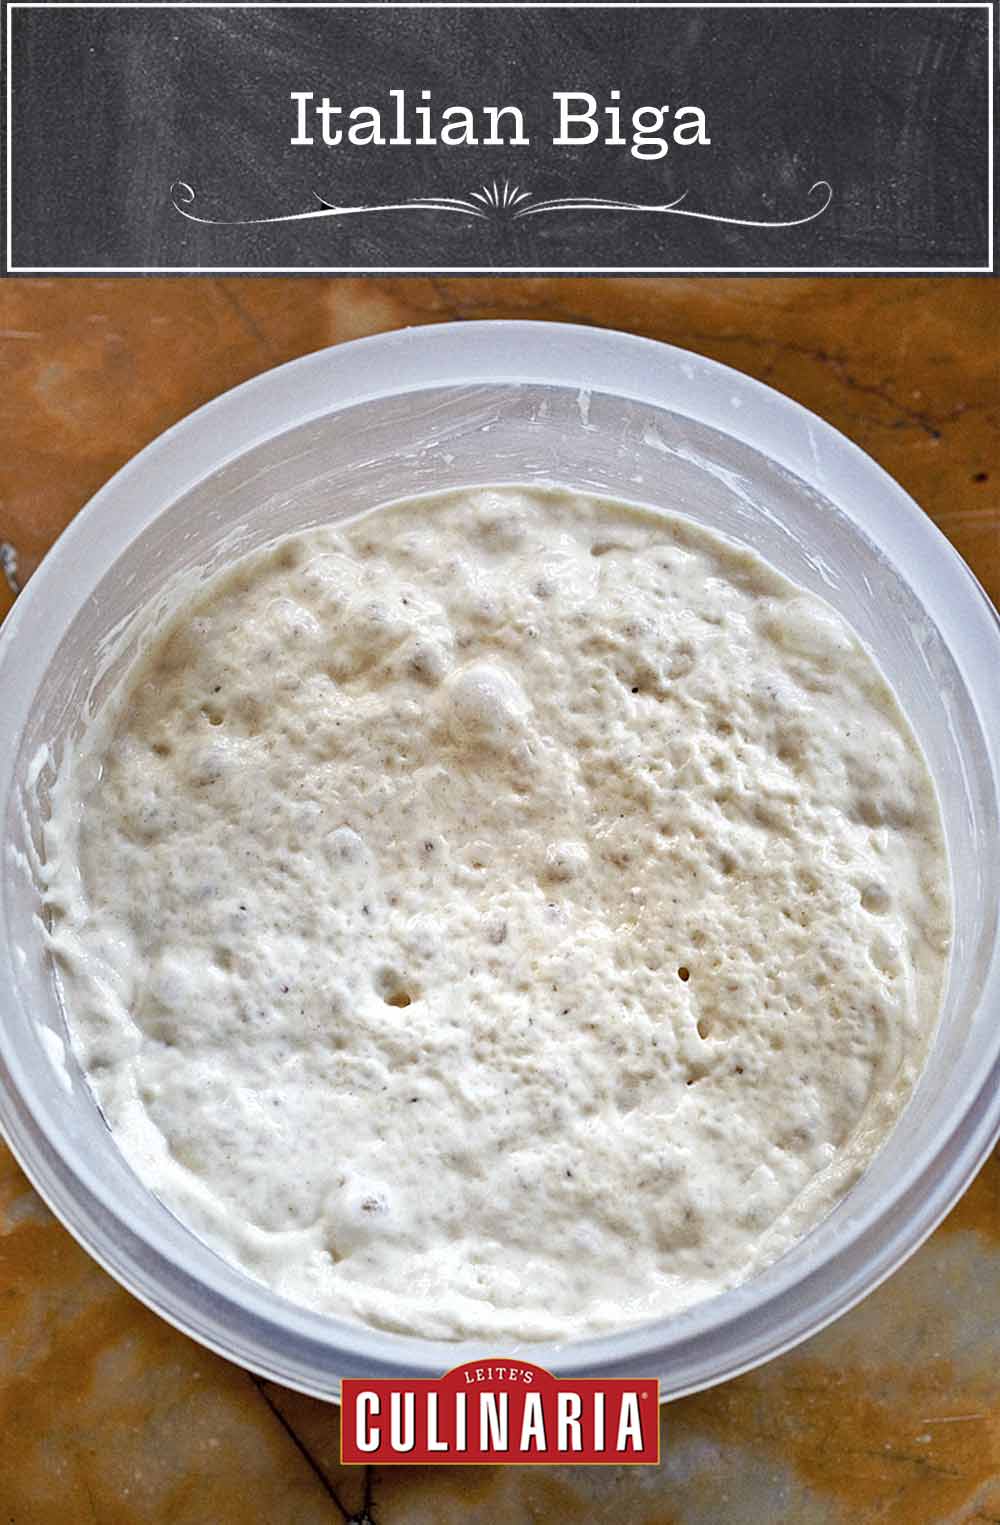
Italian Biga
Ingredients
- 1/4 teaspoon active dry yeast
- 1/4 cup warm water, 100°F to 110°F (38°C to 43°C)
- 3/4 cup plus 4 teaspoons bottled spring water, at room temperature (You can use tap water in a pinch.)
- 2 1/3 cups unbleached all-purpose flour
- vegetable oil, for the bowl
Instructions
- Stir the 1/4 teaspoon active dry yeast into the 1/4 cup warm water and let stand until creamy, about 10 minutes.
- Stir the 3/4 cup plus 4 teaspoons bottled spring water into the creamy yeast mixture, and then stir in the 2 1/3 cups unbleached all-purpose flour, 1 cup at a time. ☞ If mixing by hand, stir with a wooden spoon for 3 to 4 minutes. ☞ If mixing with a stand mixer, beat with the paddle at the lowest speed for 2 minutes. If mixing with a food processor, mix just until a sticky dough forms.
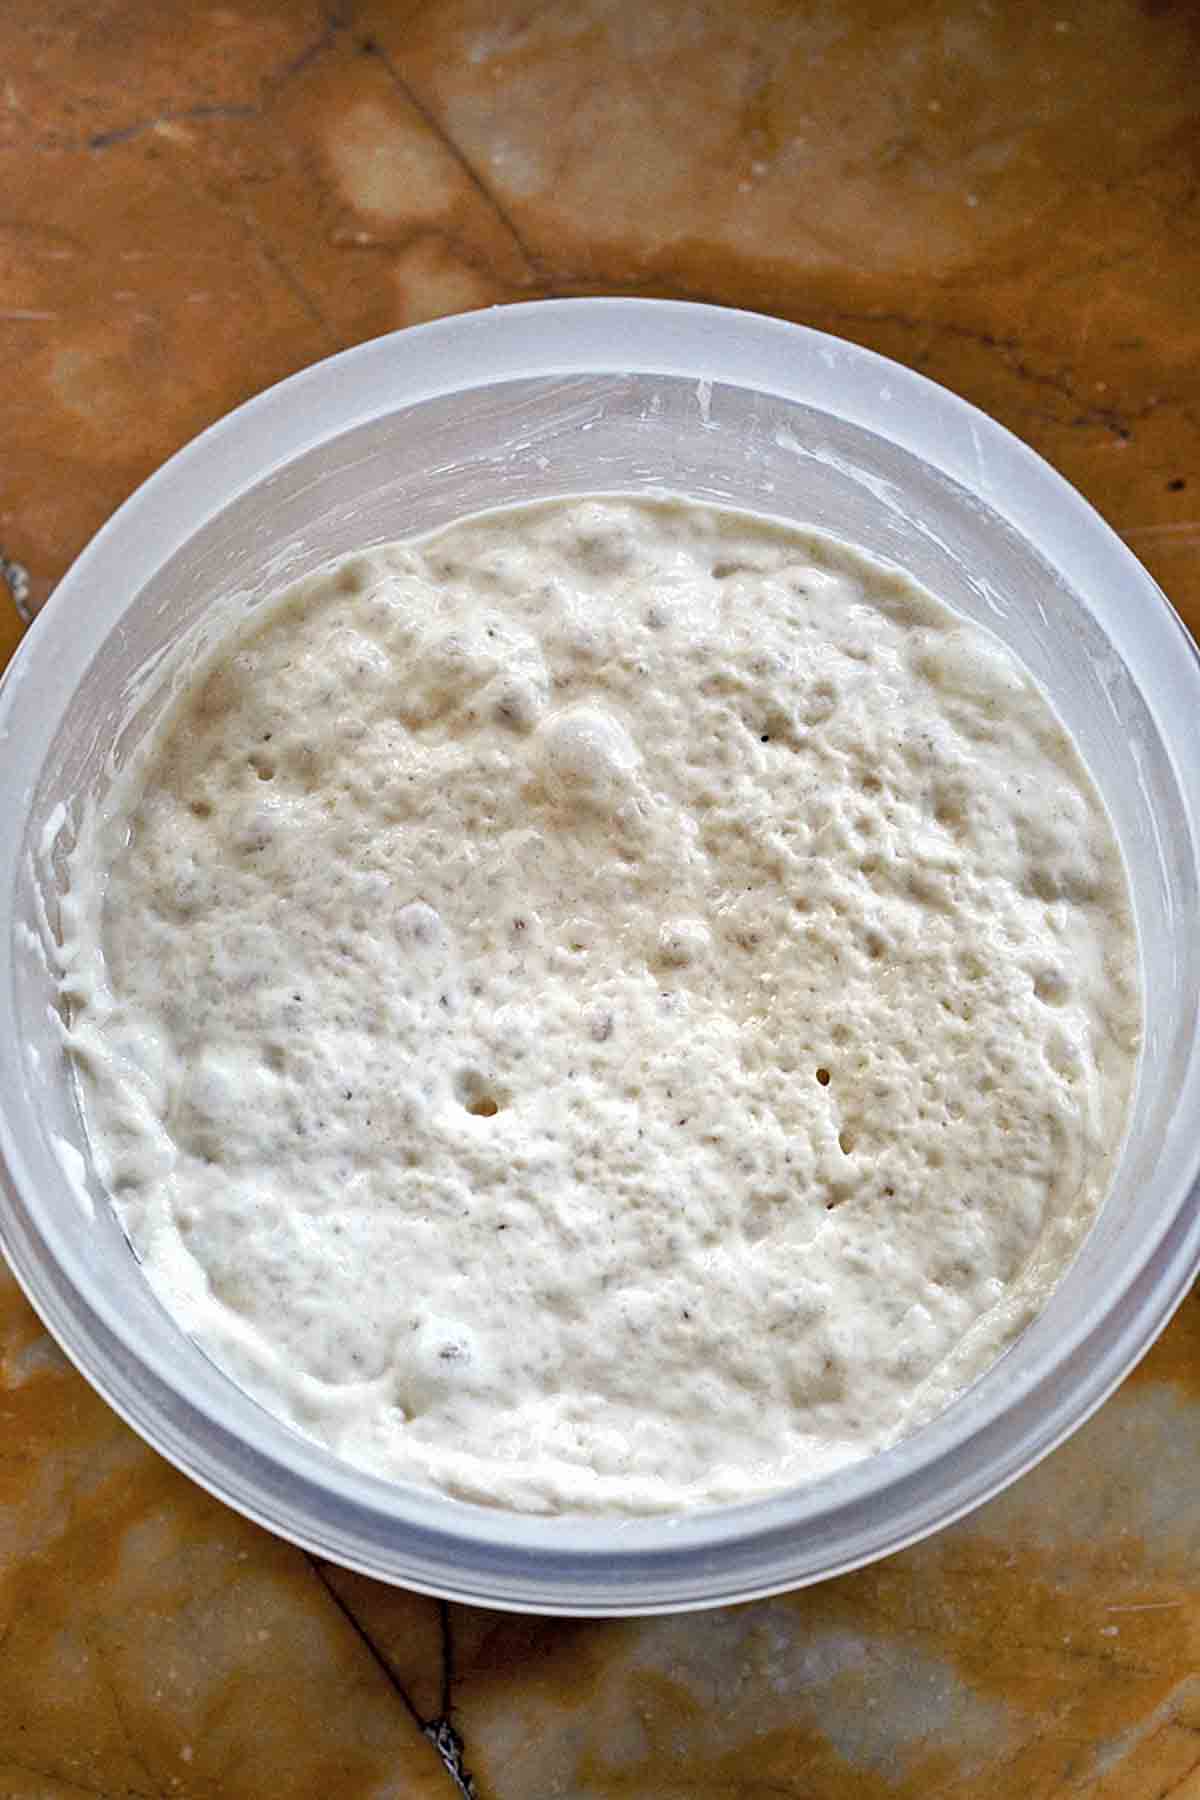
- Transfer the biga to a bowl lightly coated with vegetable oil, cover with plastic wrap, and let rise at cool room temperature (65° to 68°F/18° to 20°C) for 6 to 24 hours, until the starter is triple its original volume but is still wet and sticky. (The bakers I admire most advise 10 to 11 hours for the first rise, but others are very happy with the 24 hours it takes for dough to truly become yesterday’s dough, and if you like sour bread, allow your biga to rest for 24 to 48 hours or even 72 hours.)
- Cover and refrigerate or freeze the biga until ready to use. (If refrigerating the biga, use within 5 days. If freezing the biga, let it rest at room temperature for about 3 hours until it is bubbly and active again.) When needed, scoop out the desired amount of biga for your recipe and proceed. I strongly recommend weighing the biga rather than measuring it by volume since it expands at room temperature. If measuring by volume, measure chilled biga; if measuring by weight, the biga may be chilled or at room temperature.
Explore More with AI
Nutrition
Nutrition information is automatically calculated, so should only be used as an approximation.
Recipe Testers’ Reviews
Did you know only 68% of the recipes we test make it onto the site? This recipe survived our rigorous blind testing process by multiple home cooks. It earned the Leite’s Culinaria stamp of approval—and the testers’ reviews below prove it.

This is a perfectly suitable starting point for most any bread which uses a starter. I bake bread several times a week and it’s nice to have this handy. Sometimes I add this to a bread dough which doesn’t call for a starter just for the added flavor.


Thank You
My pleasure! Let me know how it turns out.
Thank you, David, for your explanations on the poolish and the biga. May I ask if both might develop their flavors well if set in the fridge to ferment rather than in a room temp situation?
If so, what might I need to change and would I use them straight from fridge then or bring to room temp first before adding them to the dough? I was thinking this as it would slow fermentation, develop deeper flavors and be more flexible for my baking schedule which in not even a couple times a week.
I hope these questions do not seem ridiculous or utterly naive, and I want to thank you for your response in advance. I’d appreciate your input, insight and thought about this possible option on the subject of poolish and biga.
Kay, fermenting your biga in the fridge is a classic technique used by professional bakers to develop incredibly deep, complex flavors and to make the baking schedule work for them, not the other way around.
After some research, here are two methods:
Direct Cold Fermentation (Maximum Flavor & Flexibility)
This method addresses your desire to ferment primarily in the fridge.
☞ This is the ideal method for your schedule. You can mix a biga on Friday and use it anytime on Saturday, Sunday, or even Monday.
The “Kickstart” Method (Faster Development)
This is kinda a hybrid approach. It can be helpful if you want to ensure the yeast is highly active before it’s chilled.
Using Your Cold Pre-Ferment
~~~
Hope this helps!
The photo shows something badly overfermented, that’s not a biga look, it’s bordering on poolish, collapsed and too bubbly.
Hey Adriano, I appreciate the input! You’re right that it’s much bubblier than a traditional stiff biga, but that’s actually by design for this specific recipe. Because I allow for such a long fermentation—anywhere from 24 to 72 hours—the starter becomes incredibly active and wet. It definitely leans toward a poolish in texture, but that’s exactly what gives the ciabatta its characteristic airy crumb and deep flavor. It might look a bit unconventional if you’re used to a drier starter, but I promise it isn’t overfermented; it’s just right for this style of bread.
This sounds so tasty! I have on hand AP bleached flour and bread flour. Smaller kitchen than when raising children so no room for yet another flour (the unbleached called for). Thus, which of my two flours would make a better ciabatta? Thank you!
Hello, Harriet. I’d actually go with the bread flour. Since the recipe calls for unbleached flour, bread flour’s a much closer match in terms of strength. Bleached all-purpose is a bit too soft and might not give the dough the structure it needs for those big ciabatta air bubbles, especially during a long rise. I think you’ll be much happier with the results from the bread flour! Please go back and let me know how it turns out!