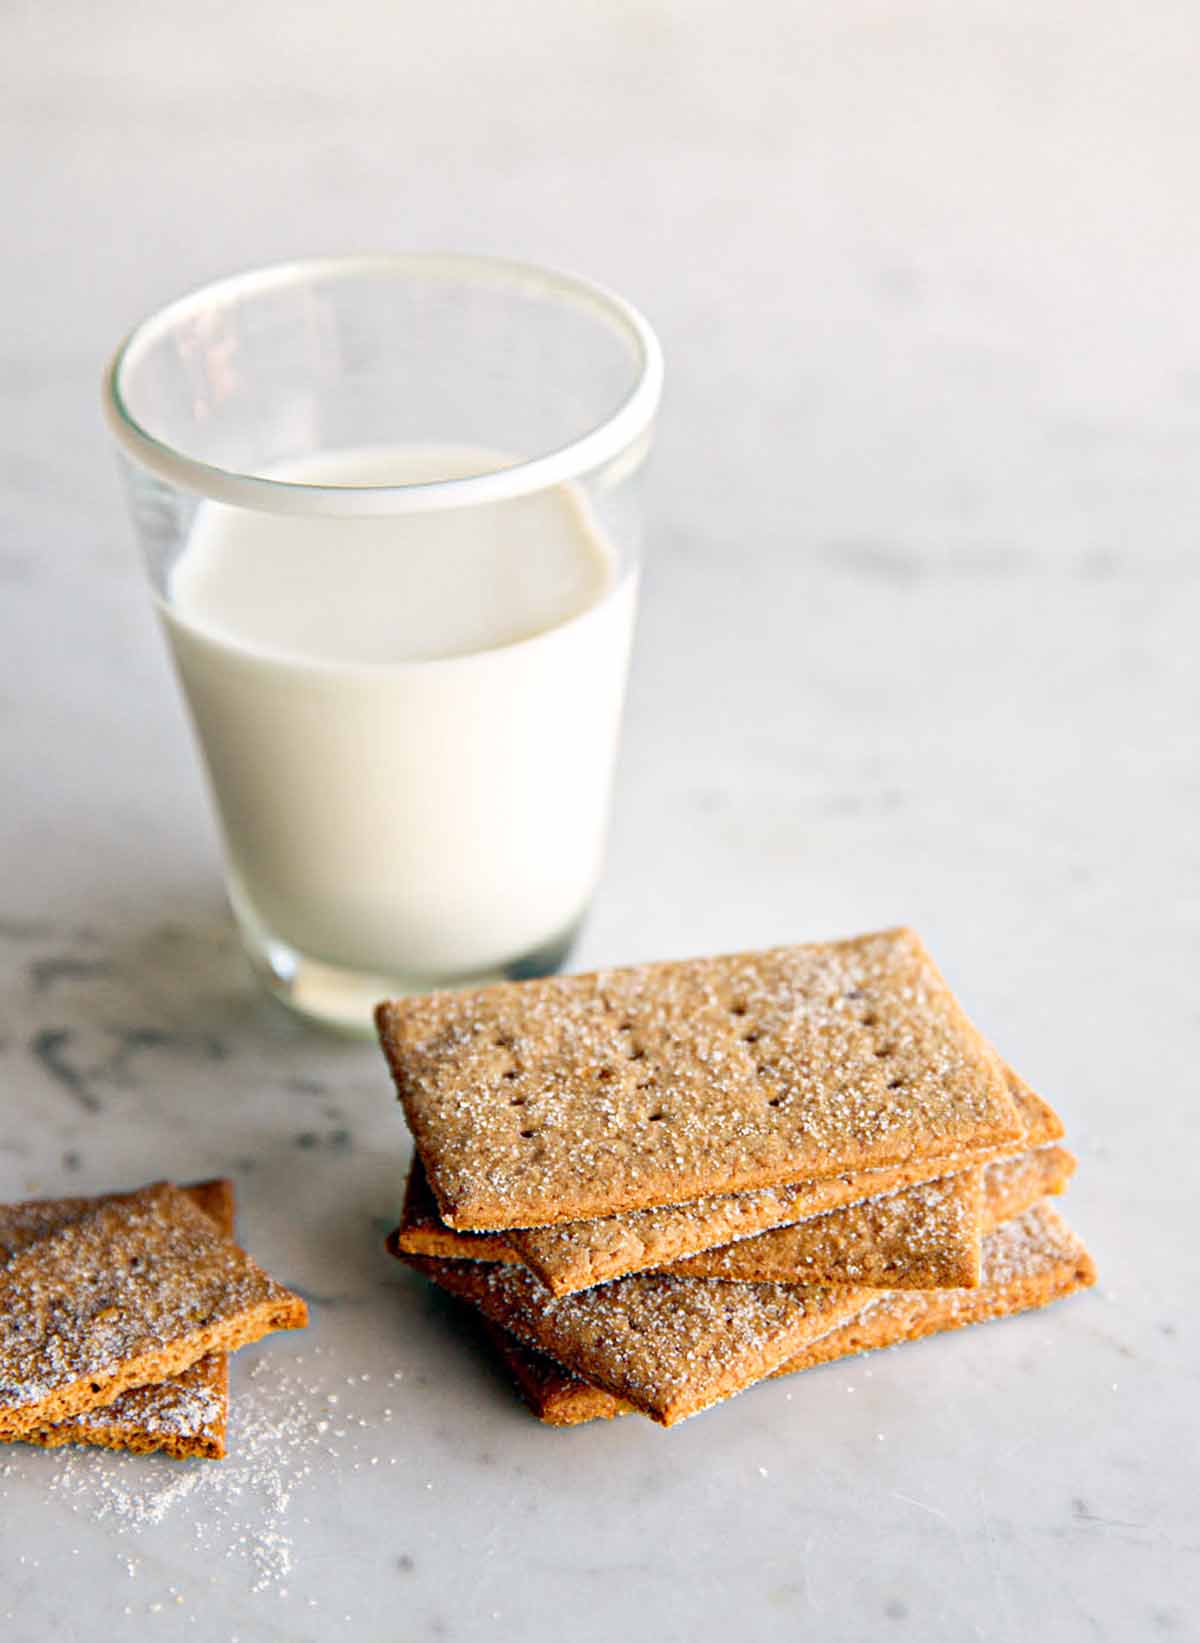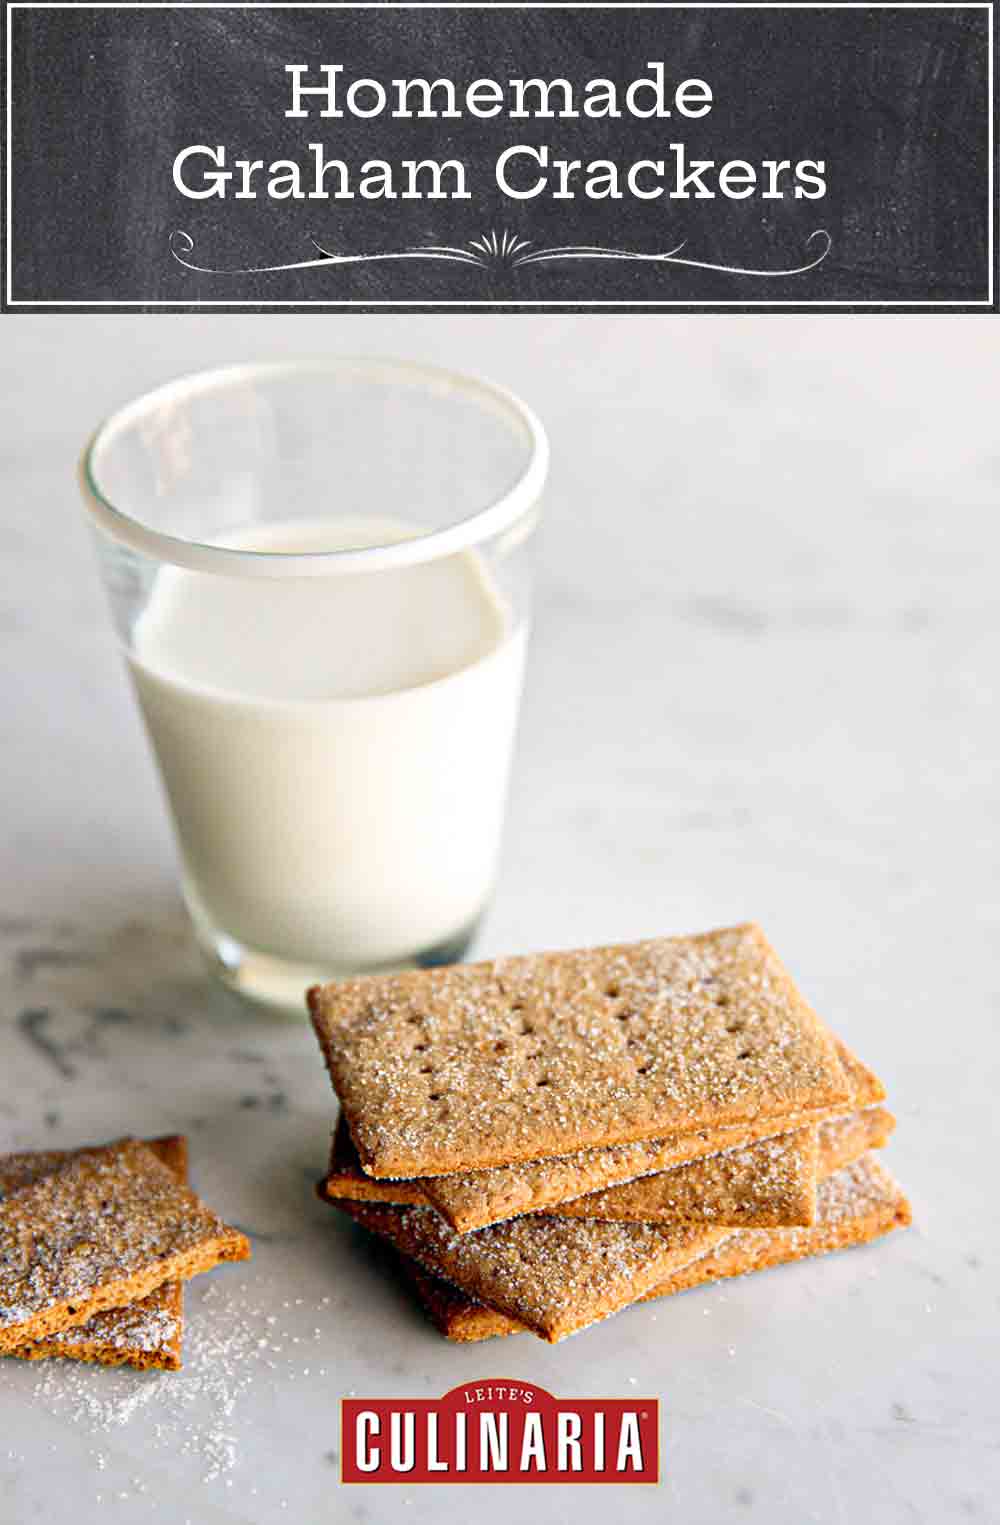
These homemade graham crackers, which were invented for a crazy reason, are just like the store-bought graham crackers you grew up with—made more exciting with the addition of nutmeg, cloves, and cardamom.–Ivy Manning
☞ READ: WHY WERE GRAHAM CRACKERS INVENTED? IT’S A CRAZY REASON

Homemade Graham Crackers
Ingredients
- 1 1/4 cups whole-wheat flour
- 1 cup all-purpose flour, plus more for dusting
- 1/2 cup packed dark brown sugar
- 1 teaspoon ground cinnamon
- 1/2 teaspoon baking powder
- 1/2 teaspoon baking soda
- 1/2 teaspoon sea salt
- 1/4 teaspoon freshly grated nutmeg
- 1/8 teaspoon ground cloves
- 1/8 teaspoon ground cardamom
- 6 tablespoons (3 oz) cold unsalted butter, cut into 1/2-inch (12-millimeter) chunks
- 1/3 cup whole milk
- 1/4 cup honey
- 1 teaspoon vanilla extract
- 2 tablespoons granulated sugar
Instructions
- In a food processor, combine the flours, brown sugar, cinnamon, baking powder, baking soda, salt, nutmeg, cloves, and cardamom and pulse just until combined.
- Scatter the butter over the flour mixture and pulse until the mixture resembles coarse cornmeal, about 20 short pulses.
- Dump the flour mixture into a large bowl. In a small bowl, whisk together the milk, honey, and vanilla until the honey dissolves. Add the milk mixture to the flour mixture and stir with a wooden spoon until the mixture forms a ball.
- Knead the ball a few times. Divide the ball into 2 portions, flatten each portion into a rectangle 1/4-inch (6 millimeters) thick, and wrap separately in plastic wrap. Refrigerate for at least 4 hours.
- Preheat the oven to 325°F (165°C). Line 2 baking sheets with parchment paper or silicone baking mats.
- Take 1 rectangle dough out of the refrigerator and let it sit at room temperature for 5 minutes. It will be sorta sticky. Place the dough on a well-floured work surface or between a couple large sheets of parchment paper to prevent sticking. Gently roll the dough to 1/16 inch (2 millimeters) thickness. (Seriously. You want the dough as thin as you can manage. It may take a little time and patience, but just keep rolling and easing it on down to at least 1/8 inch | 3 mm) thickness. Add more flour to the work surface to prevent sticking, if necessary.
- Using a pastry wheel, cut the dough into 2-by-3-inch (5-by-7 1/2-centimeter) rectangles. Rewrap and chill any remaining scraps for 30 minutes before rerolling. Transfer the rectangles to a baking sheet and prick them a few times with a fork. Sprinkle the tops with some of the sugar.
- Bake the graham crackers until crisp and just starting to brown around the edges, 15 to 25 minutes (the timing will depend on how thin you rolled the dough), rotating the pan back to front at the halfway point.
- Immediately remove the crackers from the baking sheet and place them on a wire rack to cool completely. While the first batch of crackers is baking, repeat the rolling and cutting process with the second rectangle of dough and then with the scraps, and then bake when the first batch is cooling. You can store the crackers in an airtight container at room temperature for up to 2 weeks.

Nutrition
Nutrition information is automatically calculated, so should only be used as an approximation.
Recipe Testers’ Reviews
I have been meaning to try making graham crackers from scratch for several years now, so when I saw this recipe come up in testing, I couldn’t resist. Why did it take me so long to do this? They were so easy and blew the store-bought version right out of the water.
This particular recipe has a number of spices mixed in, which I loved. The spices added another dimension to the overall flavor of the cracker, but didn’t overwhelm the taste buds at all. We ate these all by themselves, but they would also be fabulous with chocolate and homemade toasted marshmallows as s’mores. I will definitely be making them again.
I got 46 crackers, but I think I might not have rolled the dough quite thin enough the first couple of passes. I let my dough chill for about 24 hours. For the first batches that I didn’t roll thin enough, it took 20 minutes to bake and they were still a little on the soft side. As I learned to roll the dough thinner, 16 minutes in the oven made for a nicely crisp cracker.
I prefer to roll out sticky dough such as this one between 2 pieces of parchment paper. This way I can roll as much as needed without adding too much flour and adversely affecting the taste and texture of the finished product.
Making homemade graham crackers is not something I would have thought of on my own. Well, I’m so glad I tried this recipe! These crackers taste great, have good texture, and are easy to make—a winner. You get a nice snap when you bite into one and a wonderful whiff of spices. They’re delicious by themselves, but their subtle sweetness allows room for other flavorful embellishments such as fruit preserves, nut butters, and, of course, chocolate and marshmallows.
The dough was a bit sticky, but not terribly difficult to handle. Don’t be too obsessive about rolling out the dough to 1/16-inch thick—that’s VERY thin. Mine was thicker, not quite 1/8 inch, and the crackers baked just fine. Each portion of dough was rolled to 10 inches by 15 inches, yielding 25 crackers or 50 total. No need to worry about leaving a lot of space between the crackers either; they didn’t spread during baking, and kept their neat crisp shape (don’t you love it when the dough behaves well?). I baked mine on 2 baking sheets placed on the lower and upper racks for 17 minutes (rotating the sheets after 10 minutes from lower to upper and front to back).
I wouldn’t change a thing next time I make them, but if you don’t want your graham crackers so spiced, it certainly wouldn’t be a crime to stick with just cinnamon. I chilled the dough for 6 hours. Because of the sticky dough, the work surface needed to be floured liberally. I recommend brushing the flour off the dough after rolling it out, just for “cosmetic” purposes. The finished crackers froze well. They didn’t get soggy during thawing and maintained the good snappy texture.
Having just tried making homemade marshmallows with great success, how could I not want to try making homemade graham crackers? Naturally, s’mores came to mind. S’mores from scratch. The bar has just been raised!
You definitely want to roll out the dough as thinly as possible. I sometimes lack patience, and my first roll-out was a little less than 1/8 inch. My second roll-out was better. The dough is quite tender, so you’ll need to be gentle and take your time easing it down to as close to 1/16 as you can. Doing so will reward you with a thinner, crisper cracker much closer to its packaged cousin, but so much tastier!
I like having the flexibility to custom-shape the cracker any way I choose. I made the 2-by-4-inch size using a fluted pastry wheel. I think small squares would be pretty, especially if you’re making your own “gourmet” s’mores. I found 19 to 20 minutes gave me a drier, crisper cracker, though a slightly softer cracker at the 15-minute mark was also good.
This graham cracker recipe tastes exactly like graham crackers. I was dubious before I made it, but it really does! I chilled the dough for 1 hour in the fridge. It’s important to get the thickness of the dough right as the thicker crackers were a little less crisp.


