TL;DR (Quick-Answer Box)
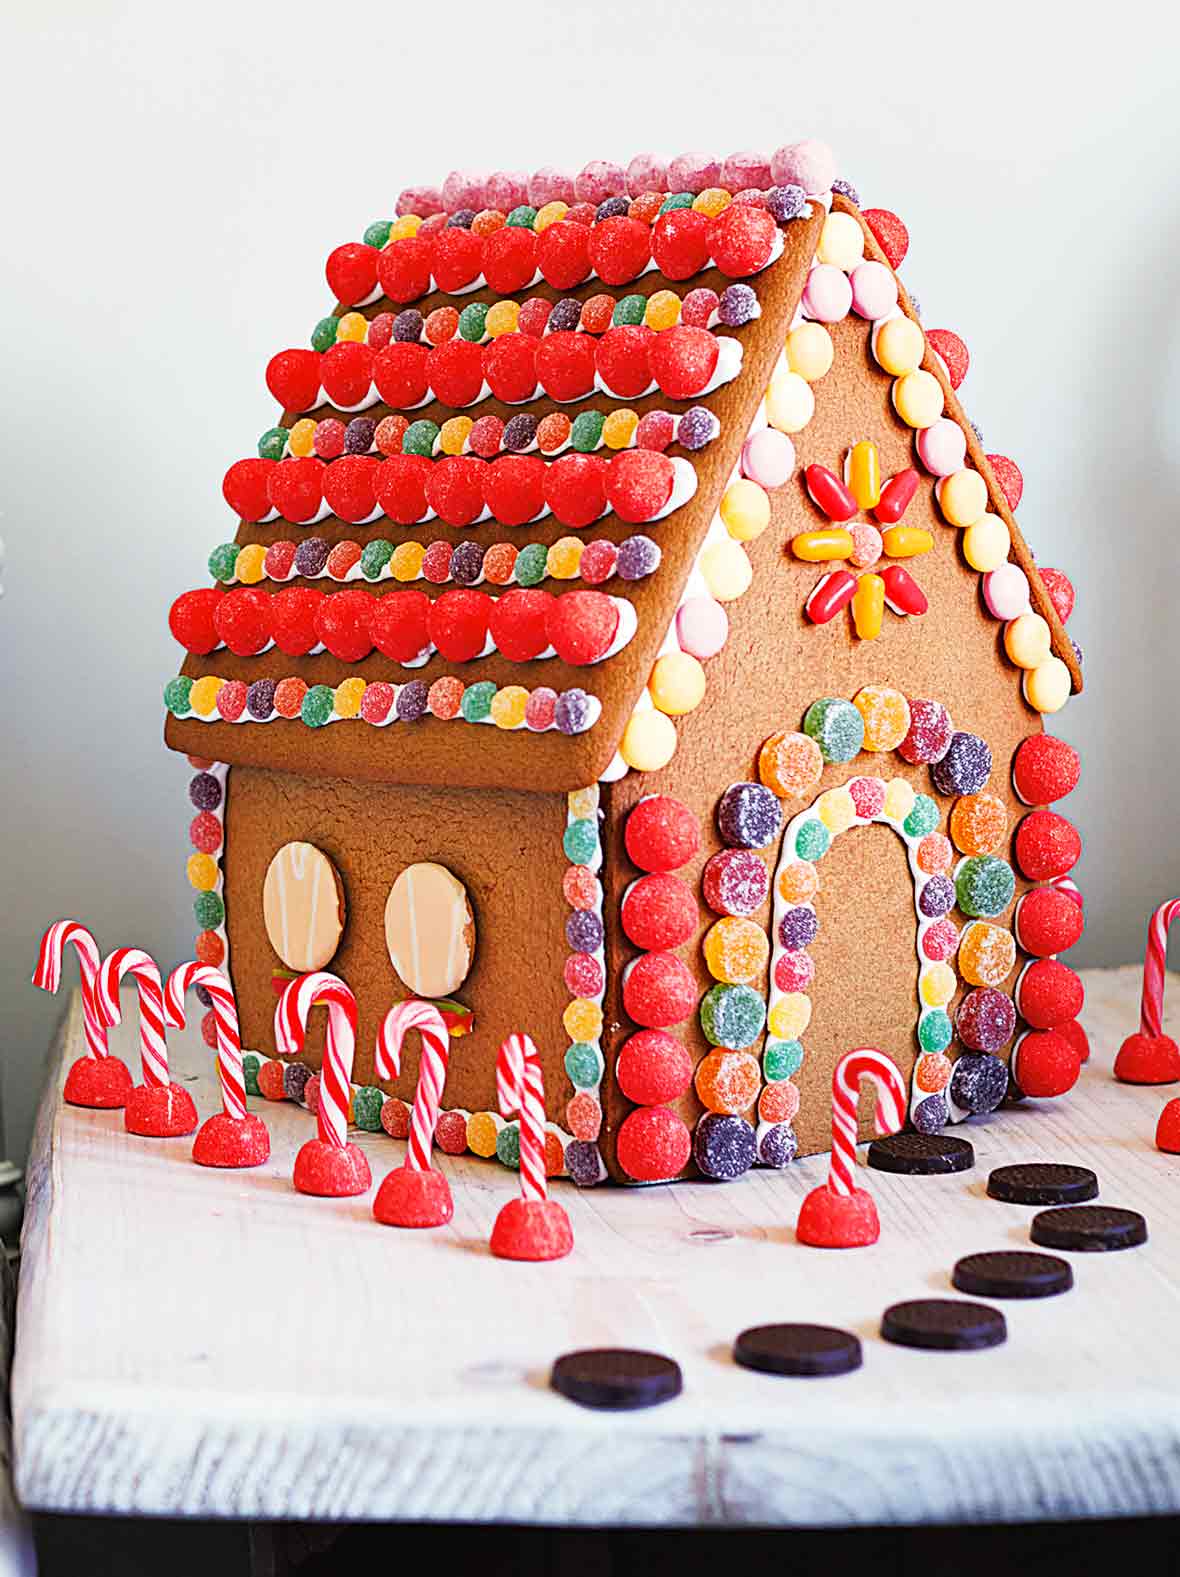
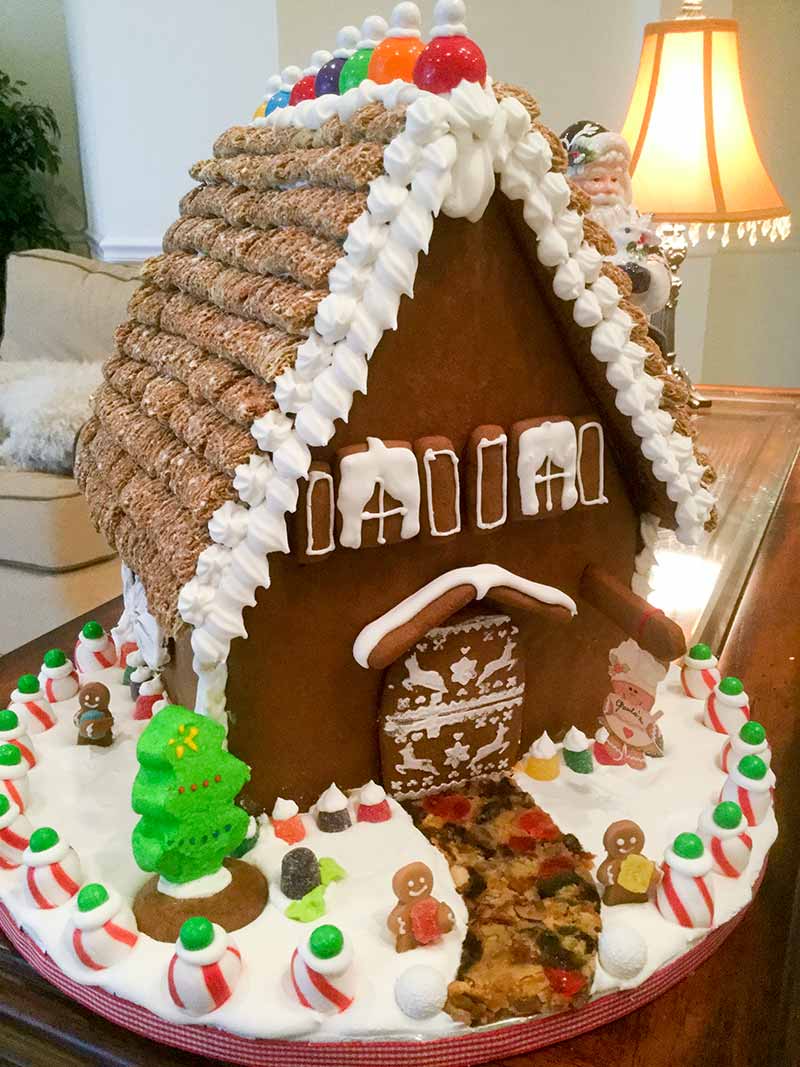
- What it is: A cute, classic gingerbread house crafted from gingerbread dough, glued together with a fast-setting caramel, and decorated with royal icing + colorful candy.
- Why you’ll love it: This is the perfect festive weekend project for the family, providing a fun activity that turns out a delicious show-stopping centerpiece.
- How to make it: Print the house template, cut and bake the gingerbread pieces, use super-hot caramel “glue” for swift and solid assembly, then decorate with royal icing, gumdrops + candy! Stand back, admire.
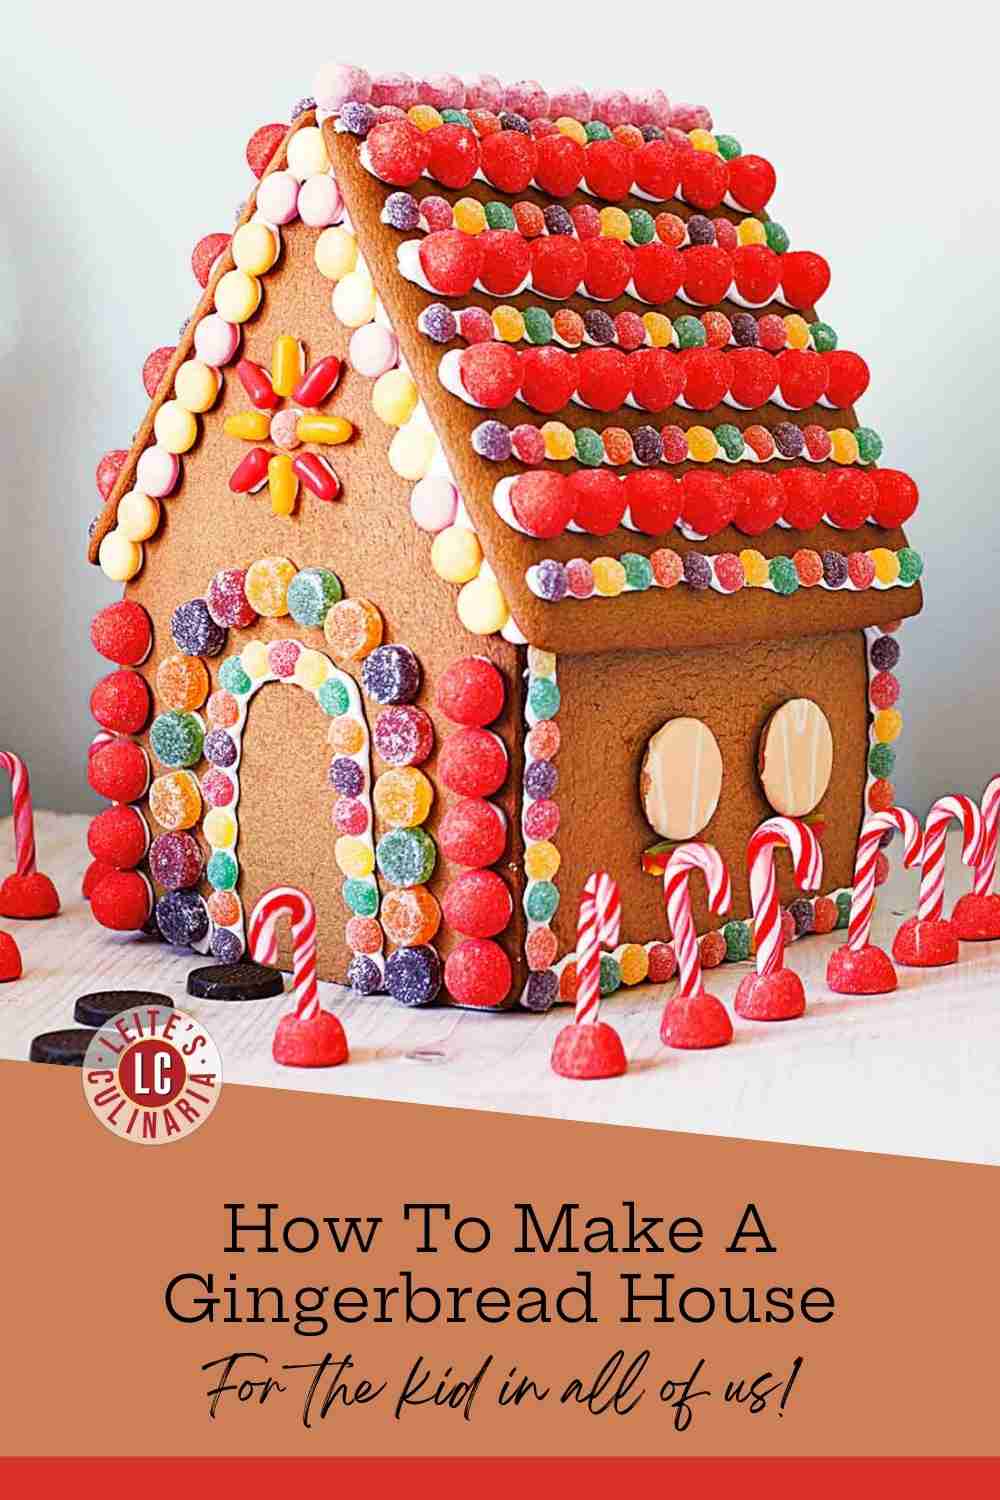
Knowing how to make a gingerbread house entirely from scratch may not have been on your bucket list, but it’s not nearly as complicated as you would imagine. With a little patience and a lot of sugar, you can construct a gingerbread creation that would make the Brothers Grimm proud—and everyone with a sweet tooth in your vicinity quite, quite happy. Here’s everything you need, including recipe, template, and decorating ideas.
How To Make A Gingerbread House
Equipment
- Instant-read candy thermometer; sturdy paper or card stock for printing the templates
Ingredients
For the gingerbread house
For the caramel glue
- 1 cup granulated sugar
- 1/4 cup cold water
For the decorations
- Royal icing
- Mini candy canes and lots of other colorful sweets and chocolates
Instructions
Prepare the stencil
- Print the gingerbread house template on sturdy paper or card stock and enlarge as needed.
- Preheat the oven to 325°F (163°C). Adjust the oven rack to the center position.
- On a large sheet of parchment paper, roll out the gingerbread dough to a thickness of 1/4 inch (6 mm). Place the template on the dough and using a sharp knife, cut out the house pieces. Leaving the dough on the parchment, carefully transfer everything to a rimmed baking sheet. If desired, cut out a door and windows for your gingerbread house. Gather any scraps of gingerbread cookie dough and roll them out on a second piece of parchment paper and use cookie cutters to make gingerbread trees or men to go with your gingerbread house or wrap the gingerbread cookie dough in plastic wrap and refrigerate it for another day. (Never throw away scraps of gingerbread cookie dough. The extra dough will come in handy if you end up breaking a piece of the house.) Place the baking sheet with the gingerbread cookie dough in the freezer for 10 minutes.
- Bake the gingerbread cookies in the oven until the cookies are golden brown at the edges, 10 to 20 minutes for smaller pieces and 20 to 25 minutes for larger pieces. Let the gingerbread cookies cool on the baking sheet for 5 minutes and then carefully transfer them to wire racks to cool completely.
To make the caramel glue
- Just moments before you undertake construction of your gingerbread house, combine the sugar and water in a large, low-sided saucepan and place over medium-high heat. Using a big frying pan for this makes it easy to dip the pieces of our gingerbread house into the pan to coat the edges. Attach a candy thermometer to the side of the pan and heat the sugar water mixture, without stirring, until it registers 320°F (160°C), about 8 minutes. If you don’t have a thermometer, you’ll know the syrup is ready when the sugar dissolves and turns a light golden color.
- Tilt the pan to gently swirl the syrup and even out the coloring. Remove from the heat and let cool for a few moments to thicken ever so slightly to the consistency of honey. The caramel will be extremely hot and should not be handled by children. If the syrup begins to harden in the pan, place it back over low heat until it has returned to the required consistency. Immediately begin to build your gingerbread house.
To assemble and decorate your gingerbread house
- Dip one edge of a front wall into the caramel glue until the edge is completely covered. Attach it to a side wall at a 90° angle and hold together for a few moments while the caramel glue hardens and sets. The caramel glue will dry very quickly. [Editor’s Note: The caramel glue is extremely hot. Assembly should be done by an adult only.]
- Attach another wall and the back panel to the house so you have the base of the gingerbread house. Hold together for a few minutes while the caramel glue hardens and sets. Then use cans or jars to prop up and support the walls while they set. Let it set, undisturbed, for 30 minutes.
- Remove the supports from the house and attach the roof panels. You will probably need to reheat the caramel glue to return it to a liquid state. Use a pastry brush to coat the edges of the roof panels and edges of the base of the house where you will stick them. As the angle is steep, you will need to hold these firmly with your hands for a few minutes while they begin to set. Then let it set, undisturbed, for 30 minutes.
- If necessary, add a little water to the royal icing or add some confectioners sugar until you reach soft peak consistency. Spoon the royal icing into a piping bag fitted with a fine nozzle or spoon it into a large resealable plastic bag and use a scissors to snip off the very tip of one of the bottom corners. Only fill the bag halfway so you have room to twist the bag and gently put pressure on the icing to ensure it comes out in a smooth, steady amount. Decorate your house by piping outlines of windows and doors, and elaborate scalloped patterns on the roof. If you prefer a more rustic, snowy look, simply use a larger tip in your piping bag or snip a slightly larger hole in your plastic bag. If you miss any spots in your decorating, let the icing on the house set, and then go back and fill in missing spots. To attach candy to your gingerbread house, use a dot of royal icing to secure them and gently stick them to your house. It really is almost too good to eat!
Explore More with AI
Nutrition
Nutrition information is automatically calculated, so should only be used as an approximation.
Recipe Testers’ Reviews
Did you know only 68% of the recipes we test make it onto the site? This recipe survived our rigorous blind testing process by multiple home cooks. It earned the Leite’s Culinaria stamp of approval—and the testers’ reviews below prove it.
Perfect recipe and directions for learning how to make a very merry gingerbread house! This was so much fun to make! The caramel glue works like a charm and almost instantly bonds the pieces together. Royal icing and candy are the crown jewels and fantastically fun to put together. Your house will smell wonderful, too!
Freezing the gingerbread cookie dough for 10 minutes is the secret to keeping the pieces from spreading while baking. The larger pieces baked for 22 minutes and even the smaller ones baked for 15 to 20 minutes. Every piece came out perfectly. The caramel glue was very fast to set. Almost instant. After 30 minutes, the house was solid. I held the roof pieces in place for a few minutes to make sure they didn’t slide off. The royal icing was a little too soft. I added another 1/2 cup of confectioners sugar. The larger the tip you use, the more “peaks and drifts and drips” you will get. If you miss any spots, let it harden up and go back with a smaller tip and fill in.
Most importantly was the final note in the directions: “Never throw away scraps of gingerbread.” This is good advice. My dog ate the front door and luckily I had saved a little golf ball-size piece of dough and was able to roll out another door. Whew! The caramel “glue” is very effective, even for large pieces of gingerbread. I used the royal icing from the web site – a total of 2 batches. I used meringue powder and then white coloring to bring it back to a bright white. The recipe is easily changed by adding more sugar or water depending on the consistency desired. Amounts in the recipe are accurate to reach a medium consistency, which I used for the snow and soft peaks.
Phew! I’ve never done a gingerbread house all the way through from scratch. This was a lot of work but so much fun! I didn’t do it all in one day, either. I baked it one day and decorated it another day. I would highly recommend this unless you have a full day to devote to it.
When you’re rolling out your gingerbread dough, I found it easier to find something that was 1/4″ thick (cutting boards) and roll the dough out in between two until it is flush with them. This made it so everything was exactly the same height and baked wonderfully even! I only made the dark molasses dough and it turned out well. I used the extra dough to make some trees and it was fun!
The caramel glue was easy to make and everything was right, but it was difficult to melt down again. It just didn’t seem to get as thin as it did before. It was useable, but not as good. It made plenty enough caramel to make the house. I had a hard time melting down the caramel again, but it’s so easy to make that I would just it up again to do the roof. It dried pretty quickly. Overall, very fun.


Oh I cant wait to try this! My grandbabies are coming! (They live in another state so I am really excited!) My granddaughter, 4 yrs old, said “Gramma, can we make a gingerbread house?!” I have never made one! So excited! I will post pictures when we do them! Thank you so much!
Shari, you are so very welcome! And yes, please send us pictures and an update! We’re so excited for you and can’t wait to see your creation!