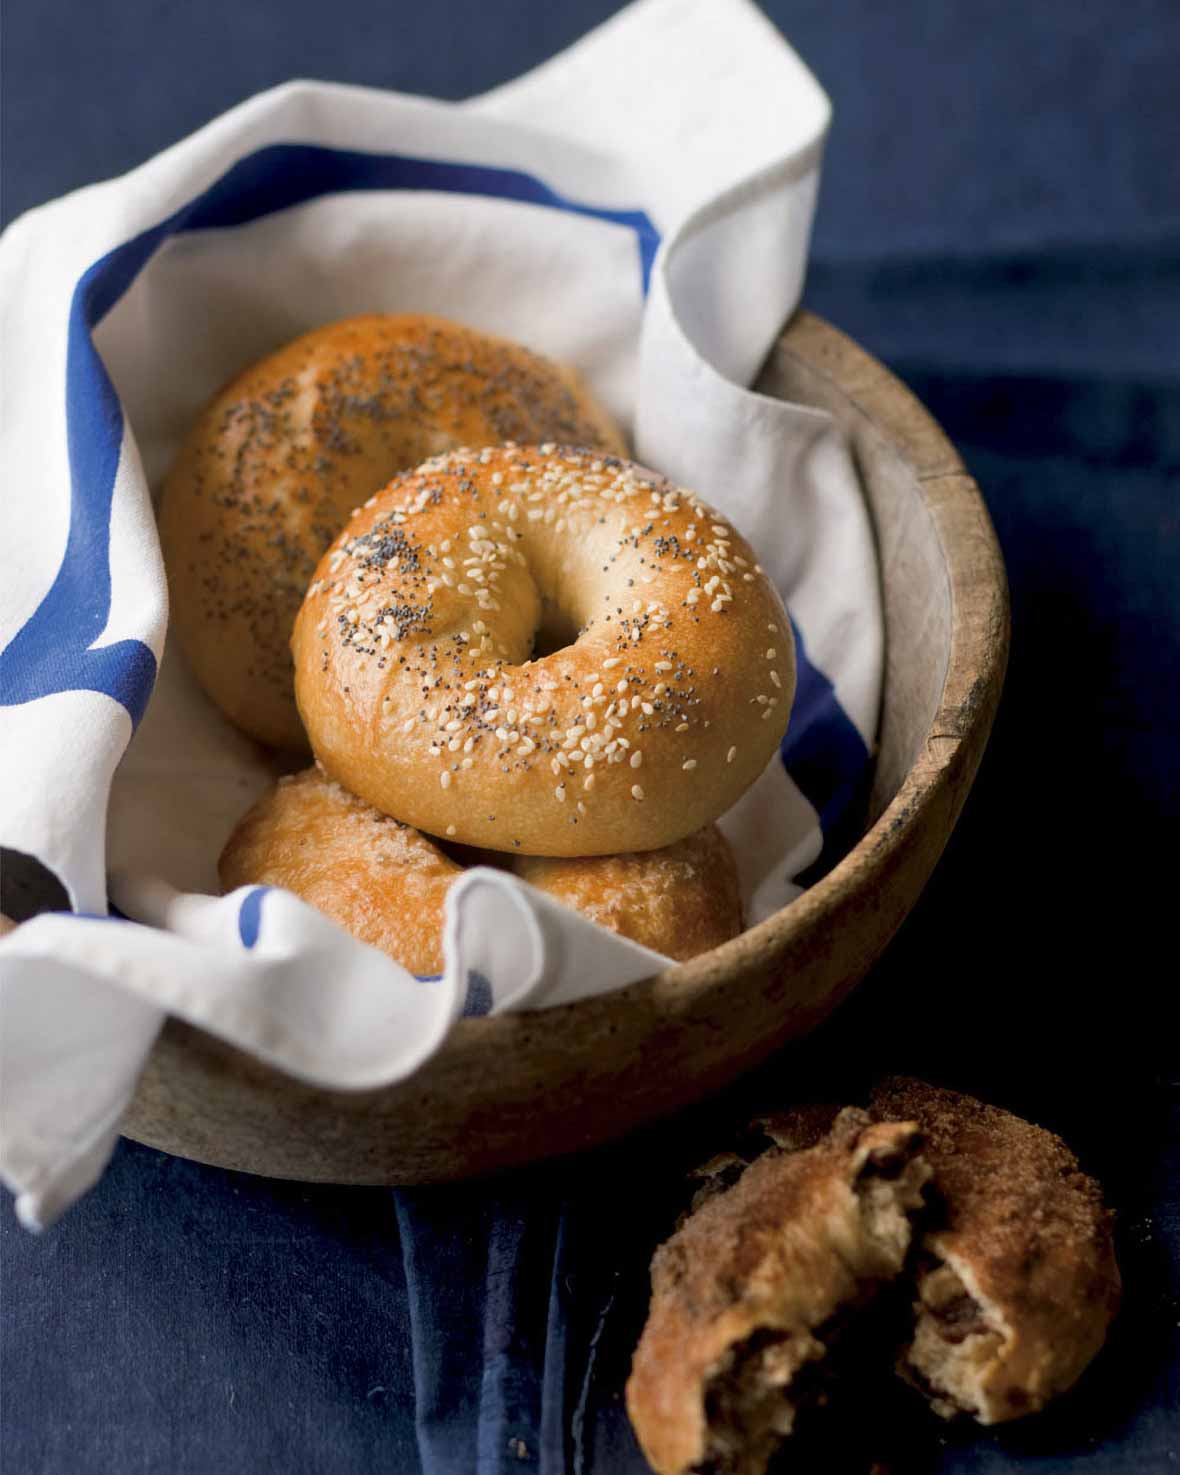
Let’s clear something up right away: New York City isn’t the only place in the world to get decent, authentic bagels. The truth is, you can make bagels that are just as good at home, no matter where you live. They’re one of the simplest breads to make, requiring only flour, water, salt, yeast, and malt—and one secret ingredient: time (in the form of long, slow, cold fermentation). Any decent bagel shop knows this and uses an overnight method to stretch out the fermentation process, releasing all sorts of subtle flavors trapped in the flour. While bagel shops often use a type of high-protein flour not available to home cooks to achieve that distinctively chewy texture, regular, unbleached bread flour can also do the trick. The real key is to use a much lower percentage of water than is used for baguettes and other European hearth breads, producing a stiff dough that can stand up to a dunking in boiling water before going into the oven. More than any ingredient or other aspect of the method, this boiling step is what defines the uniqueness of the bagel.
That said, bagels do usually feature one other distinctive ingredient: barley malt. While this may seem like an exotic, hard-to-find product, it’s actually commonly available at most supermarkets, usually labeled “barley malt syrup.” If you can’t find it, simply substitute an equal amount of honey. Your bagels might not have that malty flavor, but they’ll still be better than almost any bagel you can buy.–Peter Reinhart
Proof You Can Make Excellent Homemade Bagels!
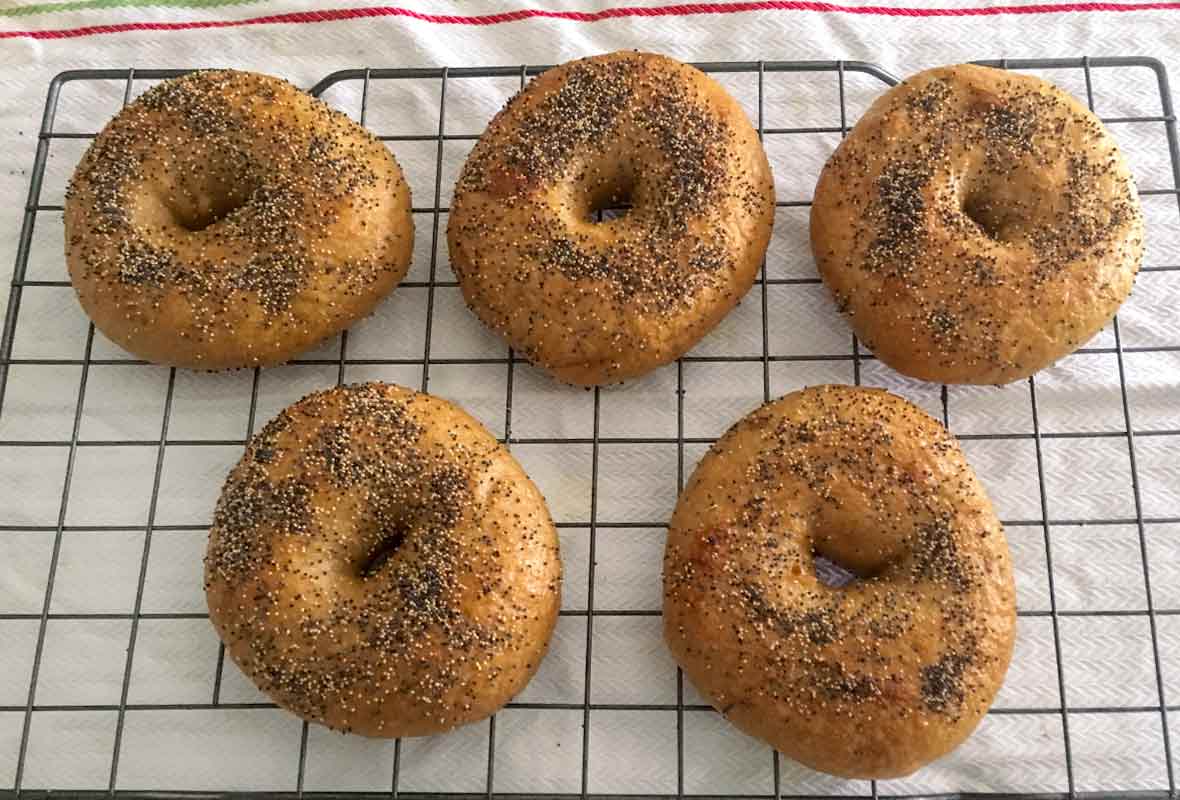
Doubt you can make homemade bagels that look professional and taste better than anything you’ve had before? Doubt not! Reader and home baker Herman Gersten whipped up these beauties. (Honestly, they are so gorgeous, Herman has inspired me to go back and makes these again.)

Homemade Bagels
Ingredients
For the dough
- 1 tablespoon barley malt syrup, honey, or rice syrup, or 1 teaspoon (0.25 oz / 7 g) diastatic malt powder
- 1 teaspoon instant yeast
- 1 1/2 teaspoons salt, or 2 1/2 teaspoons coarse kosher salt
- 1 cup plus 2 tablespoons lukewarm water, (about 95°F or 35°C)
- 3 1/2 cups unbleached bread flour
For the poaching liquid
- 2 to 3 quarts water
- 1 1/2 tablespoons barley malt syrup or honey, (optional)
- 1 tablespoon baking soda
- 1 teaspoon salt, or 1 1/2 teaspoons coarse kosher salt
Instructions
Day one: make the dough
- Stir the malt syrup, yeast, and salt into the lukewarm water. Place the flour into a mixing bowl and pour in the malt syrup mixture. If using a mixer, use the dough hook and mix on the lowest speed for 3 minutes. If mixing by hand, use a large, sturdy spoon and stir for about 3 minutes, until well blended. The dough should form a stiff, coarse ball, and the flour should be fully hydrated; if it isn’t, stir in a little more water. Let the dough rest for 5 minutes.
- Resume mixing with the dough hook on the lowest speed for another 3 minutes or transfer to a very lightly floured work surface and knead by hand for about 3 minutes to smooth out the dough and develop the gluten. The dough should be stiff yet supple, with a satiny, barely tacky feel. If the dough seems too soft or overly tacky, mix or knead in a little more flour.
- Place the dough in a clean, lightly oiled bowl, cover the bowl tightly with plastic wrap, and let the dough rise at room temperature for 1 hour.
Day one: shape the bagels
- When you’re ready to shape the bagels, prepare a sheet pan by lining it with parchment paper or a silicone mat, then misting it with spray oil or lightly coating it with oil. Divide the dough into 6 to 8 equal pieces. (A typical bagel is about 4 ounces or 113 grams before baking, but you can make them smaller. If you make more than 6 bagels, you may need to prepare 2 sheet pans.)
- Form each piece into a loose ball by rolling it on a clean, dry work surface with a cupped hand. (Don’t use any flour on the work surface. If the dough slides around and won’t ball up, wipe the surface with a damp paper towel and try again; the slight bit of moisture will provide enough traction for the dough to form into a ball.)
- There are two methods to shape the balls into bagels:
The first method is to poke a hole through the center of the ball to create a donut shape. Holding the dough with both thumbs in the hole, rotate the dough with your hands, gradually stretching it to create a hole about 2 inches in diameter.
The second method, preferred by professional bagel makers, is to use both hands (and a fair amount of pressure) to roll the ball into a rope about 8 inches long on a clean, dry work surface. (Again, wipe the surface with a damp towel, if necessary, to create sufficient friction on the work surface.) Taper the rope slightly at each end and moisten the last inch or so of the ends. Place one end of the dough in the palm of your hand and wrap the rope around your hand to complete the circle, going between your thumb and forefinger and then all the way around. The ends should overlap by about 2 inches. Squeeze the overlapping ends together by closing your hand, then press the seam into the work surface, rolling it back and forth a few times to seal. Remove the dough from your hand, squeezing it to even out the thickness if need be and creating a hole of about 2 inches in diameter. - Place each shaped bagel on the prepared sheet pan, then mist with spray oil or brush with a light coating of oil. Cover the entire pan with plastic wrap and refrigerate overnight or for up to 2 days. (You can also proof the full piece of dough in the oiled bowl overnight and then shape the bagels on baking day, 60 to 90 minutes before boiling and baking them, or as soon as they pass the float test.)
Day two (or even three): test the bagels
- Remove the bagels from the refrigerator 60 to 90 minutes before you plan to bake them, and if you plan to top them with dried onion or garlic, rehydrate those ingredients (see the variations below). Immediately check whether the bagels are ready for baking using the “float test”: Place one of the bagels in a small bowl of cold water. If it sinks and doesn’t float back to the surface, shake it off, return it to the pan, and wait for another 15 to 20 minutes, then test it again. When one bagel passes the float test, meaning they rise to the surface, they’re all ready to be boiled. If they pass the float test before you are ready to boil and bake them, return them to the refrigerator so they don’t overproof. About 30 minutes before baking, preheat the oven to 500°F (260°C) and gather and prepare your garnishes (seeds, onions, garlic, and so on).
Day two (or even three): poaching the bagels
- Fill a pot with 2 to 3 quarts (64 to 96 ounces) of water, making sure the water is at least 4 inches deep. Cover, bring to a boil, then lower the heat to maintain at a simmer. Stir in the malt syrup, baking soda, and salt.
- Gently lower each bagel into the simmering poaching liquid, adding as many as will comfortably fit in the pot. They should all float to the surface within 15 seconds. After 1 minute, use a slotted spoon to turn each bagel over. Poach for another 30 to 60 seconds, then use the slotted spoon to transfer it back to the pan, domed side up. (It’s important that the parchment paper be lightly oiled, or the paper will glue itself to the dough as the bagels bake.) Sprinkle on a generous amount of whatever toppings you like as soon as the bagels come out of the water (except cinnamon sugar; see the variation below).
- Transfer the pan of bagels to the oven, then lower the oven heat to 450°F (232°C).
- Bake for 8 minutes, then rotate the pan and check the underside of the bagels. If they’re getting too dark, place another pan under the baking sheet. (Doubling the pan will insulate the first baking sheet.) Bake for another 8 to 12 minutes, until the bagels are a golden brown.
- Cool on a wire rack for at least 30 minutes before slicing or serving.
Notes
Homemade Bagel Variation
You can replace any amount of the bread flour with an equal amount of whole-grain flour (by weight), such as wheat or rye. If you do so, increase the water in the dough by 1 tablespoon (0.5 oz / 14 g) for every 2 ounces (56.5 g) of whole-grain flour you substitute. Top your bagels with any combination of the following garnishes: poppy seeds, sesame seeds, coarse salt, or rehydrated dried onions or garlic. (Soak dried onions or garlic in water to cover for at least 1 hour before applying.) The toppings will stick even better if you first brush the top of each bagel with an egg white wash made by whisking 1 egg white with 1 tablespoon (0.5 oz / 14 g) of water. If using coarse salt as a garnish, remember that a little goes a long way. For raisin bagels, mix in 1 1/3 cups (8 oz / 227 g) of raisins during the final 2 minutes of mixing and, if you like cinnamon, stir 1/2 teaspoon (0.14 oz / 4 g) of ground cinnamon into the flour before you start mixing. When the bagels come out of the oven, brush the tops with melted butter and dip the top into a bed of cinnamon sugar to give it a very tasty cinnamon crust. You can make cinnamon sugar by whisking 2 tablespoons (1.6 oz / 44 g) of ground cinnamon into 1/2 cup (4 oz / 113 g) of granulated sugar. Alternatively, you can try this easy cinnamon bagel recipe.
Nutrition
Nutrition information is automatically calculated, so should only be used as an approximation.
Recipe Testers’ Reviews
At first it seemed silly to test this recipe. Why would I go through all the trouble of making homemade bagels when I live in the Northeast and have at least five good bagel places within a two-mile radius of my home? Yet I thought my 4-year-old son would enjoy seeing how bagels are made, so we gave this recipe a try.
The ingredients were easy to find—no problem with the barley malt. There was no long rise time, no tiresome kneading—probably one of the easiest breads to put together. The boiling section of the recipe barely made a mess and the baking was quick.
The result: homemade bagels with a slightly crisp exterior and a soft, chewy interior. We used sesame seeds and coarse kosher salt as toppings, both were delicious. I look forward to experimenting more with other variations in the near future. This way I never even need to leave the house for good bagels. Trust me: if this recipe was easy for me with my 4-year-old sous chef, it’ll be easy and successful for you as well.
I make bagels often and am constantly trying new recipes to find the perfect one. I think I’ve found it! Not only were the bagels wonderful—crisp on the outside, with just the right amount of chew on the inside—but Peter Reinhart’s directions are clear and precise, even for a novice bagel-maker. He also gives alternatives for forming the bagels, options for different amounts and types of flour, and garnishes. Don’t be put off by the length of the recipe. These bagels are easy to make. The length is due to Reinhart’s great detail to ensure perfect homemade bagels.


Made the bagels this morning and they were very good. I used a food processor and pulsed the dry ingredients then added the water 95 degrees and ran the processor for about 60 seconds after the dough rose over the blade. Placed in an oiled bowl and refrigerated overnight. Removed the dough and let sit out covered for 90 minutes. Then shaped the bagels with the poke method. Did a float test then egg washed and boiled 45 seconds each side in the water as described above. Egg wash and sesame seeds then in the oven for about 20 minutes. I used diastatic malt powder in place of the syrup.
Raymond, that all sounds great!
“(You can also proof the full piece of dough in the oiled bowl overnight and then shape the bagels on baking day, 60 to 90 minutes before boiling and baking them, or as soon as they pass the float test.)”
In regards to refrigerating the full piece of dough… Do I just put the full piece of dough in the fridge after it has risen room temperature.. or do I put it in the fridge right after making/mixing the dough. Sorry if the answer seems obvious. Guess I am learning baking terminology..
Great question, Toni. You would let the dough rise at room temperature for 1 hour as indicated in step 3, then put the dough into the fridge until you’re ready to shape and cook them the next day.