
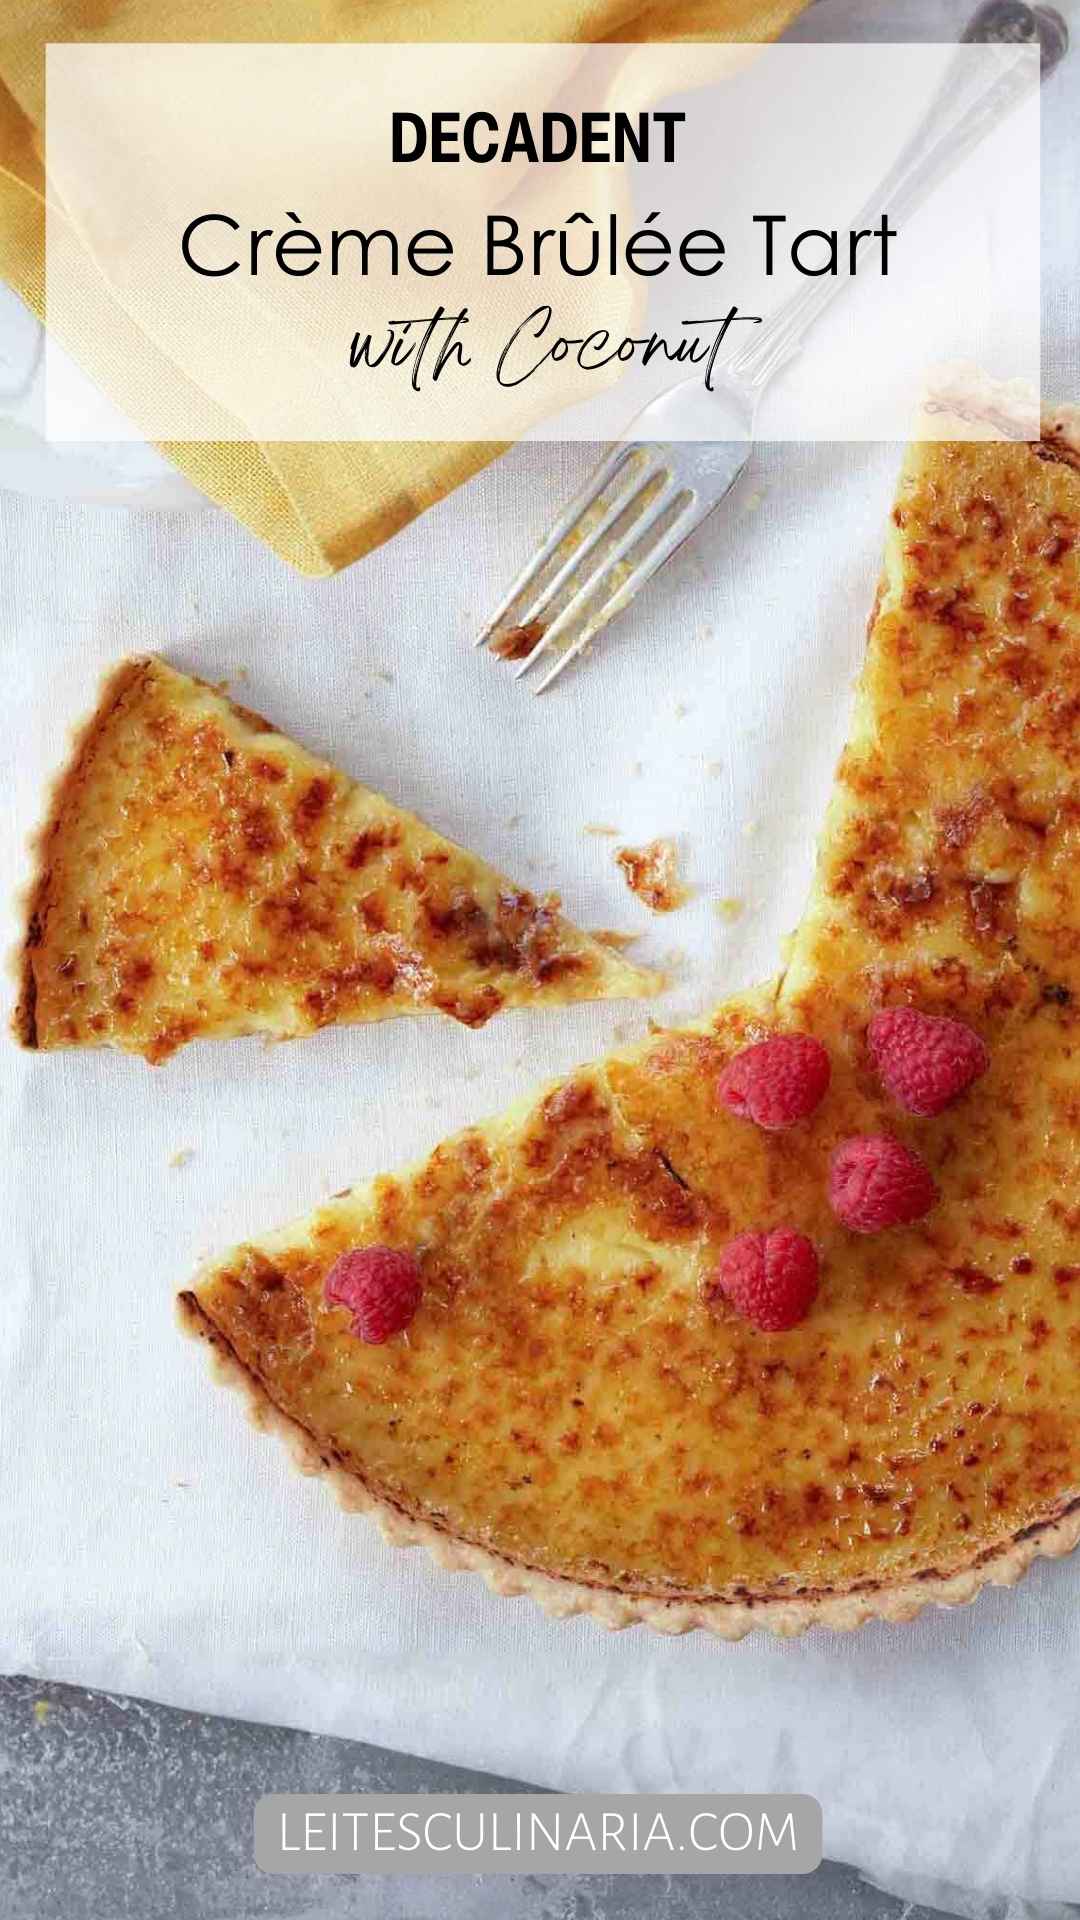
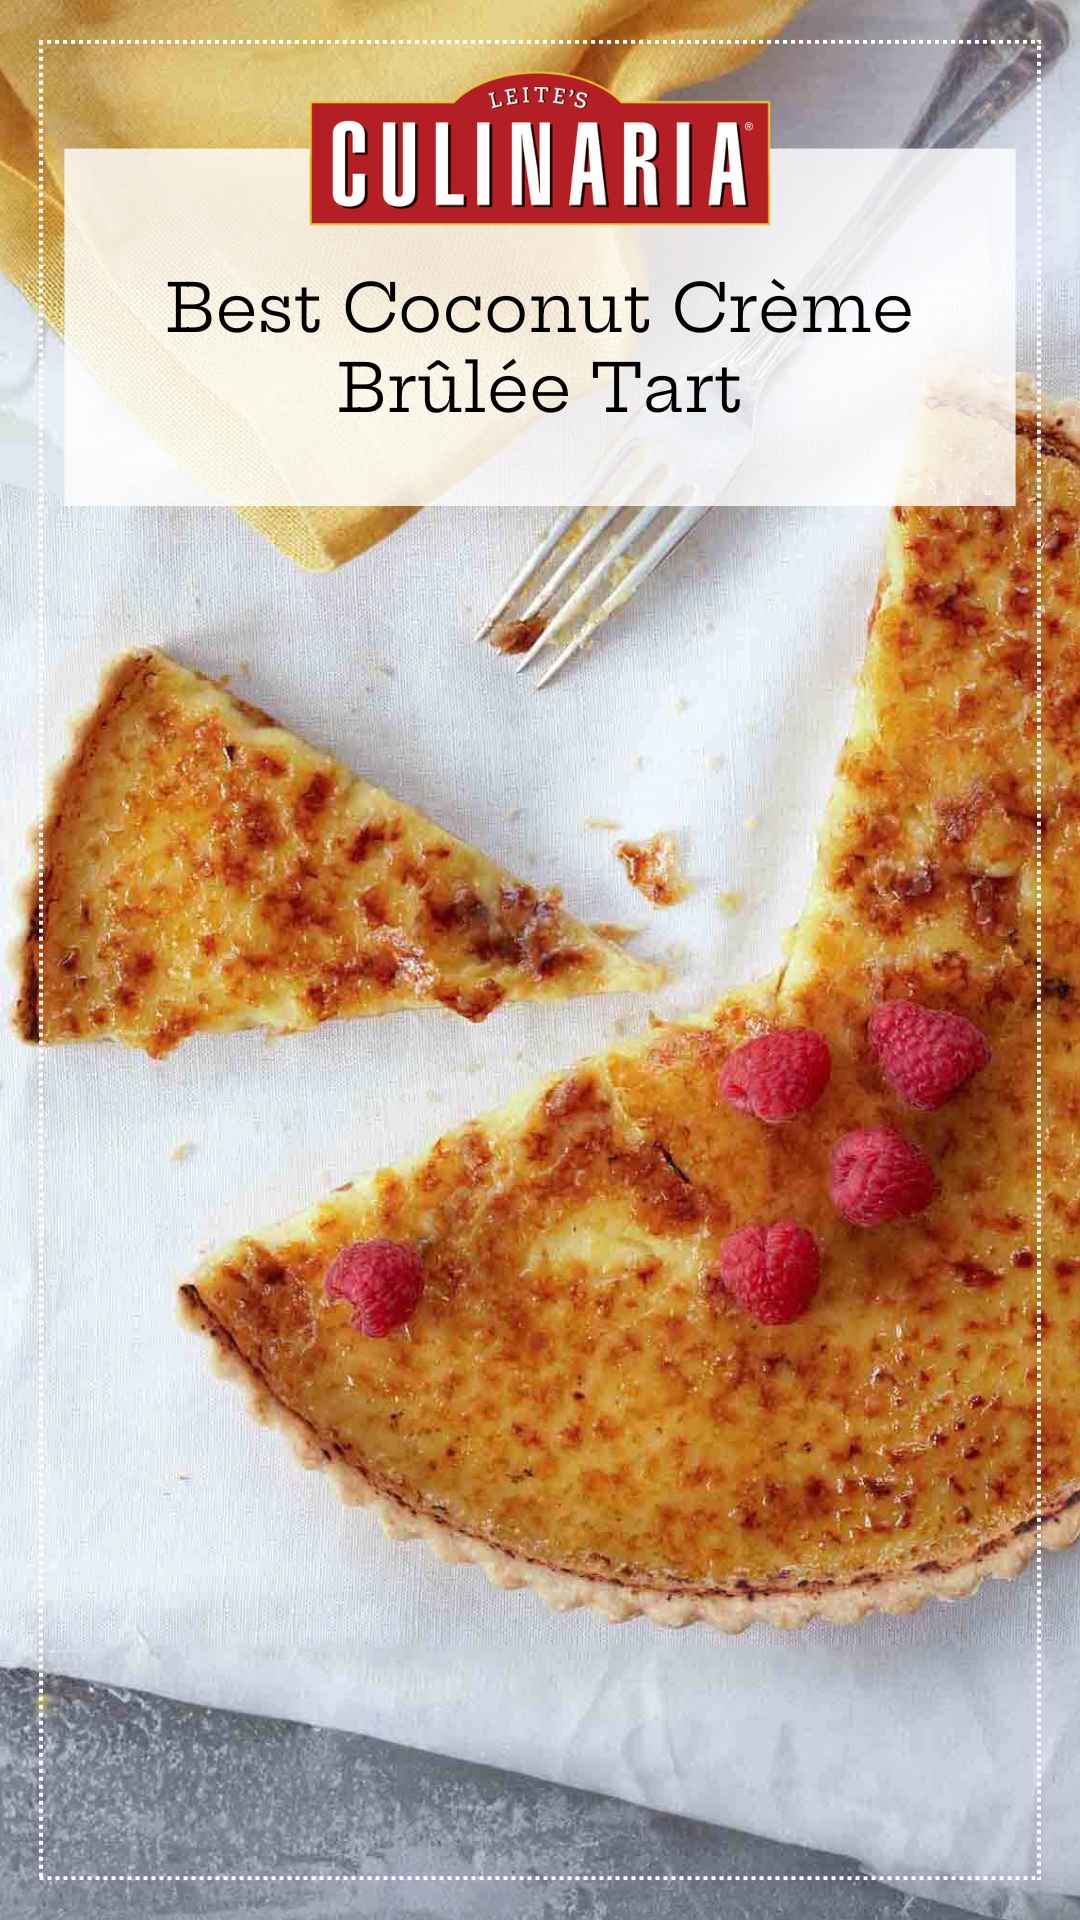
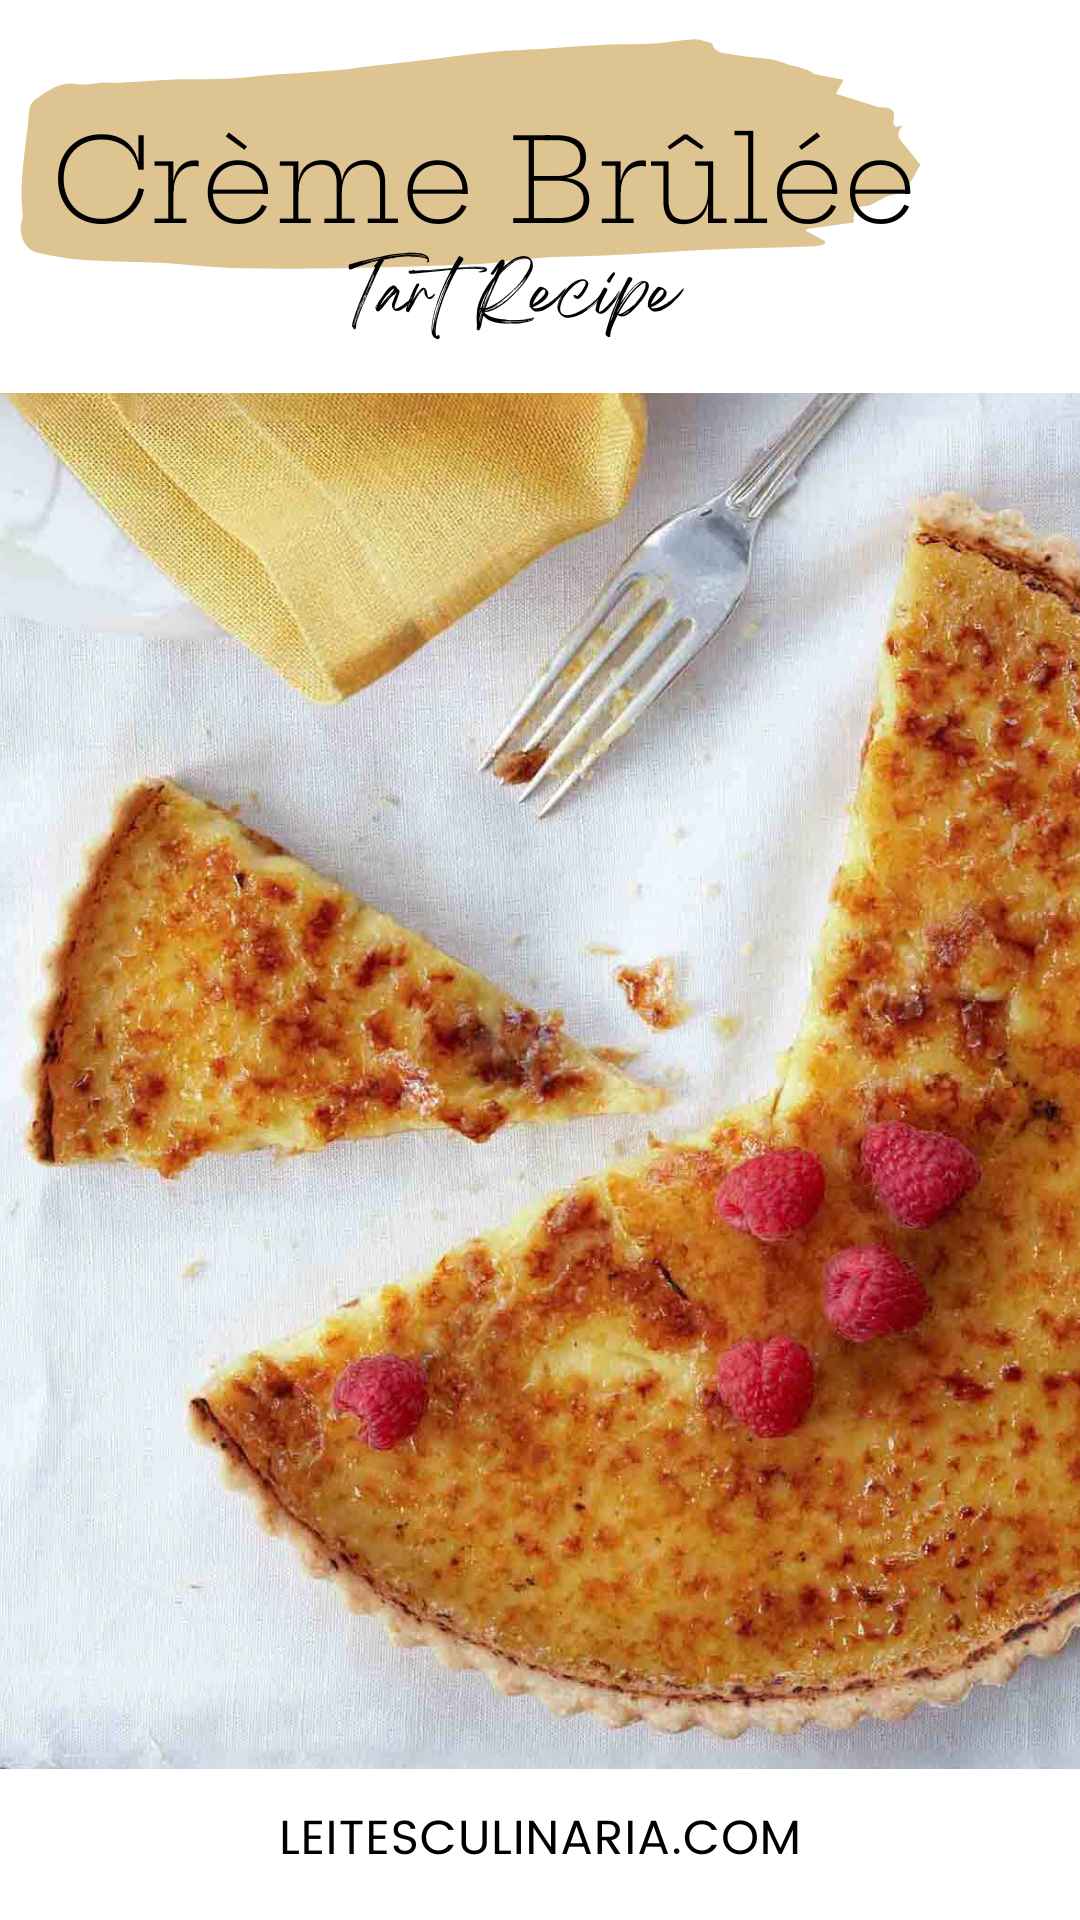
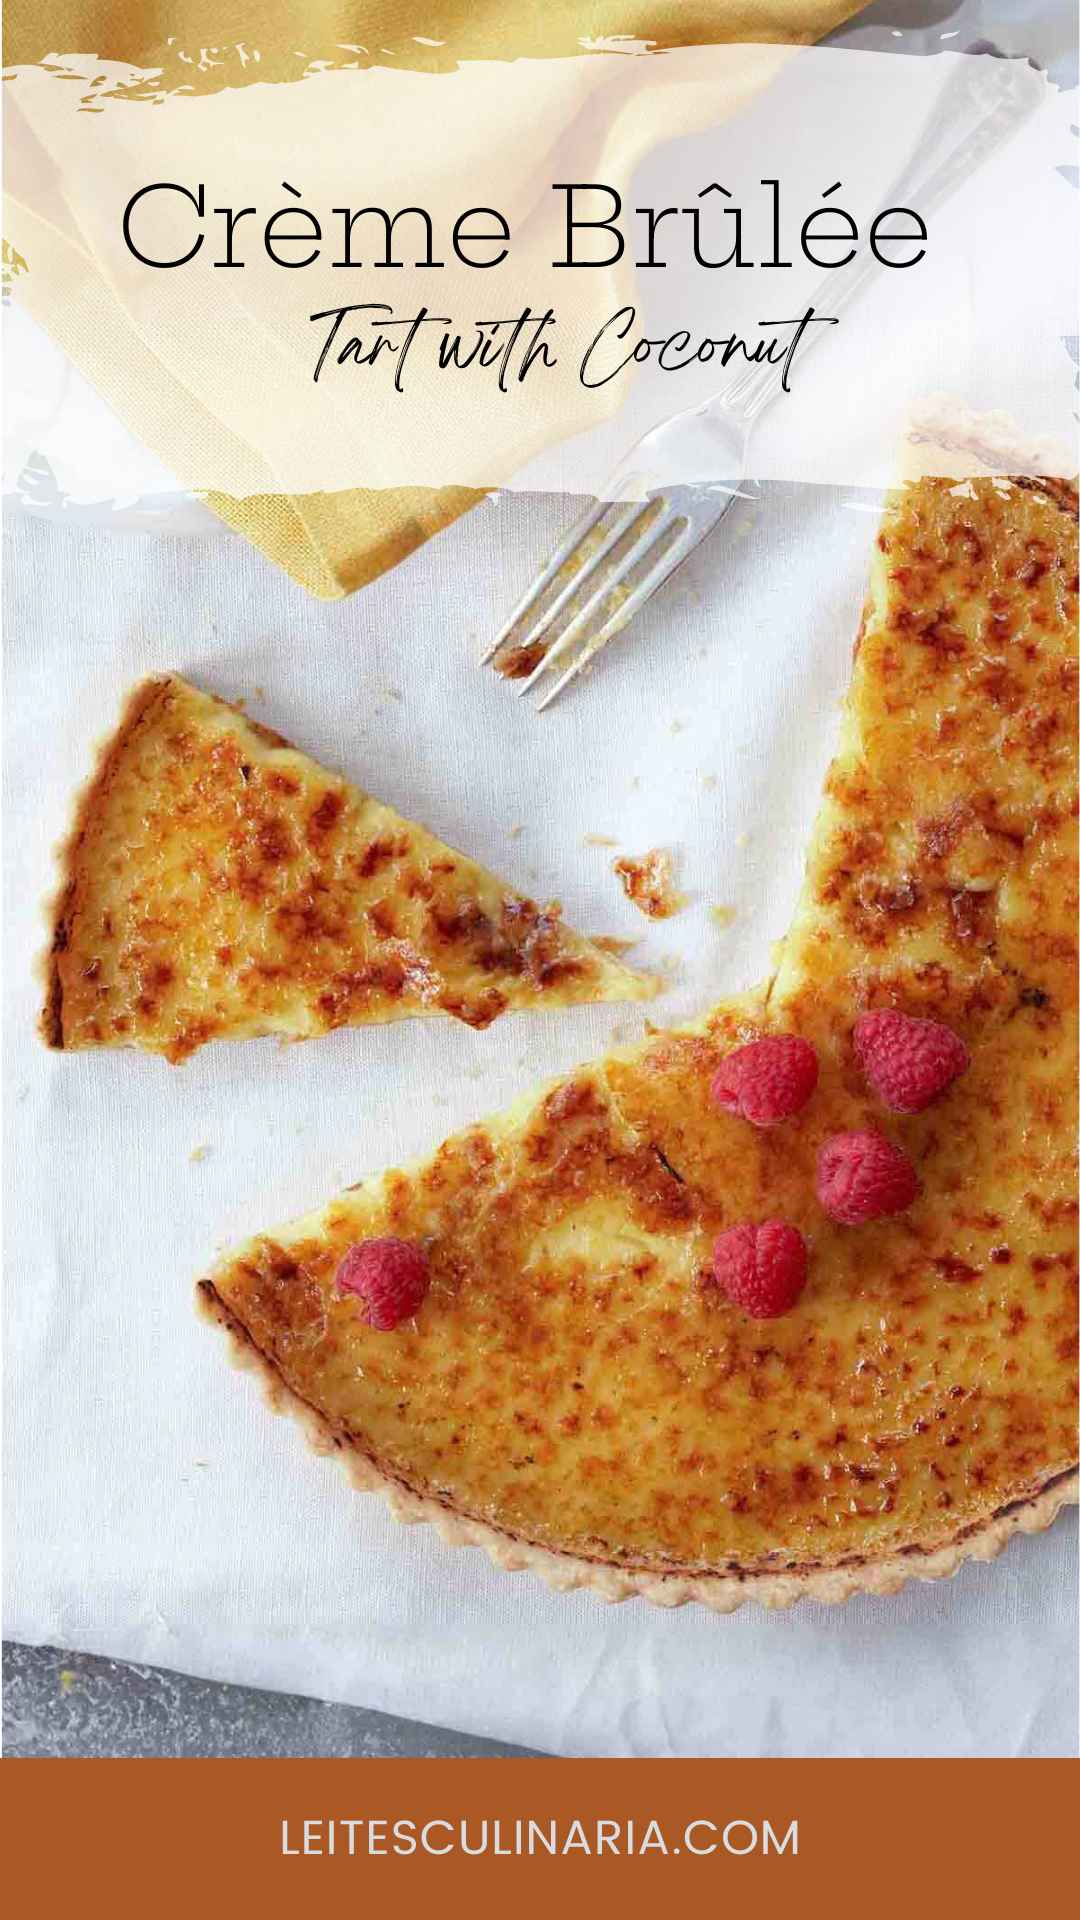
This stunning dessert takes far less effort than one might expect. It starts with a rich, buttery pastry dough, ends with a silken, subtly flavored coconut filling, and finishes with a sugary topping that shatters at the slightest touch.

Why This Recipe Works
This coconut crème brûlée tart delivers the perfect contrast of textures—a crisp, buttery tart crust, a smooth and creamy coconut custard filling, and a crackly caramelized sugar topping. Toasting the coconut intensifies its flavor, while a mix of heavy cream and half-and-half keeps the custard rich without being too dense. A final layer of torched turbinado sugar creates the classic brûlée crunch. Whether for a dinner party or a weekend treat, this dessert is a guaranteed showstopper.
Notes on ingredients
- Heavy Cream—Keeps things silky and balances the coconut so it doesn’t taste like a sunscreen experiment.
- Egg Yolks—The magic behind that velvety texture. If you’ve got extra whites, make meringues or, if you’re feeling ambitious, macarons.
- Vanilla Bean or Extract—If you’ve got a vanilla bean lying around, use it. If not, good-quality vanilla extract will do just fine.
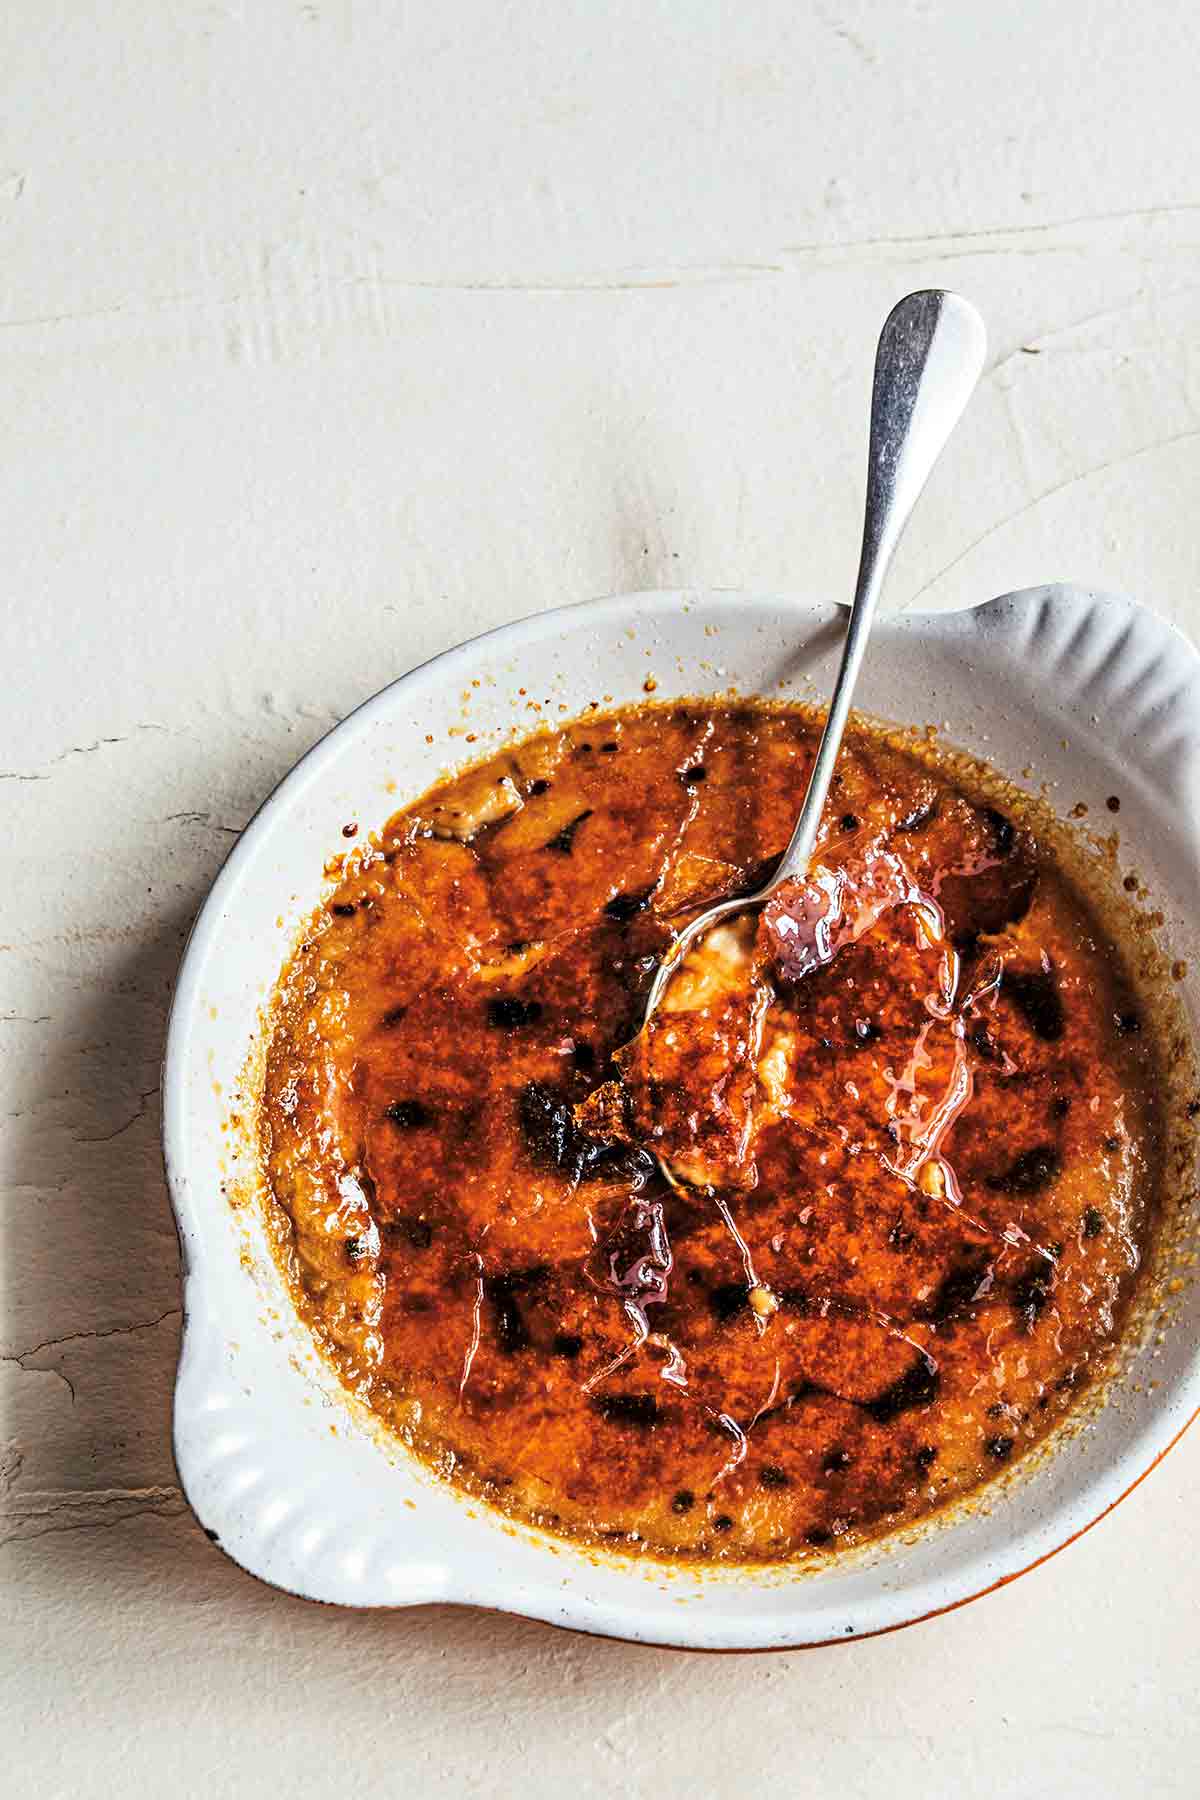
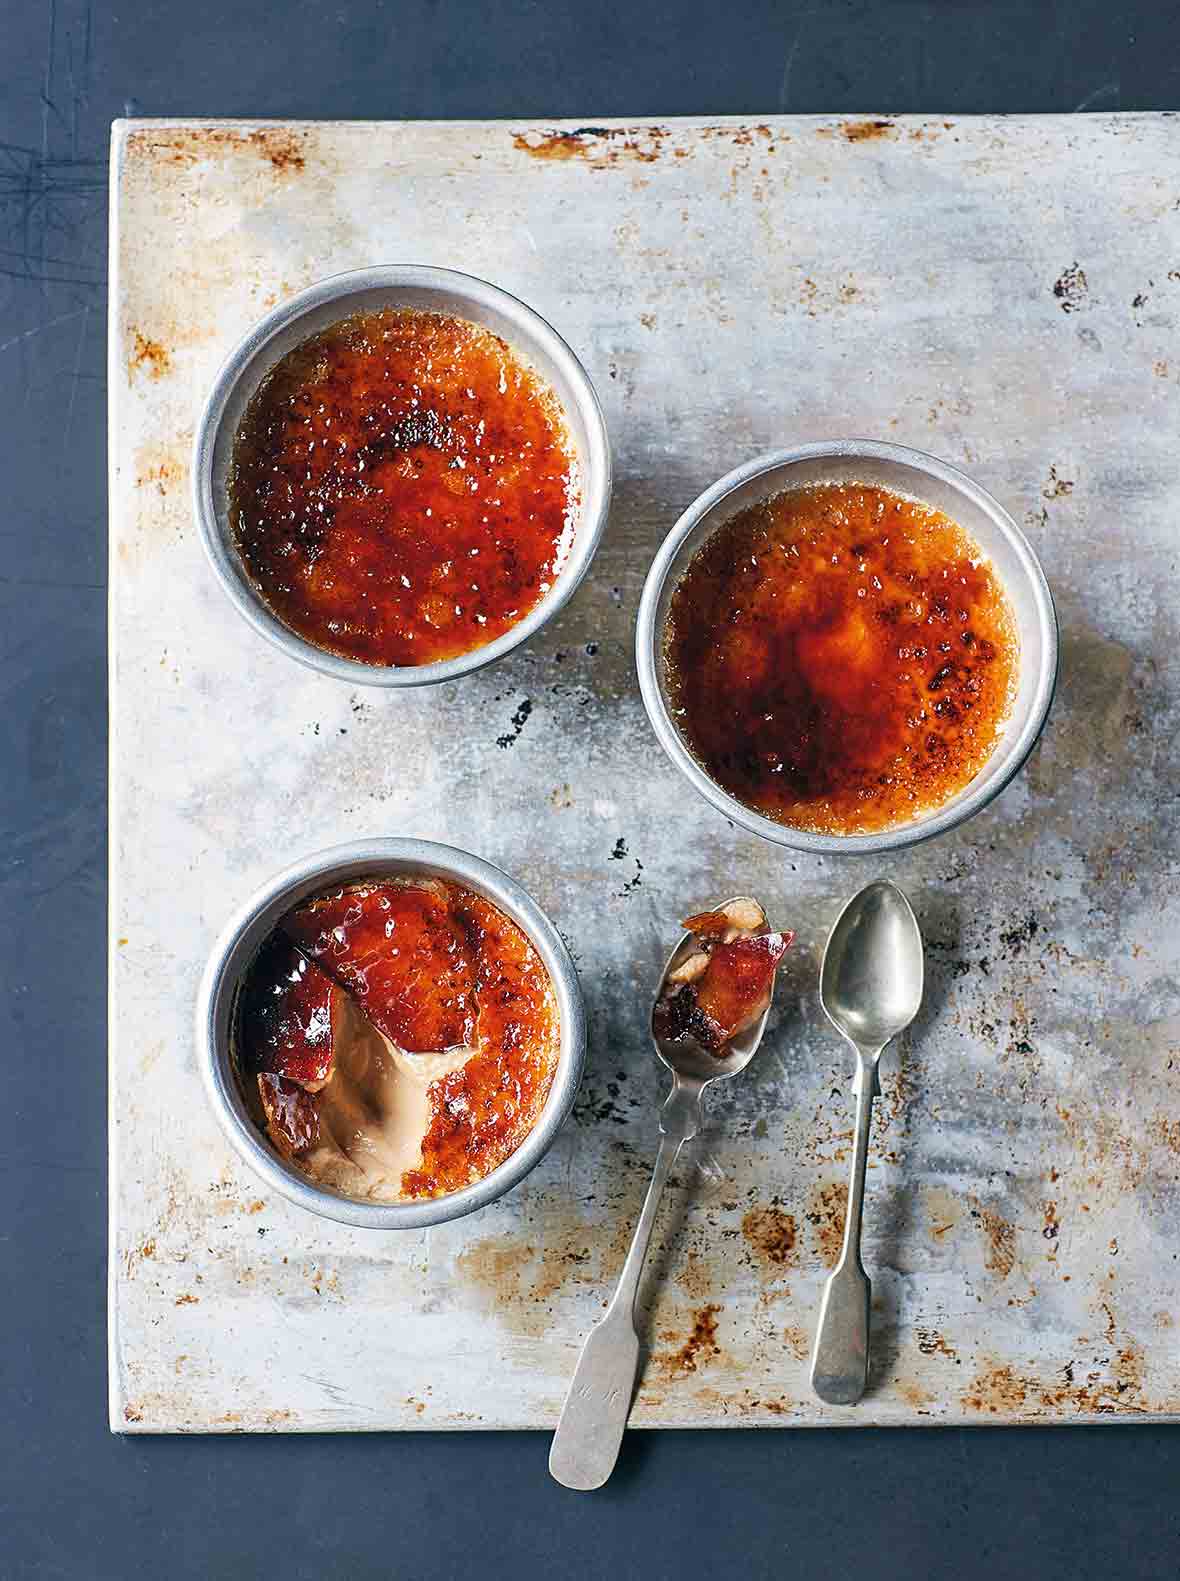
- Turbinado Sugar—This is what gives you that signature brûlée crunch. If you only have white sugar, don’t sweat it—just torch it evenly.
Your Coconut Creme Brulee Questions Answered
Yes! While this recipe calls for a buttery tart crust, a graham cracker or almond flour crust can work as a gluten-free option.
Turbinado sugar works best because of its large, coarse crystals, which melt evenly and create a crisp, caramelized topping.
According to the doyenne of baking, Martha Stewart, turbinado sugar is a minimally processed raw cane sugar with a light golden color and a mild molasses flavor.
If you don’t have turbinado, superfine sugar is a good alternative as it melts more evenly than regular granulated sugar. Granulated sugar can be used, but it may caramelize unevenly or become grainy.
If your custard is too loose, it may have been underbaked. The tart should bake until the edges are firm, but the center still has a slight jiggle. It will continue setting as it cools.
Absolutely! Bake the tart and refrigerate it without the brûlée topping for up to 24 hours. Before serving, blot any condensation from the surface, sprinkle with sugar, and caramelize.
Want to save this?
Pro tips & troubleshooting
- Toast the coconut for maximum flavor. Toasting the sweetened flaked coconut enhances its nutty depth, giving the custard a richer taste.
- Pour the custard through a fine-mesh sieve, pressing with the back of a spoon to remove the coconut solids and ensure a creamy filling.
- Pre-baking the tart shell (also called blind baking) prevents it from turning soggy under the custard.
- Torch, don’t broil the tart. A kitchen torch creates the best caramelized top without overheating the custard.
Serving Suggestions.
🍓 Serve this coconut crème brûlée tart with a handful of fresh raspberries or blackberries for a bright, tart contrast to the creamy custard. A lightly sweetened whipped cream—plain or with a touch of vanilla—adds extra indulgence.
🍷 Pair with a glass of Moscato or Sauternes, both of which complement the caramelized sugar and rich custard beautifully.
Storage
Store the coconut creme brulee tart without the brûlée topping in the fridge for up to 3 days, covered in plastic wrap.
For longer storage, freeze the fully baked tart without the brûlée topping for up to 1 month. When ready to serve, thaw it overnight in the fridge, then gently blot the surface with a paper towel to remove any condensation. Sprinkle with the sugar and brûlée just before serving.
☞ TESTER TIP: Reheating the brûlée is not recommended—the caramelized sugar top will soften in the fridge, so always torch it fresh for that perfect crunch.
Share Your Brûlée Moment
If you make this coconut crème brûlée tart, I’d love to hear about it! Leave a review, give it a star rating, and share your best photo in the comments below. Your feedback helps others and makes my day! – David
I loved the subtle coconut flavor and the unsweetened coconut I used made this a perfect dessert for those who prefer something “not too sweet.”
TiffLH

Coconut Crème Brûlée Tart
Ingredients
For the crust
- 1 1/3 cups all-purpose flour, plus more for the work surface
- 1 tablespoon sugar
- 1/4 teaspoon salt
- 1 stick (4 oz) cold unsalted butter, cut into small pieces
- 3 to 5 tablespoons ice water
For the coconut creme brulee filling
- 1 1/4 cups sweetened flaked coconut, (see cooks notes below)
- 1 1/2 cups heavy cream
- 3/4 cup half-and-half
- 6 large egg yolks
- 2 tablespoons turbinado sugar, (see cooks notes below)
- pinch of salt
- 1/4 cup turbinado sugar, finely ground if desired (see cooks notes below)
- raspberries for garnish, (optional)
Instructions
Make the crust
- In a bowl, whisk together the 1 1/3 cups all-purpose flour, 1 tablespoon sugar, and 1/4 teaspoon salt. Cut in the 1 stick (4 oz) cold unsalted butter with a pastry blender or 2 knives used scissors-fashion until the butter is the size of small peas.
- Sprinkle 1 tablespoon of the water over the flour mixture, stirring gently with a fork to moisten it evenly. Continue adding water until the dough just begins to come together when a small bit is pressed between your fingers; do not overwork the dough.
- Press the dough together into a ball and knead it ever so gently in the bowl. Shape the dough into a disk, wrap it in plastic wrap or wax paper, and refrigerate for at least 30 minutes or up to 2 days.
- On a lightly floured surface, roll the dough to a 12- to 13-inch round. Carefully move the dough to a 9- or 10-inch round fluted tart pan with a removable bottom and gently press the pastry against the bottom and up the sides. Trim the pastry to about 1/2 inch above the edge of the pan. Fold the overhanging crust in and gently press pastry against the sides of the pan so it extends just 1/4 inch above the rim. Prick the bottom and sides of the shell with a fork and refrigerate for 30 minutes.
- Preheat the oven to 350°F (175°C). Position a rack in the middle of the oven.
- Line the tart shell with a piece of heavy-duty aluminum foil, pressing it snugly into the bottom and against the sides, and fill with uncooked rice or beans. Bake for 20 minutes. Remove the foil and rice or beans and bake for about 10 minutes longer, until pale golden brown. Let cool completely on a wire rack.
Make the filling
- Preheat the oven to 350°F (175°C).
- Spread the 1 1/4 cups sweetened flaked coconut on a large baking sheet and toast in the oven, stirring twice, until golden brown, 6 to 8 minutes. Remove from the oven. Lower the oven temperature to 300°F (150°C) or turn it off for a spell and then preheat it again.
- Bring the 1 1/2 cups heavy cream, toasted coconut (from step 8), and 3/4 cup half-and-half to a rolling boil in a large saucepan over medium heat. Immediately remove from the heat, cover, and let steep for 35 minutes.
- When you're ready to bake the tart, in a large bowl, whisk together the 6 large egg yolks, 2 tablespoons turbinado sugar, and a pinch of salt. Still whisking constantly, slowly add the cream mixture. Pour the mixture through a fine strainer set over a large glass measure, pressing hard on the solids to extract as much liquid as possible.
- Place the tart pan on a baking sheet. Pull the oven rack out slightly, place the baking sheet on the rack, and pour the custard into the tart pan. Bake for 25 to 30 minutes, until just barely set. Watch the custard closely at the end, as it can set and overcook quickly. Keep in mind, the custard will continue to set as it cools. Remove the tart from the baking sheet and let cool completely on a wire rack.
- Just before serving, remove the side of the pan from the tart. Gently blot the surface of the custard with the edge of a paper towel to remove any condensation. Sift the 1/4 cup turbinado sugar evenly over the custard. Move the flame of a blowtorch evenly back and forth just above the top of the tart, avoiding the crust, until the sugar is evenly browned. Let stand for about 5 minutes before serving. Cut into wedges and serve with raspberries, if desired.
Notes
- Sweetened Flaked Coconut is dried coconut to which water and sugar have been added. The increased moisture enhances tenderness and flavor. It is very sweet. Some say its flavor and mouthfeel are most similar to fresh coconut. Store any type of dried coconut in an airtight container in a cool, dark place. Untoasted dried coconut should keep for about 4 months at cool room temperature, 5 to 6 months in the refrigerator, and 8 to 12 months in the freezer.
- Toasting Coconut I prefer the flavor of toasted coconut over raw. It adds a depth of flavor and a warmth that is irresistible. As it toasts, stir the coconut at the edge of the baking sheet into the center and the still-white coconut to the outside with a wide metal spatula to ensure even browning. If you stir it near the halfway mark and then again toward the end, you will end up with evenly toasted golden brown coconut. I prefer a deep golden brown to a paler one. Watch it carefully.
- Turbinado Sugar is pure raw cane sugar with large brown crystals and a delicate molasses flavor. It melts well, making it perfect for sprinkling atop crème brûlée. If you first finely grind the sugar in a blender, it will give you a smooth, glass-like top after being torched.
Explore More with AI
Nutrition
Nutrition information is automatically calculated, so should only be used as an approximation.
Recipe Testers’ Reviews
This tart is a ten out of ten. While there were a number of steps to go through in making this dessert, I loved the coconut smell as it cooked. The directions were easy and precise, and the tart was very pretty when it was finished. The crust was golden, tender, and flaky, with a very nice buttery flavor. The filling had the exact texture of crème brûlée: creamy yet firm, and had an unmistakable coconut flavor while not being too sweet.
Unfortunately, I didn’t have a torch for the sugar topping and had to rely on my broiler, which left the sugar more gritty than a sheet of melted sugar. While breaking the crust was not as satisfying, the tart was devoured quickly anyway. I will certainly make this again (after I purchase a torch).
Eight out of eight dinner guests loved this dish. The directions are very easy to follow. I made the dough one day, and the filling on the next. Though I didn’t have a 10-inch tart pan, I made it in my 9-inch one, which made for a thicker filling—a good thing.
It took about 40 minutes to cook. As per the instructions, the tart needs watching toward the end, as it seems to go from liquid to solid in an instant. The filling is smooth and creamy and sets up well, and the coconut taste is just right. The sugar crust is quite thin, so it’s fairly easy to cut a neat slice from the tart. I didn’t grind the sugar, although I may try that next time, as it took some time to melt the turbinado with my torch.




Would you make any changes if all I have is unsweetened coconut flakes?
TiffLH, we haven’t tested the recipe with unsweetened coconut so I’m not sure how successful it would be. Unsweetened coconut tends to be drier as well as less sweet and making a substitution could significantly alter the outcome. If you do try it, please let us know how it turns out.
My teenager said it tastes like nothing which isn’t true. It’s just that he & my husband prefer their desserts sweeter. The dinner hosts we brought this to thoroughly enjoyed it and gladly took the last sliver for later. I loved the subtle coconut flavor and the unsweetened coconut I used made this a perfect dessert for those who prefer something “not too sweet” which is the typical Asian grandparent compliment for desserts they enjoy. The recipe was simple to make and I’m looking forward to trying it again with the sweetened coconut next time.
Wonderful, TiffLH! We’re delighted this turned out so well and that you plan on making it again. Thank you for taking the time to comment.