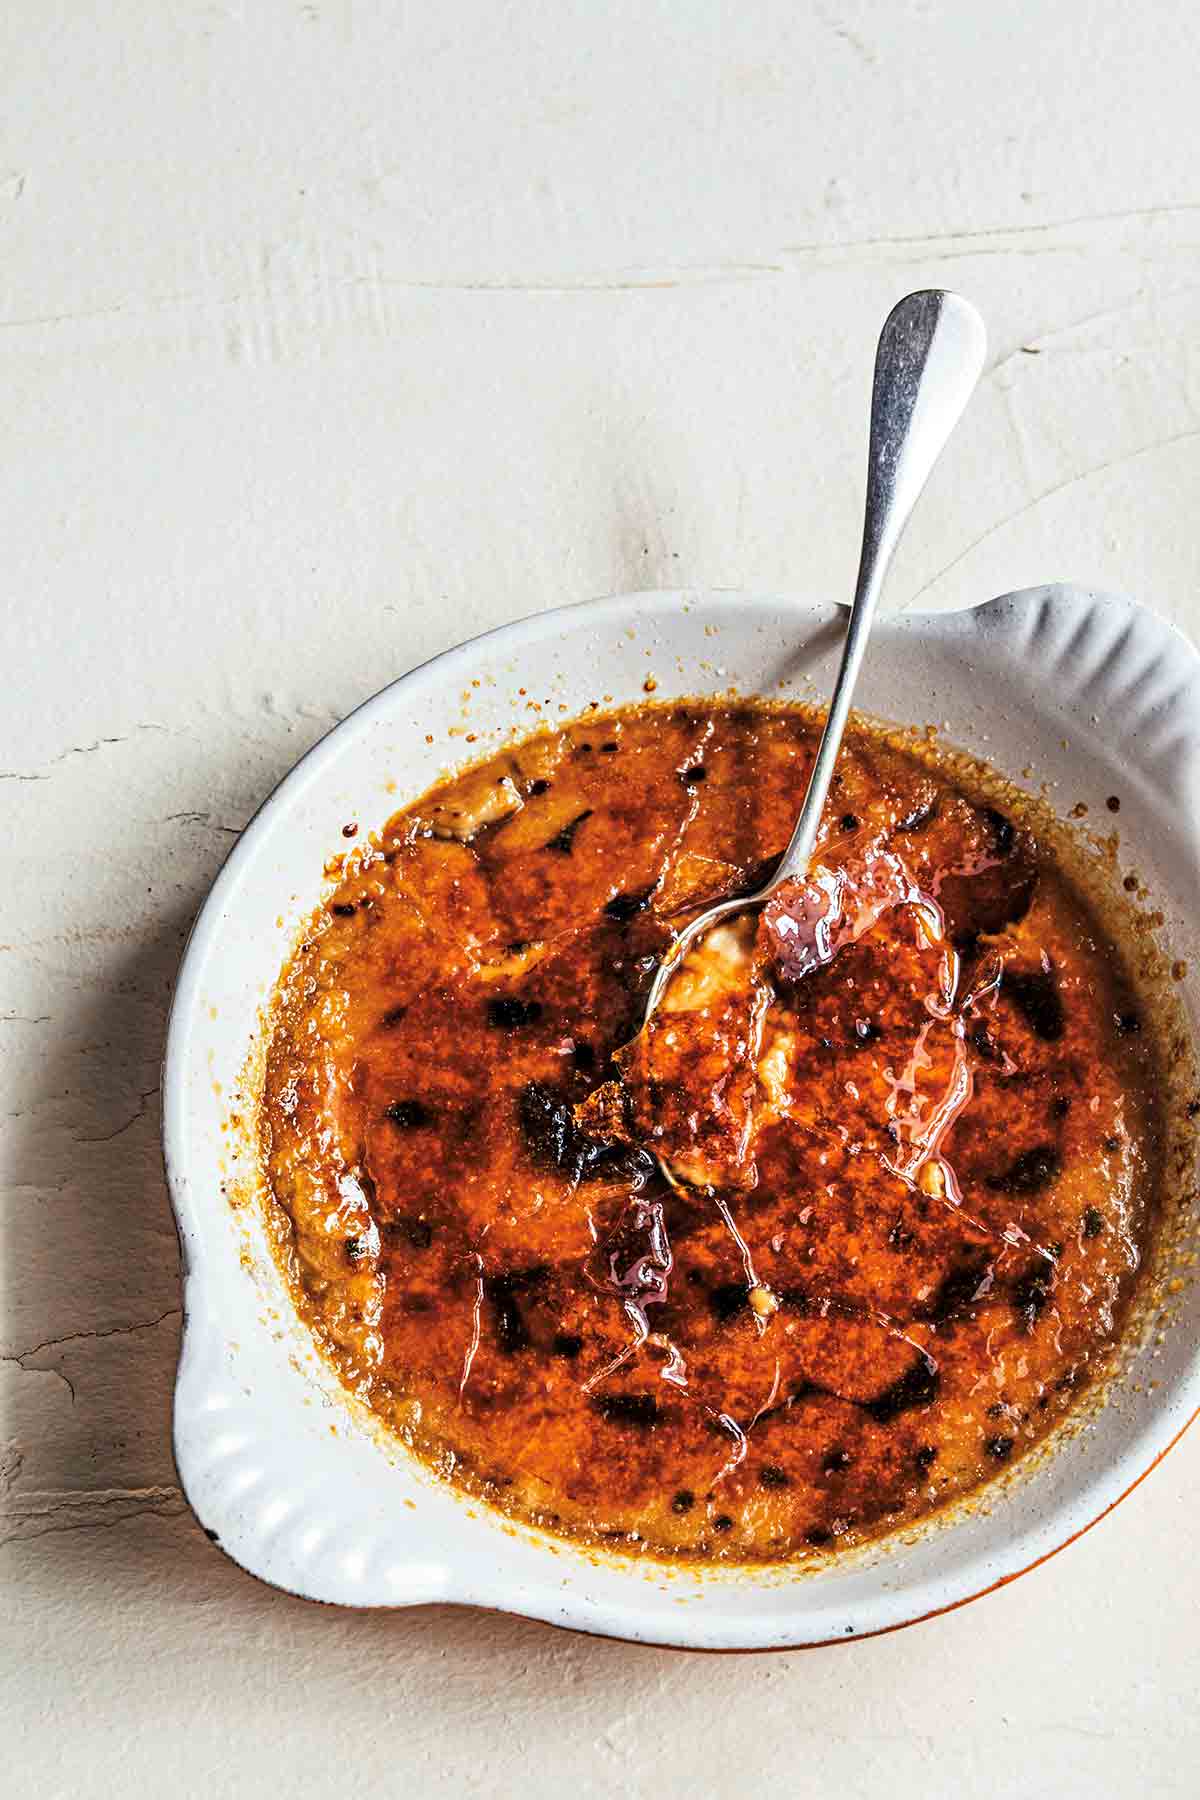
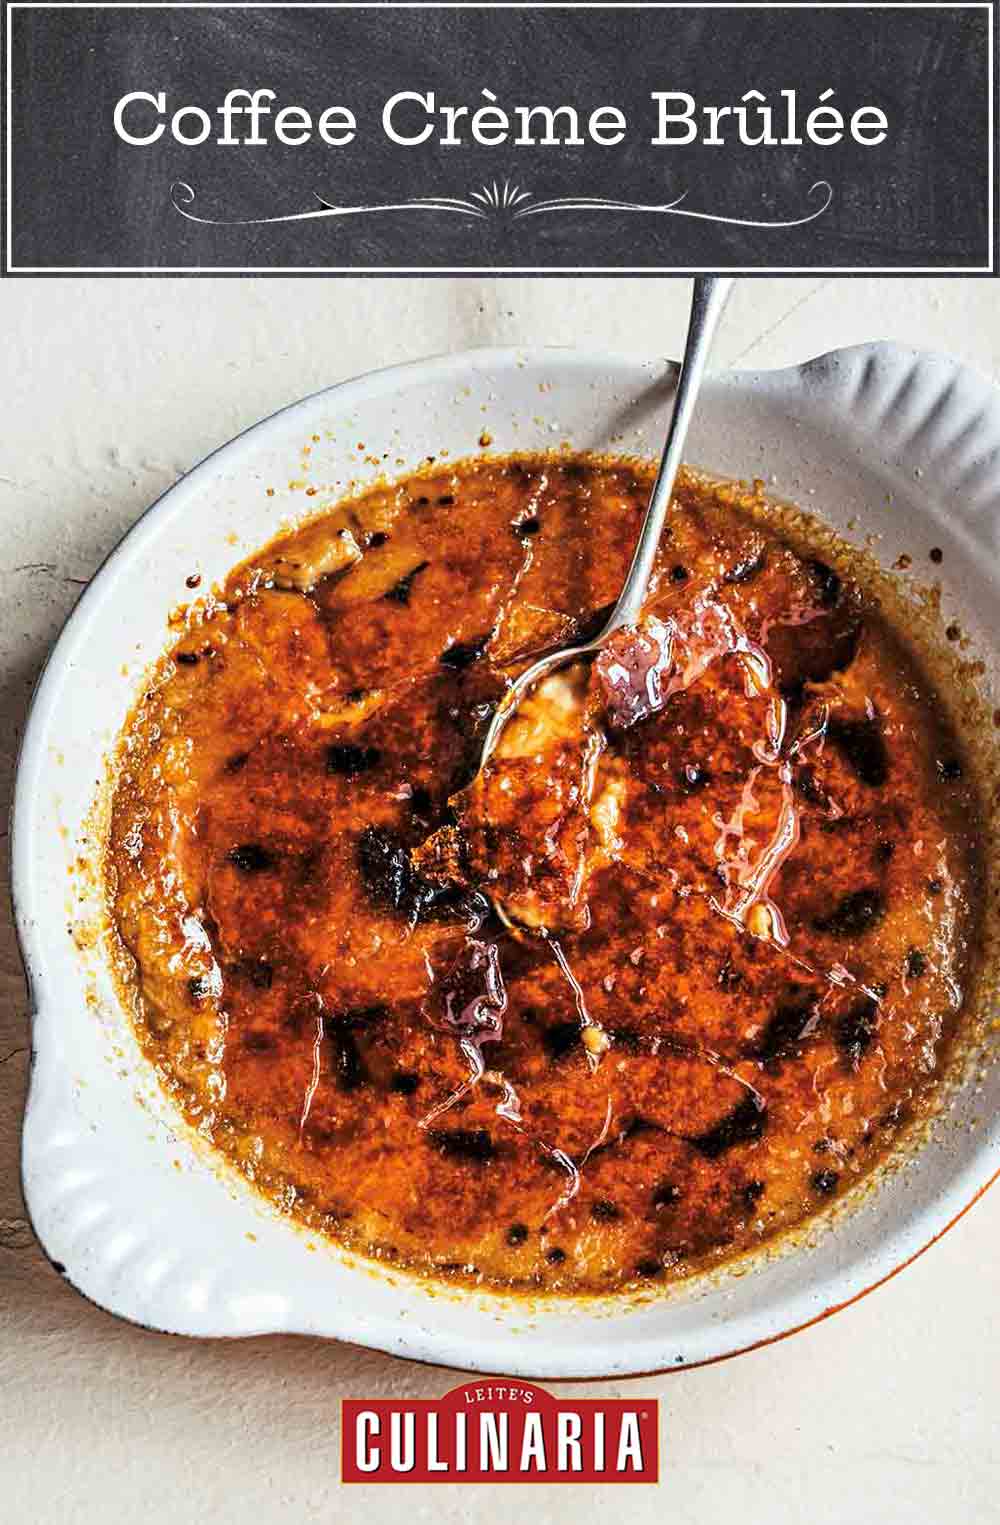
It took a move to France to rekindle my love for crème brûlée, in particular coffee crème brûlée. While it gives some people great pleasure to dive into oversized pots of creamy richness, after the initial excitement, I found crème brûlée to be just too overwhelming. What made me finally fall for this classic dessert again was an adjusted caramel-to-cream ratio. In Paris cafés, crème brûlée is always served in a shallow dish, tipping the ratio in favor of more caramel, less cream. If you like crème brûlée as much as I do, it’s worth picking up a set of shallow gratin dishes, which you can find in cookware shops or online.–David Lebovitz
How do I know if my crème brûlée is set?
While crème brûlée is probably easier to make than you think, you do need to keep an eye on it while it’s cooking. You want it to be a little wobbly—it should jiggle from side to side when nudged. It definitely shouldn’t be liquidy in the center. Keep a careful watch over those little beauties until they’re just set. Custards will continue to firm in the fridge overnight, so rest assured that you’ve got a little breathing room.

Coffee Crème Brûlée | Crème Brûlée au Café
Equipment
- 4 individual gratin dishes or 6 4-ounce ramekins or custard cups; blowtorch
Ingredients
- 1 1/3 cups heavy cream
- 2/3 cup whole or low-fat milk
- 1/4 cup granulated sugar, plus more for caramelizing
- Pinch sea salt or kosher salt
- 4 large egg yolks
- 1 tablespoon instant espresso or coffee powder* (see What You Need To Know About Using Instant Coffee Or Espresso below)
- 2 teaspoons Kahlúa or other coffee-flavored liqueur
Instructions
- Preheat the oven to 300°F (150°C) if using gratin dishes or 325ºF (160ºC) if using ramekins or custard cups.
- Place 4 individual gratin dishes or six 4-ounce ramekins or custard cups on a high-rimmed baking sheet (also known as a jellyroll pan) or in a roasting pan large enough to contain all of them.
- In a small saucepan over medium heat, warm the cream, milk, sugar, and salt until the sugar dissolves, which shouldn’t take long at all.
- In a bowl, whisk together the egg yolks.
- Gradually add the warm cream mixture to the egg yolks in a slow, steady stream, gently (not vigorously) whisking until the cream is completely incorporated but without creating any foam. Mix in the espresso or coffee powder and strain the mixture into a large measuring cup or another vessel with a spout. Stir in the liqueur. Divide the mixture among the gratin dishes, ramekins, or custard cups.
- If using gratin dishes, place the pan containing the custards on the oven rack and pour enough hot water into the pan so that it reaches at least halfway up the sides of the gratin dishes. Bake the custards for 20 to 25 minutes, or until they are just set; watch them very carefully during the final few minutes of baking.
If using ramekins or custard cups, the dishes will not be filled completely. Place the pan containing the custards on the oven rack and pour enough hot water into the pan so that it reaches at least halfway up the sides of the ramekins or cups. Snugly cover the baking pan with aluminum foil and bake the custards for 30 to 35 minutes. When you jiggle the pan, they should just barely quiver. - Remove the dishes from the pan and set them on a cooling rack. (A wide metal spatula works well for lifting the hot custards from the water; be careful, as the custards are hot.) Let the custards cool to room temperature. Then loosely cover and refrigerate overnight.
- Just before serving, sprinkle the top of each crème brûlée with an even layer of sugar. It should be enough to cover the top, but not too heavily—1 1/2 teaspoons for each crème brûlée is about right. Using a blowtorch (the kind that you kind from a hardware store is perfect), wave the flame over each custard, 1 at a time, until the sugar melts and then browns. You may need to lift and tilt the dishes so that the caramel flows evenly across the top. If so, be extremely careful because the caramel is very hot and any drips will cause a painful burn. Serve immediately. Originally published October 17, 2014.
Explore More with AI
Nutrition
Nutrition information is automatically calculated, so should only be used as an approximation.
Recipe Testers’ Reviews
One of my favorite desserts on the planet is crème brûlée. What could make it even better? Add some coffee to it. This coffee crème brûlée dessert is divine. The crème brûlée was just the right ratio of creamy to crunchy, glass-like sugar topping. Everyone loved it.
It only took about 10 minutes to put all the ingredients together, including the 4 minutes to heat my cream mixture until the sugar dissolved. I sprinkled 1 1/2 teaspoons sugar on top of each chilled custard. Using a kitchen torch made easy work of caramelizing the sugar top.
If you like coffee desserts, and if you like crème brûlée, you can’t go wrong with this coffee crème brûlée variation on the classic. The custard comes together in a snap using instant espresso powder and packs a deep coffee flavor. The cooking times were spot-on. In short, this is an easy dessert to make and delivers a lot of flavor, plus the contrast in textures that makes crème brûlée such a delight to eat.
I thought that this coffee crème brûlée recipe had a really nice, smooth coffee flavor. The recipe itself is easy and quick.
The recipe calls for pouring hot water into a baking dish so that it reaches at least halfway up the gratin dishes. Please note that going beyond the halfway point becomes precarious, as you increase your chances of sloshing water into your custard when you give the pan a little shake to see if it is done or when you remove the pan from the oven.
I let the baked custards sit overnight in the fridge so that the next night dessert required nothing more than a dusting of sugar followed by a torching. The custard itself came out a little lighter in density than others I’ve had, but I found it quite refreshing. A definite winner.
I love crème brûlée and love it even more that I can so easily make it at home. I finally broke down and invested in a kitchen blowtorch because Leite’s has provided some great crème brûlée recipes. This coffee crème brûlée delivered on the author’s promise of a superbly light texture and perfect caramel-to-cream ratio. The coffee and Kahlúa flavor wasn’t overpowering, for those who worry that it might be. This is one of those desserts that easily impresses a crowd, even the under-5 group (My 4-year-old loved it!).
I added the instant coffee powder to the warmed milk before adding it to the eggs to ensure that it was completely dissolved. I used six 4-ounce ramekins. I baked them for 35 minutes and they were adequately quivering.
I wouldn’t change a thing about this delectable coffee crème brûlée recipe! Perfectly sweet, thick custard flavored with instant espresso powder and coffee liqueur (I actually used espresso vodka in place of the liqueur), topped with a hard sugary crust. Yum, yum, yum!
I have to say, I was skeptical once I poured the custard mixture into the ramekins because it seemed too thin, but it set perfectly as it baked in the oven. After I torched the tops, I refrigerated them again for about 15 minutes before serving. That way, they were chilled all the way through. Overall, this was a very delicious recipe.
I’d like to try the vanilla variation next; I would imagine that a lemon- or almond-flavored custard would also be wonderful.
I couldn’t resist. I’m lactose-intolerant and have been researching the best substitute for cream and milk in crème brûlée. Most non-dairy milks aren’t worth the trouble, but coconut milk seemed to have promise. Rich, fatty, and unctuous like cream but with none of the pesky lactose.
I went with the vanilla version, thinking that vanilla might cohabitate with coconut a little more smoothly than coffee. I used one can (2 cups) Thai Kitchen unsweetened coconut milk in place of the cream and milk, but otherwise followed the directions exactly. I heated the milk, sugar, and salt, and whisked until dissolved, then added a vanilla bean and let the mixture infuse for an hour. I filled 4 of my adorable red Le Creuset ramekins and placed them inside a 13-by-9-by-2-inch glass baking dish that I filled with hot water. I covered the whole shebang with foil. Because the Le Creuset ramekins were deeper than standard crème brûlée ramekins, it took a bit longer to set up—about an extra 10 minutes—with a little jiggle still in the center.
After refrigerating the custards overnight, they were set perfectly—smooth, creamy, and delicious. The broiler works okay to caramelize the sugar topping, but it heats up the custard too much. I don’t recommend it. So, my version was maybe not as good as the full-dairy version but almost. More than good enough to make again. More than good enough to convince me to buy a blow torch.
I’ve always wanted to make crème brûlée, but for some reason, I thought that it would be complicated. It’s not. These were creamy and delicious.
I had a couple different sizes gratin dishes. The smaller size appeared to be set in 20 minutes, the larger in 25 minutes. At least, I thought that they were set. After allowing them to cool on a rack, I placed them in the refrigerator. A few hours later, we tried the smaller of the two brûlées. After successfully getting the top caramelized and digging in, we found the custard underneath the shattering crisp topping to be quite liquidy. It appeared to have not really set. I figured that I hadn’t baked it long enough. So we ate half and put the other half back in the refrigerator. Spending the night in the fridge seemed to be just what the custard needed. The next day, it had the consistency I’d been looking for. I would suggest refrigerating these overnight to attain a restaurant-quality dessert.
This is also a very easy recipe to cut in half if you don’t want to make 4 to 6 servings. However, after you taste it, you may wish that you’d made the whole recipe.





I discovered crème brulée when I moved to France and although it is one of my husband’s favorite desserts, I always found it too sweet or, as David says, too much caramel to not enough cream. Certainly making them at home would solve this problem! I also think the coffee (I love love love any coffee dessert and make coffee panna cotta and coffee rice pudding often) would perfectly cut or balance out the sweetness. Now… I do not have a blowtorch. Problem? Which is why I have never made crème caramel at home. But now I am tempted to try David’s recipe.
Check out some of the comments, Jamie. Folks are saying a broiler can work in a pinch. And if you or your husband or son like tools, sounds like you should invest in a hardware store blow torch. You can multitask with it…!
@JAMIE – my read is David thinks that there is too much cream, not enough crunch. In any case, coffee flavor – I am in! And I have some lovely little ramekins from Paris that used to hold cheese. If they hold up to the heat, they would give nice think brulee for lots of crunch.
Marcella, I find that using MAP fuel (http://www.bernzomatic.com/item.html?id=48) eliminates the odor and taste that propane can leave behind. It burns hotter than propane, so I take particular care when using it on sugar (however, it works fabulously when searing a steak that’s been cooked in the immersion circulator).
I love creme brulée and I have a blow torch, but I don’t like using it to caramelize the sugar topping as I feel it leaves an unpleasant chemical taste behind—I can taste the gas in it. Am I too fussy or does somebody else feel the same? (Back in the day when I had a stove with gas burners, I used a wonderful, ultra-French round iron the same size as my gratin dishes, and it produced the most spectacular crunchy tops, caramelized to perfection in no time at all. But alas, it does not work with induction stoves.)
Marcella, how lovely to hear from you, it’s been a while. I know the sadness associated with losing a spectacular piece of kitchen equipment. As for the gas, I don’t have a blow torch so I can’t offer up my personal experience, but let’s ask and see if anyone else has experienced this…?
Marcella,
I use an iwatani blowtorch that is pretty strong and leaves no gas taste if used properly. The aftertaste you mention is a result of non combusted fuel. The main two reasons for that is either using those tiny torches they sell at kitchen supply stores or due to holding the torch too close to the creme. If you hold the flame too close any uncombusted fuel ends up flavoring the dessert. I’d recommend watching a couple of YouTube videos to see how professionals use the blowtorch. Hope this helps.
Marcella, another one of our recipe testers says “I have used the broiler in my oven with decent success. It’s not perfect, but if you keep your door open and rotate them, it works decent enough.” I hope you find some solutions in everyone’s comments…
Marcella, if you still have your round iron maybe you can heat that with the blowtorch and then use it to brulee the sugar?
Marcella, one of our longtime testers, Lori W., offered up the following advice: “I used to get this fuel taste and then finally got a ‘real’ torch, not one of the little food torches. The little ones for food always gave a fuel taste and another tester recommended one year that I invest in a real blow torch…like the ones from the hardware store. I don’t remember who it was from the group that made this suggestion but it was brilliant! I have used my hardware store torch so many times and never had a problem with bad taste…it is so easy to use!”