
My mother made caramel apples every autumn, spearing apples with wooden sticks, dipping and twirling them into hot, bubbling caramel, and then placing them on paper-lined trays to cool and harden, which seemed to take an eternity. I loved them. Ever since the combination of apple and caramel has been a favorite of mine.
The secret to making this dessert is patience and your choice of apples. Although there are specialized Tatin pans I simply use my 9-inch cast-iron frying pan.–Jennifer McLagan
Tarte Tatin FAQs
French for “caramely apple goodness turned upside down on buttery pastry,” this tarte Tatin comes together with a lot of love, a lot of apples, a lot of that aforementioned caramely goodness, and a little pastry crust. It doesn’t take a lot of time, but for some of you, we know, pastry requires a lot of courage. If challenged by time or fear, you could simply swap out the lovely made-from-scratch pastry recipe below for good-quality store-bought puff pastry.
You want a firm apple with good flavor that will hold its shape while baking. The author recommends Ida Reds or Northern Spy, and readers have found that Fuji or underripe Golden Delicious apples also work well.
☞ Like tatin recipes? Try these:
Want to save this?

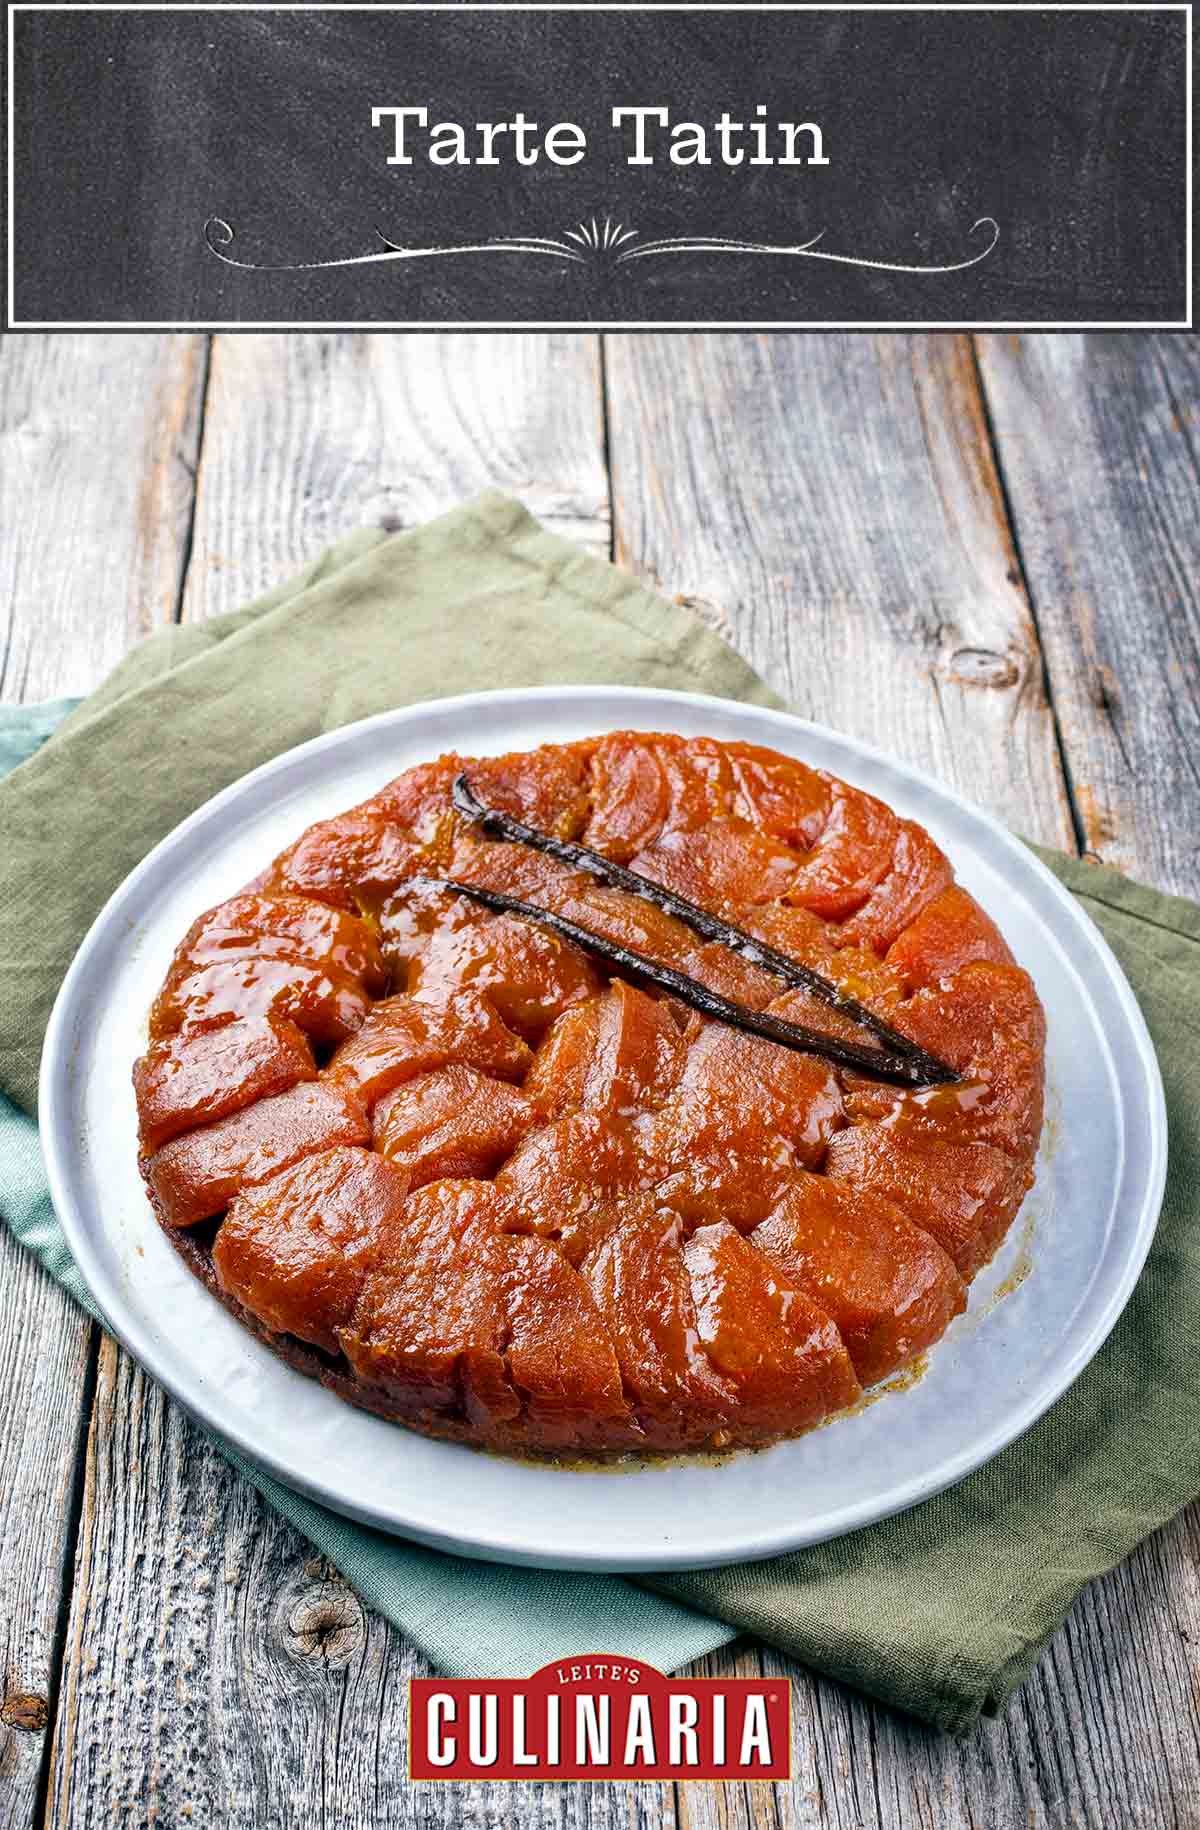
Tarte Tatin
Ingredients
- 1 cup all-purpose flour
- A pinch of salt
- 5 tablespoons cold fat, diced (I prefer half butter and half lard, but all butter works, too)
- 2 tablespoons cold water
- 6 medium or 8 small apples
- 7 tablespoons (3 1/2 oz) butter
- 1 1/4 cups granulated sugar
- 2 vanilla beans (optional)
Instructions
- Place the flour and salt in a food processor and pulse to mix. Add the fat and pulse until it becomes granular, then dump the mixture into a bowl. Add 2 tablespoons of cold water and mix with a fork. Squeeze some of the mixture between your fingertips. If it holds together, it’s fine; if not, add a little more cold water, but don't add too much or your pastry will shrink during baking. Mix with your hands until the dough comes together, this takes a minute or two. Form the dough into a disk, wrap in plastic, and refrigerate while you tend to the apples.
- Peel and halve the apples lengthwise. Remove the core with a melon baller and trim out the rest of the core with a knife.
- Melt the butter in a 9-inch cast-iron skillet over medium heat. When the butter has melted, sprinkle the sugar over the top, lay the vanilla beans in the sugar, if using, then nestle the apples in the sugar, cut side up. They should fit snugly alongside one another. (You must pack the apples into the pan because they shrink as they cook.) The sugar and butter should bubble up around the apples. Continue to cook, without stirring, for 30 to 45 minutes, until the caramel is well colored and the apples are soft. Shake the pan from time to time to detach the apples from the bottom and to ensure the caramel cooks evenly, but do not stir. (As I am type A and like to fiddle, I carefully reverse the apples in the caramel so the half that has been sitting out of the pan is submerged.) Cook until the caramel is well colored and the apples are soft when you prod them with a spoon.
- While the apples are cooking, roll the pastry into a circle a smidge bigger than the diameter of the frying pan. Cover and refrigerate it.
- Crank the oven to 425°F (220°C).
- Now you must be patient as the apples slouch into their caramely, buttery bath. When they’re ready, remove the pan from the heat and place it on a baking sheet so it'll be easier to maneuver in and out of the oven. Take the pastry disk from the refrigerator. Wait until the caramel stops bubbling, and then place the pastry on top, pushing down on the edges to cover the apples and tuck it inside the rim of the pan.
- Place the pan in the oven and bake about 25 minutes, or until the pastry is nicely browned. Remove the pan from the baking sheet and place it on a cooling rack. Run a knife around the edge of the pan to detach the pastry and the apples from the sides and then leave for 10 minutes (but no more than 10 minutes). To pass the time, line a flat baking sheet with parchment paper.
- Now don't think too much about the next step–just do it. Place the parchment-lined baking sheet, paper side down, on top of the frying pan. Flip the frying pan over onto the baking sheet and then use the pan to center the tart on the paper. Slowly lift the frying pan off the tart. Usually, all the apples drop onto the pastry, if not, you can place them and scrape any remaining caramel from the pan onto the tart. I like to scoop up the extra caramel from the parchment paper and place it back onto the tart. [Editor’s Note: We like to scoop up the extra caramel from the parchment paper and nibble it as we stand back and admire the tart.]
- Let the tart cool to room temperature and serve with whipped cream.

An LC Original
View More Original RecipesExplore More with AI
Nutrition
Nutrition information is automatically calculated, so should only be used as an approximation.
Recipe Testers’ Reviews
Did you know only 68% of the recipes we test make it onto the site? This recipe survived our rigorous blind testing process by multiple home cooks. It earned the Leite’s Culinaria stamp of approval—and the testers’ reviews below prove it.

This tarte Tatin cooked up perfectly, with an abundance of dark caramel over tender apples and a delicate crust. I scaled up the recipe a little bit, because my pan was a little wider than the 9 inches specified. What you want is to really have the pan crammed full of apples at the start, as they do shrink.
The apples don’t have to be in an even layer; they can be wedged in. Baking time was perfect to brown the crust, and the tart was easy to release from the pan. This made a beautiful tart with a dark, shiny glaze of caramel.
I had always wanted to make tarte Tatin, so the timing was right with the apples in our garden being ready to eat! I took the easier route by using purchased puff pastry. I will absolutely make this recipe again. I followed the instructions to the letter, using a 9-inch enamel-clad cast iron pan, and it turned out perfectly.
I also turned the apples over halfway through the cooking time. I couldn’t believe the softness of the caramel. Even after it cooled, it stayed nice and chewy. I served it with French vanilla ice cream, of course. Was told by my guests that I could make this again for them anytime and I will.
Tarte Tatin takes the simplest ingredients and makes a delicious and complex dessert if made properly. It takes patience to get it right and very clear instructions for those doing it for the first time. This recipe is very user-friendly, and I love that she talks about what kind of apples to use–all the difference between success and failure is in this part, and sometimes specific apples are suggested that not everyone can find.
I’d definitely make the crust. I am not a big fan of the puff pastry crust–store-bought is not usually very good, and the one in the recipe is very easy. In adding the fat to the flour, the recipe says “pulse until granular.” I wouldn’t go that far. Having little bits of butter in it is OK and makes a nice, tender crust.
Suggestions to cooks: In step three, after melting the butter, add the sugar and let it dissolve, and get bubbly before adding the apples. Take off the heat, add the apples, and put back on the heat. I know the other way is easier, but adding the apples too early can result in them cooking too long. The butter-sugar mix will be VERY HOT, so be careful.
Don’t be afraid to keep the heat on medium or a little higher. The sugar/butter will be very bubbly, and kind of scary looking if you haven’t done it before, but it will caramelize better. And again, the apples won’t turn to mush. PATIENCE is required here–it’s not done until the caramel is flowing quite slowly and lava-like around the apples. If it’s moving too quickly, it’s too runny.
You will most likely have at least a couple of apple halves left after you have put the first apples in the pan. Keep them handy. As the apples in the pan cook, they’ll shrink a bit. Very carefully fit additional apples in as they do. Your tarte will look better, and it will be very much easier to “flip” when you get to the end. As the instructions say, don’t think too much about that part, just do it! I just flip it onto a nice flat serving plate and don’t use parchment–but if it’s your first time follow her direction carefully and it will work.
This tarte Tatin was absolutely fabulous! It was easy enough that anyone can have great results with this dish. The caramel was just sweet enough, but is better balanced with vanilla ice cream! I used a cast-iron skillet for this, which worked well and made it feel like such a rustic dessert.
The only thing I’d have preferred was an easier way to get the dessert out of the pan in one piece. I found that it didn’t really want to come out of the pan when I flipped it over but finally worked itself out in pieces. That kind of messed up the presentation, so be careful when removing it from the pan. My family didn’t care though. We just scooped up the pieces and enjoyed the yummy goodness.


Absolutely the best recipe. What is better than apples, caramel and crispy light pastry!? So some and sublime. This recipe is easy to make and so delicious!
SFPami, I couldn’t have said it better myself—apples, caramel, and crispy pastry really are an unbeatable trio! So glad you found it easy to make and delicious to eat. Thanks for sharing your thoughts!
You’re awesome. This is the only food page I really love. Thanks for thinking of us always. L, val.
Why, thank you very much, val. That’s lovely to say. We all certainly try hard.
Best apple varieties I have found are underripe Golden Delicious, meaning still a little green as opposed to golden. Or Fuji. They both have great flavor for this application, and they will not turn to applesauce, but will maintain their integrity.