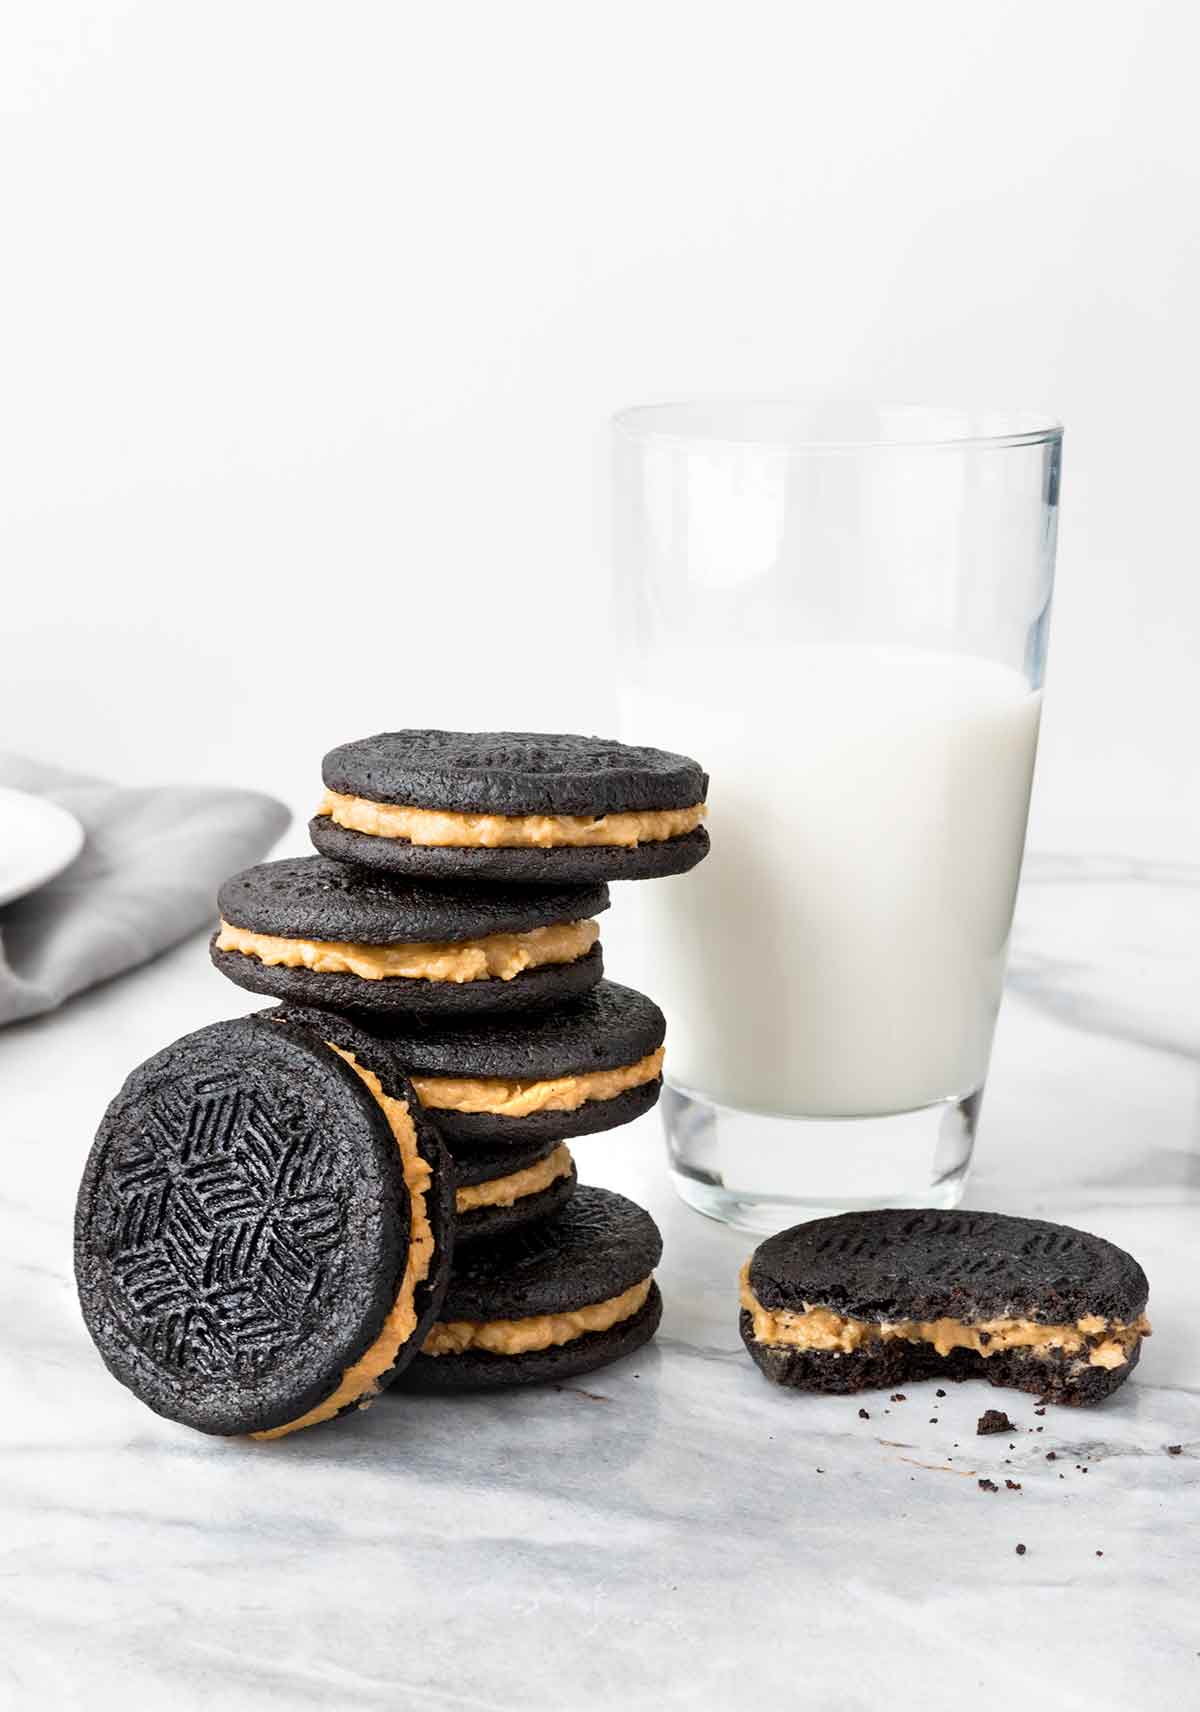
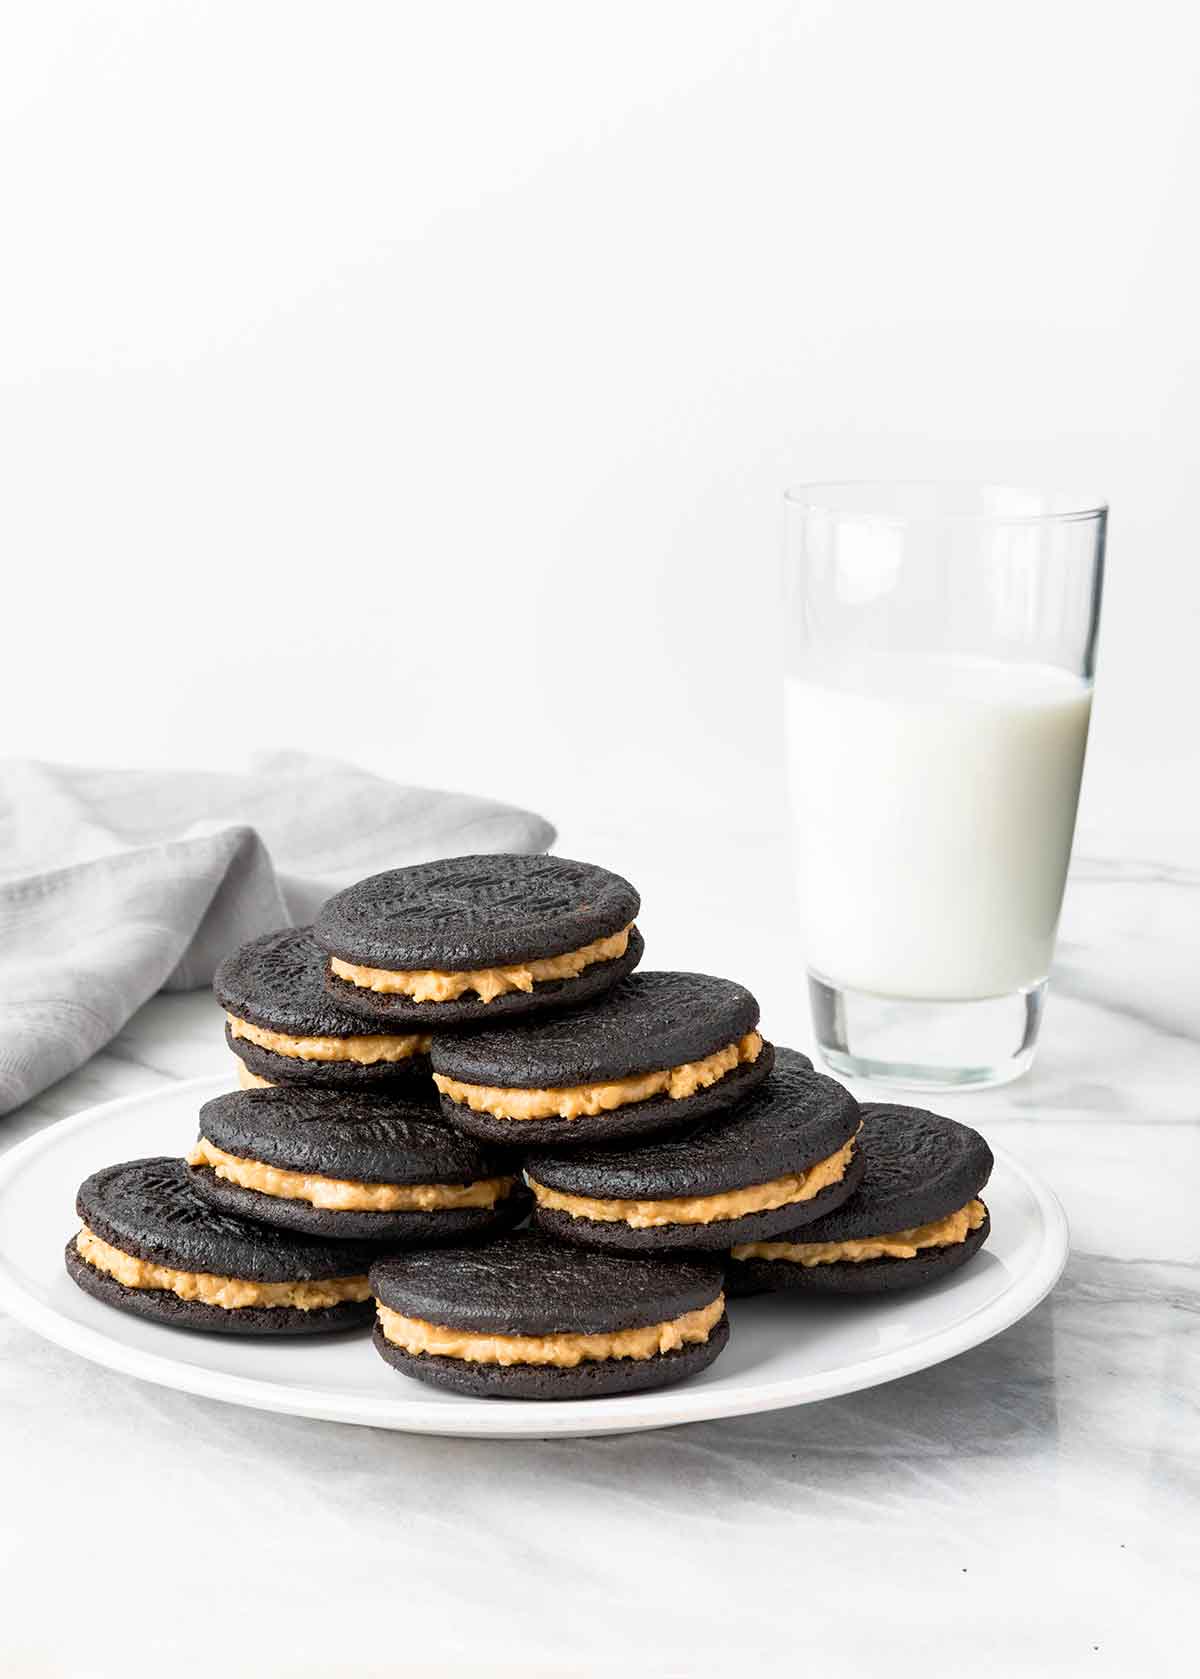
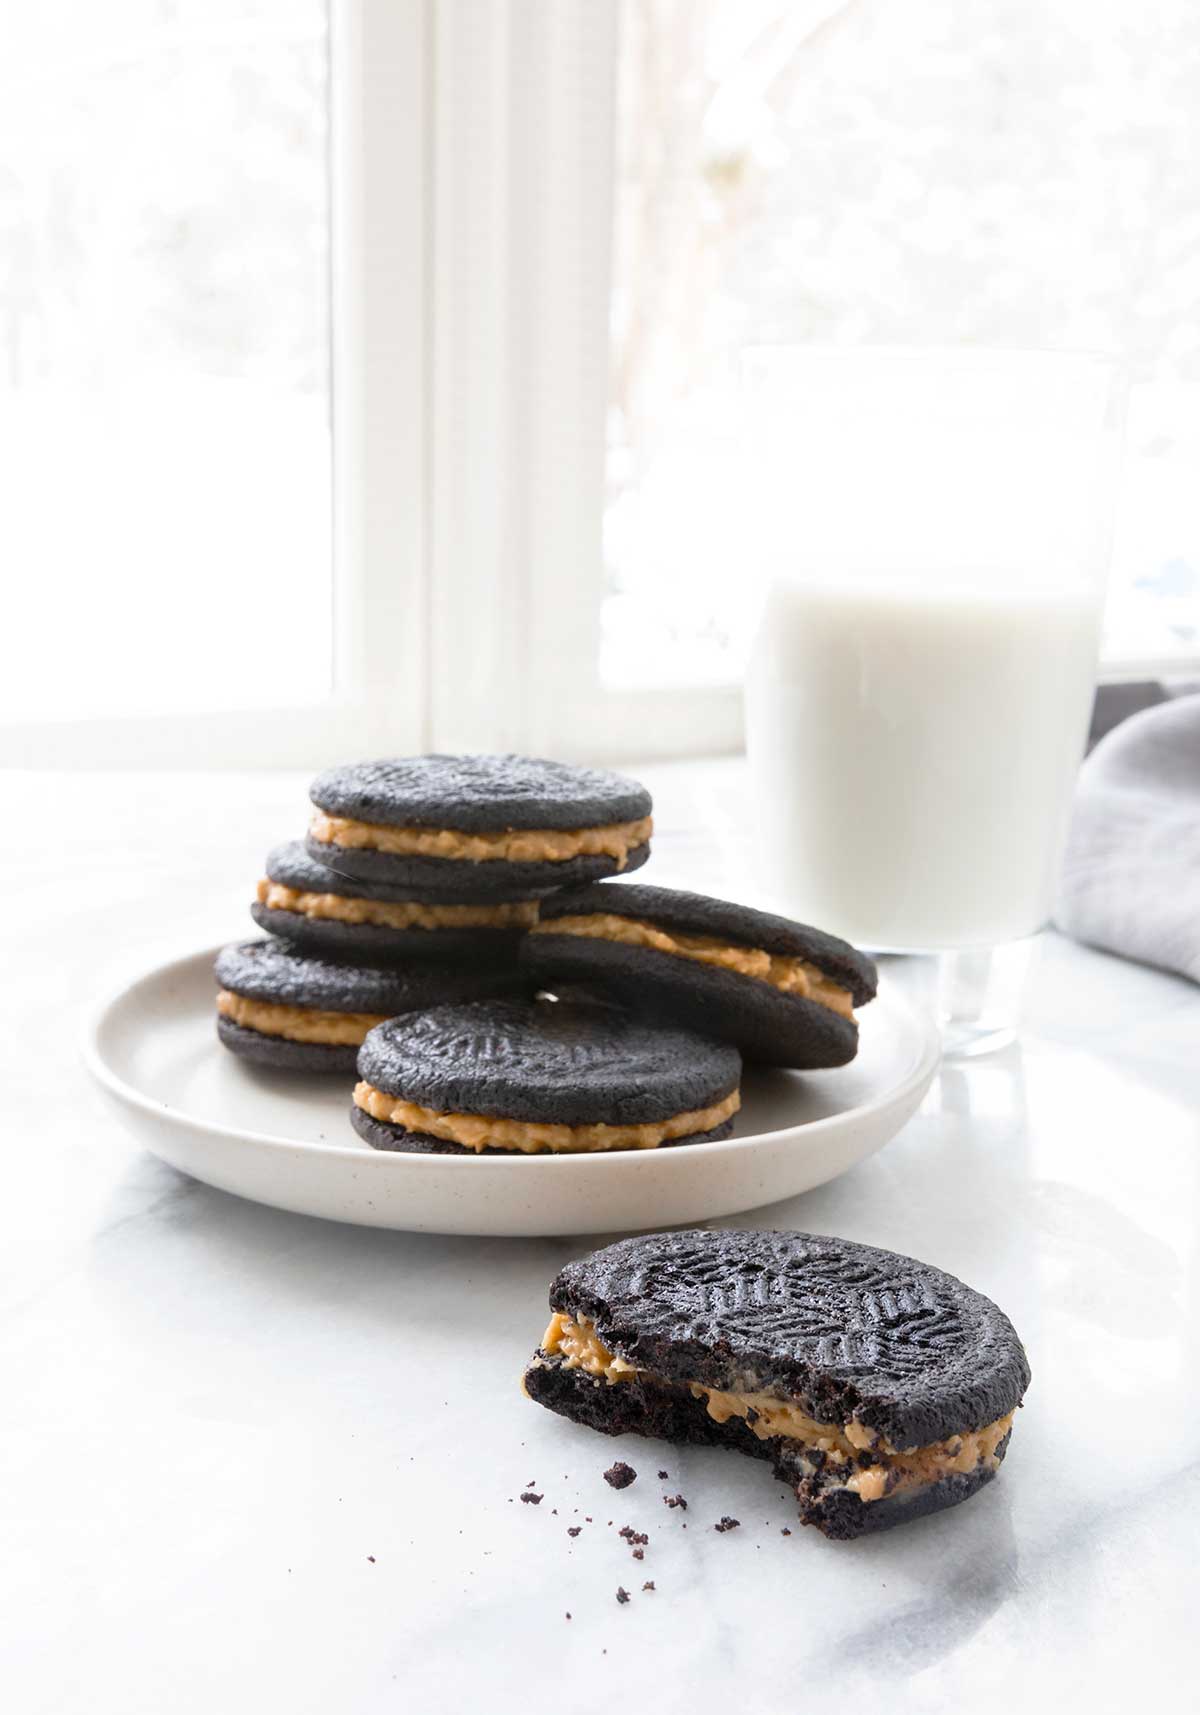
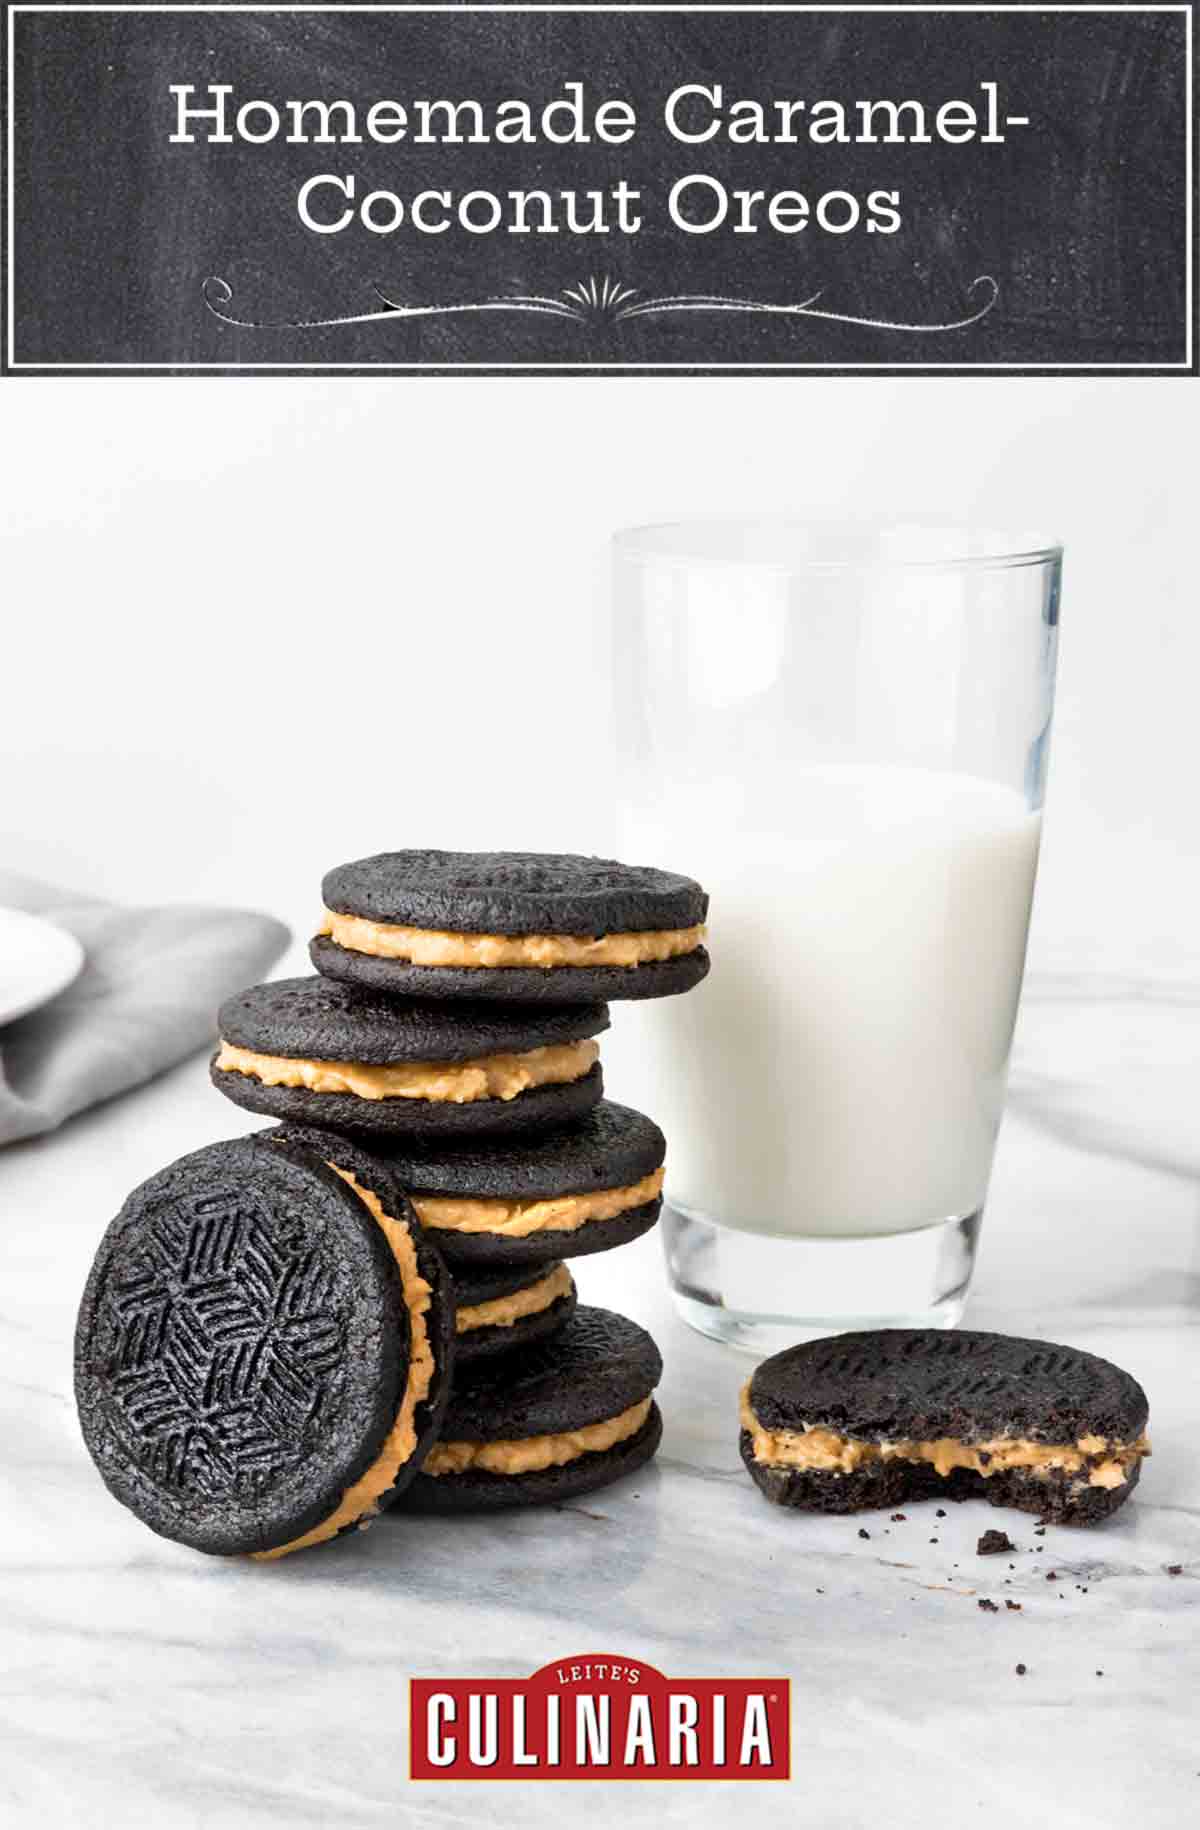
Just when we thought Oreos couldn’t get any better, along comes this recipe for homemade caramel-coconut “Oreos”. Our testers are calling them “decadent and delicious” and we couldn’t agree more.–Angie Zoobkoff
Homemade Caramel-Coconut Oreos FAQs
Black cocoa powder is a cocoa powder that has been heavily Dutch-processed. The resulting product has a smooth taste and a much darker color than natural or regular Dutch-process cocoa. It can be used as a natural ingredient for achieving a very dark color in baked goods.
These cookies are best enjoyed the day they are made, but if you want to store them for longer, we recommend keeping the cookies and filling in separate airtight containers and assembling them when you want to enjoy them.
Homemade Caramel-Coconut Oreos
Ingredients
For the caramel-coconut filling
- 1 cup dark brown sugar
- 1 stick (4 oz) unsalted butter
- 1/2 cup heavy cream
- 1 teaspoon vanilla extract
- 1 1/2 teaspoons flaky sea salt, such as Maldon, or to taste
- 1 1/4 cups confectioners’ sugar
- 1 cup unsweetened shredded coconut
For the chocolate Oreo wafers
- 1 1/4 cups all-purpose flour
- 1/2 cup Dutch process cocoa powder, plus more for cutting
- 1/4 cup black cocoa powder
- 1/2 teaspoon fine sea salt
- 12 tablespoons (6 oz) unsalted butter, at room temperature
- 1 1/4 packed cups light brown sugar
- 1 large egg
- 2 teaspoons vanilla extract
- 1 cup unsweetened coconut, for decorating
Instructions
Make the caramel-coconut filling
- In a medium saucepan over medium heat, combine the brown sugar, butter, and cream and bring to a boil, stirring occasionally. Boil for 2 minutes. Reduce the heat to medium and simmer for about 2 minutes more, stirring occasionally.
- Remove from the heat and add the vanilla and salt. Let cool to room temperature.
- Transfer the caramel to a stand mixer fitted with the paddle attachment, add the confectioners’ sugar and mix on low speed until smooth, about 1 minute. Add the coconut and mix until incorporated. Scrape into a bowl. The filling may look loose at this point, but it will firm up as it sits.
Make the chocolate Oreo wafers
- Line two rimmed baking sheets with parchment paper.
- In a medium bowl, whisk together the flour, cocoa powders, and salt.
- In the bowl of a stand mixer fitted with the paddle attachment, beat the butter and sugar on medium speed until light and fluffy, about 1 minute, scraping the bowl with a flexible spatula as needed.
- Reduce the speed to low, add the egg and vanilla and continue to mix until combined, about 1 minute, scraping the bowl as needed.
- Add the dry ingredients all at once and mix just until incorporated.
- Use your hands or a flexible spatula to knead or stir the dough briefly. It will be quite sticky and this is ok. Divide the dough into quarters and place one quarter on a large sheet of parchment paper.
- Place another large sheet of parchment on top of the dough and roll it out until it is about 1/4-inch (6-mm) thick. Have ready a small bowl of cocoa for dipping your cookie cutter.
- Remove the top layer of parchment and begin pressing a 2-inch (5-cm) cookie cutter into the rectangle of dough, dipping the cutter in cocoa powder each time you do so. Once the rectangle is covered in circles, place it on a baking sheet, still on its sheet of parchment, and place into the freezer. Chill for 20 minutes.
- Take the rectangle of dough from the freezer and begin removing the wafers. You will have to peel away the parchment from underneath each one. Place the wafers on the prepared baking sheets. The wafers don’t spread very much so they can be placed pretty close to one another, about 24 wafers per tray. Collect the scraps and set aside.
- Repeat the cutting and chilling process with the remaining dough quarters and any scraps.
- Once all of the wafers have been placed on baking sheets, freeze for 20 minutes.
- While the wafers are chilling, preheat the oven to 350°F (177°C).
- Bake one tray at a time until flattened and beginning to crisp, about 15 minutes, rotating at the halfway point. Let the wafers cool before filling them.
Fill the chocolate Oreo wafers
- Place the coconut in a small shallow bowl and, using a tablespoon cookie scoop if you have it, place a tablespoon of caramel-coconut filling on the underside of half of the wafers. Press another wafer down on top of the filling until it begins to poke out the sides.
- Roll the sides in the coconut. Repeat with the remaining wafers.
- Serve immediately or place in an airtight container on the counter for up to 3 days. The cookies are best enjoyed the day they are made.

An LC Original
View More Original RecipesNutrition
Nutrition information is automatically calculated, so should only be used as an approximation.
Recipe Testers’ Reviews
Decadent and delicious. These cookies consist of thin chocolate cookies which I could not help trying on their own. I had to remind myself that these were only part of a larger cookie and not the finished cookie as they were delicious on their own. But then comes the coconut-caramel filling and this cookie is over the top. It is sweet, so be prepared. One or possibly two in a sitting is perfect.
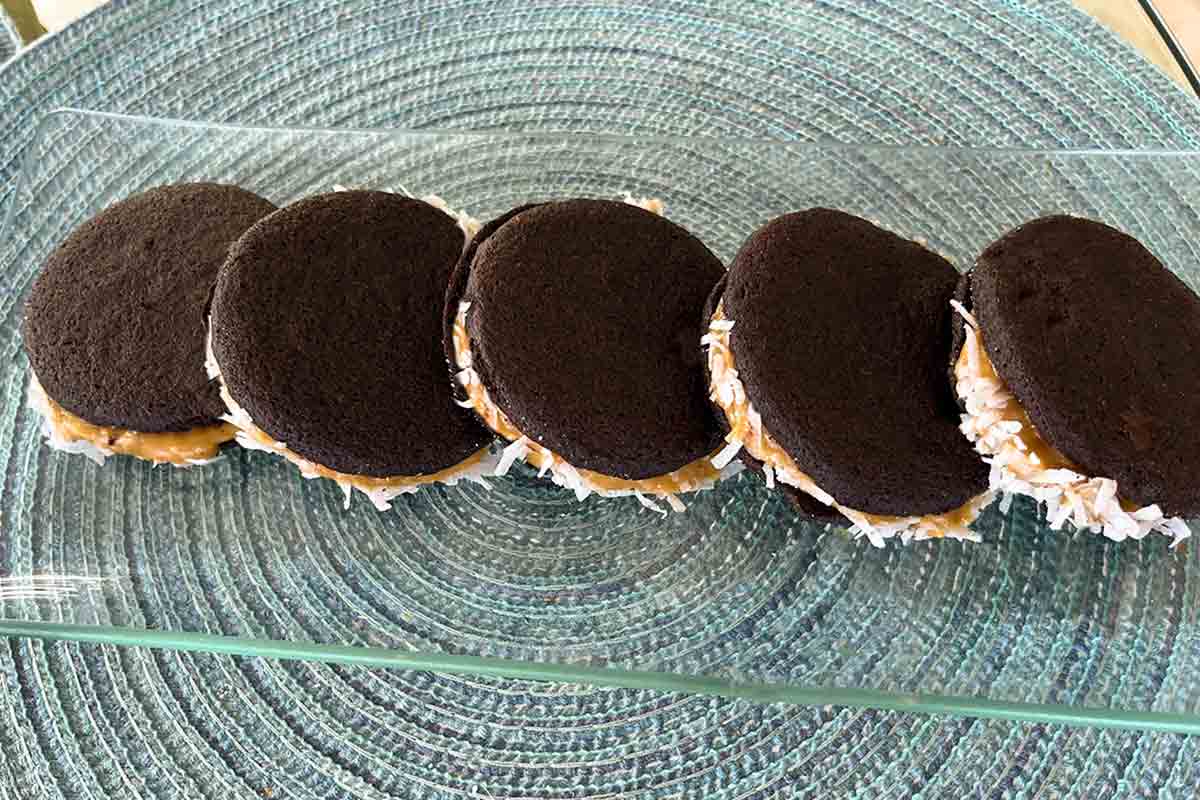
The recipe encourages you to use the scraps to make more cookies. You would be surprised at how many cookies the scraps make. Don’t skip this step.
Because the filling will somewhat soften the cookie layer if the cookies were left overnight, I solved the problem by filling only the cookies that would be eaten that day. I stored the filling in the refrigerator and the next day brought the filling to room temperature and composed the cookies we would eat that day.
These would be a lovely end to a luncheon or an informal dinner or just to eat anytime because they are so delicious.
This is one of those recipes that makes a lot but also turns out to be not nearly enough. I was feeling generous and gave quite a few away and then instantly regretted being such a decent person.
These caramel-coconut “Oreos” are SO good–the crisp, dark chocolate biscuits layered with sweet, salty, coconut-caramel is absolute perfection. The black cocoa makes the biscuits actually taste like Oreos but with a serious upgrade.
Take care that you roll the dough out evenly. I didn’t…and ended up with some that were rather thick and some that were rather thin and brittle. Other than that, these were a cinch to make and turned out really well. They softened up by the next day but both textures were equally pleasing. I only rolled half in coconut; I preferred them without but my tasters liked them both ways.
I’ve made different versions of homemade “Oreos” in the past. This one was the most tedious with time dedicated to chilling the dough in the freezer. However, it’s the closest recipe I’ve made that resembles the texture of an actual Oreo. It was hard to tell if the cookies were cooked thoroughly as the black cocoa powder makes it impossible to notice browning edges but I followed the time precisely as indicated on the recipe and they cooked to perfection. A lot of the work in the recipe is allowing yourself adequate time for the chilling of the caramel, and the 2 freezes required before baking the cookies. I shared these with friends and family and they received rave reviews. Just like an Oreo but the sweet/salty caramel filling with coconut gives them a sophisticated feel.




I found your website after searching for a recipe for this specialty-Oreo cookie – we’ve only ever seen one package on the store shelves, and they were good. BUT this recipe is right up there in the top 5 recipes I have ever tasted in my life. The Oreo cookies are perfect on flavor and texture … but the star has to be the filling. ❤️ A taste transports you to a heavenly realm! I agree with the reviewer that said it is butterscotch, not caramel – I taste bourbon amongst all the other incredible flavors bursting in my mouth. THANK YOU for giving us this gem! (light years beyond the store bought Oreos)
Thank you, Nana’s Girl, for taking the time to let us know how much you love these.
As delicious as these cookies look — and they do! — I have to quibble with that filling. Technically, that is not a caramel, it’s a butterscotch.
Yes, I’d agree with that, MaggieToo. Caramel is a more commonly searched term, so it allows readers to find this recipe more easily, but you are correct.