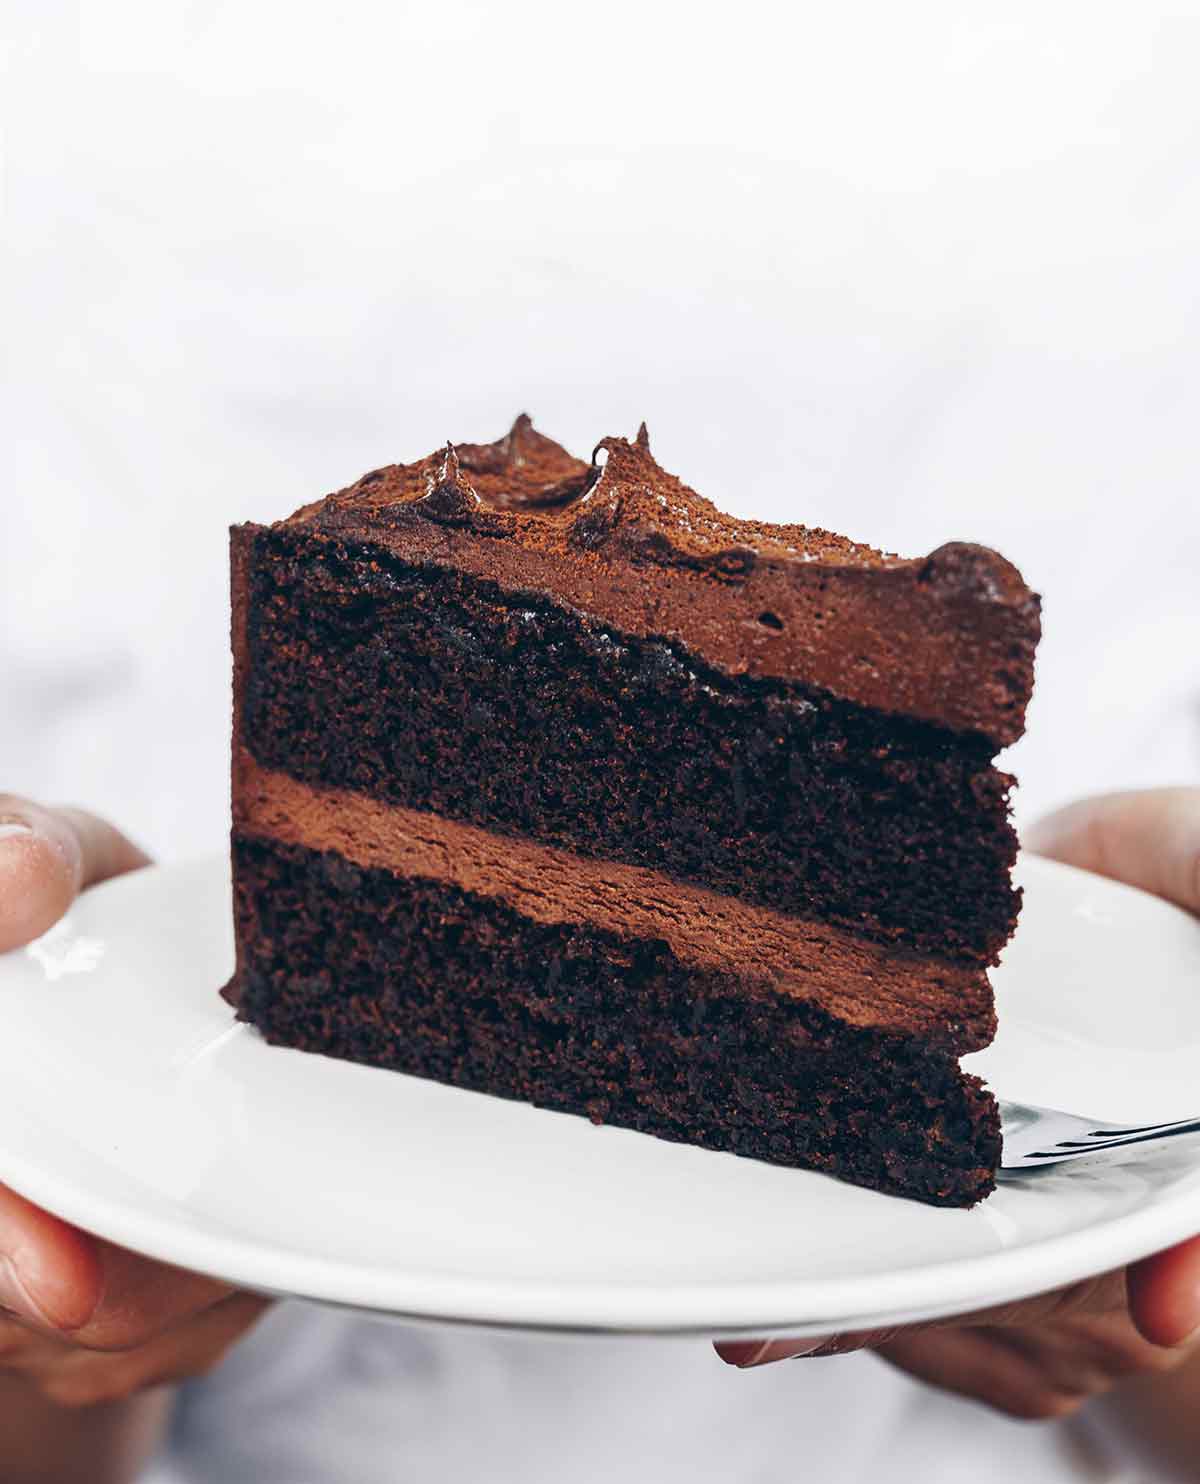
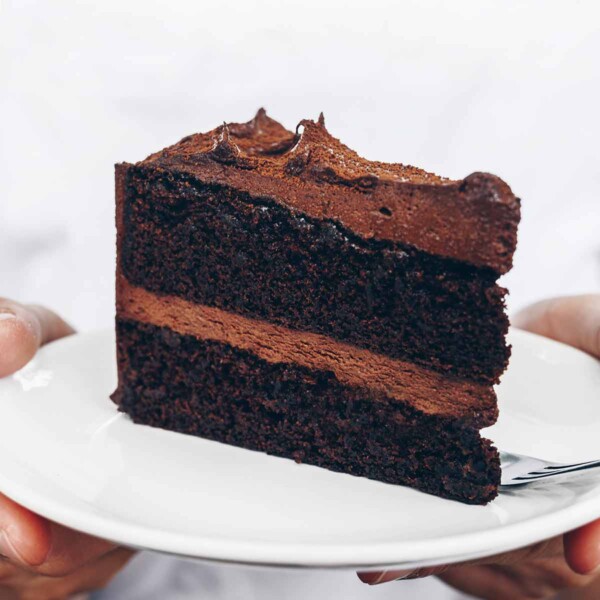
This basic chocolate cake may be modestly named but it elicits reactions far more impassioned than its humble name would lead you to believe. We’re hearing a lot of folks say this is easily one of the best darned chocolate cakes they’ve ever experienced, let alone made themselves, and that it’s become their go-to birthday cake. Its creator, pastry chef Emily Luchetti, explains it can easily be varied with different frostings so that it seems a little different each time, just like Luchetti’s Basic White Cake that so many of you deemed the absolute best as well.–Renee Schettler
WHY DO I HAVE TO SIFT DRY INGREDIENTS?
Sifting dry ingredients does a couple of things—most importantly, it removes clumps. Clumps that lead to concentrated spots of ingredients in your finished cake. Everything gets mixed together evenly once you add the liquids, ensuring a successful bake. It also helps to make your batter rise into a lighter and fluffier cake by adding air to the mixture. If you don’t have a sifter, a strainer or whisk or even a fork will work too.
Basic Chocolate Cake
Ingredients
- 3/4 cup natural cocoa powder, plus more for the pans
- 3/4 cup cold water
- 4 ounces unsweetened chocolate, chopped or broken into 1-inch pieces
- 2 cups unbleached all-purpose flour
- 1 1/2 teaspoons baking soda
- 1/4 teaspoon kosher salt
- 1 1/2 sticks (6 oz) unsalted butter, at room temperature, plus more for the pans
- 2 cups granulated sugar
- 5 large eggs
- 1 cup whole milk
Instructions
- Preheat the oven to 350°F (176°C) and adjust the oven rack to the middle position. Butter the bottoms and sides of two 9-by-2-inch round cake pans and coat them evenly with cocoa powder, tapping out any excess.
- In a small bowl, stir together the cocoa powder and water to make a paste.
- Place the chocolate in a heatproof bowl set over but not touching a saucepan of simmering water. (Go ahead and use a double boiler if you have one.) Warm the chocolate, stirring and scraping the sides of the bowl occasionally with a rubber spatula, until the chocolate is smooth and melted. Let cool to room temperature.
- Hold a sifter or a fine strainer over a large bowl or piece of parchment paper and sift the flour and baking soda together. (If using a strainer, simply dump both ingredients in the strainer and gently tap your hand against the edge.) Add the salt on top.
- Using a stand mixer or a handheld mixer on medium speed, beat the butter and sugar together until smooth.
- Scrape down the sides of the bowl with a rubber spatula and then mix in the eggs, 1 at a time, just until combined.
- Reduce the speed to low and add the cocoa paste and mix just until combined followed by the melted chocolate and continue to mix until thoroughly combined.
- With the mixer still on low speed, add half the sifted flour mixture, mixing thoroughly. Then add half the milk. Repeat with the remaining flour and then the remaining milk, mixing well after each addition. Divide the batter between the pans and, using the spatula, spread it evenly.
- Bake the cakes on the middle rack of the oven until a skewer inserted in the middle comes out clean, 25 to 30 minutes.
☞ TESTER TIP: If you need to put the cake pans on 2 different racks in the oven, switch the pans halfway through baking to ensure they bake evenly.
- Let the cakes cool in their pans on a wire rack.
- Unmold the cakes by running a sharp knife around the inside edge of each pan and then placing a plate on top of it and invert both the cake and the plate. Remove the pans. Cool the cakes completely before serving or frosting. (The wrapped cake layers will keep at room temperature for a few days or in the freezer for up to a couple of months.)
Nutrition
Nutrition information is automatically calculated, so should only be used as an approximation.
Recipe Testers’ Reviews
This will be the “go-to” basic chocolate cake recipe for my family. When I cut into the cake, the texture was perfect. It was moist and light, dense but not heavy. The flavors of the cocoa and unsweetened chocolate blended well together to give the cake depth of flavor without being overly rich and the perfect balance of sweet to chocolate. My tasters didn’t even need, nor ask for, a glass of milk. When they finished their pieces, they simply asked for another.
This cake is great without frosting and would probably be just as wonderful with it. The recipe produces a cake that bakes up high but doesn’t drip over the sides of the pan and onto the bottom of the oven. I baked mine in 2 heart-shaped pans and they came out beautifully. My cakes required 30 minutes of baking time but that may have been due to the shape of my pans.
This basic chocolate cake recipe is very easy and fast to make, even for a non-baker such as myself. The cake itself was wonderful—moist, light, chocolatey but not overly so, and far from too sweet. My toddler wanted to add some frosting, but I decided instead to make a mixture of cream cheese, sugar, and mashed strawberries and it was a huge hit with everyone–my older daughter even asked me to make this cake for her birthday next month.
Not sure if this has to do with my oven, but after 20 minutes the middle of the cake was still pretty liquidy. I left it in for 7 more minutes and that did the trick. Even though I buttered the cake pans very well, I had some trouble getting the cakes out. Next time I’ll use springform pans.
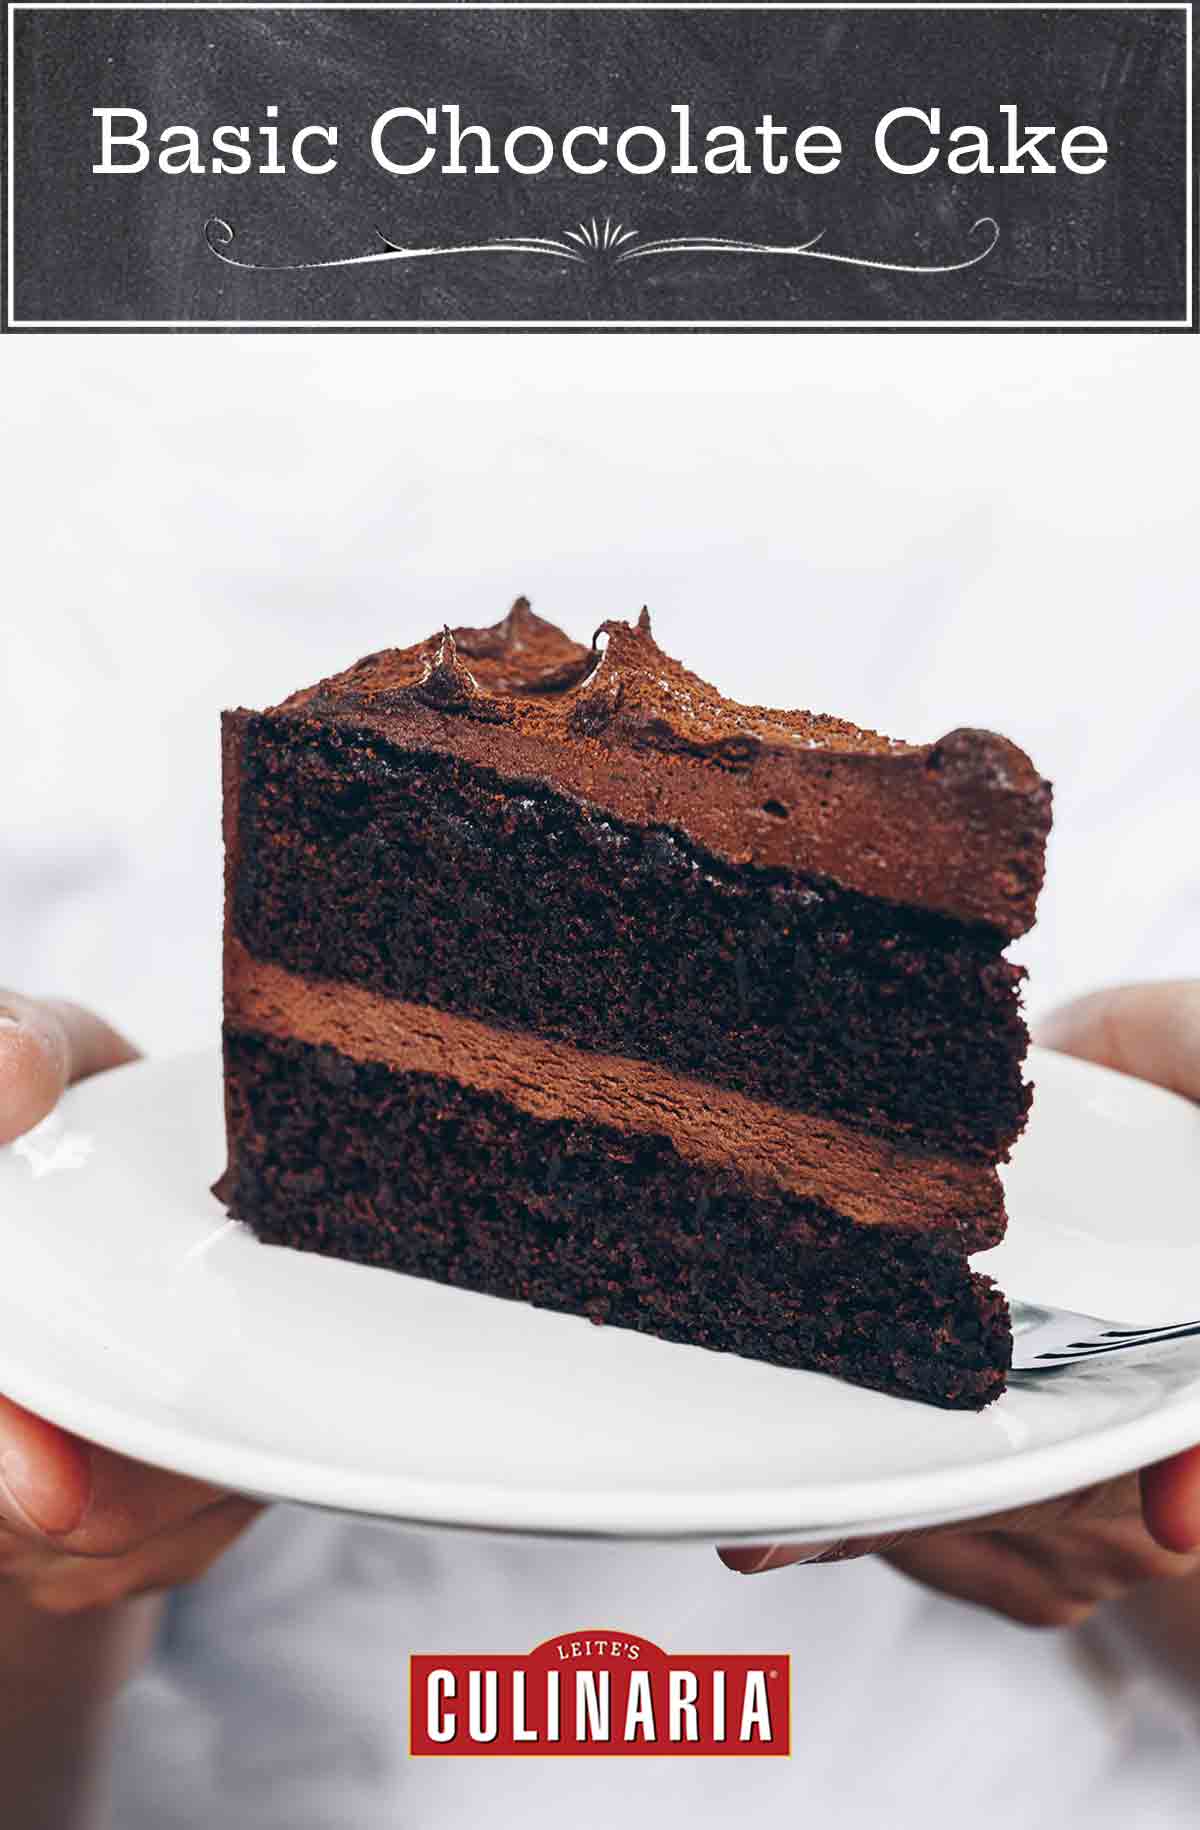




My family loves chocolate and this is our go-to birthday cake recipe. It’s very chocolatey but not overly dense and it has a nice crumb (not too crumbly). It goes well with various frostings if you want to serve it for celebrations, like we do. It would also be nice with a dusting of powdered sugar.
Thanks, Natalie. We’re delighted that you love it as much as we do.
Although not as elegant would this batter amount work as a 9 x 13? Should oven temperature remain 350 or would the wider shallow area require maybe 325?
Great question, Denise. We haven’t tested the recipe in a 9 x 13 pan but it should work well. You will want to keep the oven at the same temperature and increase the baking time. Please do let us know how it turns out.
I’m guessing regular cocoa powder, rather than dutched, is the way to go in this recipe, since I see baking powder but no other obvious source of acid to react with it?
You’re absolutely right, Melissa. You definitely want natural cocoa powder here since you’re using baking soda in the recipe.