☞ Learn More, Read: How to Dry Sourdough Starter

Sourdough Rye Bread
Ingredients
For the rye bread sponge
- 6 ounces medium rye flour
- 6 ounces water
- 0.6 ounces rye sourdough starter
For the rye bread dough
- 10 ounces water, at room temperature
- 10.6 ounces bread flour
- 1 recipe rye bread sponge (see above)
- 2.3 ounces medium rye flour
- 1 1/2 teaspoons salt
- 1/3 teaspoon instant yeast
- Flour, for the work surface
Instructions
Make the rye bread sponge
- In the bowl of a stand mixer, mix the sponge ingredients by hand until incorporated. Cover and let ferment at room temperature (68 to 72°F or 20 to 22°C) overnight or for 10 to 12 hours. The sponge will be very bubbly, have a clean sour smell, and will have doubled in volume.
Make the rye bread dough
- Add the water and 1.8 ounces (50 grams) bread flour to the sponge and mix by hand until it forms a slurry, 1 to 1 1/2 minutes. Add 8.8 ounces (250 grams) bread flour and the rye flour and use the paddle to mix at low speed until the dough is evenly hydrated, 2 to 4 minutes. Cover the dough and let it rest at room temperature for 15 to 20 minutes.
- Add the salt and yeast to the bowl with the dough and mix with the dough hook of your stand mixer on low speed until the gluten is very well developed, 30 to 35 minutes. The dough should be sticky and very stretchy. Cover and let ferment at room temperature until doubled in volume, 2 to 2 1/2 hours.
- Preheat the oven to 430°F (220°C) with an oven rack adjusted to the middle position and a second rack in the lower position with a steam pan on it. [Editor’s Note: A steam pan is simply a pan filled with some water. You’ll want to use a pan with relatively high sides and only fill it partway with water as you’ll need to remove the pan from the oven when the water is very hot and you don’t want it sloshing all over you or your oven.] If using a baking stone, place it on the middle rack.
- Turn the dough onto a generously floured work surface and gently form it into a ball by folding it toward you, rotating 90 degrees, and repeating until the bottom surface is smooth. Flip the dough. If a traditional Galician rye bread shape is desired, pinch a golf ball-size piece of dough from the center of the loaf and carefully stretch it upward without separating it from the loaf, then form a depression in the dough and nestle the ball of dough inside the depression. Place the dough on a parchment-lined baking sheet or, if using a baking stone, on a well-floured peel. Cover and proof at room temperature for 10 minutes.
Bake the rye bread
- Bake the rye bread for 15 minutes.
- Remove the steam pan from the oven, quickly shut the oven door, and lower the temperature to 390°F (200°C). Continue to bake the bread until the crust is golden brown, the loaf thumps when tapped with a finger, and the internal temperature is at least 198°F (92°C), 15 to 25 minutes more.
- Transfer the loaf to a wire rack and let it cool completely before slicing.

Nutrition
Nutrition information is automatically calculated, so should only be used as an approximation.
Recipe Testers’ Reviews
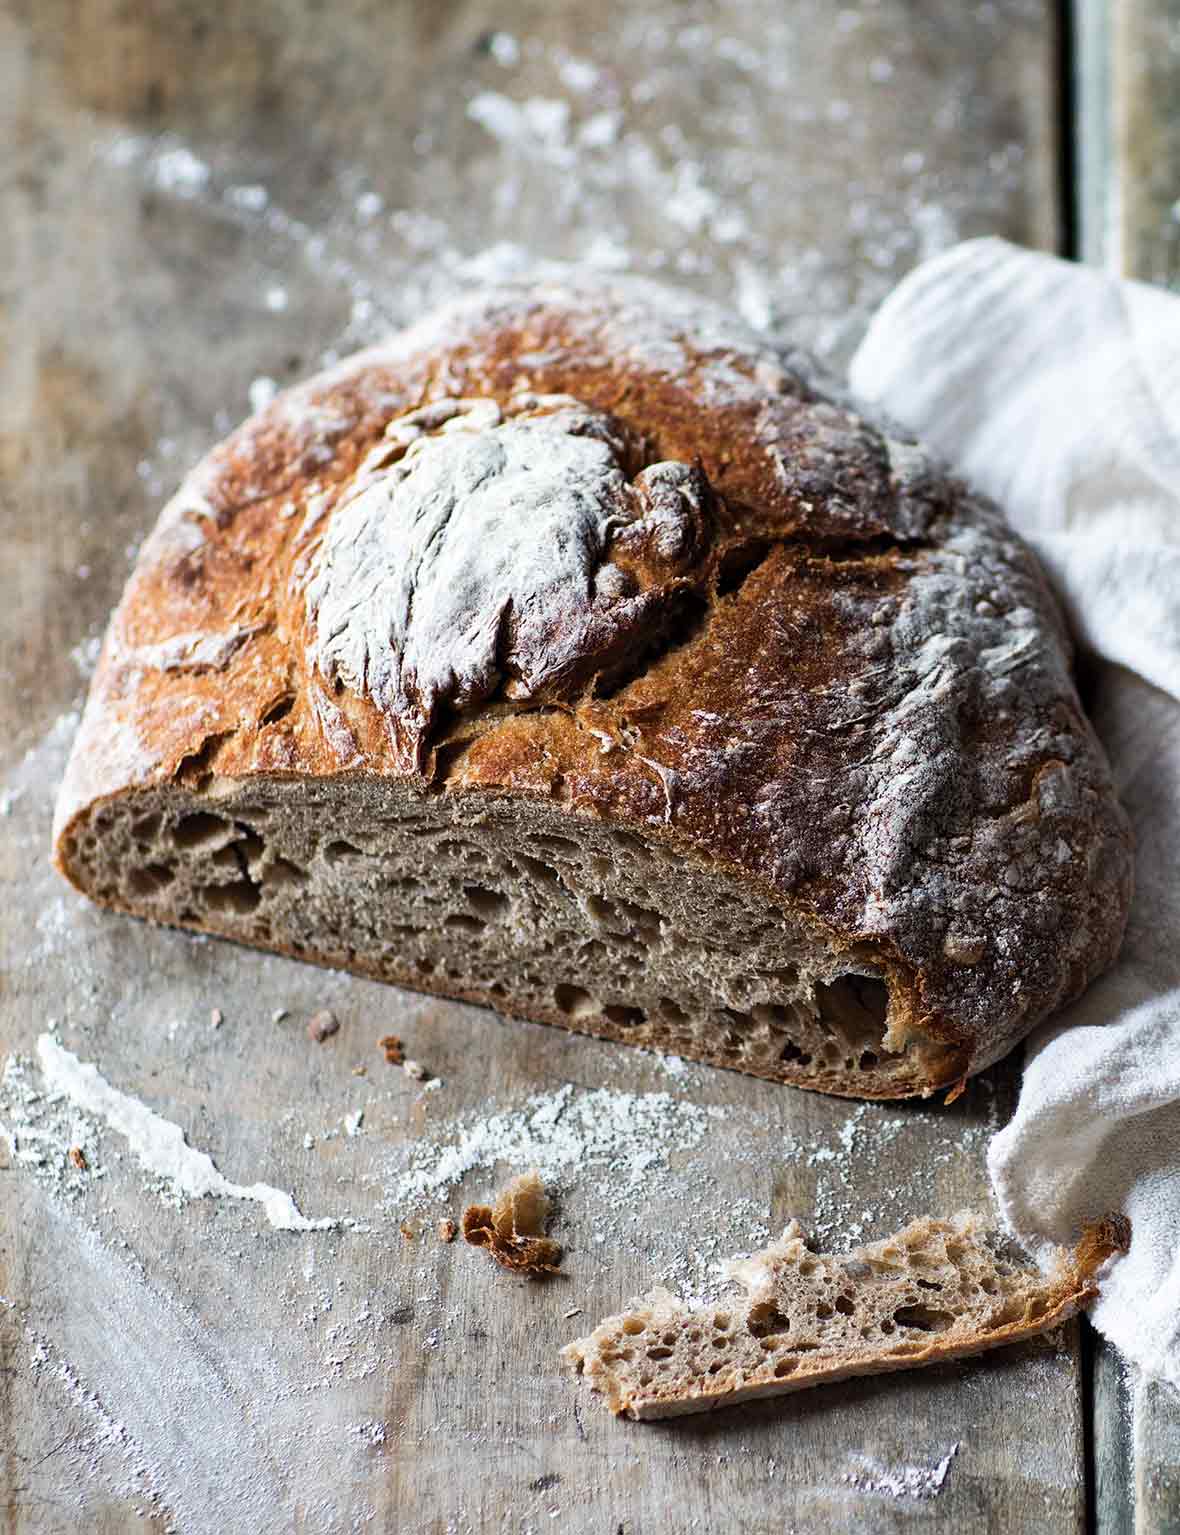
Loved, loved, loved this sourdough rye bread recipe! It was perfect! This is an excellent recipe for those who love their classic sourdough rye bread. It turned out absolutely beautiful with a nice golden brown crust and a complex sourdough flavor. I am very, very pleased with this loaf and will definitely be making it again!
My crust wasn’t like some of the other rye bread recipes that I’ve made—it was a little softer and didn’t break your teeth.
My sponge started to really grow at around 6 hours and doubled at about 10 hours. The description was very good—it was indeed bubbly with a clean sour smell. If you’ve never made a rye sourdough like this before, it might be a little bit tricky since the dough is so wet, but you’re doing it right. It should be just a little thicker than pancake batter. And be very careful to not punch it down at any point once you’ve kneaded it with the dough hook for 30 minutes as this will help create an airy bread with an open crumb.
My loaf was beautiful!
This sourdough rye bread is a higher hydration dough, which was supposed to give it a nice open crumb. I didn’t achieve that, but it still had a nice flavor. It was a very mild sourdough rye bread and could go with many different foods.
I would be curious to try this recipe with less mixer time and some folds incorporated into the bulk fermentation. It was a difficult dough to work with. It will take practice for anyone to get the hang of but it was a fun challenge.


Hi David. Very excited to make this happen. I have only dark rye, how would you suggest I adjust the recipe? I have noticed I need more water when feeding the dark rye starter (as opposed to my APF starter). Thanks for any guidance.
Hey, Christopher. A dark-rye bread will definitely need more liquid. How much, I honestly can’t say. I’ve never made a 100% dark rye loaf; it’s not my favorite. The dough will tell you what it needs, as they say. Keep adding water bit by bit until the dough approaches the stage in the recipe. I wish I could be more precise, but I can’t. ?
Hi again, Great recipe! I cut the dark rye with KA white bread flour, and added a little extra moisture to the sponge, which really came to life at the 11th and 12th hours. The added moisture made the dough super sticky and I left the folds on top to get extra crispy crannies. Good sour taste and fragrance. I was surprised by the more than adequate crumb given the small amount of starter and yeast. Definite repeat! Thanks sooo much…
Christopher, congrats! The bread looks amazing.
Made this yesterday and OMG..it is delicious. Nice rye flavour, dense enough (as it should be). I will have to be careful as I could eat this all in one day. With good butter…nothing else!
MARIA! So good to hear from you. I’m thrilled you liked this recipe. It’s a crowd favorite.
I don’t have a standing mixer. Any chance that this bread can be mixed/kneaded by hand? I don’t mind the time, I’ve been kneading dough for over 25 years and am used to the effort. Thanks.
Frances, if you have the endurance, sure go for it!
@Frances, This is what I came here to ask today! But I am not an experienced bread maker so I’m unsure of what the equivalent hand kneading time would be to replace the 2-4 mins and 30-35 mins in the instructions. Anyone have any pointers? Thanks!
Sherry, it depends entirely on how vigorous your kneading is. Between us? I wouldn’t attempt hand kneading to equal 30 to 35 minutes in the mixer. I don’t have that kind of endurance! If you want to hand knead, keep going “until the gluten is very well developed…The dough should be sticky and very stretchy.” It could be anywhere between 35 to 60 minutes–and I’m guessing here.
Okay, thanks! I’m a massage therapist, and since COVID’s isolation, I haven’t given a massage but, hopefully, those muscles are still there! 😉 I’ll definitely report back and let you know how it goes. I’m so excited to finally be trying this recipe. My great-grandparents were from Galicia and they really do have delicious bread! The starter’s looking great (used the recipe on your site) and I’ve already made a bunch of tasty things with the part I discarded daily. Thanks so much for your site here; it’s been so helpful!
Great, Sherry. Do let me know!
And it’s done! I kneaded by hand for about an hour and then I had to do a work Zoom so I had to stop. I don’t think it was quite ready, but oh well. I only kept it in the oven 10 or 15 minutes after taking out the water pan because it seemed like the crust was going to burn; the inside seems a little undercooked, but it tastes good! My first try – good enough. A question I had – how long about are you supposed to work the dough to get it in a ball for step 5? I had no idea what I was doing! Thanks so much for all your help.
Sherry! What a handsome loaf! Congratulations. Are your muscles aching? As far as step 5, all you need to do is pull/stretch the dough 4 times–N, S, E, W–if you will. Again, congrats.
Thanks so much!
You bet, Sherry!