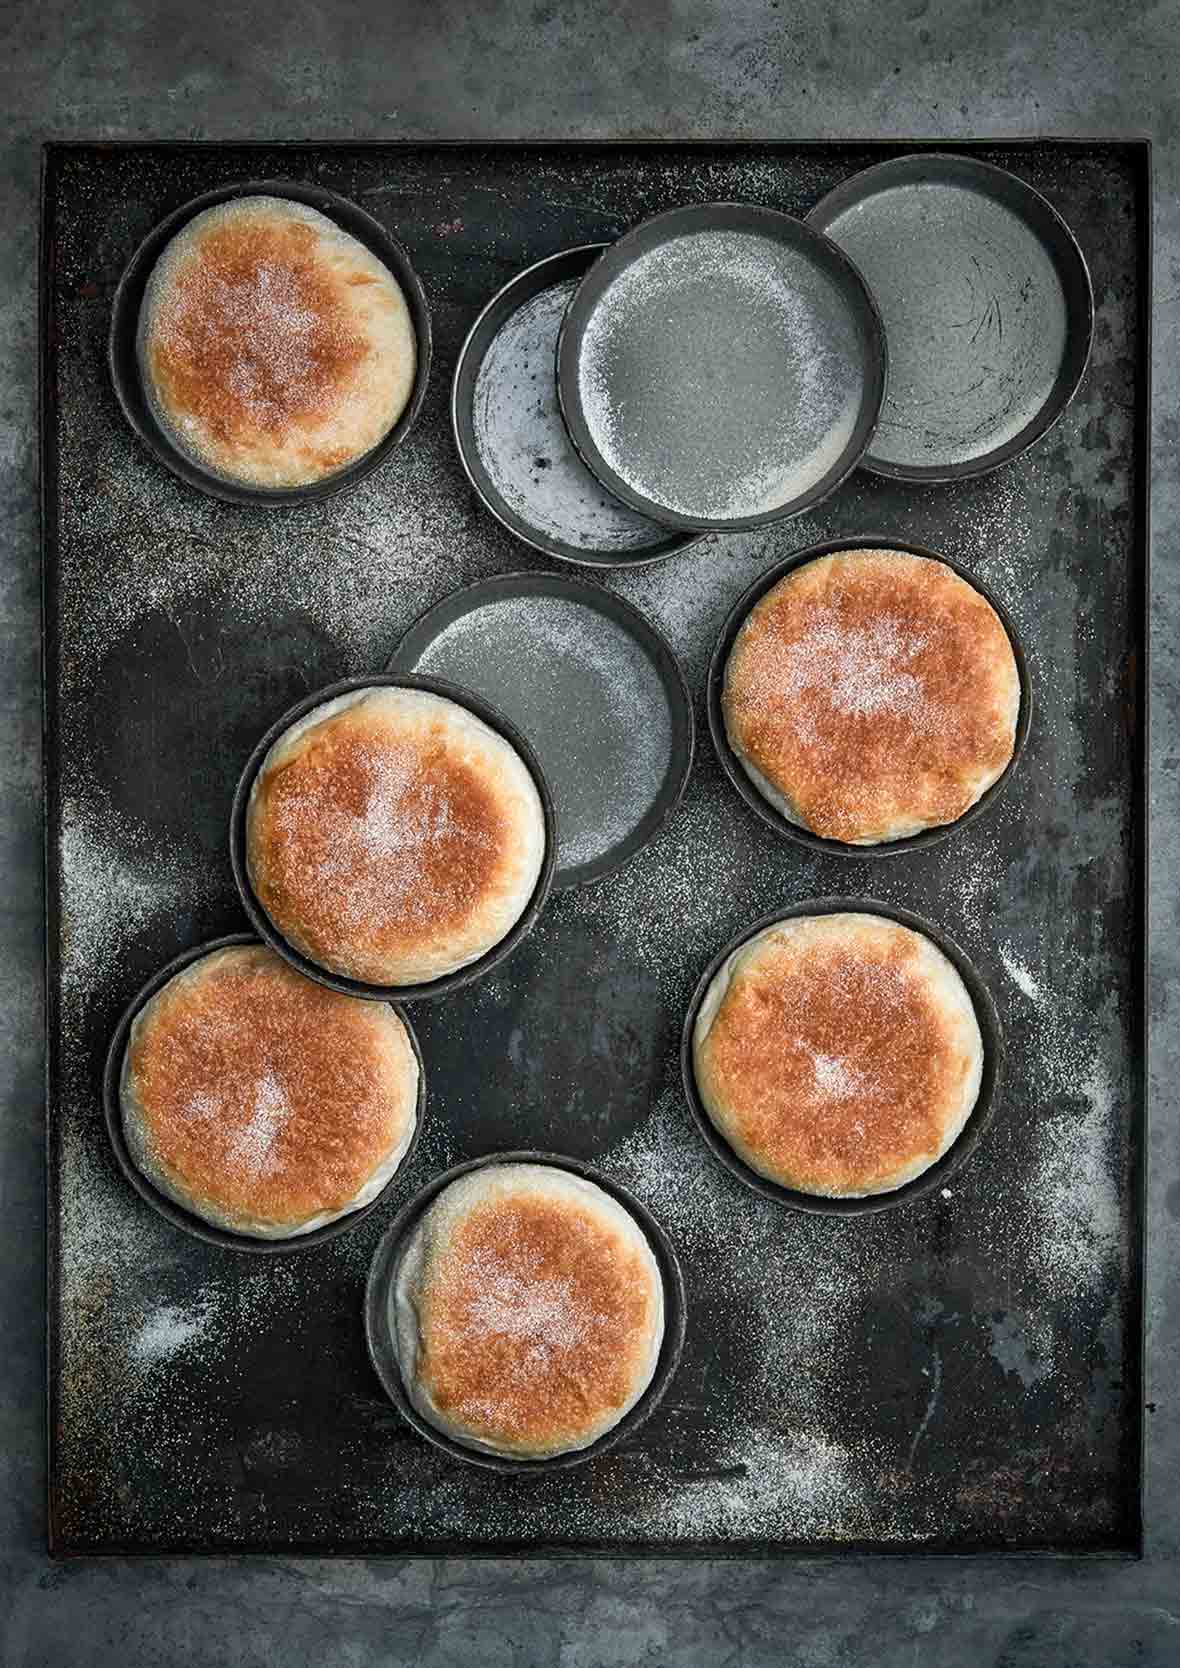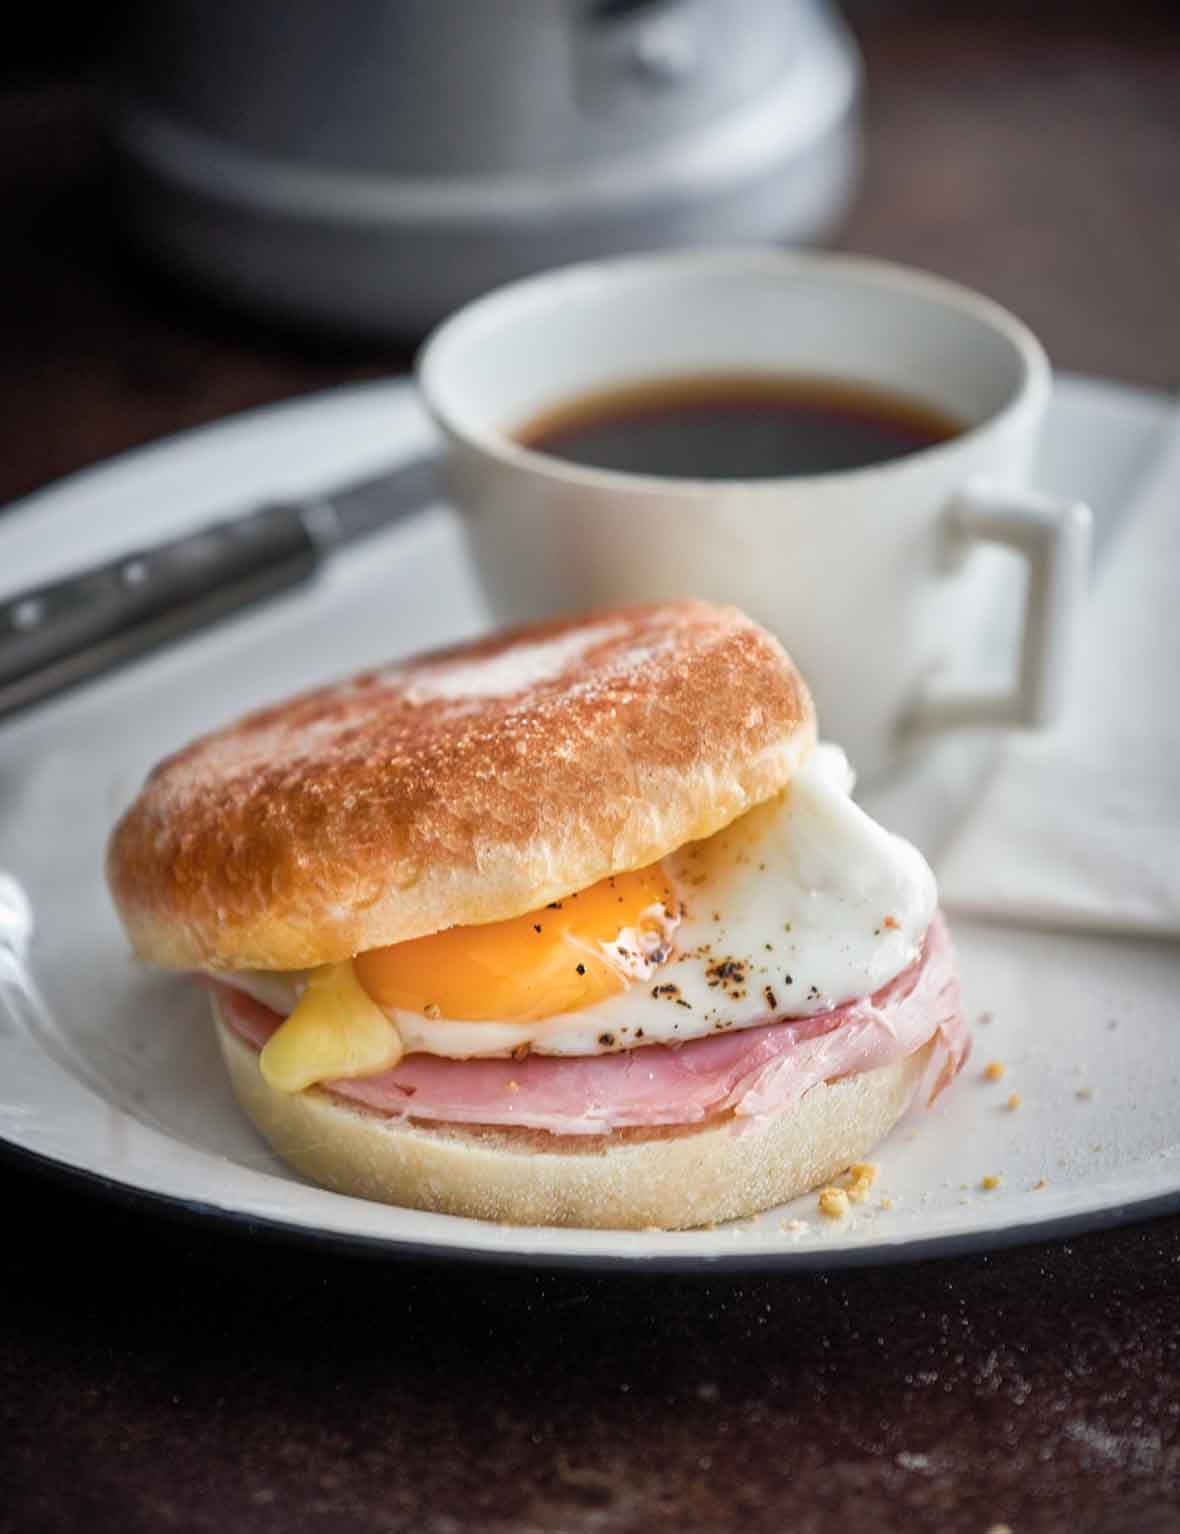
Crisp outside and properly chewy and dimpled within, these homemade English muffins are the real deal. What you do with all those nooks and crannies is up to you, but you won’t go wrong with a simple slathering of butter. Or perhaps some jam. Or maybe an egg and some bacon. Or a tasty egg bite stuffed in the middle. Or…yeah, we’re hungry now, too.–Jenny Howard

English Muffins
Equipment
- Six to twelve 4 3/4-inch (12 cm) individual, straight-sided tart pans or crumpet rings*
Ingredients
- 1 1/2 teaspoons active dry yeast
- 3 1/2 tablespoons warm water, (105°F to 115°F | 41°C to 46°C) on an instant-read thermometer
- 3 1/3 cups unbleached all-purpose flour, plus more for the work surface
- 1 tablespoon granulated sugar
- 2 teaspoons table salt
- 1 1/2 cups whole milk, warmed ever so slightly
- 4 tablespoons (2 oz) unsalted butter, cut into 1/2-inch (12-mm) chunks, at room temperature
- Vegetable oil or mild olive oil, for the bowl
- Semolina flour, for dusting
Instructions
- In a small bowl, sprinkle the yeast over the warm water and stir to dissolve. Set aside until the mixture begins to bubble.
- In a large bowl, stir together the flour, sugar, and salt until thoroughly combined. Make a well in the center.
- In a 2-cup measure or medium bowl, combine the milk and the yeast mixture.
- Pour the milk mixture into the well of the flour and stir with a wooden spoon or your hands until combined. The dough will be very sticky but that’s okay.
- Toss in the butter and continue to mix until the dough comes together in a sticky clump, 2 to 3 minutes.
☞ TESTER TIP: The dough may seem to be too sticky, but that’s necessary to help form all those nooks and crannies, so persevere!
- Cover the bowl with a kitchen towel or plastic wrap and let it stand at room temperature for about 30 minutes. The dough will become slightly puffy and soft.
- Sprinkle your work surface with flour and turn the dough out onto the surface. Tap your hands in a little flour to coat them and then gently flatten the dough into a rectangle with a short side facing you.
- Using your fingers or a plastic dough scraper, flip the top edge of the rectangle down to just below the center, then flip the bottom edge up to just above the center, as if you were folding a letter. Repeat this process with the right and left sides. Turn the dough over and dust off any excess flour.
- Lightly oil a second large bowl. Place the dough in the bowl, seam side up. Flip the dough to seam side down so that both sides are oiled. Cover the bowl with plastic wrap and let the dough rise at moderately cool room temperature until it’s doubled in volume, 1 to 1 1/2 hours.
- Arrange the tart pans or crumpet rings* on 1 or 2 rimmed baking sheets. If using crumpet rings, first line the baking sheet with parchment paper. Sprinkle a little semolina flour in the bottom of each tart pan or inside each ring.
- Put some additional semolina flour in a wide, shallow bowl or plate.
- Once the dough has doubled, scrape it onto a lightly floured work surface. Divide into 12 pieces and shape into balls. (If you only have 6 pans or rings, place half the dough balls on a plate, cover with plastic wrap, and refrigerate until ready to bake. Be sure to allow the tart pans and baking sheet to cool before proceeding with the second batch.)
- Flatten each ball slightly with your hand and press gently into the bowl of semolina flour so that each one is well-dusted all over.
- Put one flattened and dusted ball into each tart pan or ring. Cover loosely with one or more large kitchen towels. Let rise until the dough expands into the pans, about 45 minutes.
- Arrange 1 or 2 oven racks in the middle of your oven. Preheat the oven to 400°F (204°C).
- Cover the tart pans on each baking sheet with parchment paper. Place a second rimmed baking sheet on the parchment to keep the muffins flat as they bake. If desired, you can gently weight the top baking sheet with a skillet or other ovenproof weight.
- Bake for 15 minutes.
- Remove the top baking sheet or sheets used as weights and the parchment paper. Continue to bake until the muffins are very light golden on top, pale around the sides, and golden brown on the bottom, 3 to 5 minutes.
- Turn the muffins onto a wire rack to cool completely.
Notes
*How To Make English Muffins Without Pans Or Rings
You can still make terrific English muffins without tart pans or rings. They may not be perfectly round but they will still taste quite lovely. Simply flatten the balls of dough slightly and amply space them on baking sheets.
Nutrition
Nutrition information is automatically calculated, so should only be used as an approximation.
Recipe Testers’ Reviews
I already have a recipe for English muffins that everyone loves, but this recipe, even though it’s a little more involved and time-consuming, tops my other one. I think the longer rising time, the shagginess of the dough, and the high-temperature bake combine to produce a muffin that’s crisp on the outside, chewy (and dimpled, of course) on the inside. The crispy outside was the best part for us.
The trickiest part was working with the dough. As the recipe says, the dough will be sticky. I was constantly dipping my hands in flour so that I could work with the dough. And that was fine. Dividing the dough and shaping it into balls was the hardest part, but once I got the hang of it, it worked out pretty well.
I didn’t have tart pans, so I placed the balls on a large baking sheet and they basically rose into each other. I found that when baking them, the bottoms browned more quickly than the tops, even with the other pan on top. But once they cooled enough to eat, they were gone!
This is a fairly easy recipe and does yield true, honest to goodness, English muffins. I used my ancient cast iron crumpet rings and they worked perfectly.
The English muffins had beautiful golden tops and bottoms with pale sides.
I used a stand mixer but finished both batches by hand, just because it’s my preference to feel the dough. The muffins never fully achieved the iconic crisp crannies that the commercial ones do, but taste so lovely and fresh in comparison. Mine did have holes and crannies but not to the extent I associate with English muffins.
Just as an aside, to those wondering about finding those very specific muffin tins, I did bake a few by just shaping them into balls and flattening them. They were slightly more “freehand” but can absolutely hold their own against the ones made in the crumpet rings.


I made two batches this weekend. What a quick easy dough! The muffins aren’t as full of nooks and crannies as the commercial muffin but the flavor is far better. The second batch I made today I took to the neighbors across the road, as we have been trying to get together for occasional dinners during COVID isolation. There is now a Saturday night dinner in the works. These muffins will become a regular item. The tuna cans are a brilliant idea!
Thanks, Lisa! We’re delighted that you loved them.
These are absolutely delicious, but the “sticky” characterization fell far short of the stiff batter I found I had on my hands! I don’t know if it was because I sifted the flour for tis recipe, but I had to add more flour just to get something that had integrity of form — even in my crumpet rings! I think I’m going to use a stand mixer next time. But there will be a next time because they’re wonderful!
Lovely to hear, Patricia. And yes, the sifting definitely could have affected the consistency, so glad you persisted! Baking is such a persnickety science, it doesn’t take a lot to change the character of a dough! Appreciate you taking the time to share how much you like these.
I have mini fluted tart pans with the removable bottoms. Could I use those instead of the straight sided ones?
I think that would work, Terry. Your muffins might be shaped a little differently than a traditional English muffin, but they should work. Do let us know how they turn out!
Thanks! Will do!
Great. Can’t wait to hear!