When there’s relentless snow and temperatures are plunging to record lows, very few things can bring the satisfaction or comfort of a slowly cooked braise. And not just for the aroma that’s been heralding dinner’s arrival for hours and luring people from everywhere in the house. A braise demands very little effort and no constant vigilance (aside from the occasional prod or turn) yet delivers flavor and comfort that outperforms its usually inexpensive ingredients.
So what is braising?
Braising is the art of transformation, of taking disparate elements and fusing them into a greater, cohesive whole. Quite often, braises are made with the toughest and meanest cuts your butcher is offering up, and mastering braising can unlock an entire repertoire of one-pot deliciousness that can feed an entire family on a budget. And since braises frequently taste better a day or two after they’re made as the flavors continuously commingle, they’re ideal for easy make-ahead options or cooking once and rewarming leftovers for a future meal or three.
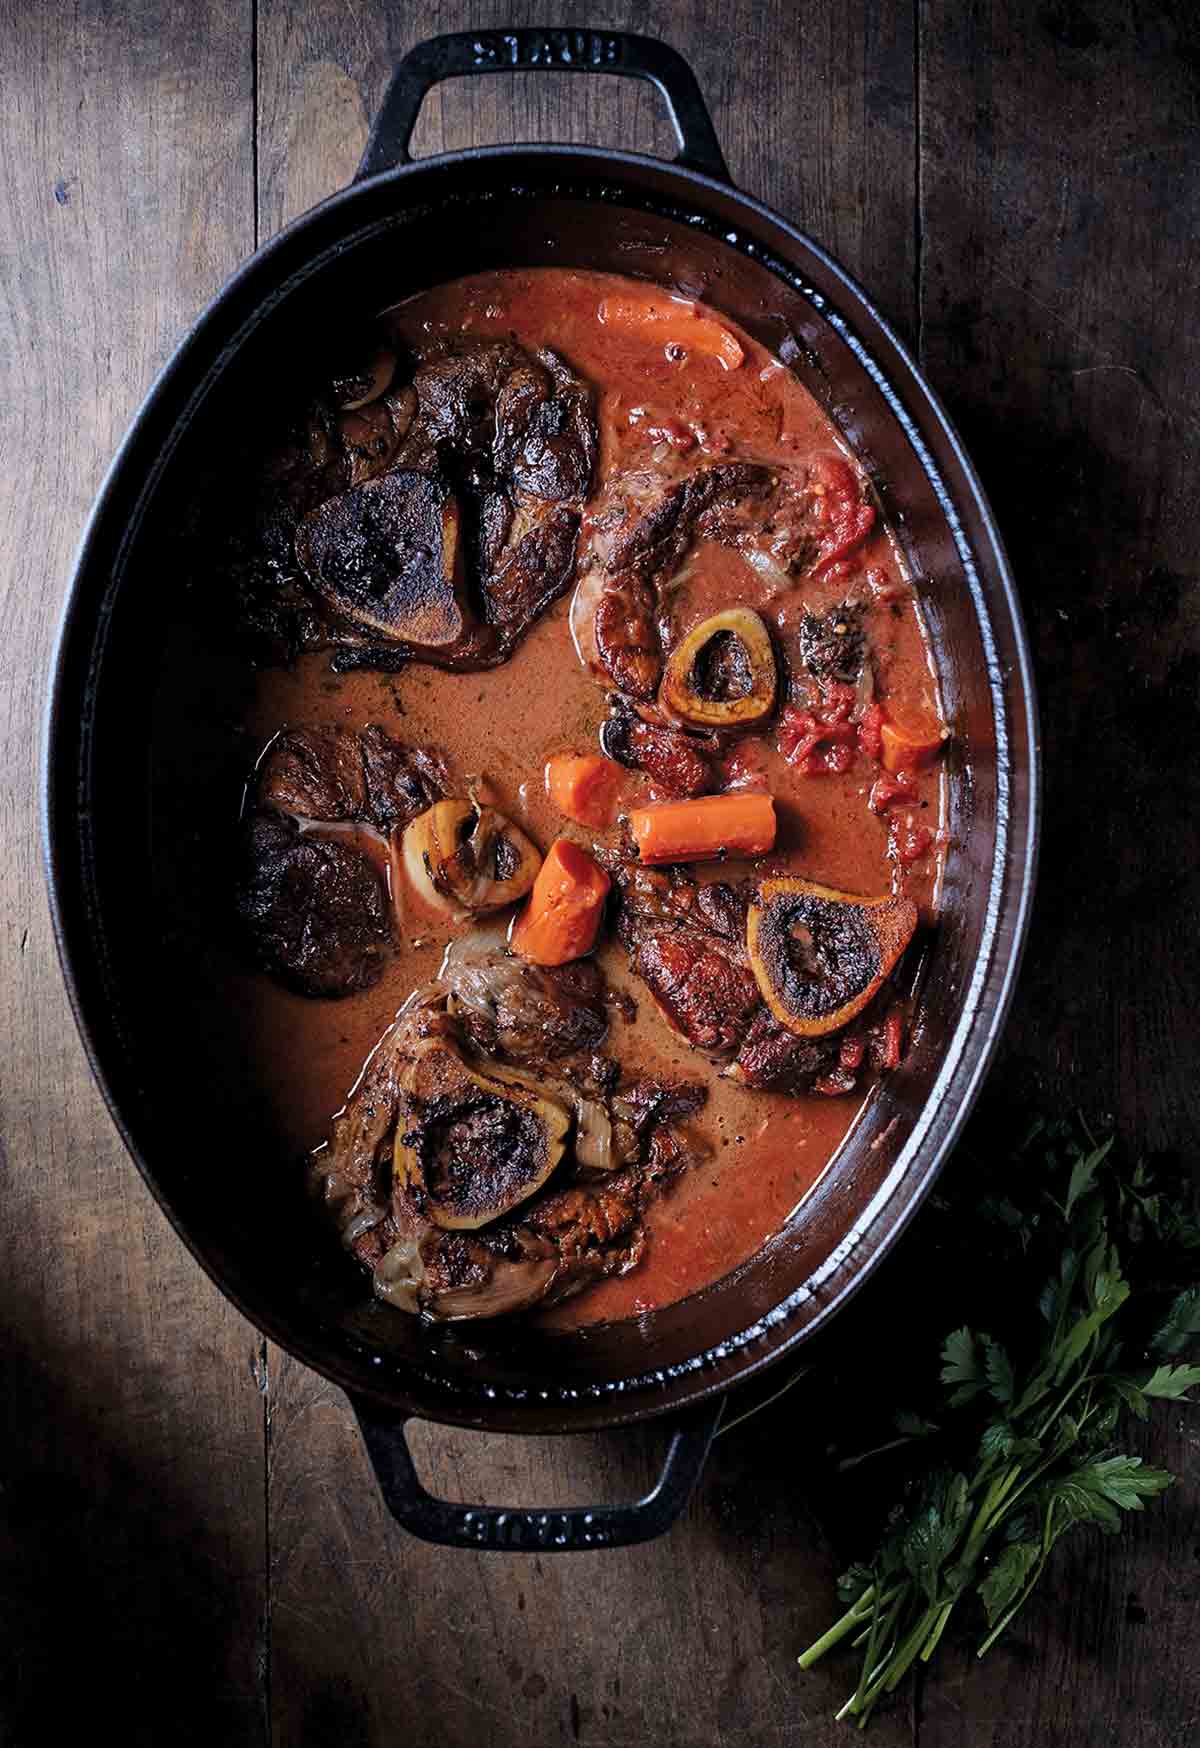
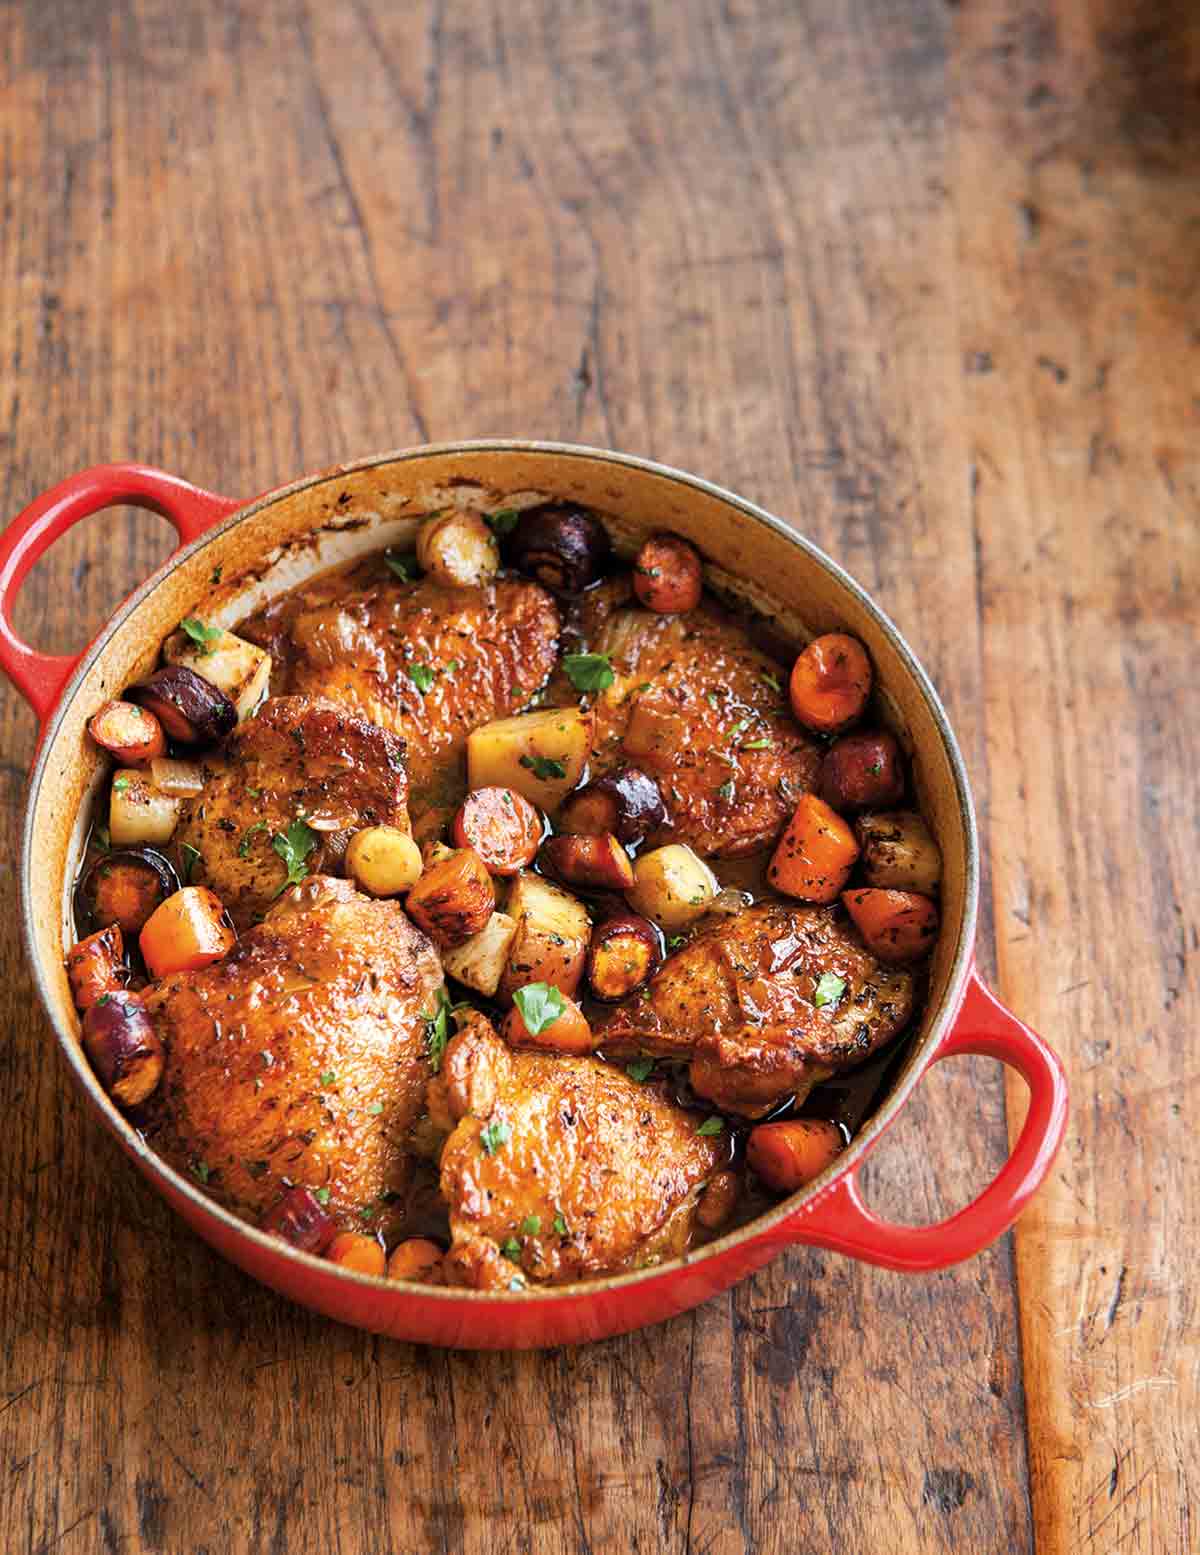
Braising is so simple, most home cooks have already braised countless times without knowing that’s what they were doing. Braising instructions tend to say something along the lines of “reduce heat to a very low simmer, cover tightly, and cook for 1 1/2 to 2 hours.” If you’ve ever done that, or made short ribs, osso buco, pot roast, or coq au vin, you’ve braised something! A significant portion of the slow cooker repertoire also falls under the braising umbrella. You just may not realize it because, outside of older cookbooks, “braise” is used far less frequently as a verb than “grill,” “roast,” or “sear.”
At its core, braising is the act of using low heat to cook a primary ingredient, usually a large and relatively inexpensive cut of meat, in a smaller amount of liquid than a stew. Aromatics such as herbs are often added along with vegetables and the entire ensemble is tightly covered and cooked at what can barely pass as a simmer for a long period of time, usually more than 45 minutes. Where this is accomplished isn’t especially important, as the act is just as successful in the oven as it is on the stove or in a slow cooker. It’s the low temperature, long time, and cooking liquid that are the critical parts of the braising process.
How does braising work?
All braises are cooked while covered, creating a sealed environment that traps steam inside. The steam collects on the underside of the lid and condenses back into droplets that drip into the braise, like a mini rainforest. Oftentimes the meat will get seared first, and all that delicious fond built up on the bottom of the pot serves as a downpayment on deliciousness to come. The cooking liquid, which usually reaches only a third to halfway up the side of whatever cut of meat you’re making, is seemingly scant, but fear not, as the ingredients will release their own juices as they cook which will intermingle with the aromatics, and the sauce ends up being just as much the star of the show. Adding too much liquid will dilute the end result and the flavors will be muddled. For this reason, stick with the best-quality stocks and wines you can manage as they’ll heavily influence your final flavor profile.
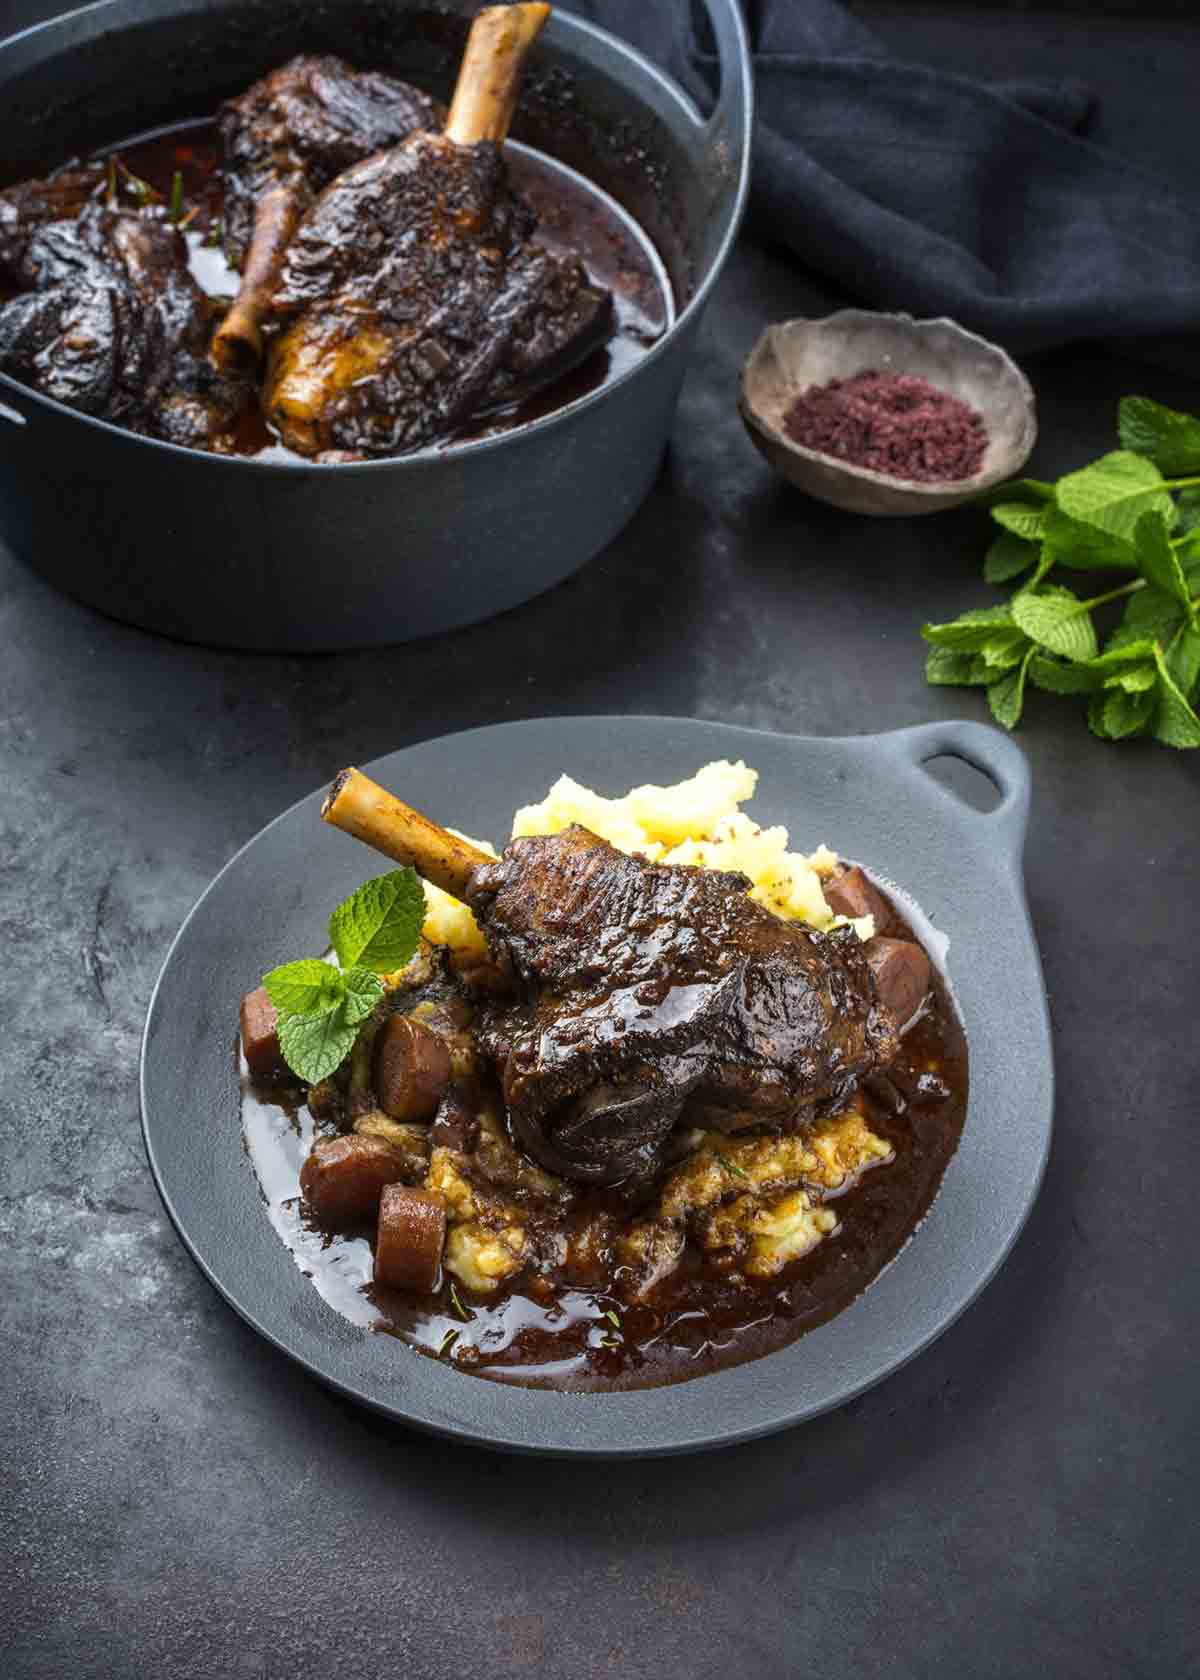
Apart from the humid cooking environment, low and slow is where the magic really happens. Braising brings out the best in cuts of tough meat that are a patchwork of cartilage and sinew. These elements start to melt and dissolve after a sustained time around 180 to 200°F [82 to 93°C] (close to the boiling point of water, hence the low simmer) and turn into juice bombs, bathing the meat fibers in flavor and giving braised meat that glossy, unctuous, and utterly mouthwatering texture of your dreams.
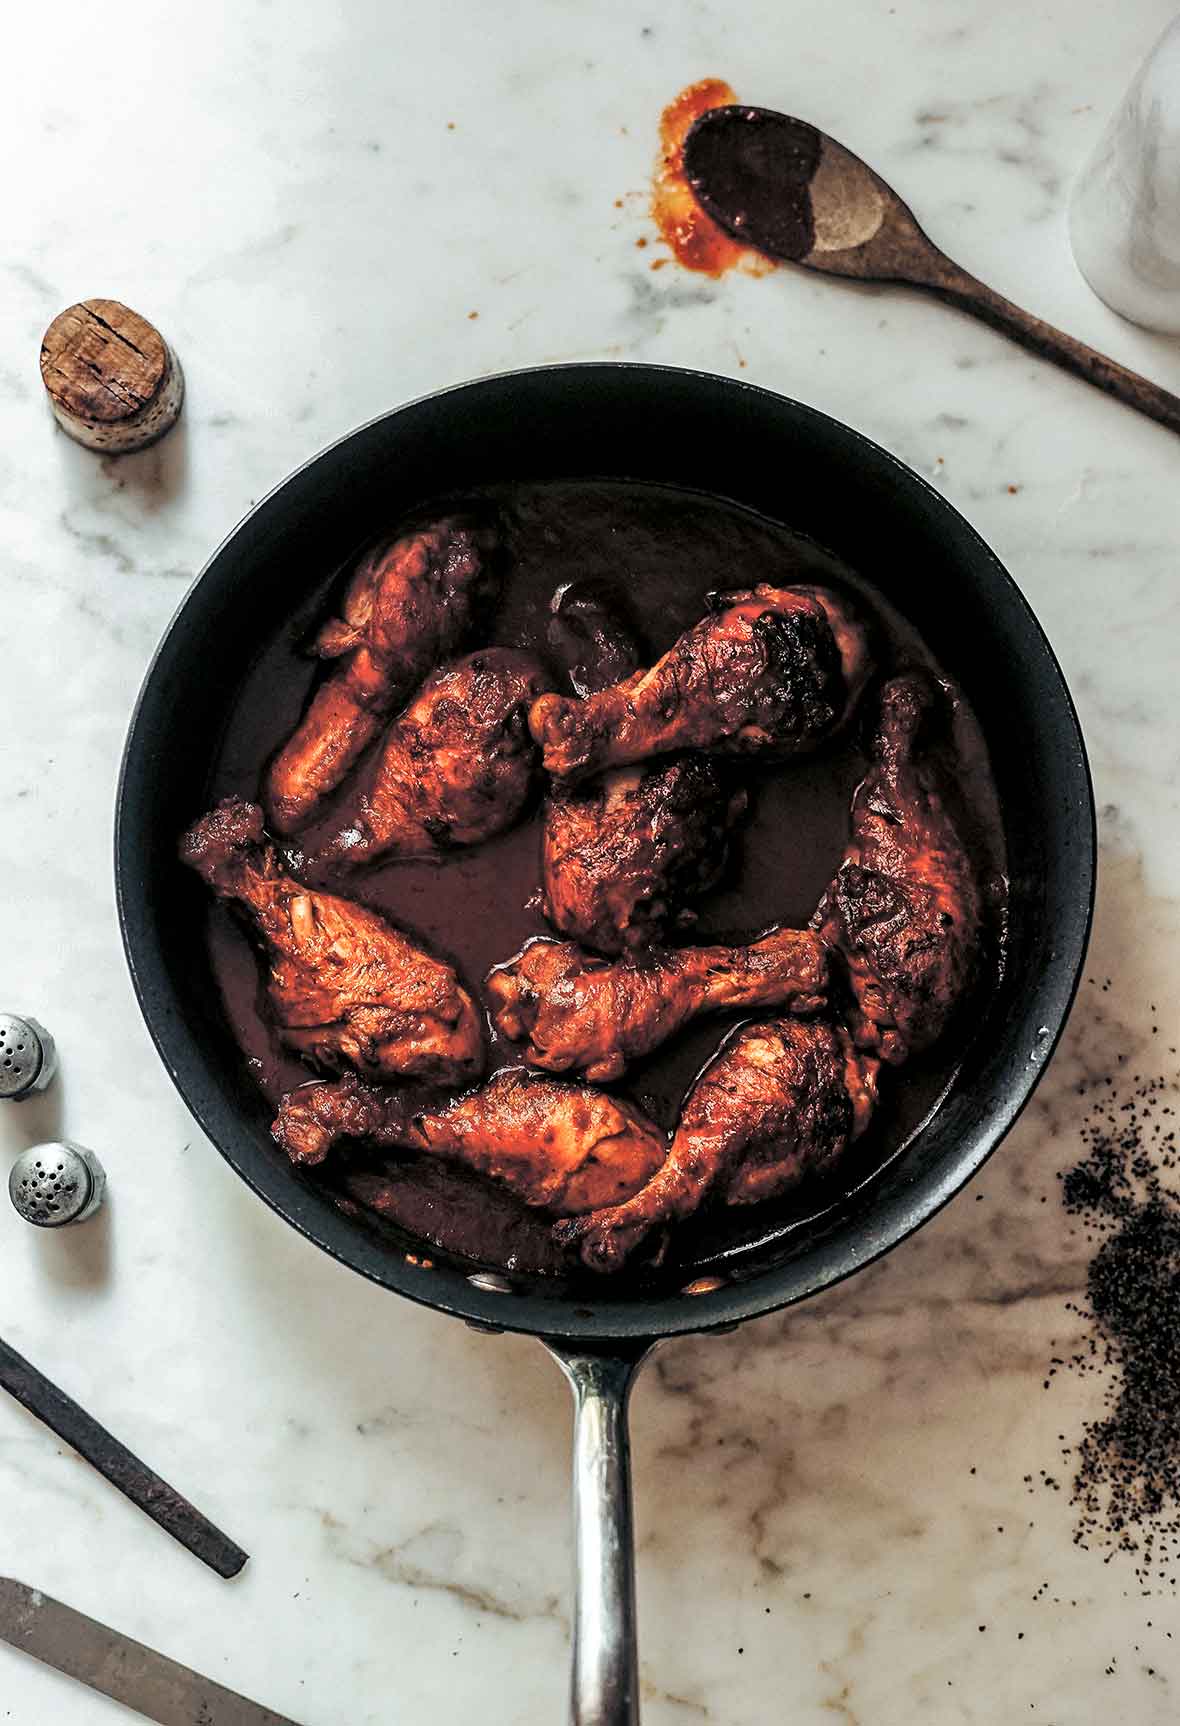
This is a strict departure from how you’d prepare other cuts. Cook a chicken breast or a ribeye steak like this and it would be an inedible disaster. Stick with cuts like short ribs, lamb shanks, chuck roasts, and chicken legs.
How do you know when a braise is done?
Don’t make the mistake of checking your pot roast with a thermometer at 40 minutes in, seeing it is 165F° (74°C), and pulling it out. Braising can’t be rushed. Any attempt to do so will result in a LOT of chewing.
Meat cooked in this fashion will exceed usual USDA doneness temperatures for food safety before it’s actually tender. So the best way to tell if it’s done is testing it with a fork. If you can insert it into the meat with little to no resistance and easily tease the meat apart, you’re good. Whereas a tough steak is a sign you overcooked it, a tough pot roast is usually an indication that you haven’t cooked it nearly long enough.
That said, while it is much more difficult, it is possible to overcook things this way. Many braised meat recipes, such as ropa vieja or ragu, have you cook until the fibers easily separate from one another with the aforementioned fork test. Once you reach this point, don’t go any further. Beyond here, the fibers themselves will start to disintegrate, losing all flavor and texture, and you’ll be left scrounging for the nearest pooch to pawn off the remnants. Make sure to use a timer and don’t forget about it.
Tips to help ensure better braising
Here, some tips and tricks we’ve learned over the years to help ensure your success:
Use tight-fitting lids
If the steam manages to escape your pot and doesn’t recirculate back through condensation into your cooking liquid, the liquid will gradually evaporate and you’ll possibly burn the bottom of your braise and impart a scorched taste to the entirety of it. If you’re unsure about the fit of your lid, bring some water to a simmer in your pot and put the lid on. Some escaping steam is natural (if it was fully sealed you’d be using a pressure cooker!) but if you see tons flooding the rims, then you’re going to need to improvise.
To dramatically improve the seal on your pot and help retain that moisture, place a piece of parchment that’s slightly larger than the lid over the top of your pot before securing the lid or wrap the edge of the lid with aluminum foil. If you’re still a little unsure, check on your braise once during the cooking time to monitor liquid levels, adding a little water or stock as necessary. Don’t do this more than once as you’ll lose all the precious steam each time you check.
Choose the right-size pot
Having the right tool for the job is critical for most kitchen tasks, and matching the pot size to your recipe is essential for a good braise. If you’ve got a Dutch oven already, this is one of its primary raisons d’etre and is go-to for many a home cook. However, you don’t need a Dutch oven to braise. Many shallow and wide pans with lids are perfect for this, such as a saute pan or a braiser, which true to its name, is exceptional for braising. These wide pans with a larger surface area help ensure a shallow layer of liquid without it reaching too far up the sides. After all, you don’t want the meat to poach or boil.
Sometimes you’ll find your food is too big for even the largest pot you have (think leg of lamb), so you can use a larger baker or roasting pan tightly covered in foil. Just use a large skillet to do any browning or sauteing beforehand, and then transfer everything into whatever you’re using to braise. Don’t wash the skillet right away, as you may need to transfer the cooking liquid back to it later if the recipe requires you to reduce the sauce further at the end.
Choose almost any pot, though, as long as it’s the right size
While you might feel a fancy piece of imported French cookware will look nice on your Instagram feed, we can promise you your braise will taste just as good with a heavy pot or sturdy skillet with a tight-fitting lid you bought from the thrift store.
Some brands, such as Staub, have dimples and swoops (“chistera”) on the underside of their lids to encourage condensation, but in practice doesn’t produce significantly different results than a regular pot lid. While there are plenty of good reasons to buy expensive cookware, you won’t get a leg up with braising. Plus, if you use parchment or foil to help your seal, they block these dimples anyway, rendering them useless.
Maintain a low heat
The most difficult aspect of braising on a stovetop is getting a low enough heat to maintain the most delicate of simmers. Many newer stovetops feature an extra-low heat simmer burner, but depending on your stovetop, this can pose some problems. Electric coil stove tops power cycle on and off as you use them and will provide inconsistent heat, whereas gas simmer burners tend to be a small little flame right in the middle, making a hot spot in the center.
Consider investing in a metal or ceramic heat diffuser, also known as a flame tamer, which works similar to a pizza stone by absorbing the heat and evenly and steadily transferring it to your pot. Added bonus: this buffer allows you to use more delicate earthenware cooking vessels, such as terra cotta pots and clay tagines, on your stovetop.
Braise vegetables and meat
Not eating meat shouldn’t hold you back from experiencing the wonders of braising, and some of the best vegetable dishes get cooked this way. Since there aren’t any muscle fibers in sight, most vegetable braises cook in significantly less time than their animal-based counterparts, with a focus mainly on coaxing the most flavor out of heartier vegetables. While braised cabbage is probably the most familiar, almost any vegetable can be braised, from these saffron-laced carrots or buttery French potatoes to these less traveled but no less delicious creamy baked fennel and braised artichokes.
Make it ahead!
Braises are very forgiving and are perfect for making ahead. In fact, there’s plenty of arguments why you should always make them ahead. First, the sauce from a braise always tastes better the next day. Something about the overnight rest in the fridge continues to develop and harmonize the flavors to create a much more nuanced dish.
Additionally, braised meats typically release a lot of fat as they cook and as we all know, fat equals flavor. However, depending on the cut you’re cooking, the amount you’ll need for a full-bodied sauce is oftentimes far less than what you end up with. Before you go dusting off your fat separator, we’ve got an easier way! Letting your braise hibernate in the fridge ensures that excess fat rises to the surface of the sauce and hardens there, allowing you to easily remove the congealed pieces from the surface. No skimming with a spoon required. Best of all, you can refrigerate it overnight in the same pot you used for braising, making for ease of reheating the next day. Just make sure to save any garnishing and final touches for when you reheat it, especially lemon juice or vinegar, since acids added at the end will lose potency if reheated.
Find reliable recipes
Once you get the hang of braising, you can create your own braises from what you have on hand. However, at the beginning, as with everything in life, we suggest you draw on inspiration from those who’ve done it before. We’ve compiled our faves into a collection of best braising recipes should you be seeking recipe guidance.