TL;DR (Quick-Answer Box)
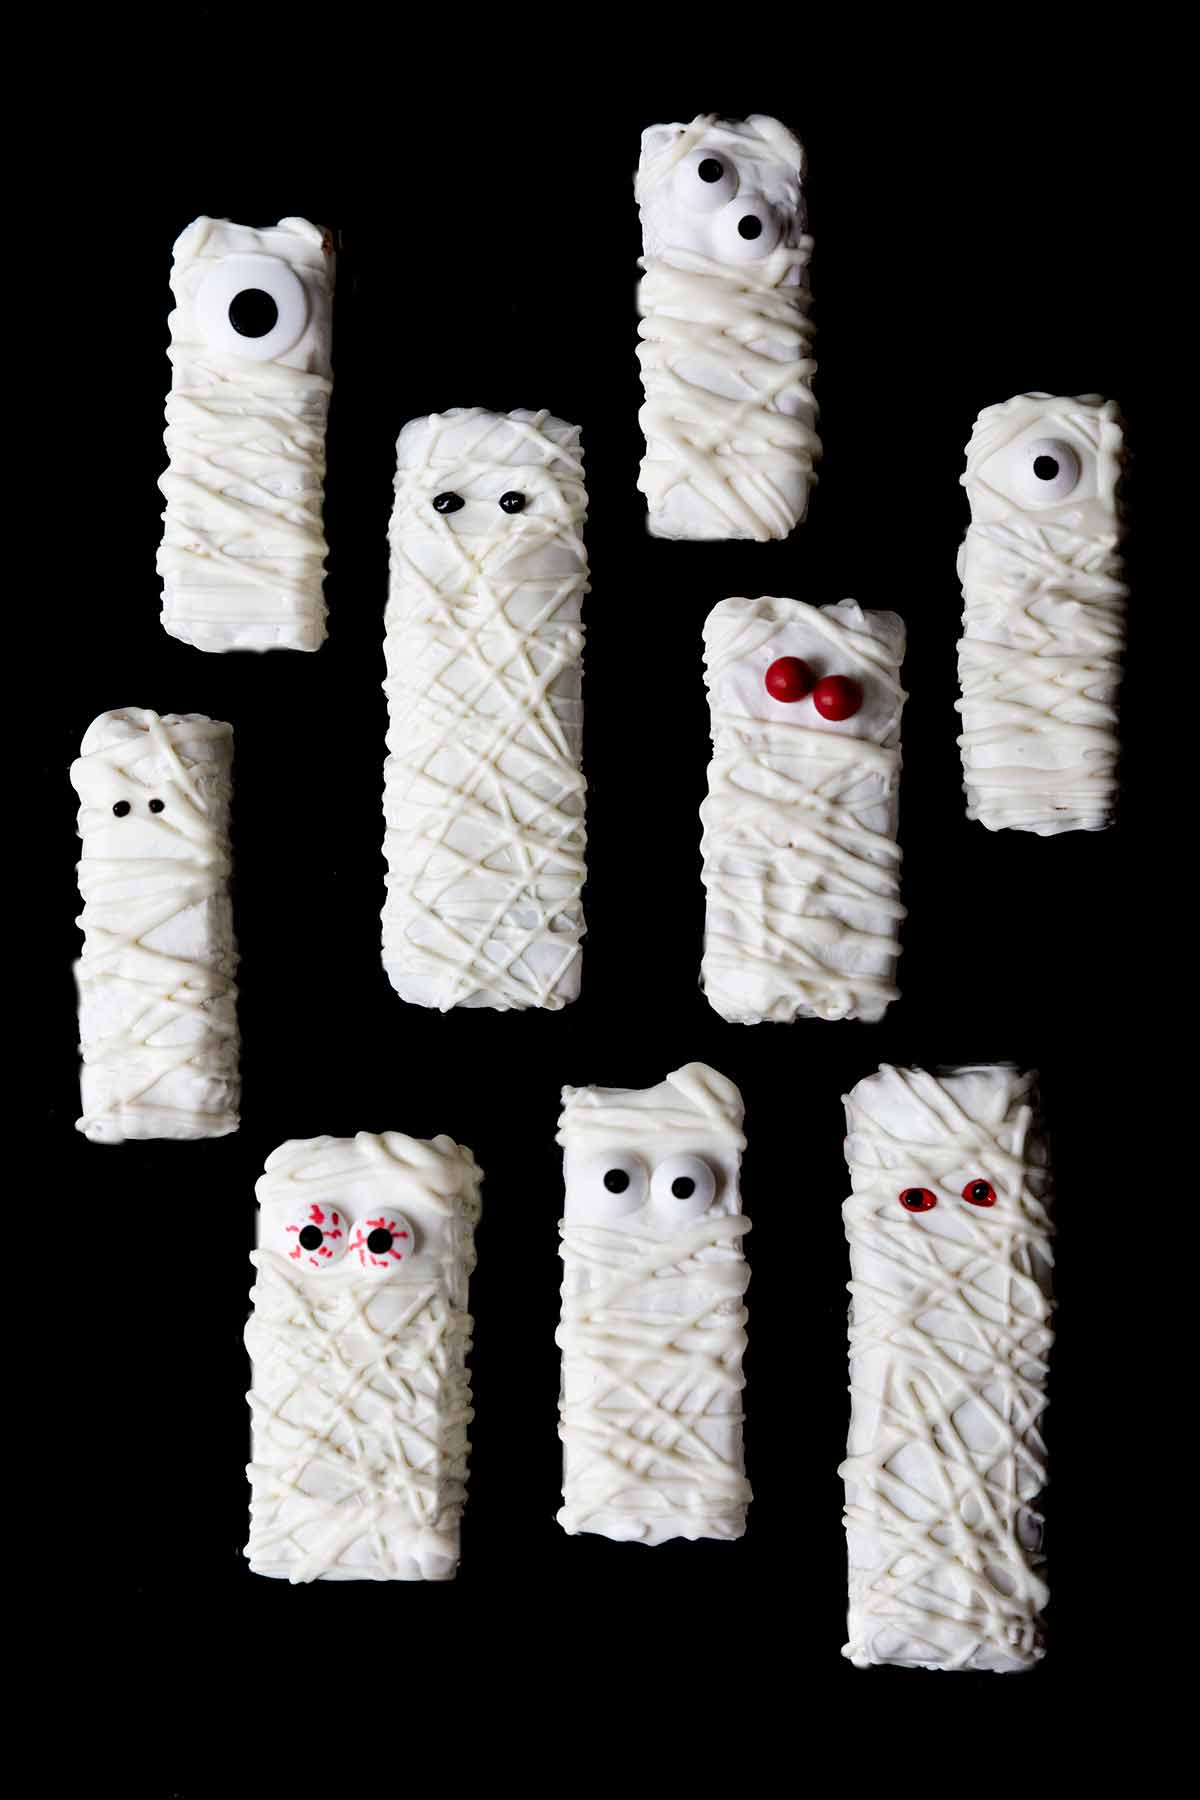
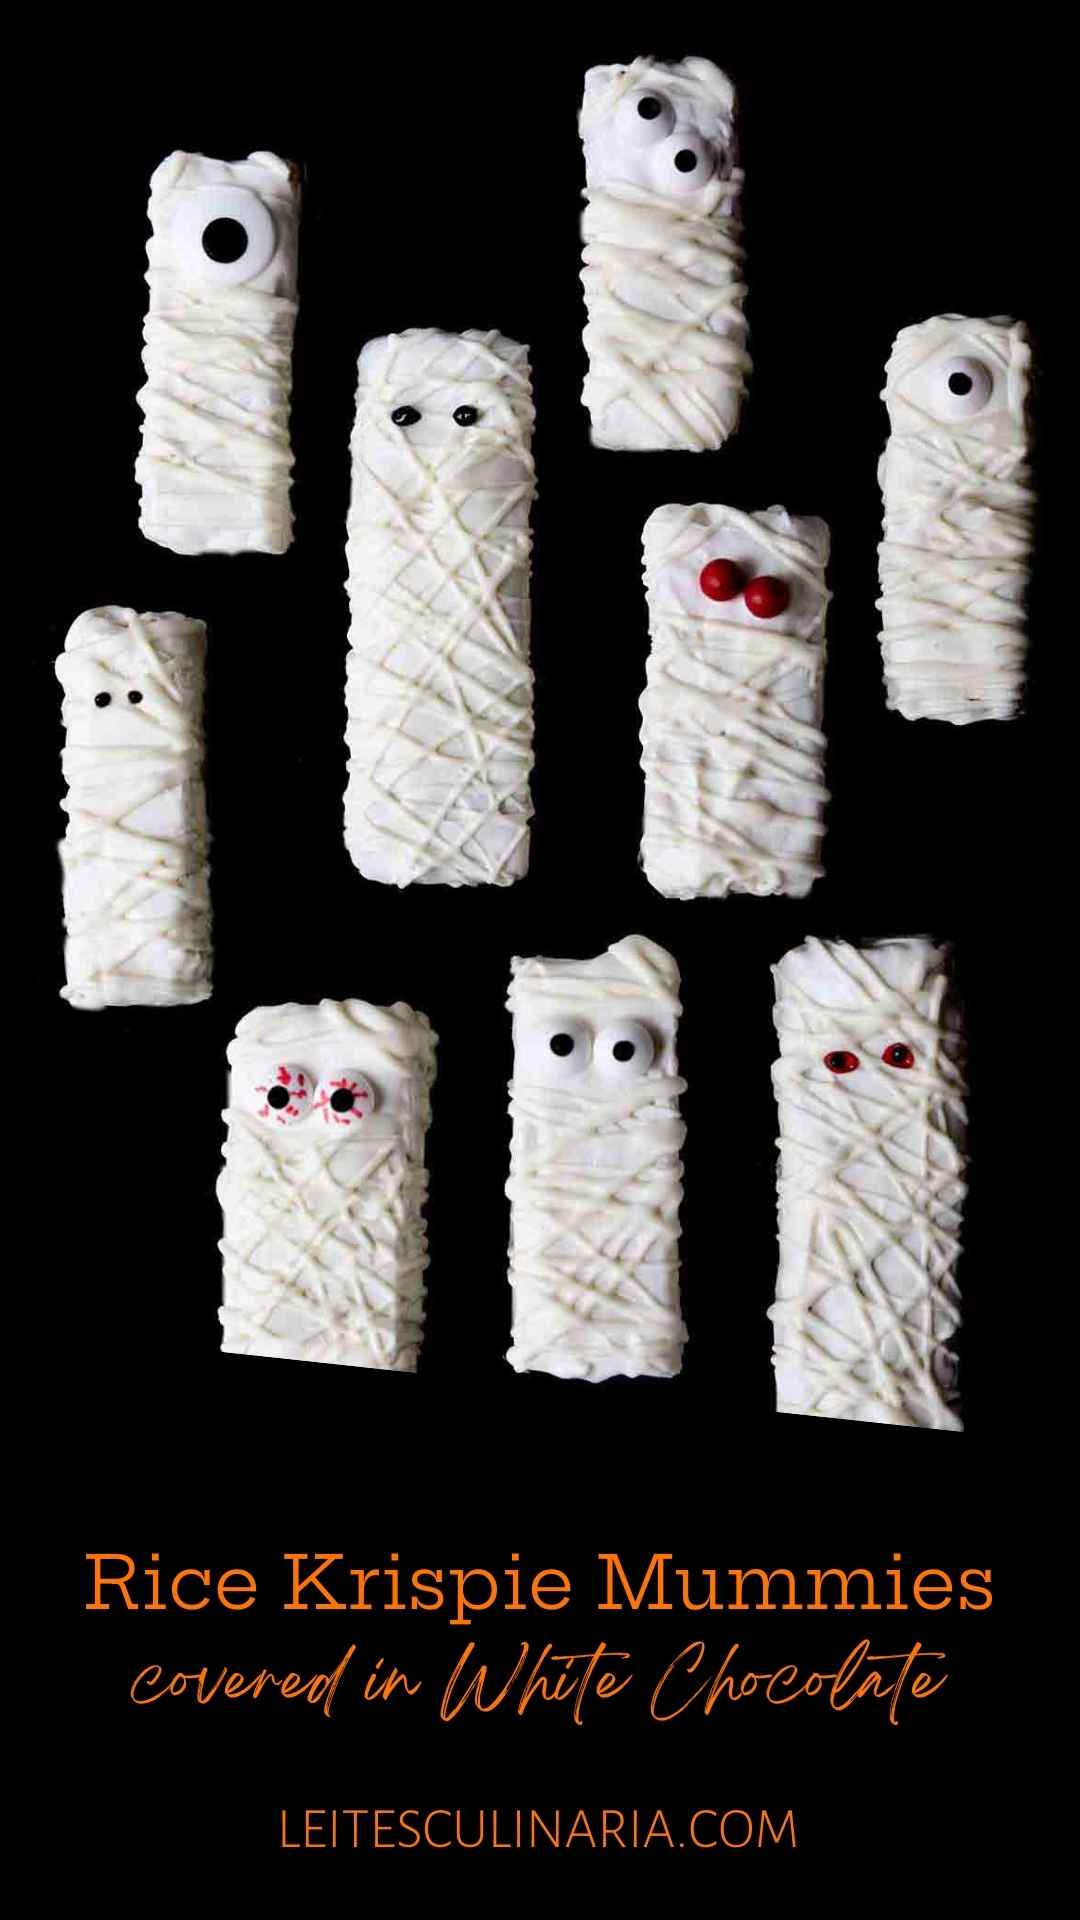
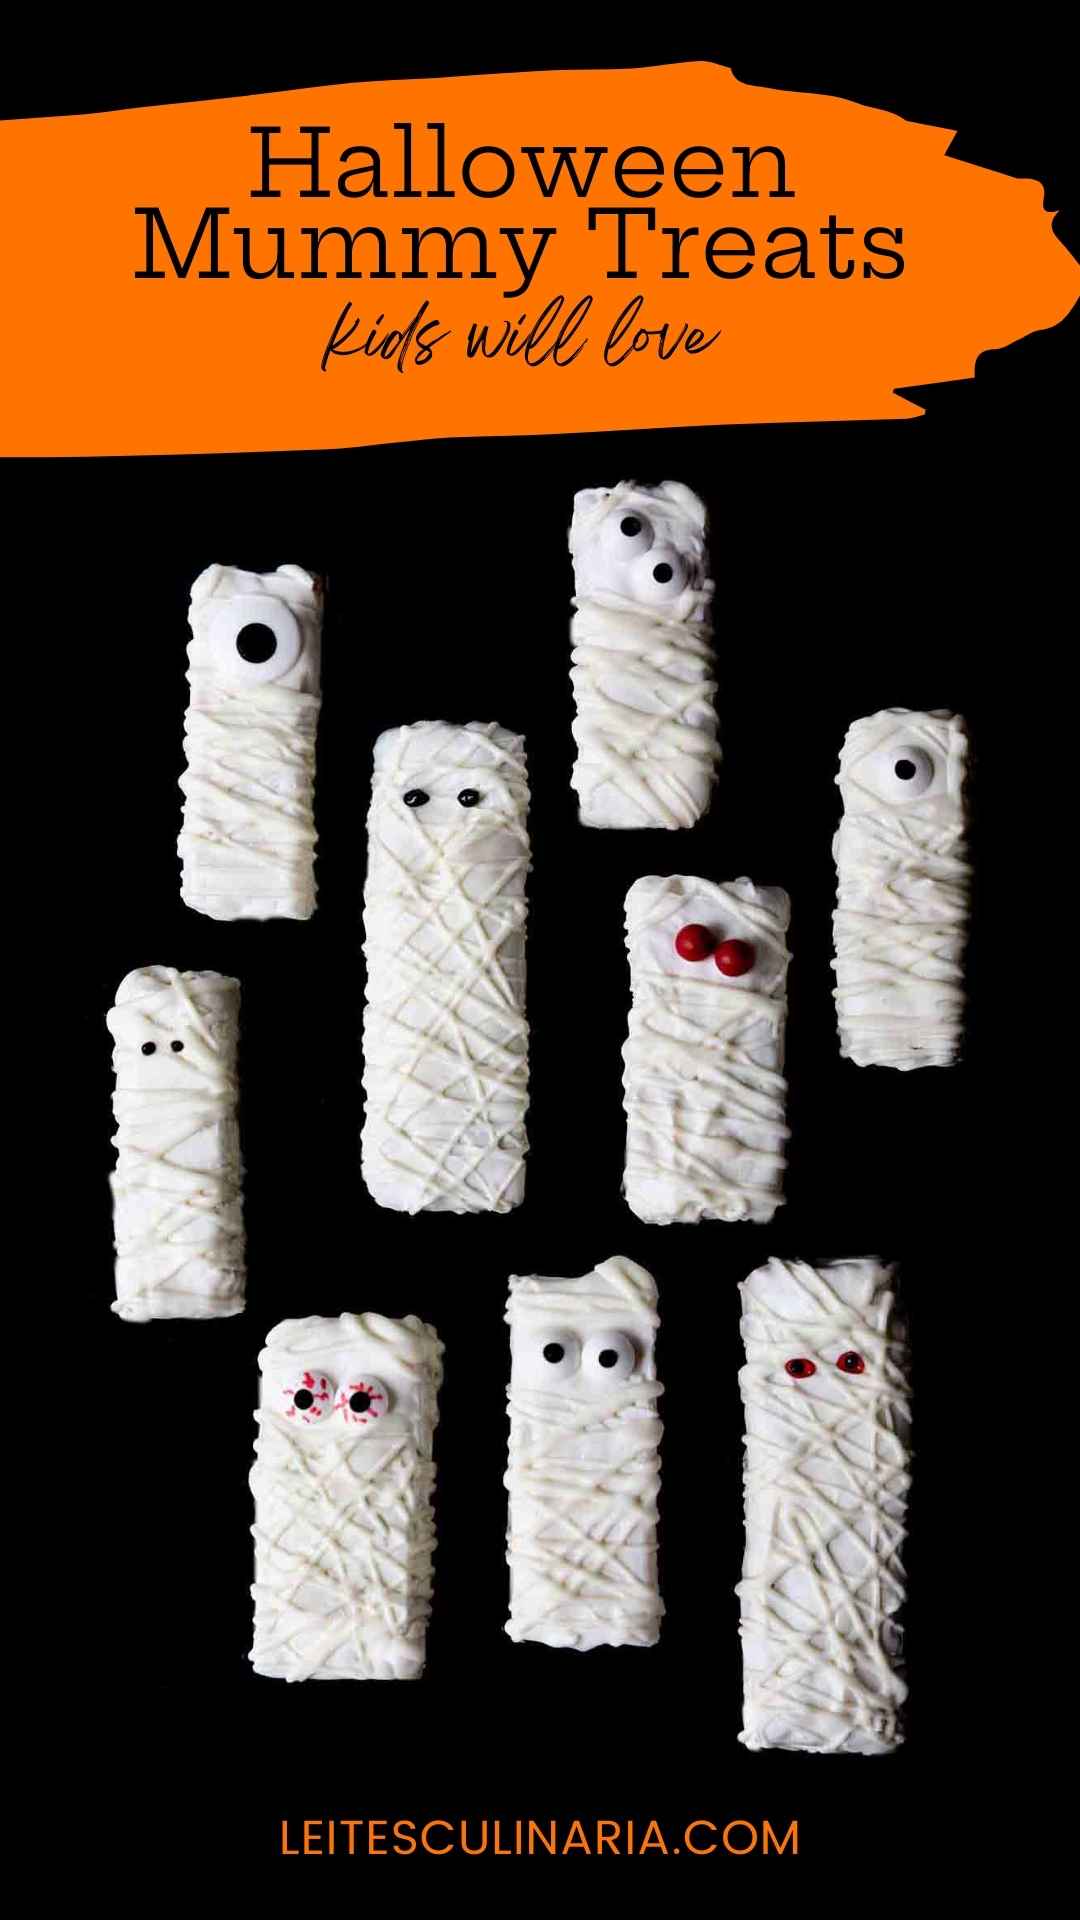
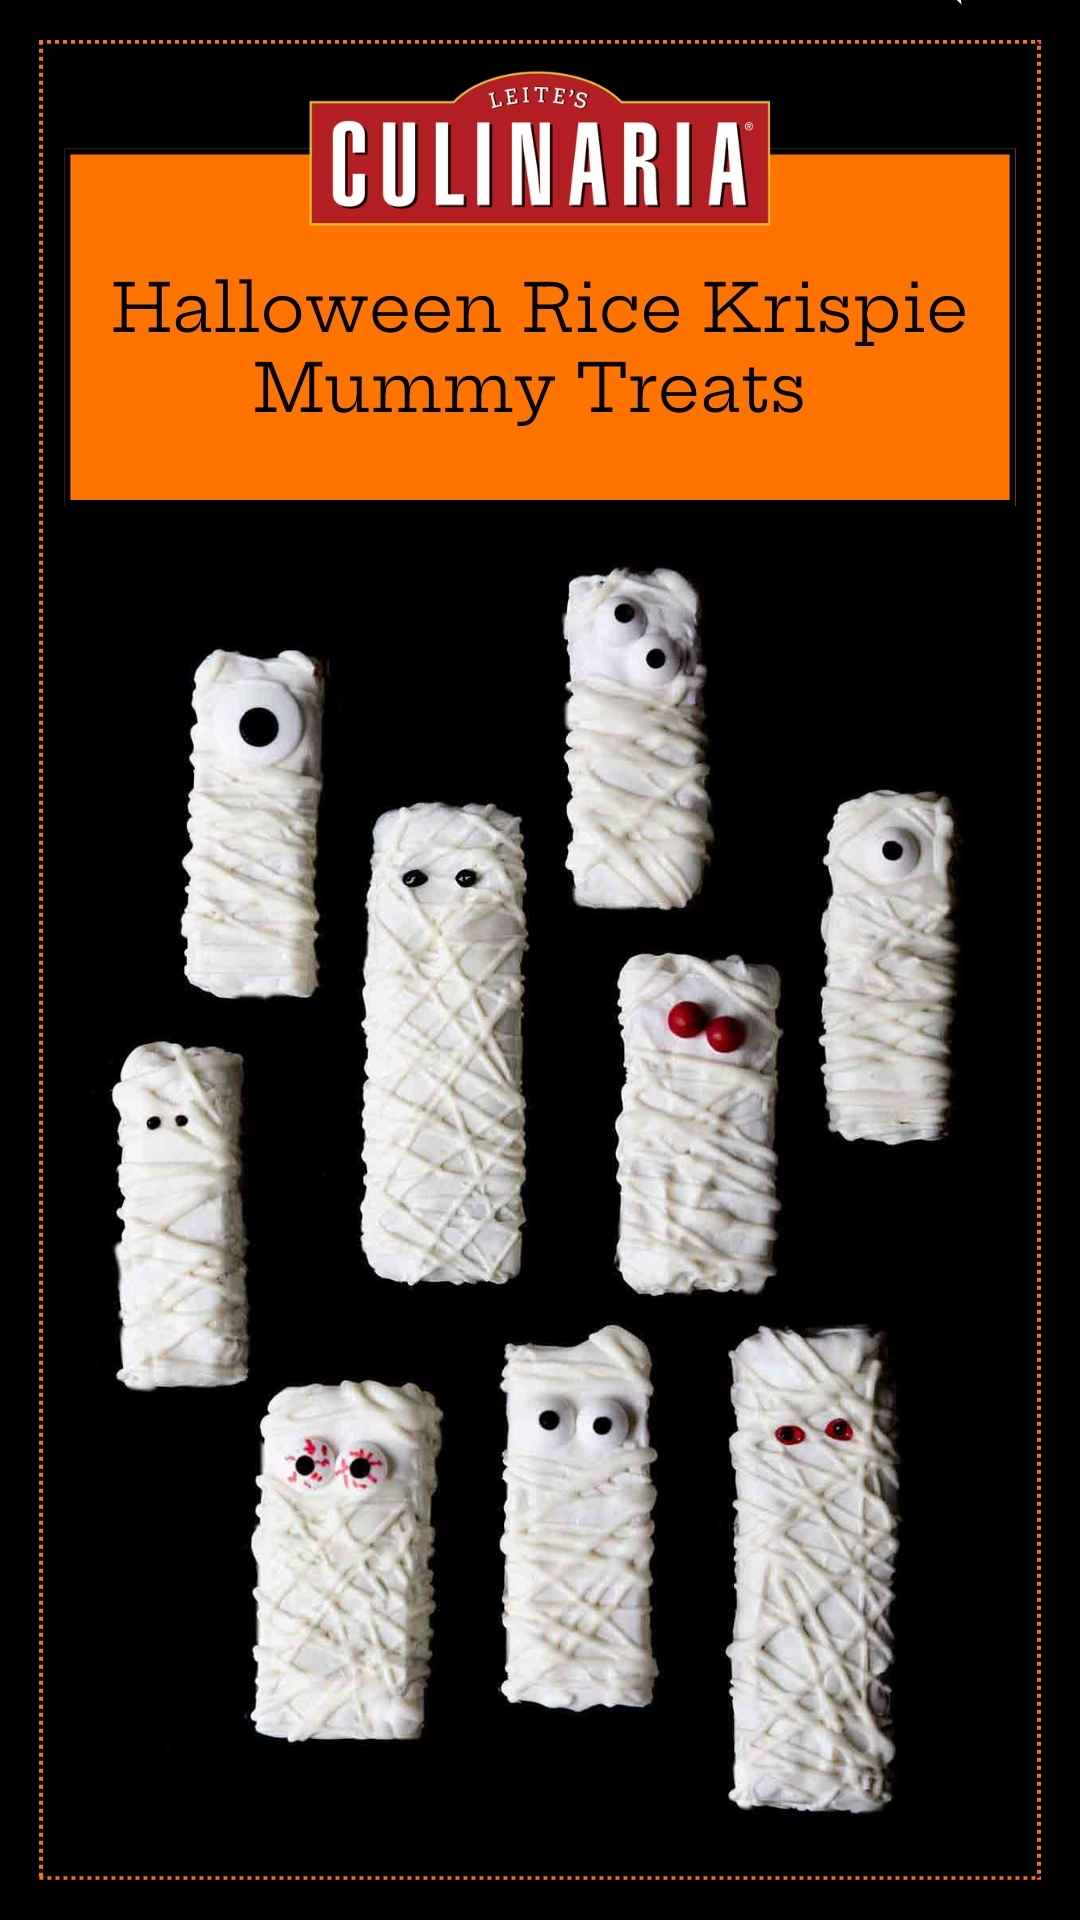
- What it is: Plain ol’ Rice Krispies Treats get a spooky makeover, dipped in melted white chocolate and crisscrossed with ribbons of chocolate “bandages” for a ghoulish mummy look.
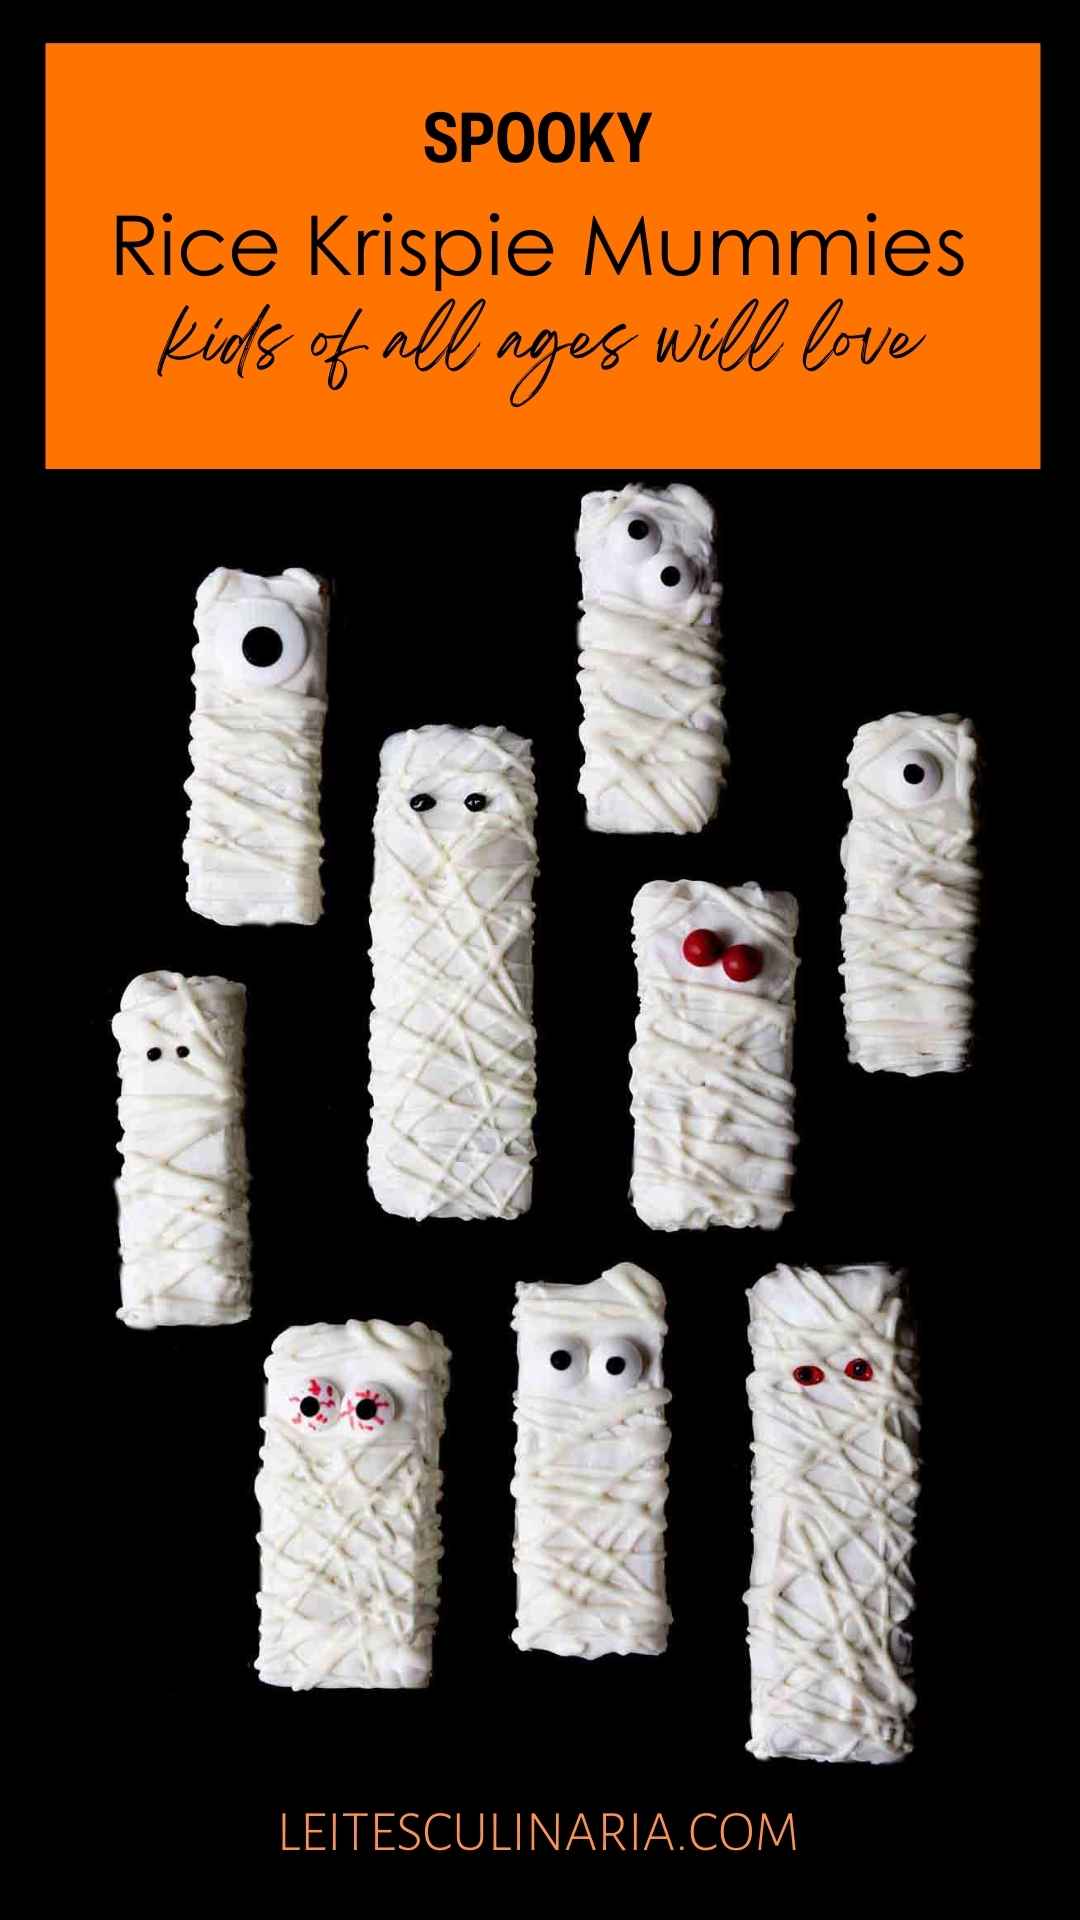
- Why you’ll love it: This is a no-bake, showstopper Halloween treat that’s incredibly quick to assemble, perfect for parties or a fast, fun activity with kids.
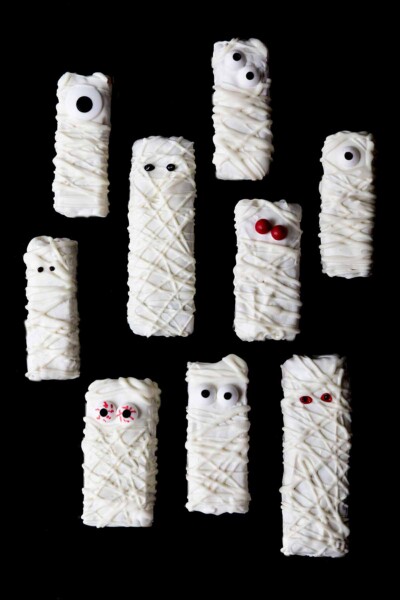
- How to make it: Melt white chocolate, dip the treats to coat them, add candy eyes, then drizzle with the remaining chocolate to form criss-crossed mummy wrappings. Finish with red and black piping gel for a bloodshot eye look.

Jump To
Some of us just love Halloween. And some of us also love chocolate. When the two intersect, all of our childhood dreams come true. This quick Halloween recipe for spooked mummies is easy to make and doesn’t require a lot of ingredients. And they’re pretty darn adorable, too. Our two littlest grandnephews love them!
Your Rice Krispies Mummy Treats Questions, Answered
No microwave? No problem. Some of us still haven’t surrendered the counter space, but you can melt white chocolate without one. White chocolate melts at a lower temperature than regular chocolate, so it needs a gentler touch—110ºF is all it takes.
A double boiler is the way to go. It’s not as fast as a microwave, but it gets the job done. Heat a pan of water over low heat until just simmering. Set a heatproof bowl on top. Chop the chocolate for faster melting and stir with a bone-dry spatula. (Moisture is an enemy here.) The gentle heat will keep your chocolate melted long enough for dipping.
Yes. These ghoulish Halloween Rice Krispies treats can be made and stored at room temperature in an airtight container for up to 1 week. They can be frozen for up to 3 months.
Want more spooky treats that kids will love at their Halloween parties? Try these spider web-chocolate-covered apple slices. Wash it all down with butterscotch beer. For more haunted party ideas, check out my ultimate spooky guide to Halloween.
One fun way to serve these is to create a haunted crypt by sprinkling cocoa powder in the bottom of a shoe box, and piling these dastardly mummies on top. Adding little figurines of cats (they were worshipped in ancient Egypt) or small chests or tiny urns will up the spooky ante. [Insert creepy laugh here!]
Write a review
If you make this recipe, or any dish on LC, consider leaving a review, a star rating, and your best photo in the comments below. I love hearing from you.–David
Spooky Halloween Mummy Treats Kids Will Love
Ingredients
- 12 small store-bought or homemade Rice Krispies treats cut into rectangles or granola bars
- 3 cups white chocolate chips
- Mild vegetable oil, if needed to thin the chocolate
- Eyeball candy, sugar pearls, or tiny candy discs
- Red edible piping gel or icing , optional
- Black edible piping gel or icing
Instructions
- Dump the chocolate chips into a microwave-safe bowl and zap at 50 percent power (medium heat) for 90 seconds. Stir.
- Continue to microwave at 50 percent power in 20-second increments, stirring after each zap, until chocolate is melted and smooth.
☞ TESTER TIP: Depending on the quality of your white chocolate, you might need to thin it with a bit of oil. Slowly dribble in oil until you get a dipping consistency.
- Dip the Rice Krispie treats in the chocolate, taking care to coat the front and sides fully. (Their behinds don't need to be coated.)
- Place the treats, uncoated-side down, on a small baking sheet lined with parchment paper. If using candy eyes, sugar pearls, or candy discs, press them into the chocolate to set.
☞ TESTER TIP: If you find it awkward to dip the treats into the bowl of melted chocolate, transfer some of the chocolate to a small rectangular container to make dipping easier.
- Dip and coat the remaining treats. Slide the baking sheet in the refrigerator to cool until the chocolate is firm, 5 to 7 minutes.
- While the mummies are chilling out, spoon the remaining melted chocolate into a a resealable plastic bag or a small piping bag fitted with a small plain tip.
- Remove the mummies from the fridge. Snip off a tiny corner of the bag with scissors. Gently squeeze the bag to drizzle chocolate in zigzag patterns to create the mummy bandages wrap look.
- For a bloodshot look, squeeze two dots of red piping gel for eyes, then top with black piping gel.
- The mummies can be stored in an airtight container–away from tiny hands–for up to 1 week. (Um, yeah, good luck with that.)
Notes

An LC Original
View More Original RecipesExplore More with AI
Nutrition
Nutrition information is automatically calculated, so should only be used as an approximation.
Recipe Testers’ Reviews
Did you know only 68% of the recipes we test make it onto the site? This recipe survived our rigorous blind testing process by multiple home cooks. It earned the Leite’s Culinaria stamp of approval—and the testers’ reviews below prove it.

I found the recipe for these mummy Rice Krispies treats easy to follow and the Halloween treats were quick to make. The pink and white marshmallows made the finished treats nicely coloured and I thought the treats would look nice displayed in a cafe.
Once the mixture had cooled enough that the bars could be cut, I froze the resulting treats and left them to cover in white chocolate another day.
I used red food colouring to make the eyes bloodshot and I used bought black and white eyes for simplicity. I was able to coat 12 mummies with melted chocolate. The treats were very sweet and gooey, the centre bar had completely softened again after having been stored in the freezer.
When I bit into the bars some of the red food colouring got into the inside of the bar and this added to the ghoulish theme!
These Halloween Rice Krispies cereal treats are more arts and crafts than a typical recipe, so if you are one for perfection boooo-ware. I used the tried and true recipe off the back of the Rice Krispies box (regular or brown butter version), but use whichever you like best.
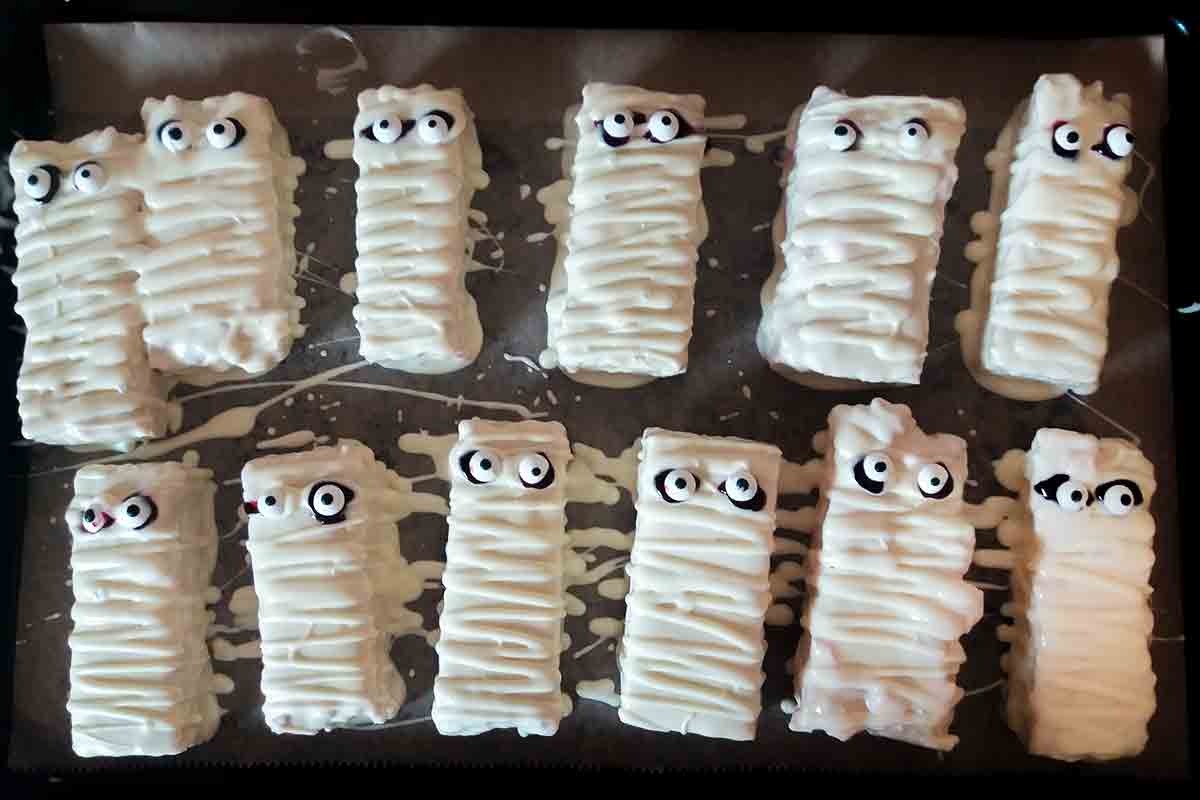
Before you assemble the mummies, give them a chance to cool off and harden a bit. For more fun and less stress, embrace uneven mummies, unless you plan to sell them (or package them) and need a more uniform look. I ended up with a little mummy family versus clones!
First, use as small a container for the melted chocolate as will fit the Krispies and your fingers. You want the melted-chocolate pool to be deep the entire time, this will help you get the even coating on the top and sides with minimal fuss. I had to double dip a few because I didn’t realize the chocolate pool wasn’t deep enough for the last few mummy cookies.


It impresses no one when I tell them I once had a job making rice krispie treats, but that is what I did, along with prepping vegetables and pulling 50 cent drafts of Leinenkugels at a little cafe in Madison, Wisconsin back in 1981. I preferred the peanut butter treats (just add 1/2 cup peanut butter to your basic recipe) and that is what I made as the base for these mummies, which I constructed with our visiting almost-5 year old. Pro tip for doing this project with under 5s–make the rice krispie treats ahead of time. The dipping and decorating were lots of fun. Instead of piping the “bandages” on the dipped bars, we just drizzled melted white chocolate from a spoon. The finished mummies looked great and tasted even better!
They’re adorable, Suzanne! Thank you so much for sharing those great suggestions.