Want to save this?
This classic apple pie from America’s Test Kitchen draws on several tactical brilliances that make it, in our esteem, the best old-fashioned, traditional apple pie we’ve ever experienced. The filling melds Granny Smith and sweet Mclntosh for a perfectly pronounced apple flavor with a texture that’s a little mushy but still with some nice texture. As for the crust, it’s buttery and flaky and crisp and everything else you’ve always wanted in a pie crust. Pretty much all your apple pie wishes come true in a single recipe.–Renee Schettler Rossi

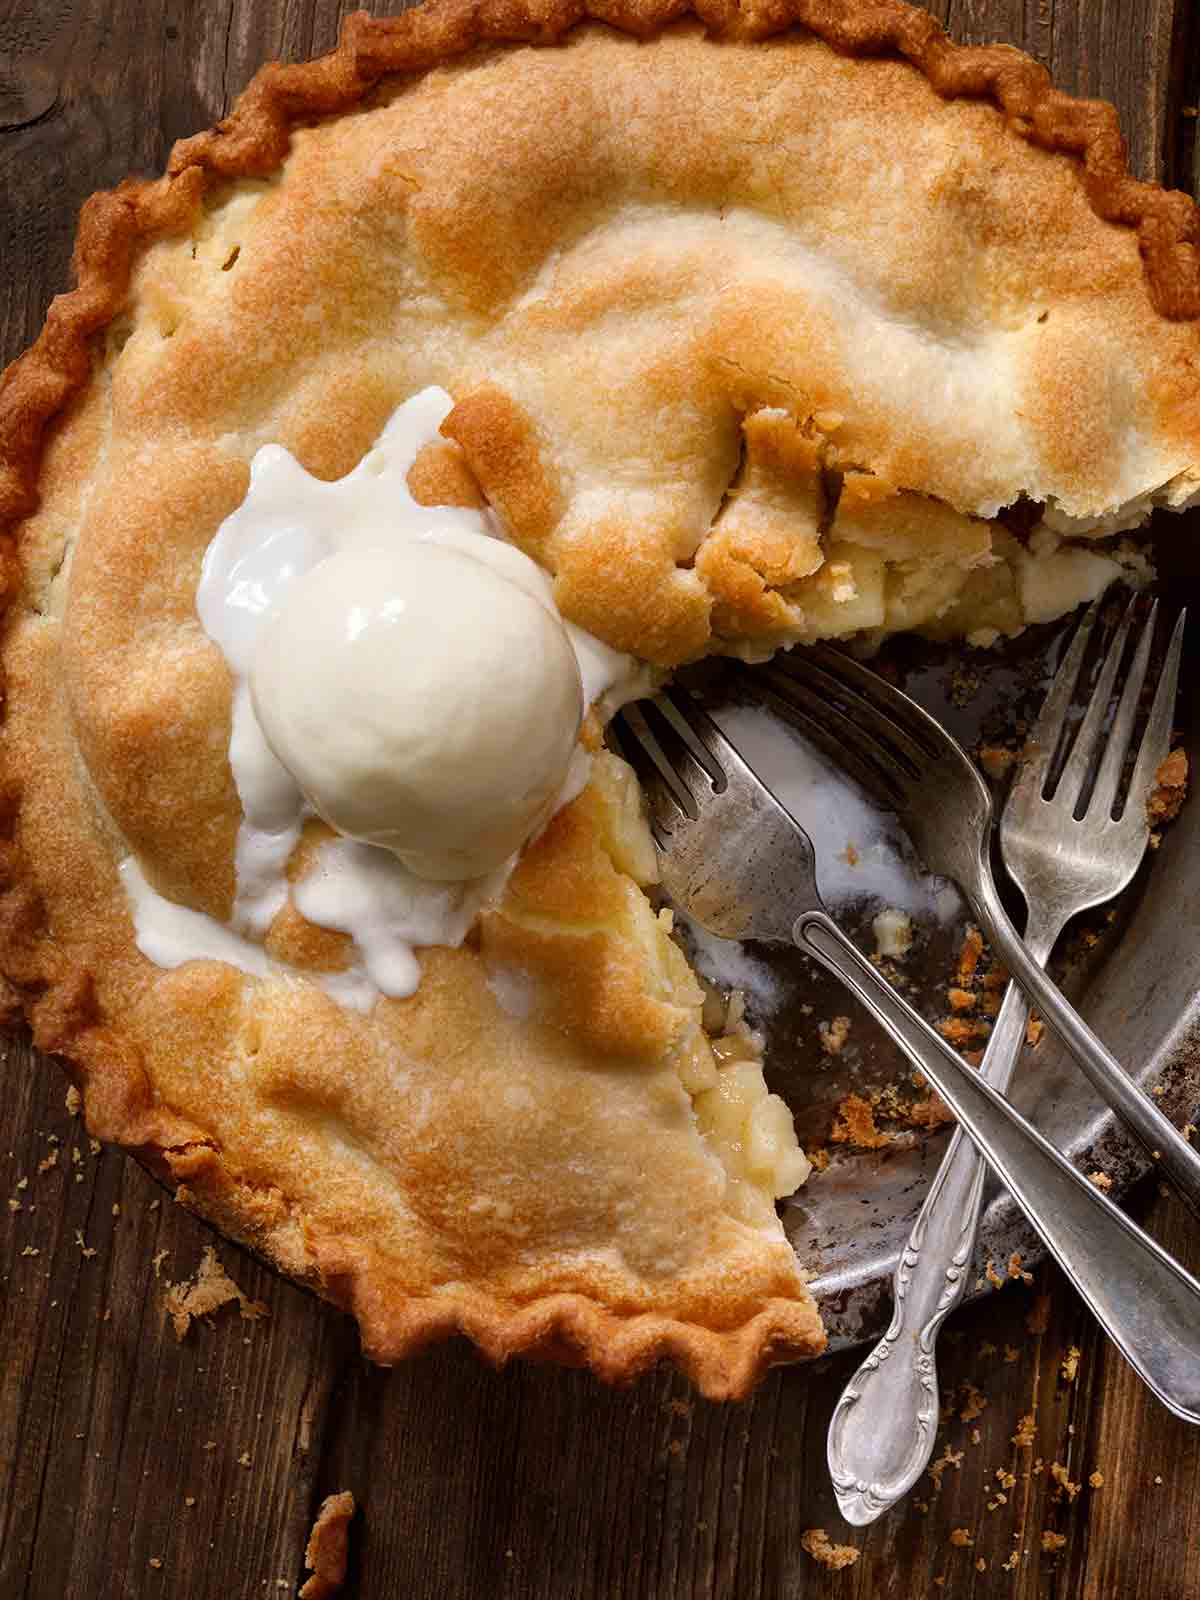
Classic Apple Pie
Ingredients
For the pie crust
- 2 1/2 cups all-purpose flour, plus extra for rolling out the dough
- 2 tablespoons granulated sugar
- 1 teaspoon salt
- 8 tablespoons vegetable shortening, cut into 1/2-inch (12-mm) pieces and chilled
- 12 tablespoons unsalted butter, cut into 1/4-inch (6-mm) pieces and chilled
- 6 to 8 tablespoons ice water
For the pie
- 2 pounds (4 to 6) McIntosh apples, peeled, cored, and slice 1/4-inch (6-mm) thick
- 1 1/2 pounds (3 to 4) Granny Smith apples, peeled, cored, and sliced 1/4-inch (6-mm) thick
- 3/4 cup plus 1 tablespoon granulated sugar
- 2 tablespoons all-purpose flour
- 1 tablespoon fresh lemon juice
- 1 teaspoon grated lemon zest
- 1/4 teaspoon salt
- 1/4 teaspoon grated nutmeg
- 1/2 teaspoon ground cinnamon
- 1 large egg white, lightly beaten
Instructions
Make the pie crust
- In a food processor, pulse the flour, sugar, and salt. Scatter the shortening over the top and pulse until the mixture has the texture of coarse sand, about 10 seconds. Scatter the butter pieces over the top and, using short pulses, process until it resembles coarse crumbs, about 10 pulses. Transfer to a bowl.
- Sprinkle 6 tablespoons ice water over the pie crust mixture. Stir and press the dough together, using a stiff rubber spatula, until the dough sticks together. If the dough doesn’t come together, stir in the remaining water, 1 tablespoon at a time, until it forms a dough.
- Divide the dough into 2 even portions and flatten each into a disk about 4 inches (10 cm) in diameter. Wrap each disk tightly in plastic wrap and refrigerate for 1 hour. (The dough can be refrigerated, wrapped tightly in plastic wrap, for up to 2 days or frozen for up to 2 months. Let the frozen dough thaw on the countertop until malleable before rolling.)
- Place the chilled dough on the counter for about 10 minutes to warm slightly before rolling and using.
Make the classic apple pie
- Preheat the oven to 500°F (260°C). Adjust an oven rack to the lowest position and place a rimmed baking sheet on the rack.
- On a lightly floured surface, roll 1 portion of dough into a 12-inch (30-cm) circle. Fold the dough into quarters, then place the dough’s pointy tip in the center of a 9-inch (23-cm) regular or deep dish glass pie plate. Gently unfold the dough and press it into the sides of the pan, leaving the portion that hangs over the edge of pie plate intact. Refrigerate while preparing the apple pie filling.
- In a bowl, combine the apples, 3/4 cup sugar, flour, lemon juice, lemon zest, salt, and spices.
- Spread the apple pie filling in the pie plate, mounding them slightly in the middle.
- Roll out the remaining portion pie crust to a 12-inch (30-cm) circle. Loosely roll the top crust around the rolling pin, then gently unroll it over the apples. Trim all but 1/2 inch (12 mm) dough overhanging the edge of the pie plate. Seal the edge by pressing the top and bottom crusts together with your fingertips, then tuck the edges underneath. Crimp the edges and make 4 or so small slits in the top crust. Brush the crust with the egg white and sprinkle with the remaining 1 tablespoon sugar.
- Place the pie on the heated baking sheet and lower the oven temperature to 425°F (220°C). Bake the pie until the top crust is golden, about 25 minutes.
- Rotate the baking sheet, reduce the oven temperature again to 375°F (190°C), and continue to bake until the juices are bubbling and the crust is deep golden brown, 30 to 35 minutes more.
- Transfer the pie to a wire rack and cool to room temperature before slicing and serving. The pie can be stored at room temperature, wrapped tightly in aluminum foil, for up to 2 days.

Explore More with AI
Nutrition
Nutrition information is automatically calculated, so should only be used as an approximation.
Recipe Testers’ Reviews
Did you know only 68% of the recipes we test make it onto the site? This recipe survived our rigorous blind testing process by multiple home cooks. It earned the Leite’s Culinaria stamp of approval—and the testers’ reviews below prove it.
I’m in love with this classic apple pie recipe, mostly because it tells you why you’re using the variety of apples you’re using. A lot of the time I’ll come across an apple pie recipe that just lists the apples, but there’s no accompanying note explaining the flavors or results. The combination of McIntosh and Granny Smith produced a result exactly as the recipe states: Tart and sweet.
I did take David’s advice in the comment below to add more flour (1 extra tablespoon) so the pie wouldn’t end up too juicy. I also didn’t have that air gap between the pie crust and the apple mixture. The lemon juice wakes up the apples’ flavor, though next time I might add a tad bit less, as I could actually taste the lemon instead of the effects of it.
Overall, this is a wonderful, solid recipe.

I think I just found my new favorite apple pie recipe.
Apple pie recipes are literally a dime a dozen so I didn’t go into this one with very high expectations. But we had just picked a bunch of apples so it seemed right. Well, it turned out to be the best pie crust I’ve ever made. Pie crust can be tricky and I wasn’t sure how this one was going to turn out even as I popped the pie in the oven. But wow. Flaky, buttery, crispy. It checked all the boxes.
The recipe says to blend up the flour, sugar and salt in a food processor, then add the shortening, blend that up and then add the butter and blend that up. Well, my food processor isn’t big enough for all that so I had to hand mix in the butter. Having the guidance from the recipe that the dough should look like coarse crumbs helped but I wasn’t sure I’d gotten it down. No problem. The 6 tablespoons ice water to bring the dough together was just enough and I was skeptical about that, too. Working with pie dough can be tricky and this recipe was no different, but if you take your time and be patient, it will work out.
The other nice thing about this recipe is the volume of apples. Three-and-a-half pounds of apples seemed like almost too much, but they produced a really nice looking pie (both pre and post-cut) and they didn’t lead to the bottom of the crust being soggy. The lemon was a perfect accent to the sweetness of the apples.
The first 25 minutes of baking was accurate to get the crust golden. The second half, at the lower temperature, took just 25 minutes for the golden crust to become deep golden brown.

We couldn’t stop eating it. The pie crust is soft but crisp and the apples, with different acidities and textures, create a perfect balance to a delicious dessert. A great recipe for those who think they can’t bake a pie from scratch. Easy to prepare!

This classic apple pie is sooo good. I love the crust. It does get a slight soggy bottom (at least for me), but honestly, it’s STILL good. Flaky and melt-in-your-mouth! And the apple filling is just so lovely—the lemony tang and sweet warmth of cinnamon and nutmeg are just right together, and the apples’ texture is ideal. A raging success!
I used coconut oil as my vegetable shortening. I did not need any extra water to bring the dough together, 1/4 cup worked for me.


I love this pie! The crust is amazing and the filling is perfect. I have made the original twice and tried all the variations from the cookbook; the original is our favorite. I love this cookbook and bake and cook from it almost every day!
I agree, Sonya. What’s not to like here?
What size pie pan should I use?
Excellent question, M. As with most pie recipes, you have a little latitude regarding the exact size of the pie plate. A 9- or 10-inch pie plate will be just dandy. Happy Thanksgiving!
Thank you for such a prompt reply! Happy Thanksgiving!
M. Our pleasure. Happy Turkey Day!
The pie was just devoured from its 10-inch pan with an extra half tablespoon of flour mixed in with the apples to keep things together. The consistency of the filling was perfect, the upper crust was flaky, and the bottom crust was soft but not soggy. After reading a few tips on how to get rid of the air gap between the top crust and the apples that had affected my previous apple pie attempts, I let the apples sit in the fridge for a while to release their juices before putting them in the shell, sliced them thin (as this recipe indicates) and packed them tightly. Then I poured the apple juices over them, and baked as directed. The best part was the lemon flavor. Perfect!
Wonderful, M.! I am dancing my happy pie jig for you! Can’t wait to hear what recipe from the site you try next…
How can I avoid the big air gap that happens when the pie cooks? The top and bottom crusts are fine but the apples cook down and leave a huge gap of emptiness in between the apples and the top crust
Hi Chris, your culprit may be one of two things: the apples that you use and too much steam inside your pie. Be sure that you use baking apples as some varieties may cook down too much, and try cutting a couple of vent holes in the top crust to allow the steam to release. Hope this helps!
Thanks, Beth. I am using Granny Smith apples, which have been evenly sliced 1/4″ thick. I lay them in the pie very closely packed, and carefully like a tart, to keep as much air out of the pie. I also press down carefully before I lay the crust on top, and I try to take as many air pockets out before I seal the pie edges. I use a pie bird so there is a steam vent in the center of the top crust, as well as 4 more 1″ slits that I cut in the upper crust for more ventilation. After all that, I still get the big air gap—it’s like the pie crust bakes in the shape that I put it into the oven at, but the apples below it shrink, and the top pie crust doesn’t “lower” to meet the shape of the cooked apples.
Chris, I make apple pie all the time for my husband, using all Granny Smith apples just like you, and I encounter the exact same trickiness. One thing I’ve tried which seems to help is not just tossing the apples with sugar and spice and turning them into the pie crust, but letting the apples really macerate in this mixture until all the juices exude. This can be several hours or even overnight. Because the apples have already given up almost all their moisture, I find they collapse much less during baking. Be warned, however, the spice mixture is more noticeable being as it’s sorta steeped the apples through and through. I hope this helps….
Thanks so much Beth and Renee! I will try all your suggestions!
Happy Thanksgiving, Chris!