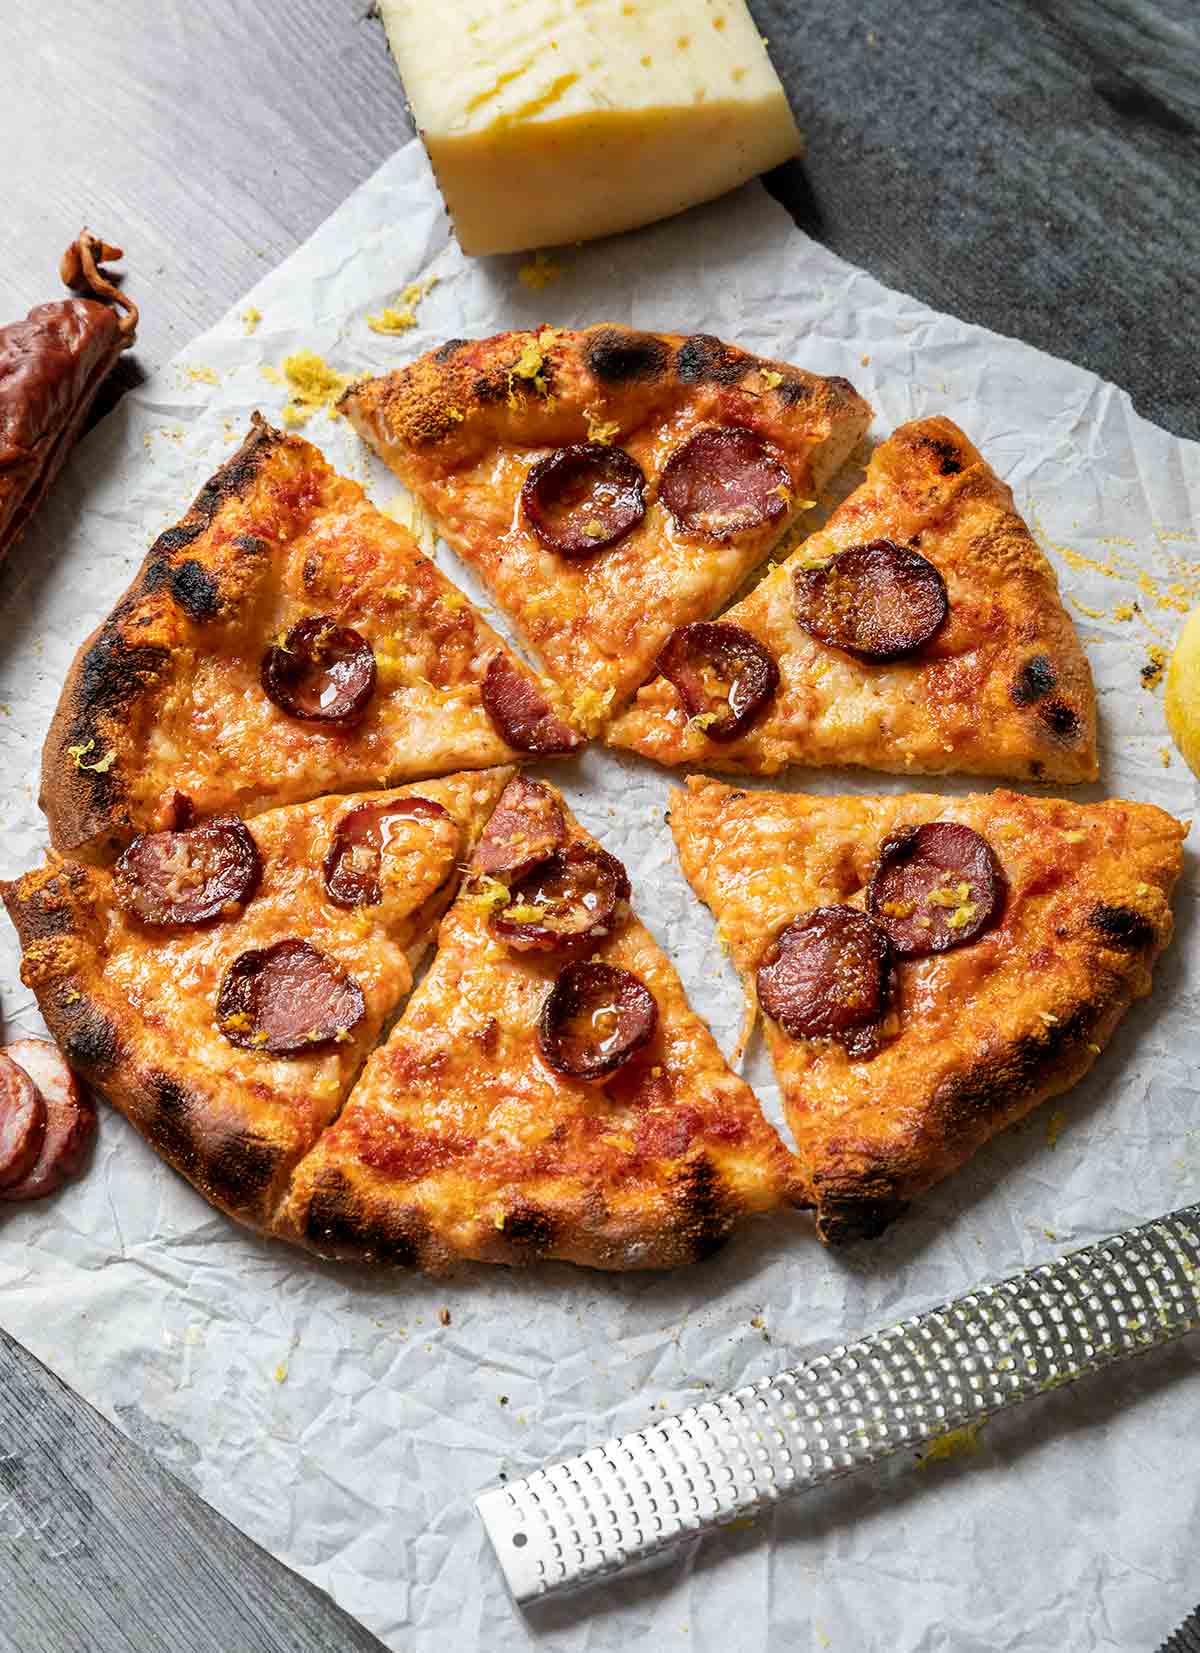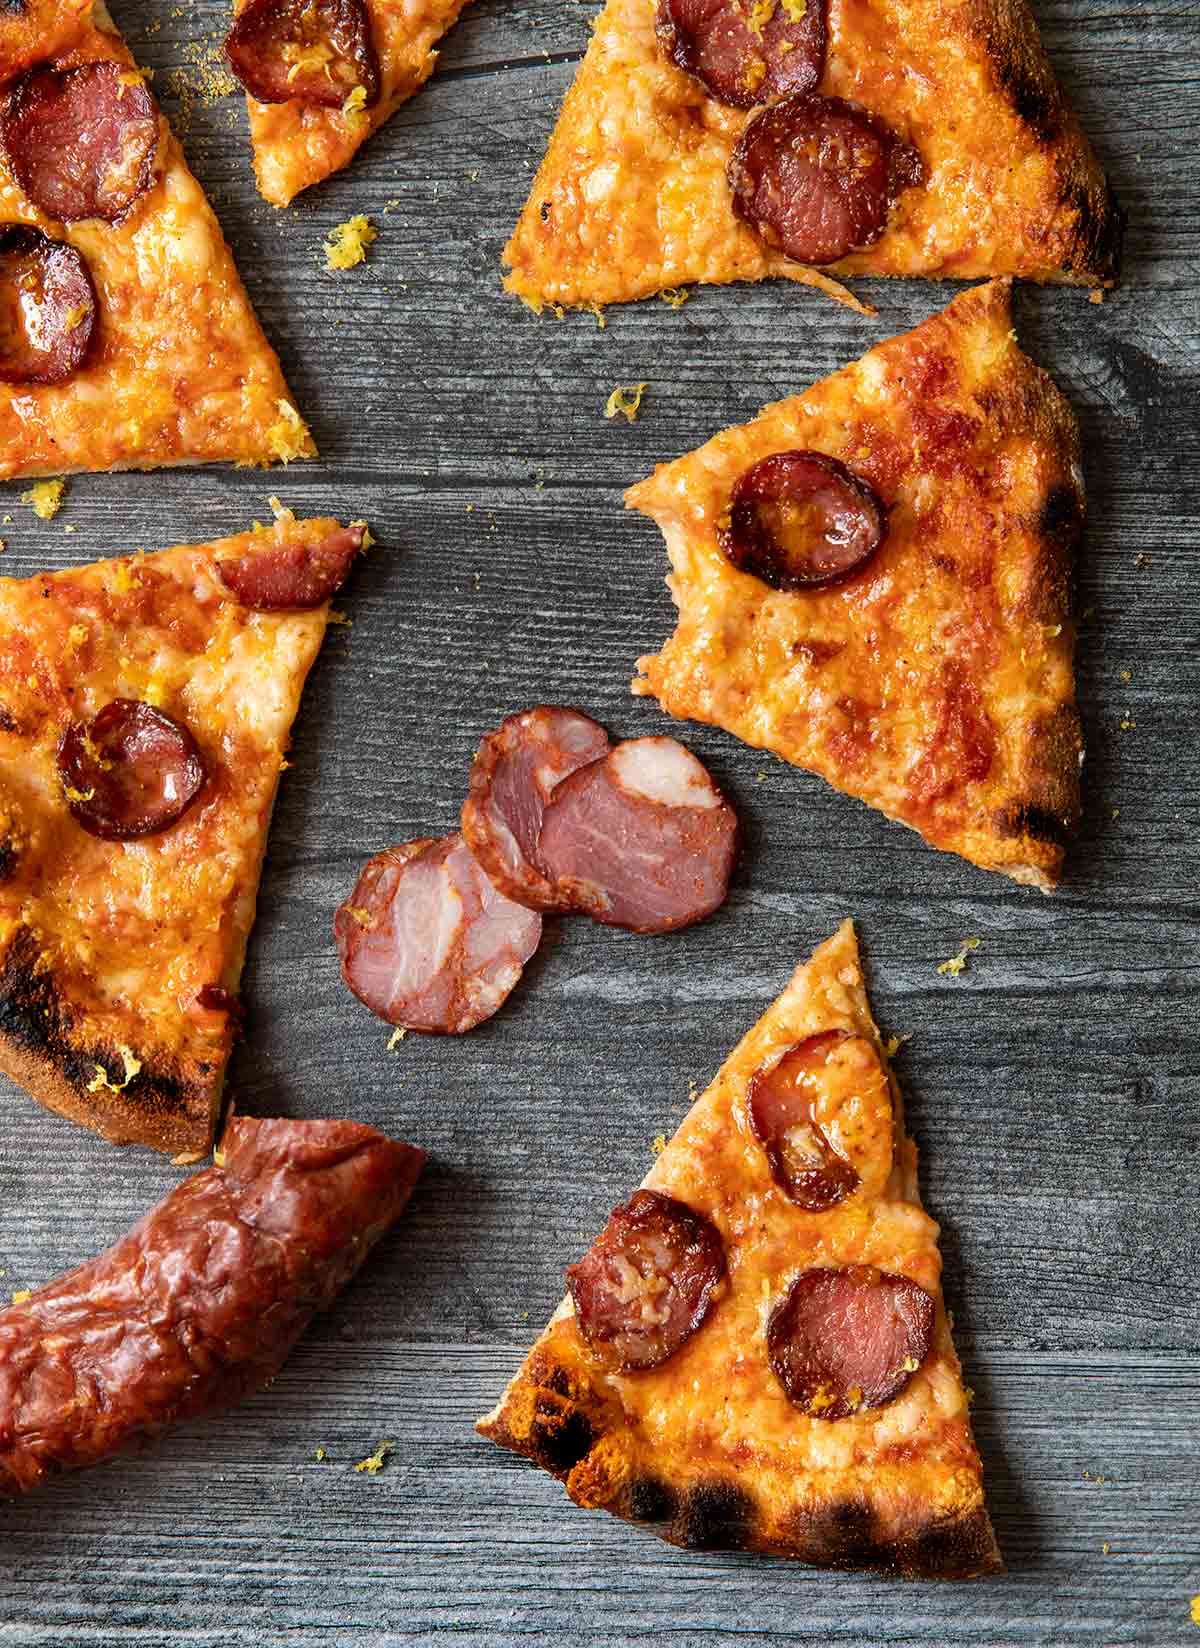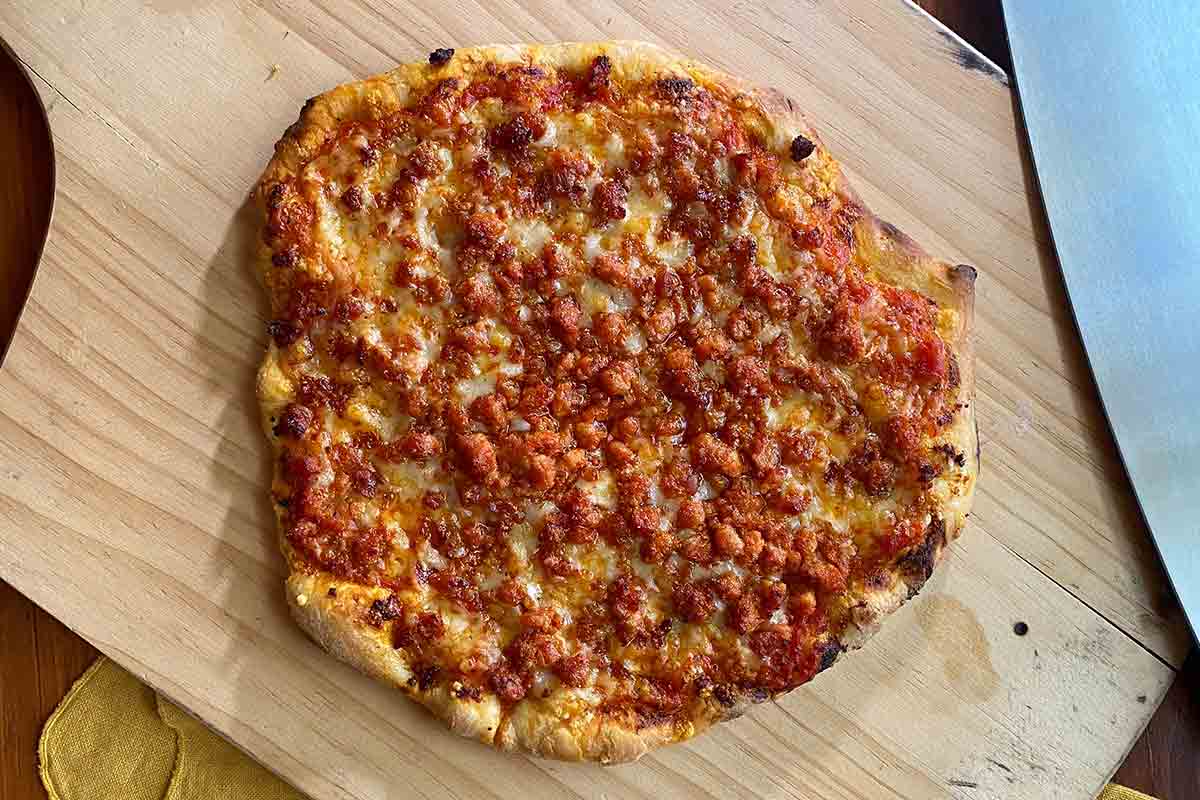
I have a confession to make. I’ve never, ever made a pizza before this summer. Homemade pizza just seemed daunting. Not that it’s difficult to make, it just didn’t seem worth it. How could I possibly get the same flavor and quality as my local pizzeria?
Hoo-boy, was I wrong! And damn if I’m not making pizza all the time now. Granted, my new Ooni Karu 16 pizza oven makes turning out a char-blistered pie far easier than I expected. But fear not, pizza lovers, this recipe, which took me most of the summer to perfect, can be made in a traditional kitchen oven.
I tried about a dozen pizza doughs, but this one (adapted from a recipe by Joshua Weissman) is killer. It’s supple and a pleasure to work with. And it’s foolproof so that even a beginner (which I was a mere two months ago) can turn out a professional pizza.
I offer the option of a jarred sauce in the recipe. “Quelle horreur!” you say as you clutch your pearls!
Why did I do it? Well, the last thing I wanted to do was add another component to this dish. I found when I wanted pizza, I didn’t want to make a sauce, too. But, of course, if you insist, you can make the Classic Ooni Pizza Sauce recipe–or use ours–and freeze it.–David Leite

Portuguese Pizza FAQs
I’m glad you asked. Ooni pizza ovens are wood-fired ovens that make the most amazing pizza in a matter of minutes. Truly. I’ve made pizzas in just a minute! Sixty seconds.
Most of the ovens are easily portable (and affordable), so that means you can have freshly made pizza at the beach, on a picnic, and even–wait for it–at a drive-in movie. Of course, if you’re not particularly peripatetic, then you can do like me and set it up in your backyard. Some of the larger models can be fitted for propane as well as wood.
Do I recommend getting one? I can’t recommend it enough. It completely changed our summertime cooking and menus. And to give you an idea of how authentic, smoky-flavored Ooni pizzas are, our friend Matty, an 80-year-old dyed-in-the-wool Bronx Italian, said they were some of the best pies he’s ever had. Fuggetaboutit.
The ideal temperature is 750°F (400°C), according to Ooni. If you’re an experienced wood-fired pizza maker, 750°F is for you. If you’re a beginner pizza maker, I’ve adjusted this recipe to 600°F to 650°F (315°C to 345°C). The lower temperatures give you a bit more time to maneuver the pizza so it doesn’t burn. If your pizza oven doesn’t have a built-in thermometer, an infrared thermometer is crucial.
If you’re using an Ooni pizza oven or a similar brand, I absolutely recommend using “00” flour. There are two reasons: it’s finely ground and it has a lower gluten content than most regular flours. What does this mean for your pizza? A substantial dough that can hold its own while being cooked quickly at high heat, and a finished product with a delicate but chewy, crispy crust.
For what it’s worth, I attempted to use another dough recipe containing all-purpose flour in my Ooni. The results were sad. The dough was far looser, and the pizza folded on itself while being turned, creating a bit of a burned calzone.
Edible? Well, kind of. Lovely? Not really. While some doughs are perfectly suited for a conventional oven, not all do well in the Ooni. Stick with the “00” flour for both types of ovens. You’ll thank me later.
Cornmeal will add some crispness and texture to the bottom of your crust. But more importantly, it will help your pizza slide smoothly off your pizza peel and into the hot oven more easily.
It sure can be. Once you finish step 9, lightly oil plastic wrap, cover the dough balls tightly, and slip them into a zip-top bag. Store the dough in the fridge for up to a week. When you get a hankering for pizza, unwrap the dough and continue with step 10.
Check out some of your local butcher shops or higher-end supermarket butcher or deli counters. If you strike out, you can order online from Portugalia Marketplace, my favorite Portuguese store.


Ooni Pizza with Portuguese Sausage and Cheese
Equipment
- Ooni pizza oven (optional)
Ingredients
For the pizza dough
- 1 3/4 cup water (about 100°F or 38°C)
- 1 teaspoon active dry yeast
- 5 cups Tipo "00" flour
- 1 tablespoon table salt
- Olive oil, for the bowl
- Cornmeal, for dusting
For the pizza
- 1 cup store-bought or homemade pizza sauce (I prefer Rao's)
- 12 to 16 ounces firm sheep cheese, such as Portuguese Saloio Regional or Spanish Manchego, shredded
- 12 ounces Portuguese chouriço or linguiça (pork sausage) or Spanish chorizo, thinly sliced or ground
- 1 lemon, preferably organic
Instructions
Make the pizza dough
- Stir the water and yeast together in a small bowl and let stand for 5 minutes until frothy.
- Meanwhile, whisk the flour and salt in a large bowl.
- Pour the water-yeast mixture into the flour and stir until a loose, shaggy dough forms. It’ll look ugly. It’s ok.
- Cover the bowl with plastic wrap and set aside for 20 minutes.
- Transfer the dough to a work surface and knead using the slap-and-fold technique for 1 to 2 minutes or until the dough starts to turn smooth.
- Return the dough to the bowl, cover with plastic wrap, and rest for 15 minutes.
- Knead the dough by slapping and folding for 2 minutes. Shape the dough into a taut ball by cupping it and dragging it across the surface.
- Lightly grease the bowl with olive oil, nestle the dough inside, turning the dough ball over, so it’s coated in oil. Cover with plastic again. Slide the bowl into the fridge overnight or at least 8 hours.
- The next day, punch down the dough. Divide it into 4 pieces (260 g each). Flatten each piece into a circle, and fold all 4 sides–top, bottom, left, right–into the middle. Turn the dough ball over so the seam side is down. Cup the ball in your hand, and roll it on the work surface until taut. Repeat with the remaining dough.
- Sprinkle a rimmed baking sheet with cornmeal, place the dough balls on top, and cover with a kitchen towel. Let rise for 2 to 3 hours, depending on how hot your kitchen is.
Make the pizza in a pizza oven
- Prepare the wood-burning oven for 600°F to 650°F (315°C to 345°C) cooking.
☞ TESTER TIP: If you're a pro at cooking pizzas in a wood-burning, go ahead and heat the oven to 750°F (400°C). The pizza will cook between 1 to 1 1/2 minutes.
- Sprinkle a pizza peel with cornmeal and transfer a dough ball to the peel.
- Press down from the center to the edges, making a 12-inch dough circle. Occasionally, pull up the dough to ensure it isn’t sticking.
- If you like a puffed, thicker crust, stop pressing 1 inch from the edge. If you like a thinner, flatter crust, press all the way to the edge.
- Spread 3 or 4 tablespoons of sauce over the dough. Top with 4 ounces of cheese and dot with 1/4 of the sausage.
- Slip the pizza into the oven. Watch it CAREFULLY. As the end nearest the fire starts to blister and char, slip the peel under the pie, pull it out, turn it so the near end is at the fire, and finish cooking.
- Using the pizza peel, move the pie to a large cutting board or pizza pan. Let it cool for 5 to 10 minutes, then cut. Zest some lemon over the pizza and serve
- Repeat with the remaining dough, sauce, and cheese to make the remaining three pizzas.
Make the pizza in a traditional oven
- While the dough balls are resting (step 10), position an oven rack in the upper third of the oven and slide a pizza stone on it. Crank the heat to 550°F (288°C) for 1 hour.
- Continue with steps 12 to 15.
- Slide the pizza onto the preheated pizza stone and bake until the crust is well browned and the cheese is bubbling and browned in spots, 10 to 12 minutes.
- Using the pizza peel, move the pie to a large cutting board or pizza pan. Let it cool for 5 to 10 minutes, then cut. Zest some lemon over the pizza and serve.
- Repeat with the remaining dough, sauce, and cheese to make the remaining three pizzas.

An LC Original
View More Original RecipesExplore More with AI
Nutrition
Nutrition information is automatically calculated, so should only be used as an approximation.
Recipe Testers’ Reviews
Did you know only 68% of the recipes we test make it onto the site? This recipe survived our rigorous blind testing process by multiple home cooks. It earned the Leite’s Culinaria stamp of approval—and the testers’ reviews below prove it.
I’m always excited to stumble upon a recipe for a pizza we haven’t tried! I love our wood-burning Ooni pizza oven, but we get in a rut with the same old toppings, time after time. This Portuguese pizza was a welcomed twist on classic wood-fired pizza.

I will say that my biggest hurdle with wood-fired pizzas is maintaining the fire so the oven temperature remains consistent. This pizza fires at 600°F, so it’s a bit more forgiving than the high temperatures that give you very little room for error.
The dough was very easy to work with, unlike some other doughs I’ve tried that are so sticky they won’t slide off the peel. Speaking of the dough, trust the process. It is ugly and shaggy at first, but it comes together, I promise – resist the urge to add water. I ended up bulk fermenting my dough for about 20 hours in the fridge, it doubled beautifully.
As for my toppings, I went with the creamy and nutty Manchego cheese, and wasn’t at all sorry. I ended up being able to find ground Portuguese chouriço (seasoned with garlic and paprika), that worked well. I definitely recommend hunting down chouriço in any form, if you can. The flavor profile of the genuine Portuguese sausage takes the pie to a whole new level.
I typically make my own sauce, but for this pie, I went with the recommended Rao’s pizza sauce. It was a lovely sauce with a hint of sweetness that we enjoyed. As for the lemon, I grated a bit over the pizzas as soon as they came out of the oven for a bright hint of acid.
The pizza is successful and scrumptious as is, but my family craves the heat. I had some Portuguese piri piri hot sauce on hand, so we drizzled it over the top right before eating, which added the kick we were looking for.
This was one of my most successful wood-fired pizza sessions. I credit the dough. This will be my go-to dough recipe from here on out. And the Portuguese toppings are absolutely being placed in our regular pizza-topping rotation, no doubt!
This Portuguese pizza with chouriço and cheese was a huge hit with my family of 4, and we were all grateful for the ample leftovers the recipe provided. The Ooni pizza oven is at the top of my wish list but, since it’s still a wish, I made the oven version of the pizza, which baked up nicely in just 10 minutes.
The dough was easy to make and work with. I’ll be using it as my go-to pizza dough recipe from now on. I used store-bought sauce, thinly sliced Spanish chorizo, and manchego cheese as my toppings.
The recipe directions worked perfectly as written, and the finished pizzas delivered on taste and texture. We loved the balance of spicy Portuguese sausage and nutty cheese. I’ll be making this again and again.
I made this Portuguese pizza with sausage in a gas oven on a pizza stone. I let the dough rise for 12 hours in the fridge and two hours on the countertop. After taking this pizza out of the oven, the first words spoken were, “this is really good.” And yes it is!
The pizza dough was simple and came together in a few easy steps and the long rise time ensured a flavourful dough that I will make again and again. The dough turned out an excellent crust with a chewy bite that has you diving in for another.
The kick from the chouriço gives the pizza a nice spicy bite that blends well with the earthy, tangy Manchego cheese. We loved the bright zip of the lemon zest on top that brings a lovely freshness to the pizza. Served it with a red wine. We will definitely be adding this recipe to our regular pizza nights.
We pretty much followed this Portuguese Ooni pizza recipe exactly as written.
The slap and fold technique is a great way to make high-hydration doughs more manageable without adding more flour. You just need to make sure to use a very clean flat surface. No need for any extra flour. It may stick at first but just keep going and it will fairly quickly come together.
We used the quick pizza sauce recipe here. After I made it, I found myself coming back to it again and again for a small spoonful, not to make any adjustments to the flavor, just to taste. Mmmmmm.
For the pizzas, I used Manchego and two different types of chorizo, a semi-dry that I cut into small coins, and a fresh one from our local deli that I had thinly sliced into large discs. For the first two pizzas, I used the exact quantities of meat and cheese recommended. The family loved it, especially my daughter, who had just returned from Barcelona.
For the last two pizzas, I reduced the meat and cheese by about 30% because that is more in line with my personal taste and they were delicious. The semi-dry chorizo tended to dominate the other flavors, so the next time I make this I will use the fresh chorizo. I will also only make two pizzas with the Manchego chorizo topping and make something different with the other two.


I am in love with this dough. Being Christmas, we had a full house for the weekend, so pizza night was a no-brainer. This recipe for the dough makes approximately 8/9 individual-size pies. If you haven’t tried peanut butter, marinara, mozzarella, and pepperoni pizza, you are missing out. I finally made the Portuguese pizza. I used linguiça, and it was off the hook with that lemon zest. Everyone loved it. Another exceptional recipe.
I’m with you, Bbqgoddess. This is my go-to pizza dough. Turns out perfect every time. Thanks so much for taking the time to comment.
When I was a kid (unless it was a Friday during Lent ?), we ordered pizza, and it was almost always linguiça pizza from a New Bedford, MA, pizzeria. I moved to Atlanta 15 years ago and started making my own pizza, and this one is a new family favorite! And if I’m being honest, it rivaled the Portuguese pizza I enjoyed in the ’90s. The crust was airy, bendable, and had a nice crunch, but the Manchego cheese… now THAT was a game changer!
David, you did it again! Thanks for bringing me back in time with this leveled-up recipe!
Kristy, nothing makes me happier than when a fellow Portuguese discovers new ways to enojy an old favorite. I’m so delighted you and your family devoured this. It’s a favorite of ours! Bom proveito!
We had pizza night with the neighbors last night. I wanted to try this dough recipe. When ordering the Tipo flour I also ordered an Italian high-active yeast. The yeast said to add directly to the flour….hmmm I was afraid, to say the least, but did just that. Thanks for the warning about the ugly dough. After the slapping, cupping, and resting, the dough was gorgeous and beautiful to work with, and everyone enjoyed the crust. Now off to order the Portuguese sausage so I can make this pizza! This will be my go-to dough recipe. Thank you!
Bbqgoddess, woot-woot! That sounds great. I’m glad the process worked for you. You can add yeast to the flour, I just prefer to let it bloom a bit. Please let me know how the Portuguese pizzas turn out.