I got the idea for this tart many years ago from Maury Rubin’s Book of Tarts, and it has become a favorite of Flour customers. In the book, Rubin offers myriad creative, unconventional fillings for tarts, including the idea of recreating the popular Milky Way candy bar in tart form. For the Flour version, I make a buttery caramel (which is a pretty amazing ice cream or dessert sauce in its own right) and layer it on a sweet tart shell. Then I pile on a mound of light, fluffy milk chocolate mousse that has a hint of coffee flavor to give it extra depth and to keep it from being too sweet. More caramel is drizzled on top, and a shower of milk chocolate curls finishes it off. Of course, the finished tart tastes far better than any candy bar!–Joanne Chang
Do I have to chill the tart overnight?
This luscious tart is worth not just the calories but the overnight restraint required for the mousse to set. Consider it an exercise in patience.
Want to save this?

Milky Way Tart
Ingredients
For the milk chocolate mousse
- 5 ounces milk chocolate, chopped
- 2 cups (1 pint) heavy cream
- 2 teaspoons instant coffee powder
- 1/8 teaspoon kosher salt
For the caramel filling
- 3/4 cup granulated sugar
- 1/3 cup water
- 3/4 cup heavy cream
- 2 tablespoons (1 oz) unsalted butter
- 1/4 teaspoon kosher salt
- 2 teaspoons vanilla extract
For the tart
- 1 baked and cooled 10-inch Pâte Sucrée tart shell
- 3 to 4 inch slab milk chocolate, at warm room temperature, for decorting
Instructions
Make the mousse
- Place the chocolate in a small heatproof bowl. In a medium saucepan, combine the cream and instant coffee powder and heat over medium-high heat until the mixture is scalded, which is when bubbles start to form around the edge of the pan but the cream isn’t boiling.
- Immediately pour the hot cream mixture over the chocolate and let stand for about 1 minute. Whisk gently until the chocolate is completely melted and the mixture is smooth.
- Strain through a fine-mesh sieve into a small container, stir in the salt, cover tightly, and refrigerate until it’s absolutely, completely chilled, at least 8 hours and up to 3 days. A few hours is not enough. (Because the cream has been heated, it will not whip properly unless it is very cold.)
Make the caramel filling
- Place the sugar in the bottom of a medium saucepan and slowly pour in the water. Stir gently to moisten the sugar. If any sugar crystals are clinging to the sides of the pan, brush them down with a pastry brush dipped in water. Place the pan over medium-high heat and leave it undisturbed until the mixture comes to a rolling boil. (You want to avoid crystallization of the syrup, which can happen if the pan is disturbed before the sugar starts to color.) Then continue to boil rapidly without moving the pan until the sugar syrup starts to caramelize. This will take 3 to 4 minutes: the sugar syrup will boil furiously; then as it thickens, it will boil more languidly; and then you will see some of the syrup starting to color and darken around the edge of the pan.
- When you see color in the pan, gently swirl it in a circular motion so the sugar caramelizes evenly. The syrup will start to turn golden brown, and then as you swirl the pan, the syrup will continue to get a bit darker and then darker still. To check the true color of the caramel, tilt the pan so you can see the syrup covering the bottom. This is the actual color of the caramel, and you want to keep cooking the caramel until this layer is a deep amber-brown. It takes just seconds for caramel to go from great to burnt, so be sure to tilt and check constantly.
- As soon as the caramel is ready, slowly add the cream and then reduce the heat to low. Be careful. The steam that rises when the cream hits the caramel is extremely hot. Let the caramel and cream sputter for a few seconds until the mixture settles down, and then whisk to mix in the cream. Turn the heat up to medium and whisk together the caramel and cream (the mixture will have hardened a bit) for 2 to 3 minutes, or until they come together. Whisk in the butter, salt, and vanilla. Remove from the heat, pour into an airtight heatproof container, and refrigerate for at least 4 hours and up to 1 week.
Assemble the tart
- Place the tart shell on a flat plate. Spread about 3/4 of the caramel filling evenly in the bottom of the tart shell.
☞ TESTER TIP: You’ll need to let the caramel warm slightly to room temperature before it’ll be ready to spread. Or you can simply microwave it at 50% power for about 15 seconds.
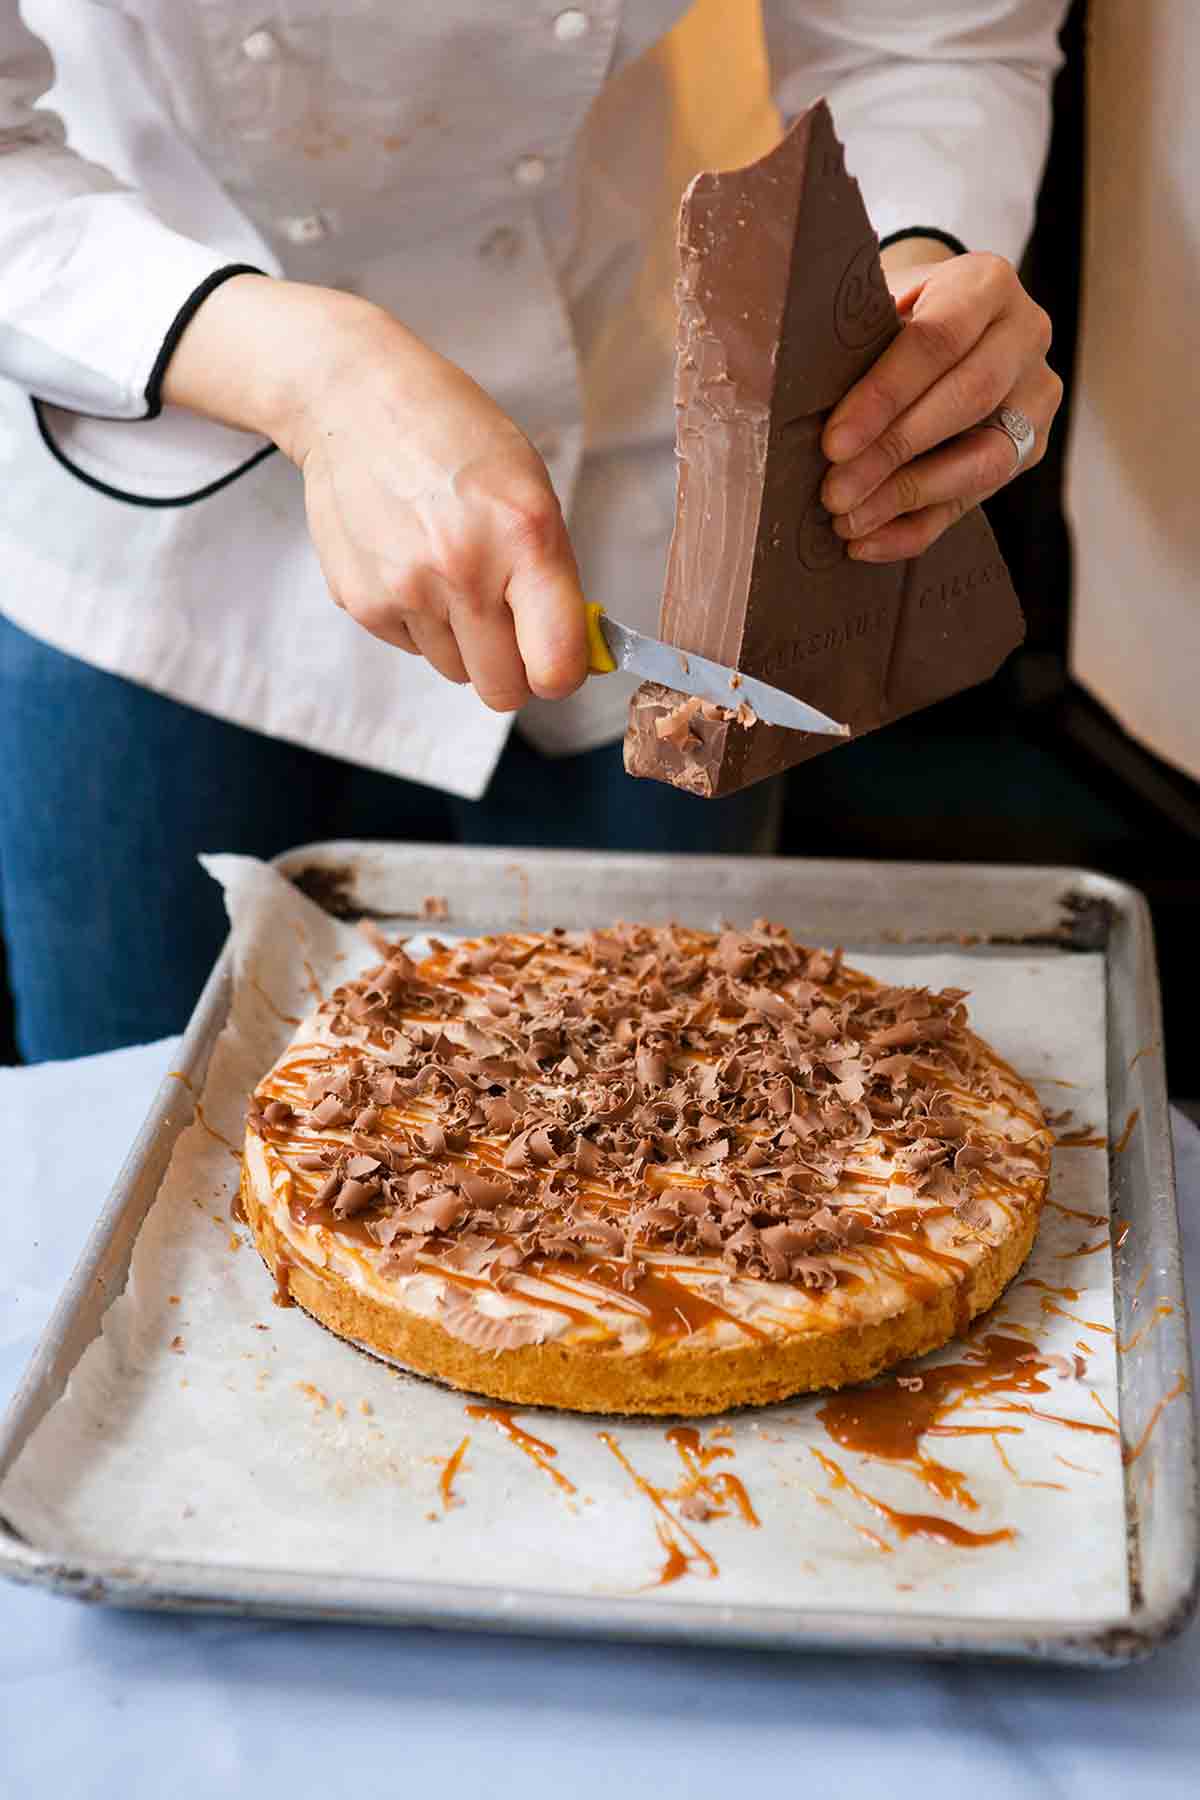
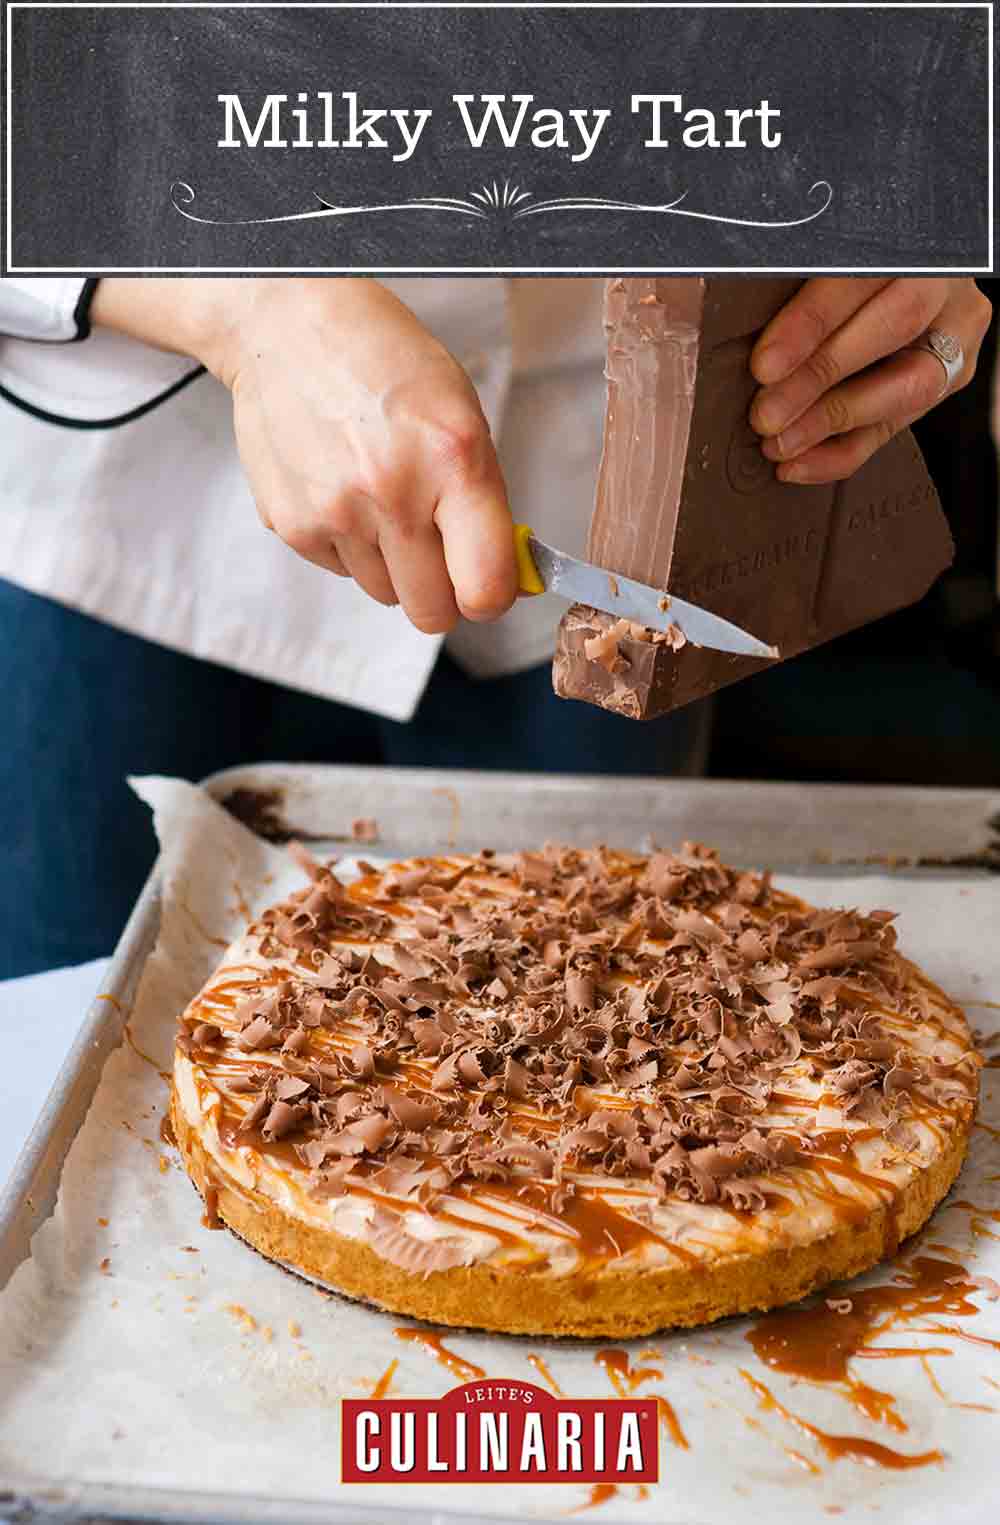
- Using a stand mixer fitted with the whip attachment, a hand-held mixer or a whisk, beat the mousse on medium speed until it holds soft peaks. Mound the mousse in the tart shell, and spread it evenly over the caramel filling. Drizzle the remaining 1/4 caramel filling in a crisscross pattern on top of the mousse. Using the back of a small knife or a vegetable peeler, shave curls from the milk chocolate slab. (Make sure the chocolate is slightly warm, or you’ll end up with splinters instead of curls.) Decorate the tart with the curls.
- Refrigerate the tart for at least 30 minutes before serving. (The tart can be stored in an airtight container in the refrigerator for up to 8 hours.)

Explore More with AI
Nutrition
Nutrition information is automatically calculated, so should only be used as an approximation.
Recipe Testers’ Reviews
Did you know only 68% of the recipes we test make it onto the site? This recipe survived our rigorous blind testing process by multiple home cooks. It earned the Leite’s Culinaria stamp of approval—and the testers’ reviews below prove it.
This tart delivers on its promise: it has all the flavors of a Milky Way, but amped up! It also presents well, as I got lots of “oohs” and “ahhs” from friends at work when I served it. The dessert is rich, but not dense—a little goes a long way, and it’s very satisfying. I served rather small slices, which was more than enough for 10 people.
You can’t really take the caramel out of the refrigerator and immediately spread it, so a quick zap in the microwave (about 15 seconds) will soften it enough to spread and drizzle.
I’ll not only make this tart again, but I’ll make the mousse on its own as well, as it (and the other two elements) can stand on its own quite well.
I remember as a kid the first bite of a Milky Way bar: its initial give when biting down on the chocolate shell, the stringy, chewy caramel ultimately giving way to a luxurious, pillowy nougat. While this recipe isn’t exactly the same experience, the overall taste (after setting up in the fridge overnight) sure came dang close to the real deal. I only wish that I had doubled the amount of caramel, as I’m a junkie for good caramel. I’d also sprinkle sea salt over the top of the tart for an added dimension.
Overall, I loved this recipe—it wasn’t too difficult, it called for regular ingredients, and it turned out simply delicious.
This was a phenomenal tart! Not only was it delicious, but it was also easy to bring all of the components together. I usually don’t like milk chocolate, but the bitterness that the instant coffee powder lent to the mousse balanced any cloying sweetness from the chocolate.
I’d suggest starting the recipe at least a day in advance, as most of the components need to chill thoroughly before assembly. Though the recipe calls for a 10-inch tart ring, it worked perfectly well for me in a 9 1/2-inch fluted tart pan. Finally, I used the pâte sucrée recipe in the Flour cookbook, which made a perfect sugar-cookie flavored crust. Next time, it would be fun to try a dark chocolate mousse, and perhaps add some nuts to the caramel base.


Oooooo! I have THE event to make this for next month. And I’ll have a whole month to work on making chocolate curls. It’s something I’ve never mastered before. …but maybe this time.
Can’t wait to give this a whirl or to see the reactions to it!
…and I stopped by this morning looking for something interesting for dinner.
We can’t wait to hear how it turns out, Rainey!
My book club meets tonight and it’s done. Tasting elements during preparation I’m guessing it will be great. I know the caramel is fantastic. It will be investing to see how it all comes together.
I spent a few hours last night and most of this morning trying to master chocolate curls. I’m just going to have to live with the fact that I just can’t do them but I got some passable shards that I believe won’t spoil the effect. I might have been more artful about how I employed them but I had about a freakin’ pound of them to use up.
And speaking of the time I spend on chocolate, no part of this tart is difficult (except those damned curls) but it’s important to understand how much waiting time you need to plan on for the cooling of the cream and the setting of the assembled tart. You’re not going to whip this up in an afternoon.
I look forward to the book club’s reaction. Half of us have our birthdays in a 3-week interval and this will be the first time we meet together since the Covid lockdowns. I think this tart will prove worthy of the event!
It certainly looks like a tart worthy of a celebration, Rainey! Looking forward to hearing what everyone thinks.
This is a fantastic recipe. I was successful at making it before I was successful at baking most things. Baking was alway my Achilles heel but success with this recipe inspired me to bake more. Rave reviews from everyone that got a piece!
Penny, I’m delighted to know that this cake was your gateway dessert to greater baking. It is a fantastic tart!
Do you think the mousse can be piped? I want to try mini “Milky Way” brownie cups and use the mousse as the topping (over caramel). Also, do you have any thoughts about adding malted milk powder to the mousse? (Thank you in advance! The tart looks amazing!!)
stephanie, none of us pipped the mousse, so we can’t say for sure. My guess is it will be a little soft to hold. The malted milk powder might add a bit of body to the mousse, but, again, I can’t say for sure. Using one recipe for another application often requires trial and error. Sorry for a vague answer, but I don’t want to point you in a direction that causes you to waste ingredients.