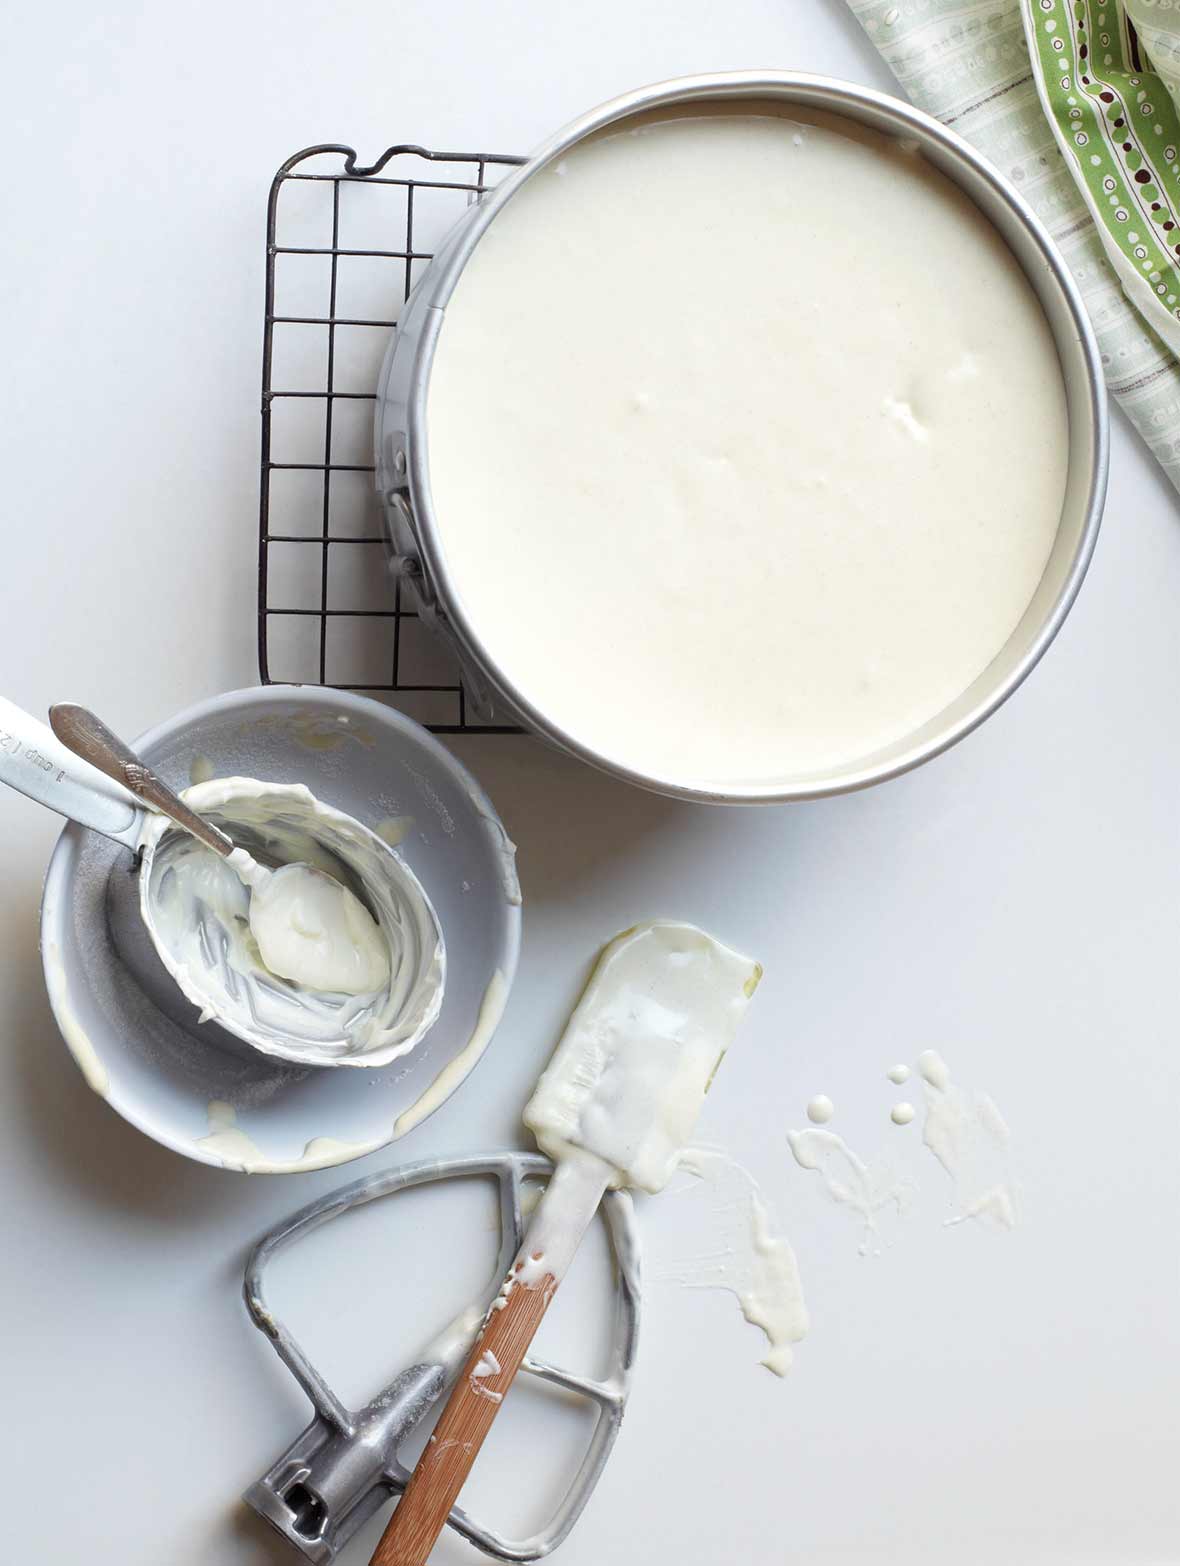
New York-style cheesecake was made popular in the 1920s in Jewish delis around Manhattan. But honestly, what we think of when we taste it is that episode of “Friends” in which Chandler and Rachel steal their neighbor’s mail-order cheesecake twice. Remember that? And how the cheesecake fell on the floor in the hallway of their apartment building and they grabbed forks and fell to their knees and started scooping it up while moaning. Suffice it to say, their search for the perfect New York-style cheesecake recipe ended. Just as ours does with this recipe. It’s that good.–Renee Schettler Rossi
New York-Style Cheesecake
Equipment
Ingredients
For the graham cracker crust
- 9 whole graham crackers, broken into pieces
- 5 tablespoons (2 1/2 oz) chilled unsalted butter, cut into 1/2-inch (12-mm) cubes
- 3 tablespoons granulated sugar
For the New York-style cheesecake filling
- Five (8-ounce) packages cream cheese, at room temperature
- 1 1/2 cups granulated sugar
- 4 large eggs
- 1 large egg yolk
- 1 tablespoon fresh lemon juice
- 1 1/2 teaspoons vanilla extract
- 1 pinch salt
- 1 tablespoon unbleached all-purpose flour
Instructions
Make the graham cracker crust
- Preheat the oven to 325°F (163°C).
- Grind the graham crackers to coarse crumbs in a food processor or with a rolling pin and a resealable plastic bag. Add the butter and sugar and process or stir until the crumb mixture is well blended and begins to stick together.
- Press the crumb mixture onto the bottom (but not the sides) of a 9-inch-diameter springform pan with 2 3/4-inch-high sides. Bake the crust until golden and firm to touch, about 25 minutes.
- Cool the crust in the pan on the rack. Wrap the outside of the pan with 3 layers of heavy-duty foil. Keep the oven at 325°F (163°C).
Make the New York-style cheesecake filling
- While the crust bakes, in a large bowl with an electric mixer on medium-high speed, beat the cream cheese until fluffy. Gradually add the sugar and beat until blended.
- Beat in the eggs, 1 at a time, mixing just until just blended after each addition. Then add the egg yolk, scraping down sides of bowl. Beat in the lemon juice, vanilla, and salt. Sift the flour over the filling and beat on low speed just until blended.
- Spread the filling over the cooled crumb crust.
- Place the foil-wrapped cake pan in a large roasting pan. Place the roasting pan on the oven rack, pulling the rack out slightly. Carefully add enough hot water to the roasting pan to come halfway up the sides of the cake pan. Bake the cheesecake in the water bath, rotating the pan once halfway through, until the center is softly set, about 1 hour and 15 minutes.
- Carefully remove the roasting pan from the oven. Let the cake pan stand in the water bath for 5 minutes. Remove the cake pan from the water bath and transfer it to a wire rack. Using a sharp, slender knife, work around the sides of the pan to loosen the cake. Cool completely at room temperature. Cover and—here's the hard part—refrigerate overnight or for up to 2 days prior to slicing.

Nutrition
Nutrition information is automatically calculated, so should only be used as an approximation.
Recipe Testers’ Reviews
Oh. My. Goodness. This is the best cheesecake I’ve ever made—and I’ve made quite a few. My husband actually said this cheesecake tops even those at The Cheesecake Factory. I used cinnamon graham crackers for the crust, and the result was tastebud bliss. The inside housed some of the creamiest cheesecake I’ve ever eaten.
The top cracked only the slightest bit, but I think that was because I didn’t have enough water in the skillet holding the cake pan—the water level is very important! I recommend that everyone make this at least once.
This is a cheesecake lover’s ultimate dream come true. The crust is just right—not too thick, but not too thin, either. The filling is rich, plush and creamy, tempting, and commanding you to take bite after bite.
My cheesecake baked in the exact time specified, coming out of the oven with a golden brown top, and a perfect center. There was not a crack to be found in the cheesecake, even after it fully cooled. I used a 12-inch cake pan to set my cheesecake into, filling it half full of water as directed. The cheesecake lovers voted this the best they had ever had. I wouldn’t change a thing in this recipe. It’s quick and easy to put together and it’s delicious just as written!
Make sure your cream cheese is at room temperature and that you have enough water in the roasting pan so it doesn’t run dry while in the oven.
This New York-style cheesecake is sooooo good. Usually when I make a cheesecake with a springform pan, my cheesecake cracks and the crust gets mushy. Not this time. This recipe is foolproof.
Make sure to rotate your pan 180 degrees in the oven, so that the cheesecake bakes evenly. I didn’t do this, and one side of mine was golden, the other not—but both were still divine! The white sugar, cold cubed butter, and graham crackers resulted in a tender and utterly delicious crust. I’d like to have a thicker crust next time, as it was so caramel-y delicious as a foundation for the cheesecake.
For many years, I’ve been thinking about making a cheesecake, but somehow it never happened until now. I bought my first springform pan on the way to the supermarket to get cream cheese and graham crackers. The results were delicious. I was so happy with how the cheesecake looked, and how evenly it settled in while cooling, that I was quite confident when I cracked open the pan at a potluck dinner this evening. Everyone jumped for seconds, devouring the luscious, creamy filling and the crisp graham cracker crust.
I tend to think of cream cheese and graham crackers as I do of peanut butter: they aren’t things that I much enjoy on their own or would tend to keep around my house. But with a recipe like this, when you mix them with some sugar, a little heat, and a few other ingredients, you end up with a simple, classic, memorable dessert. I will come back to this recipe soon.
Well, this is the kind of cheesecake I like. It’s simple and classic, and isn’t bogged down with fussiness. It’s super-rich, dense, and not at all fluffy. It also has the right amount of crust, providing a good base but not competing with the main event. This cheesecake is very easy to make, and I’d call it quick if it didn’t bake for over an hour, require cooling to room temperature and refrigerating!
There was one teensy hiccup, however. My finished cheesecake was a bit undercooked—or maybe that’s softly set?—in the center. That may make people nervous, but I’m the type of person who eats raw cookie dough, so it didn’t really bother me.


This was excellent. It tasted so, so good, one of the better cheesecakes I’ve had. I made the mistake of using a smaller (8-inch) springform pan, that made for an especially tall cake that ended up slightly undercooked. I halved this recipe and made it again, this time using mini-muffin pans to make bite-sized cheesecakes. As a shortcut, I blitzed chocolate Teddy Graham’s and butter in the processor for the crust. A bit labor-intensive but the end result was well worth the effort. Using the mini-muffin pans simplified the baking (no water bath) and reduced post-oven wait time before the indulging could begin.
As E’s significant other, I can vouch for just how ridiculously good this cheesecake tasted—and just how quickly it disappeared. E first made it with our 11-year-old nephew, who grumbled when he was asked to help but not three weeks later was begging us to make it with him again. There were definitely moans all around the table as we tucked into it.
I made this last year for my birthday and am about to make it again for my party this weekend. This is the only cheesecake for me!!! This year I have a friend with Celiac’s coming and I want to make this gluten-free. I got some gluten-free gingersnaps for the crust. Does anyone have a weight that I should go by for measuring the “9 whole graham crackers”? Suggestions for the tablespoon of flour in the filling? Thanks!
We have a query out to our resident gluten-free recipe tester who’ll be back with you shortly, Audrey. I could make a few guesses, but would rather wait for her to weigh in…
I just put it in the oven, swapping half the amount of flour for corn starch. I also read elsewhere that nine whole graham crackers = 1 1/4 c crushed graham crackers, so that’s how I measured the GF gingersnaps. At this moment it is snuggled in its bain marie, gently baking away…and I am crossing my fingers!
Our fingers are crossed, too, Audrey. Your swaps sound quite reasonable…we’ll be waiting to hear how it goes!
Success! 1 1/2 teaspoons cornstarch subbed in for the 1 tablespoon flour in the filling, and the GF gingersnaps were delicious (though I might increase the volume to 1 1/2 cups of crushed gingersnaps rather than just 1 1/4 cups). And the texture was spot on–no cracks!
Whoop! Whoop! Whoop!
Somehow I missed this message until now but am so glad you made this so wonderfully and successfully! It is also so very kind of you to think so much of your friend. I have celiac disease and know I would really appreciate the gesture. It sounds like it was beautiful and delicious. Any leftovers? 🙂
Instead of flour use cornstarch for gluten free.
Thanks, Tammie.
I decided to be brave and give this a try – my very first cheesecake, EVER! I’ve never even made one from a mix! Although I’m relatively good at baking, I was scared away from cheesecakes many years ago by a coworker who regaled me with the frightening tale of her first attempt at cheesecake. However, my dear foodie friend who’s guiding me along in my ongoing culinary education also defines himself as a “cheesecake purist,” and he recently had a run-in with some flavored cheesecakes that he pretty much loathed. So, I jumped in with both feet, er, hands to see if I could come up with a decent “plain” cheesecake he might enjoy. WINNER!!! The man knows his cheesecake, and he absolutely loved this one! And now that I know I can, in fact, make a decent cheesecake, it will be making regular appearances in my household! (Oh, and just so you know, when you’re taking the finished, chilled product out of the fridge, lift with your knees – the darn thing is heavy!!) 🙂
Terrific beyond words, Kimberley W! Love when a cooking experience empowers someone rather than the contrary. So tell us, what will you be making next?!