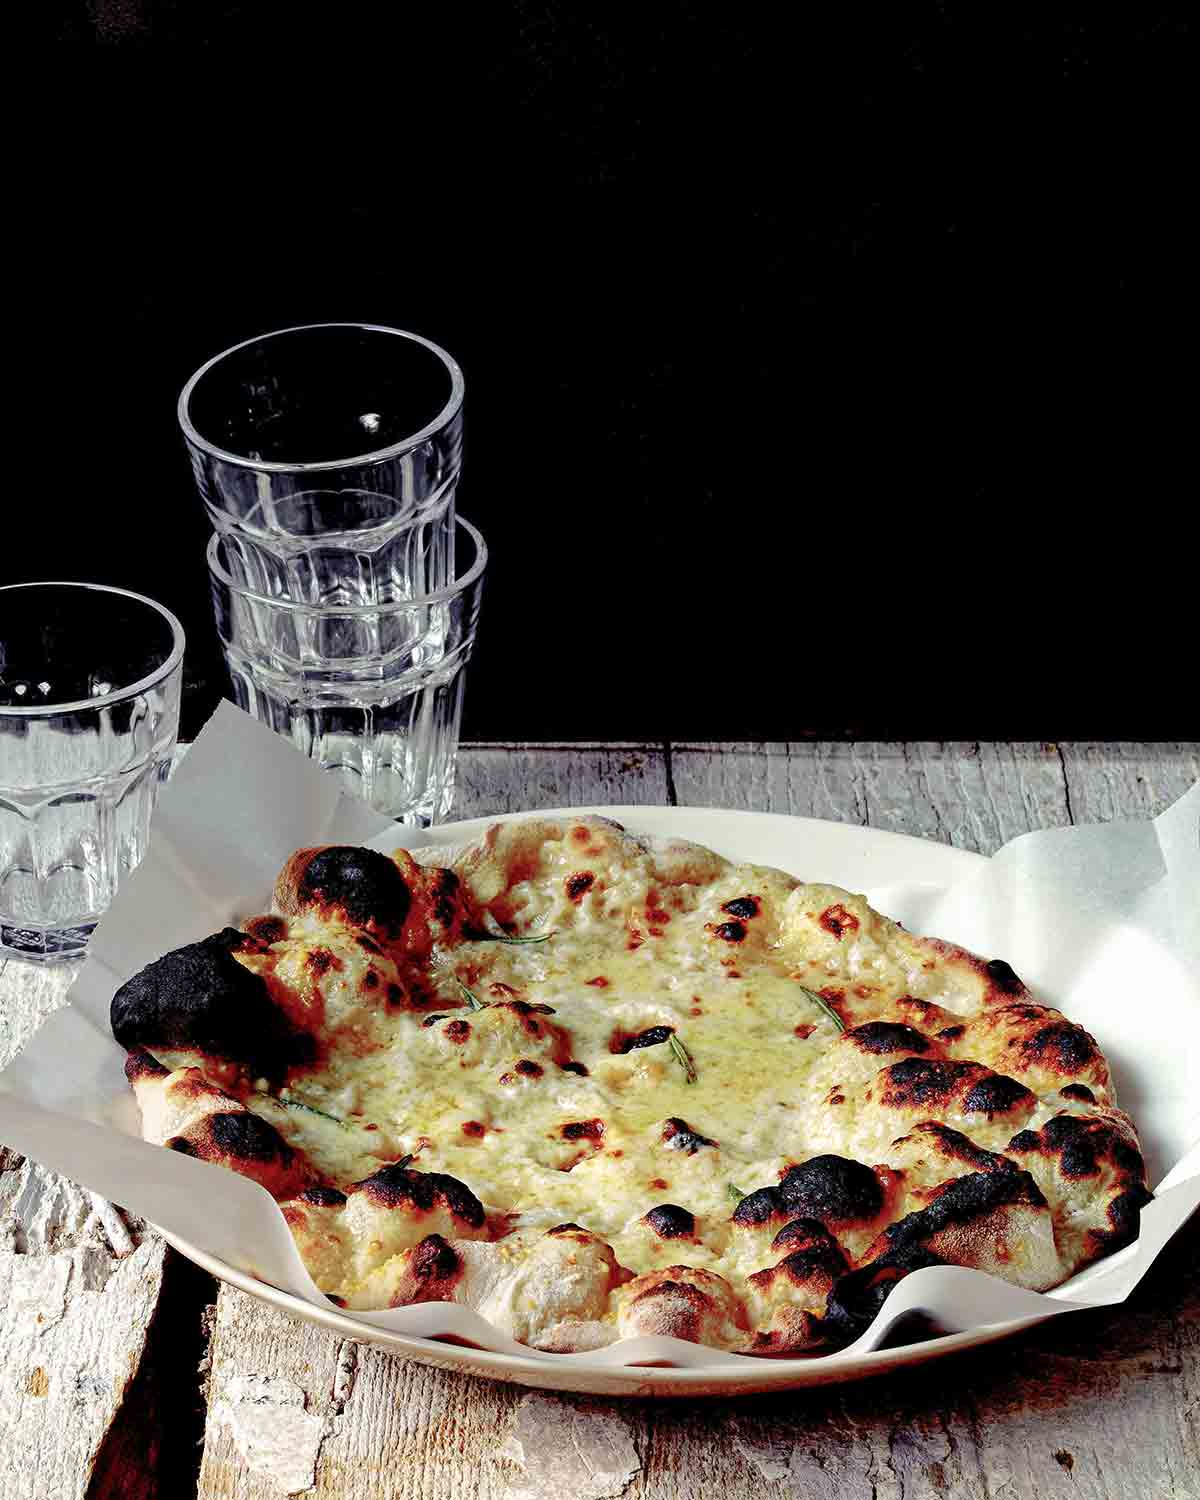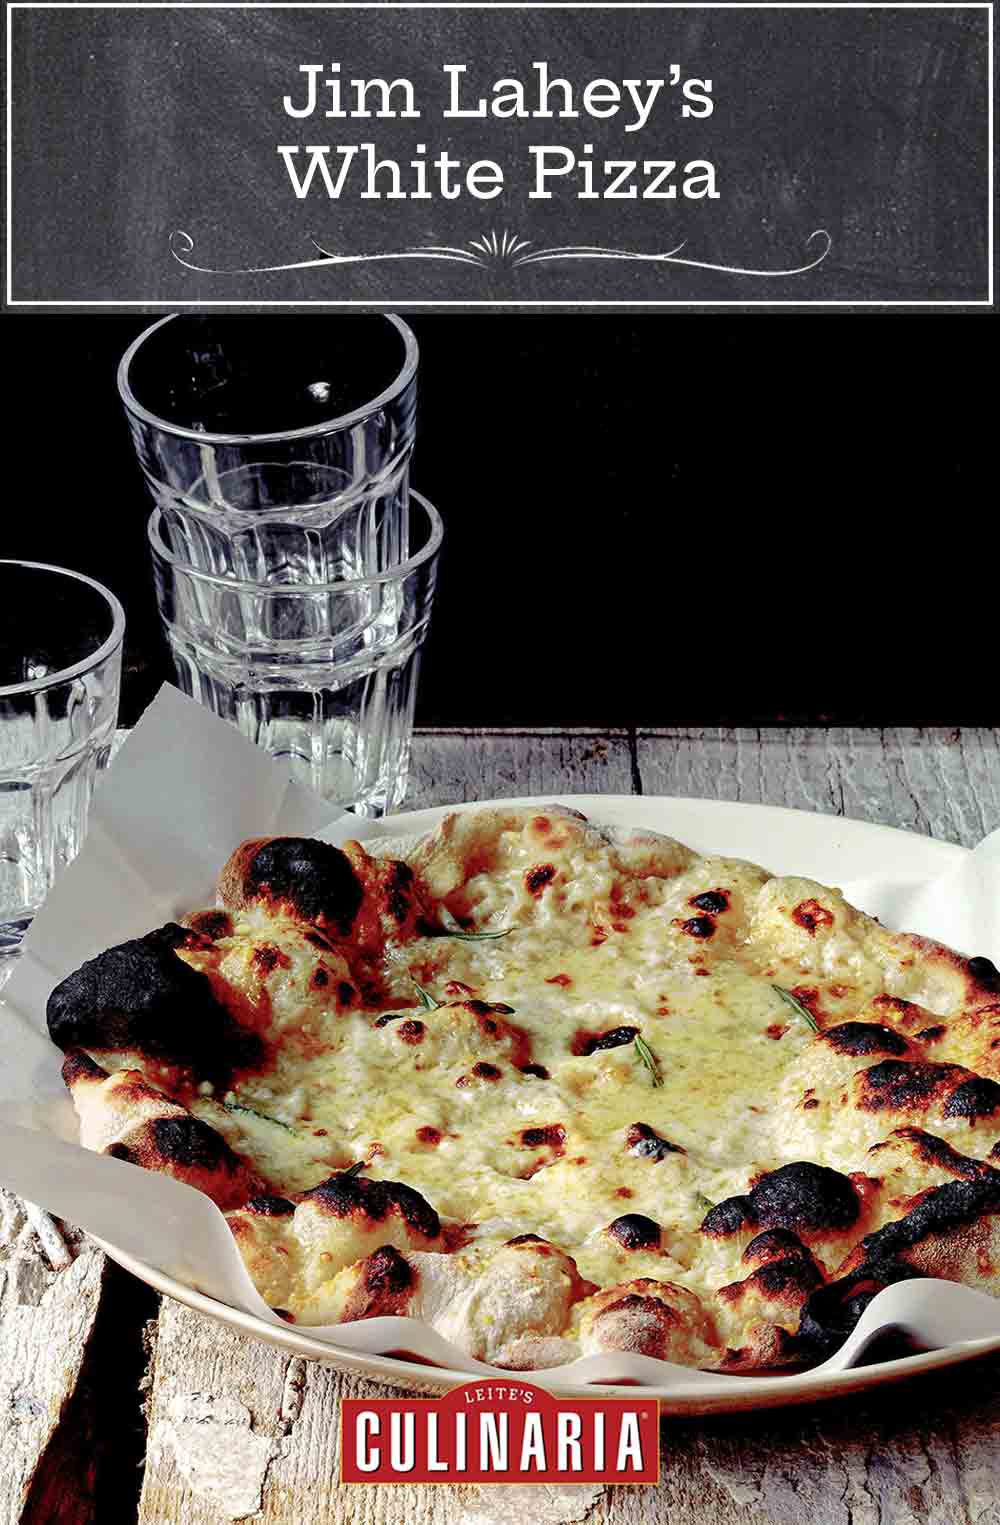
If you have a rather tight definition of white pizza, this pizza probably isn’t for you. It’s not what you’re likely to find at your local Italian place when you ask for a slice of white. Instead, bread baker and pizza dough flinger Jim Lahey gilds this superlative ‘za with a thin sheen of béchamel and then tops it with a trio of cheeses. It’s on the tippy top of our list of things to serve to guests as a little something to nosh with wine.
Speaking of wine, Lahey is a little conflicted regarding specific suggestions to pair with this—or any—pizza. “It’s pretty difficult to go wrong with anything that’s decent,” he says. “The whites, naturally, tend to go best with the milder pizzas.” Same goes for beer, Lahey continues, suggesting a light lager or mild ale for sweeter, more delicate pies such as this. “But, in the end,” he says. “My advice—with beer or wine—is to go with what you want.”–Renee Schettler

Jim Lahey’s White Pizza
Equipment
- Pizza Stone
Ingredients
- 1 ball Pizza Dough, shaped and waiting on a floured peel
- 1/4 cup Easy Bechamel Sauce
- 1/4 cup finely grated Parmigiano-Reggiano cheese
- 1 1/2 ounces fresh mozzarella, pulled into 5 clumps
- Pinch fine sea salt
- 6 rosemary leaves
Instructions
- If using a gas oven, place the baking stone in a gas oven on a rack about 8 inches from the broiler. Preheat the oven to 500°F (260°C) for 30 minutes. Switch to broil for 10 minutes. If using an electric oven, see the variation following the recipe.
- Place the dough on a pizza peel. Spoon the béchamel over the surface and spread it evenly, leaving the outer inch or so of the dough untouched.
- Sprinkle the béchamel with the Parmigiano-Reggiano. Distribute the clumps of mozzarella. Sprinkle with salt and rosemary.
- Using quick, jerking motions, slide the pie from the peel onto the hot, hot, hot baking stone. Broil for about 3 minutes if you have a gas oven, and somewhat longer with an electric oven. The ingredients should be bubbling and the crust nicely charred but not burnt.
- Using the peel, slide the pizza to a tray or serving platter before slicing it into wedges. Serve immediately.
Notes
What’s the best way to make pizza in an electric oven?
The elements of the electric ovens are generally designed to turn off when the oven reaches 500°F (260°C) or 550°F (288°C) and the door is closed—even if it’s the broiler doing the heating and not the baking element. When you completely understand how I use my gas broiler continuously to force the stone to be hotter on the surface and also to cook the pizza (door closed) so the crust chars properly and the toppings cook quickly, the electric’s shutdown feature may strike you as a potential problem. It’s easily solved. For electric ovens that have a broiler in the oven, turn off at 500°F (260°C) or so, place the stone on a rack about 4 inches from the top heating element (not the 8 inches called for with gas) and preheat, on bake, at 500°F (260°C) for the usual 30 minutes. Then, to boost the heat of the stone without the oven’s elements shutting down, open the oven door a few inches and leave it ajar for about 30 seconds. Some of the ambient heat will escape, but the stone will stay just as hot. Now close the oven door and switch to broil for 10 minutes to heat the surface to the maximum. Open the door and slide the pizza in to broil. Because the stone is so close to the element, you may need to pull the rack out a few inches to get the pie centered on the stone; do it quickly, and don’t worry about losing too much heat. With the door closed, broil for roughly 2 minutes longer than specified for gas—until the crust is adequately charred but not burnt and the toppings are bubbling. Remember, it’s the visual cues that count most. Check a couple of times; the pizza will cook quickly. For electric ovens that have a gas broiler in the bottom drawer of the oven, start with the stone in the broiler at the lowest level or on the floor of the oven. Preheat on low broil for about 20 minutes, and then switch to high for another 5 minutes, or if you just have one setting preheat for 25 minutes. Slide in the pizza, close the drawer and broil as instructed by the recipe (often 3 1/2 to 4 minutes), until bubbling and properly charred, checking to be sure it’s not burning.
Nutrition
Nutrition information is automatically calculated, so should only be used as an approximation.
Recipe Testers’ Reviews
I made this pizza with two types of dough. One with the dough suggested in the recipe and the other with gluten-free dough. I was unable to try the pizza made with the “normal” dough, but the comments from my family were, “Wow! The best pizza EVER!” and “Absolutely fantastic and one to repeat, like at least twice a month.”
The mixture of cheeses just worked beautifully together and the rosemary was felt throughout the pizza (though I must say, I added more than directed). And the bechamel came out very well. This is absolutely a must-make-it-again. A real winner!
This white pizza was really good and a nice alternative to the traditional red sauce pizzas we typically make at home. As stated in the recipe, the pizza cooks quickly and incurs a deep browning in the oven, which provides a nice additional depth of flavor. I thought the nutmeg in the white sauce and the fresh rosemary each added a nice note without overpowering one another.
The sauce was very easy to make. It came together quickly and only took 5 or so minutes on the stove to thicken properly. The amount of sauce would have been enough for 2, maybe even 3 pizzas. Finally, the dough was easy to make and you should not be intimidated to try it. Of course, a store-bought dough makes an easy, not to mention quicker, option for those who don’t have the 18 hours to let the dough rise. We served it with a green salad with toppings from the antipasto bar at the grocery store (marinated salami, mushrooms, red peppers, etc.).


Serious Eats site shows the same basic recipe proofing for 12 hours then splitting into fours and in the fridge for 3 days to develope fermentation. Also claims stones are out; cast iron is in…I bought a cast iron pizza pan from lodge and it really is great!
Joseph, I’ve used a cast-iron skillet flipped upside down for pizzas for literally decades and can attest to its loveliness!
Does this mean I have to wash it before making fondant? DANG!!!
Hey, Lynda, what happens in your mixing bowl, stays in your mixing bowl…!
I’ve made Jim’s pizza dough hundreds of times (Lodge 10 1/2-inch iron griddles), and I see no reason to ever have to wash the KitchenAid doughhook for pizza.
Something I’ve noticed: Refrigeration helps greatly in terms of the dough being easy to stretch and it not try to recoil. I make it at night, let rise for at least 18 hours. Then I form the balls and refrigerate for at least 4 hours, or up to 4 days. I’ve kept it even longer in a cold fridge. Remove and let sit at room temperature for a minimum of an hour. The older it gets, the easier it becomes to handle without a roller. It’s not really much trouble, I just keep balls in the fridge all of the time.
Thanks, Lynda. But I think, for the record, washing the dough hook is a good thing for sanitary reasons!