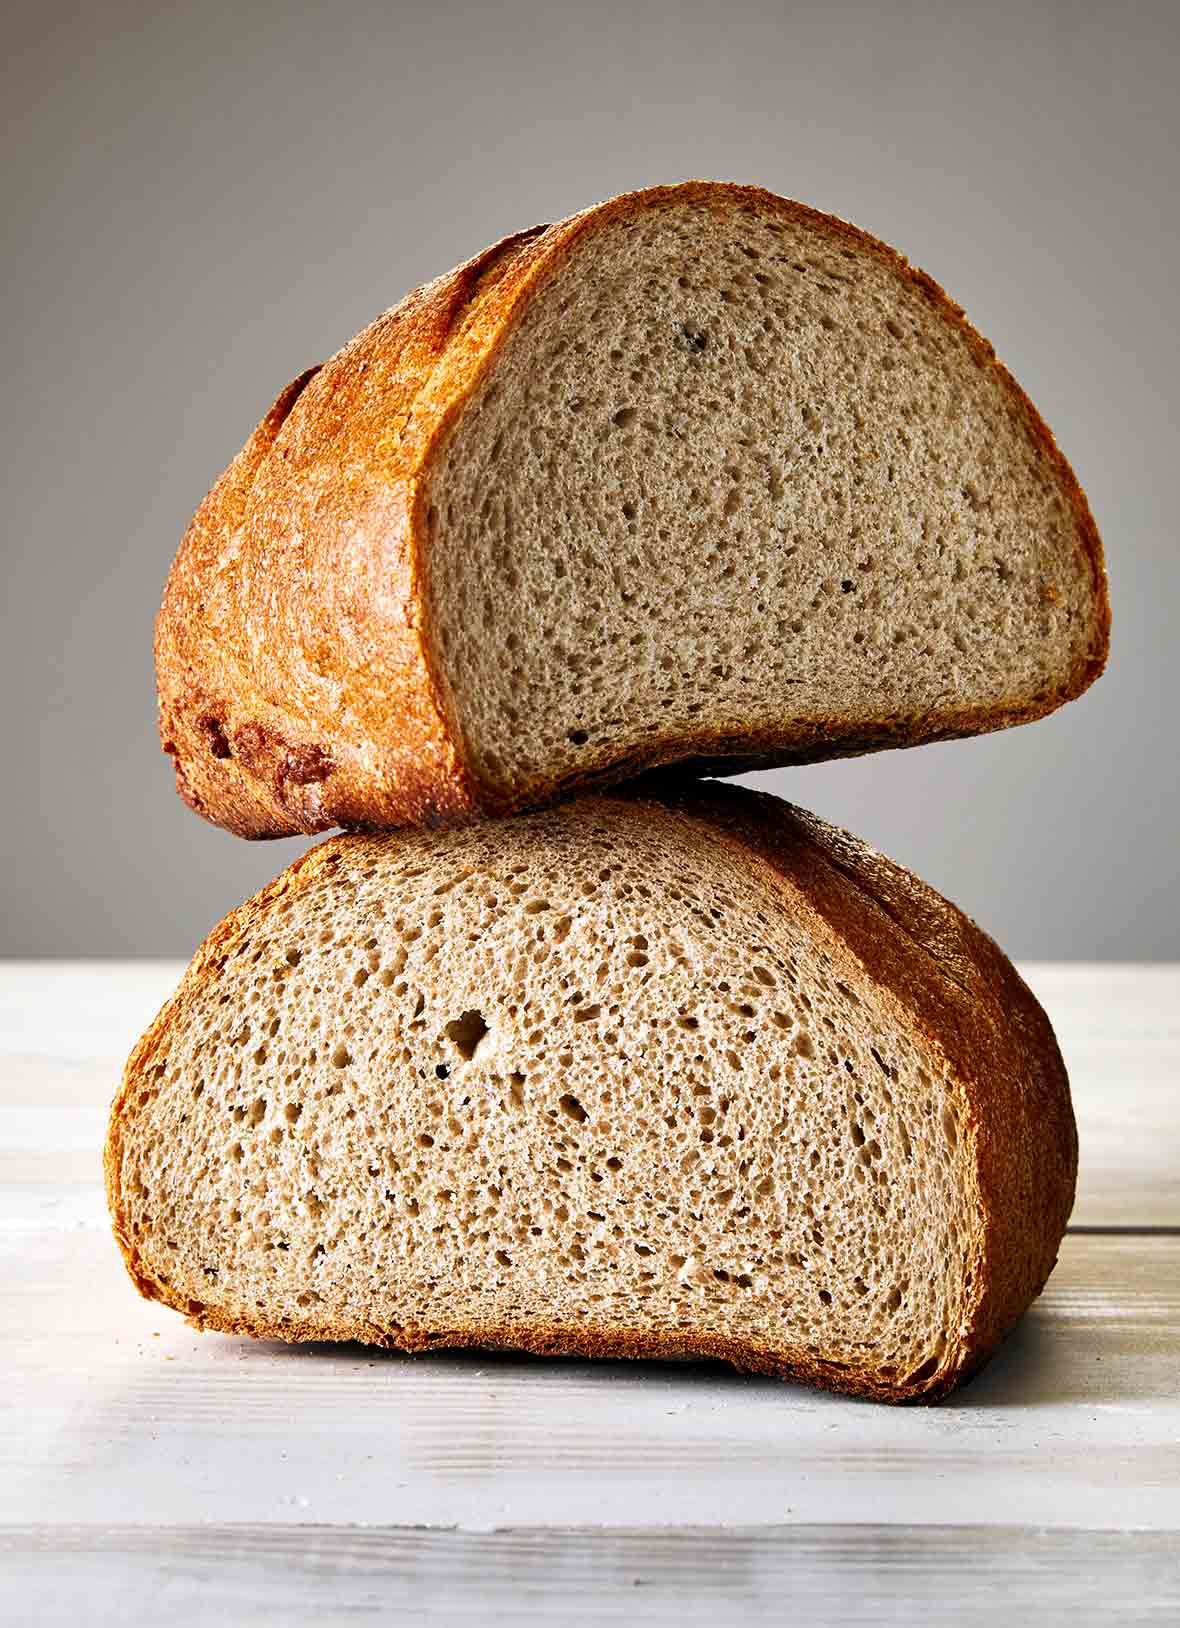
Who doesn't love Jewish rye bread? Especially when it's made with a homemade rye sour starter. And the not-so-secret secret behind this stunner of a recipe? It includes onions and caraway seeds, resulting in a vastly more complex taste that will take your pastrami sandwich to the next level.
This rye bread is the real deal, folks. Made with an ample amount of rye flour and onion and caraway aplenty, it’s going to taste blissfully familiar to anyone who’s spent years seeking out a loaf of authentic Jewish rye bread. It’s made the traditional way, with an old-fashioned homemade sour starter and a smidgen of day-old bread that’s been soaked in water. Who are we to argue with tradition when it works?!
If you make this Jewish Rye Bread recipe, or any dish on LC, consider leaving a review, a star rating, and your best photo in the comments below. I love hearing from you.–David
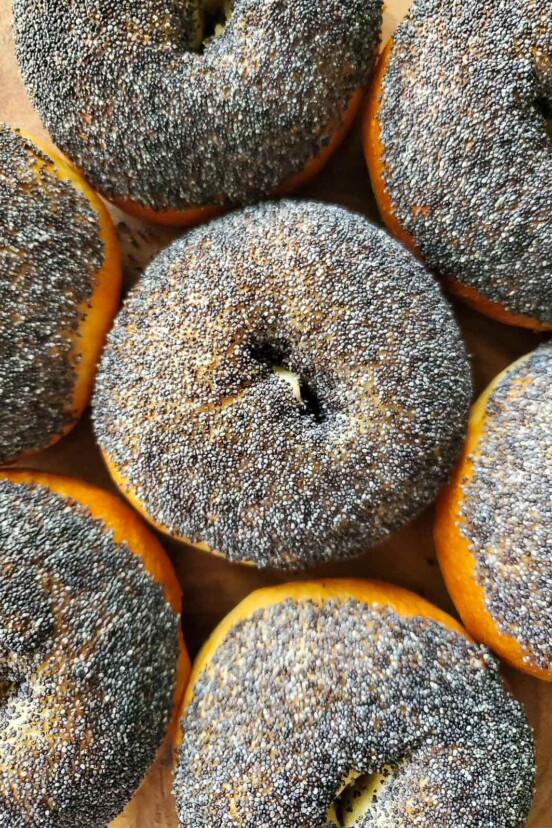
I grew up in a Jewish area in Philly. Since moving to Maine, I so miss offerings like Authentic Jewish Rye and Bagels. I’ve tried both your recipes and they are absolutely delicious and authentic! Thank you for such wonderful direction! Next bake, I will add an egg wash to get a shiny crush like the bagels! Yum
Barb Degen
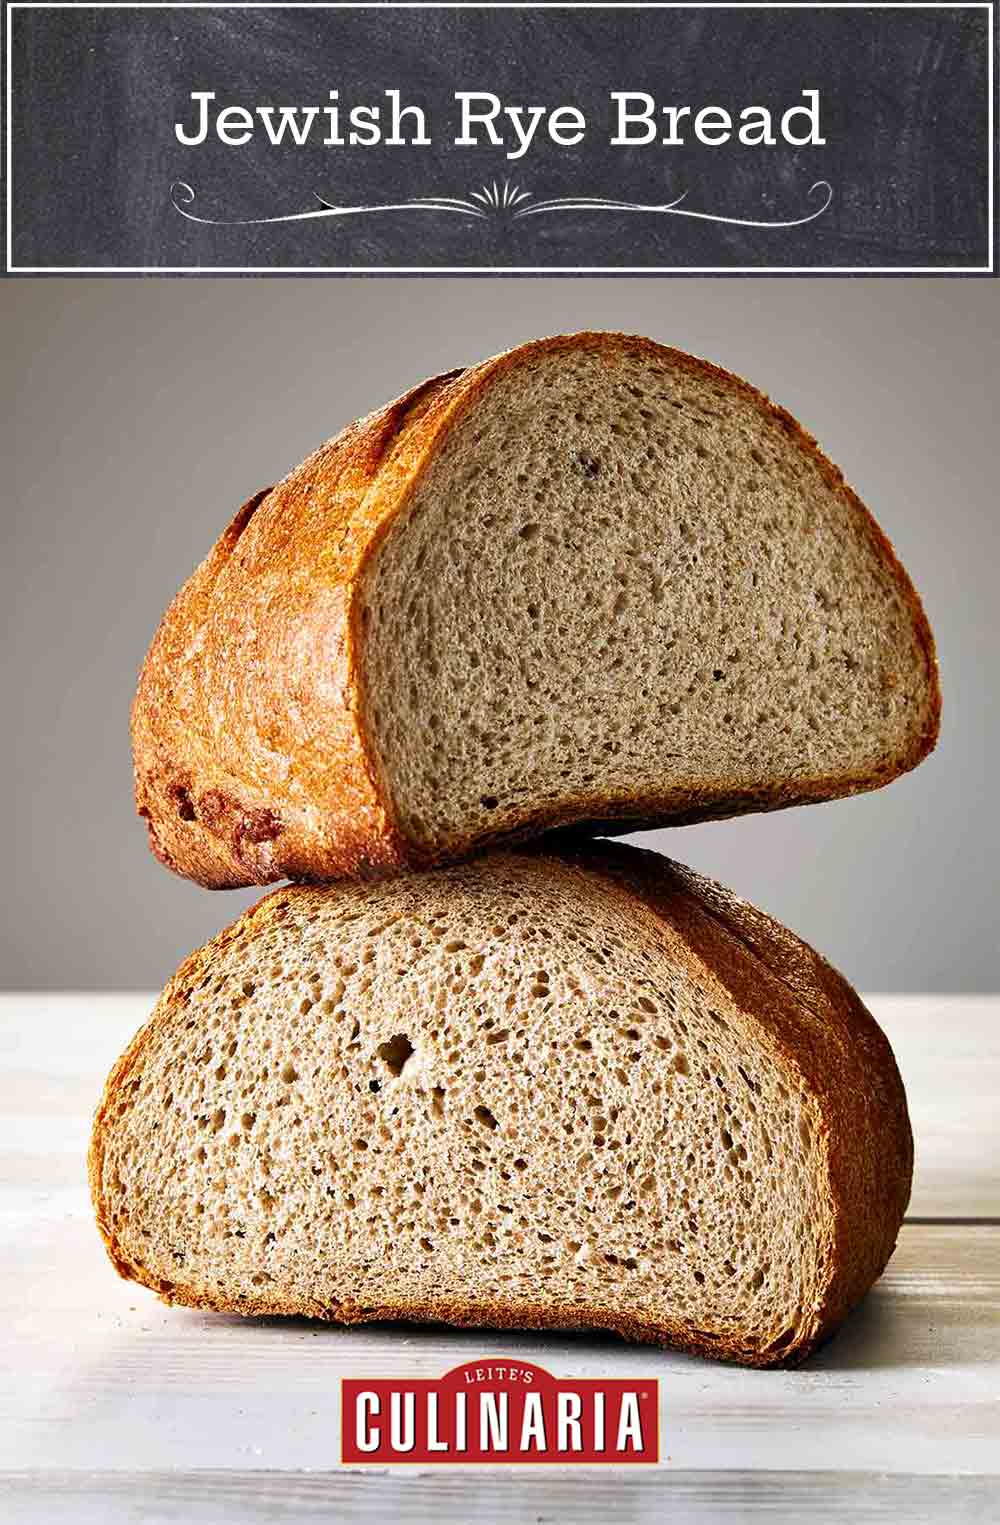
Jewish Rye Bread
4.46 / 11 votes
This Jewish rye bread is as authentic as it comes, without having to make a trip to the bakery. Made with rye flour, onion, and caraway, you'll also find yourself with a gorgeous starter that you'll be able to feed and use indefinitely.
Once a week feeding (to maintain the rye sour starter)
1cup (7 oz)rye sour
3/4cupwater, room temperature
1cup (5 oz)medium rye flour
For the Jewish rye bread
1/4cupday-old bread torn into pieces (preferably rye but any type will do)
1cup plus 3 tablespoonswater, room temperature
2 1/4cups (15 oz)rye sour
1 1/2teaspoonsinstant yeast
1/2teaspoonground caraway
3 1/2cups plus 1 tablespoon (17 1/2 oz)all-purpose flour, plus more for the work surface
1tablespoonsea salt
Cornmeal for dusting
Instructions
Make the rye sour starter–Day 1
In a large bowl, combine the rye flour, water, and yeast, stirring until the mixture is completely smooth.
Tie the onion and caraway seeds together tightly in cheesecloth fashioned like a homemade tea bag and then sink the bag completely into the flour mixture.
Cover the bowl tightly with plastic wrap and place it in a nice warm spot (70° to 75°F|21° to 24°C) and leave it overnight until it’s thick and airy, sorta like whipped cream. Remove the bag, scraping the sour mixture off the bag and back into the bowl, and discard the cheesecloth bag.
Day 2
Add the water and rye flour to the sour and mix until smooth. Cover with plastic and let it ferment at room temperature until it’s visibly fermented and frothy and quite possibly almost double in size, 3 to 4 hours more.
The rye sour can now be used to make your rye bread recipe. You’ll probably have plenty leftover to put in the fridge. The sour may be kept alive and well in the refrigerator forever if it is fed regularly. Store it in a tightly sealed container and feed it once a week. The chopped onion and whole caraway seeds should have been removed by now and discarded after the first day and not used in future feedings. (See instructions below.)
☞ TESTER TIP: If you’re going to make this recipe infrequently, just make fresh sour each time. There’s no need to keep your sour alive for weeks or months in between uses. If you are going to bake weekly, feed your sour at least once between baking sessions.
Once a week–Maintain the rye sour
Turn the sour into a large bowl, add the water and rye flour, and mix until smooth. Cover with plastic wrap and let ferment at room temperature until it’s nice and frothy and full of fermentation bubbles, 3 to 4 hours. The rye sour can now be used to make your rye bread recipe. Or you can put it back in a tightly sealed container and return it to the refrigerator where it will be okay for another week. Feed the sour at least once per week and you will be able to use it indefinitely.
Make the Jewish rye bread
Take the bread, break it into pieces, and moisten it with 1/4 cup plus 3 tablespoons water. Let sit for 15 minutes. Measure out 1/4 cup (95 g) of the bread and water mixture.
In a large, wide bowl combine the rye sour starter, the remaining 3/4 cup water, the wet bread mixture, instant yeast, and ground caraway. Stir with a wooden spoon until well blended. Add 1 3/4 cups of the flour and stir until the mixture looks like thick pancake batter, about 2 minutes. Add the salt and remaining flour and stir until it starts to form a gloriously shaggy mess.
Scrape the dough out of the bowl and onto a clean, unfloured work surface and gently knead until it forms a smooth ball, 6 to 8 minutes. If the dough begins to stick to the surface, use a plastic scraper to scrape it up and maybe even to scrape the dough from your hands. (Rye has a different chemical makeup than wheat flour and tends to be sticky. Don’t be alarmed if that’s the case and resist the temptation to add flour. Keep gently kneading and the dough will come together.)
Lightly oil the bowl, place the dough back in the bowl, and cover with plastic wrap. Let it ferment at room temperature until the dough has increased in size by about 50%, roughly 60 to 90 minutes.
Uncover the dough and turn it out onto a lightly floured work surface. Divide the dough into 2 equal pieces. Gently shape both pieces into rounds and cover with plastic. Let rest for 30 minutes.
Shape the rounds into loaf shapes. Place on a cornmeal-coated cutting board and cover with plastic wrap.
Preheat the oven to 450°F (230°C) and adjust the oven rack to the middle position. Place a baking stone on the rack and a cast iron skillet on the lowest rack or bottom of the oven about 1/2 inch (12 mm) away from the door so it’s accessible to add ice (to create steam to hydrate the bread while it bakes). Preheat the oven for 45 minutes before baking. Have ready a large stainless steel bowl or aluminum roasting pan that’s larger than your baking stone.
While the oven is preheating, let the loaves rest and continue to ferment for 30 to 60 minutes. When you think it’s ready, gently touch the dough with a finger to see if it is ready for the oven. If the indentation is slow to fill back in, the loaf is ready for baking. If it fills back in quickly, give it about 15 more minutes.
Uncover the loaves and use a spray bottle filled with water to heavily spritz the loaves. Place the loaves on a cornmeal-dusted wooden peel. With a razor blade or sharp knife, score the tops of the loaves with 5 uniform slices perpendicular to the length of the loaf.
Slide the loaves onto the preheated baking stone. Add a few ice cubes to the heated cast iron skillet and cover the loaves with the upside-down large stainless steel bowl or aluminum roasting pan in order to capture the steam. Bake for 8 minutes. Then uncover the loaves and bake until the desired color has been achieved, roughly 30 to 35 minutes, although baking times will vary depending on the size of your loaves.
Remove the loaves from the oven, place them on a wire cooling rack, and spray heavily with water. Let cool completely before cutting.
Did you know only 68% of the recipes we test make it onto the site? This recipe survived our rigorous blind testing process by multiple home cooks. It earned the Leite’s Culinaria stamp of approval—and the testers’ reviews below prove it.
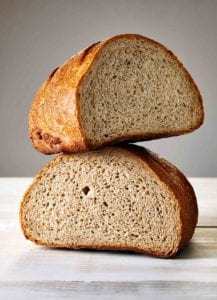
I love the Jewish rye bread this recipe produced. It makes bread with a great toasty crust and a crumb that’s tender and full of deep rye flavor. So many recipes for rye barely include a few tablespoons of rye in the recipe. This one incorporates around a 1:1 ratio of rye to white flour yet still manages to make the bread not come out too dense or flat.
The process of making the sour is interesting to me in how it incorporates the onions in there. This gives an amazing flavor and aroma that lingers in the background of the finished bread. It does not hit you in the face with onion flavor but it is certainly there, making it both delicious and versatile.
The suggested method for generating steam involving a large metal bowl or roasting pan is clunky, inconvenient, could ruin the bread and might even be a bit dangerous if one is not careful with a hot upside down roasting pan! I did not have a bowl large enough for this and my roasting pan would not cleanly cover the bread. I got worried it might mess up the bread as it expands in the oven. I ended up getting rid of it and just used the ice-in-cast iron plus my trusty water spray bottle. I sprayed the oven walls 3 times at 1 minute intervals in the beginning and that is all. The breads worked out great and the crust was perfect. I highly recommend either that or baking the breads one at a time in a covered heavy Dutch oven.
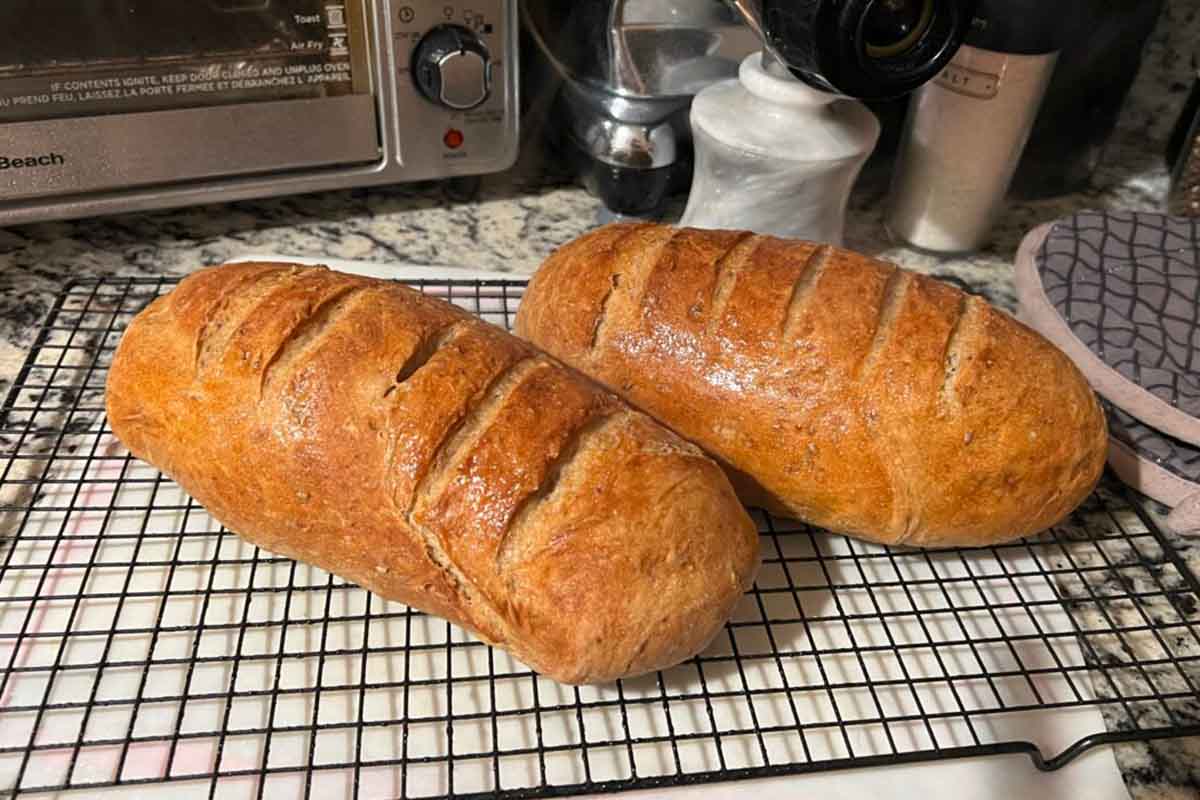
I do think making 2 loaves from this recipe makes them a bit small, about 3 inches tall. This is not ideal for sandwiches. I might try the recipe again and only bake 1 loaf to see if i get a taller loaf like the one in the picture.
This Jewish rye bread has a few steps, but if you’re home and have the time, it’s well worth making. My whole family loved this bread and it has a ton of flavor! Next time I make the bread, I plan to make more starter as I found I had to use all of mine to make the 2 loaves of bread.
After the second day, the mixture looked frothy and had a weight of 415 grams. I then stored it in the refrigerator for 3 days and used it at room temperature in my bread recipe.
Hello!
Just wanted to report back, that I made Jewish Rye today. I use egg/milk mixture on top to see if it would create a shiny glaze on crust. It did not. I recall shiny crust on Rye from Phila. Any guesses? Still fantastic, though! Many thanks!
Barb, these are just as beautiful as your first loaves!
I do apologize for my earlier comment. I didn’t realize you were going to use a whole egg and milk for the wash. The fat in the yolk and milk creates a duller finish.
If you want that Philly shine without making the crust soft, skip the egg entirely and stick to a heavy water spritz (in steps 15 and 17) as the loaves go in and then come out of the oven. It gelatinizes the starches on the surface to create that signature glow.
But honestly? Looking at your photos, you’ve still got a great sheen going there!
I grew up in a Jewish area in Philly. Since moving to Maine, I so miss offerings like Authentic Jewish Rye and Bagels. I’ve tried both your recipes and they are absolutely delicious and authentic! Thank you for such wonderful direction! Next bake, I will add an egg wash to get a shiny crush like the bagels! Yum!
Barb, damn, those loaves are absolutely magnificent. I mean, look at that color, that oven spring, those scores! Come on! You totally nailed it, and I’m so glad this recipe is bringing a little taste of Philly all the way up to Maine.
Now, about that egg wash. I love the instinct, but I might pump the brakes just a tiny bit. An egg wash will definitely give you that gorgeous shine, but it’ll also soften your crust. And with a rye like this, that crackling, chewy crust is half the magic. Right? The heavy water spritz at the end of baking is actually what gives it that beautiful sheen you’re after, without sacrificing the texture. Give it another try next time and see what you think. You might find it’s already exactly what you’re looking for.
Of course, if you go the egg-wash route, snap a photo, hop back here, and tell me how it went.
Thanks, David! I got to check off a Bucket-List Item!
Woohoo, Barb!!