
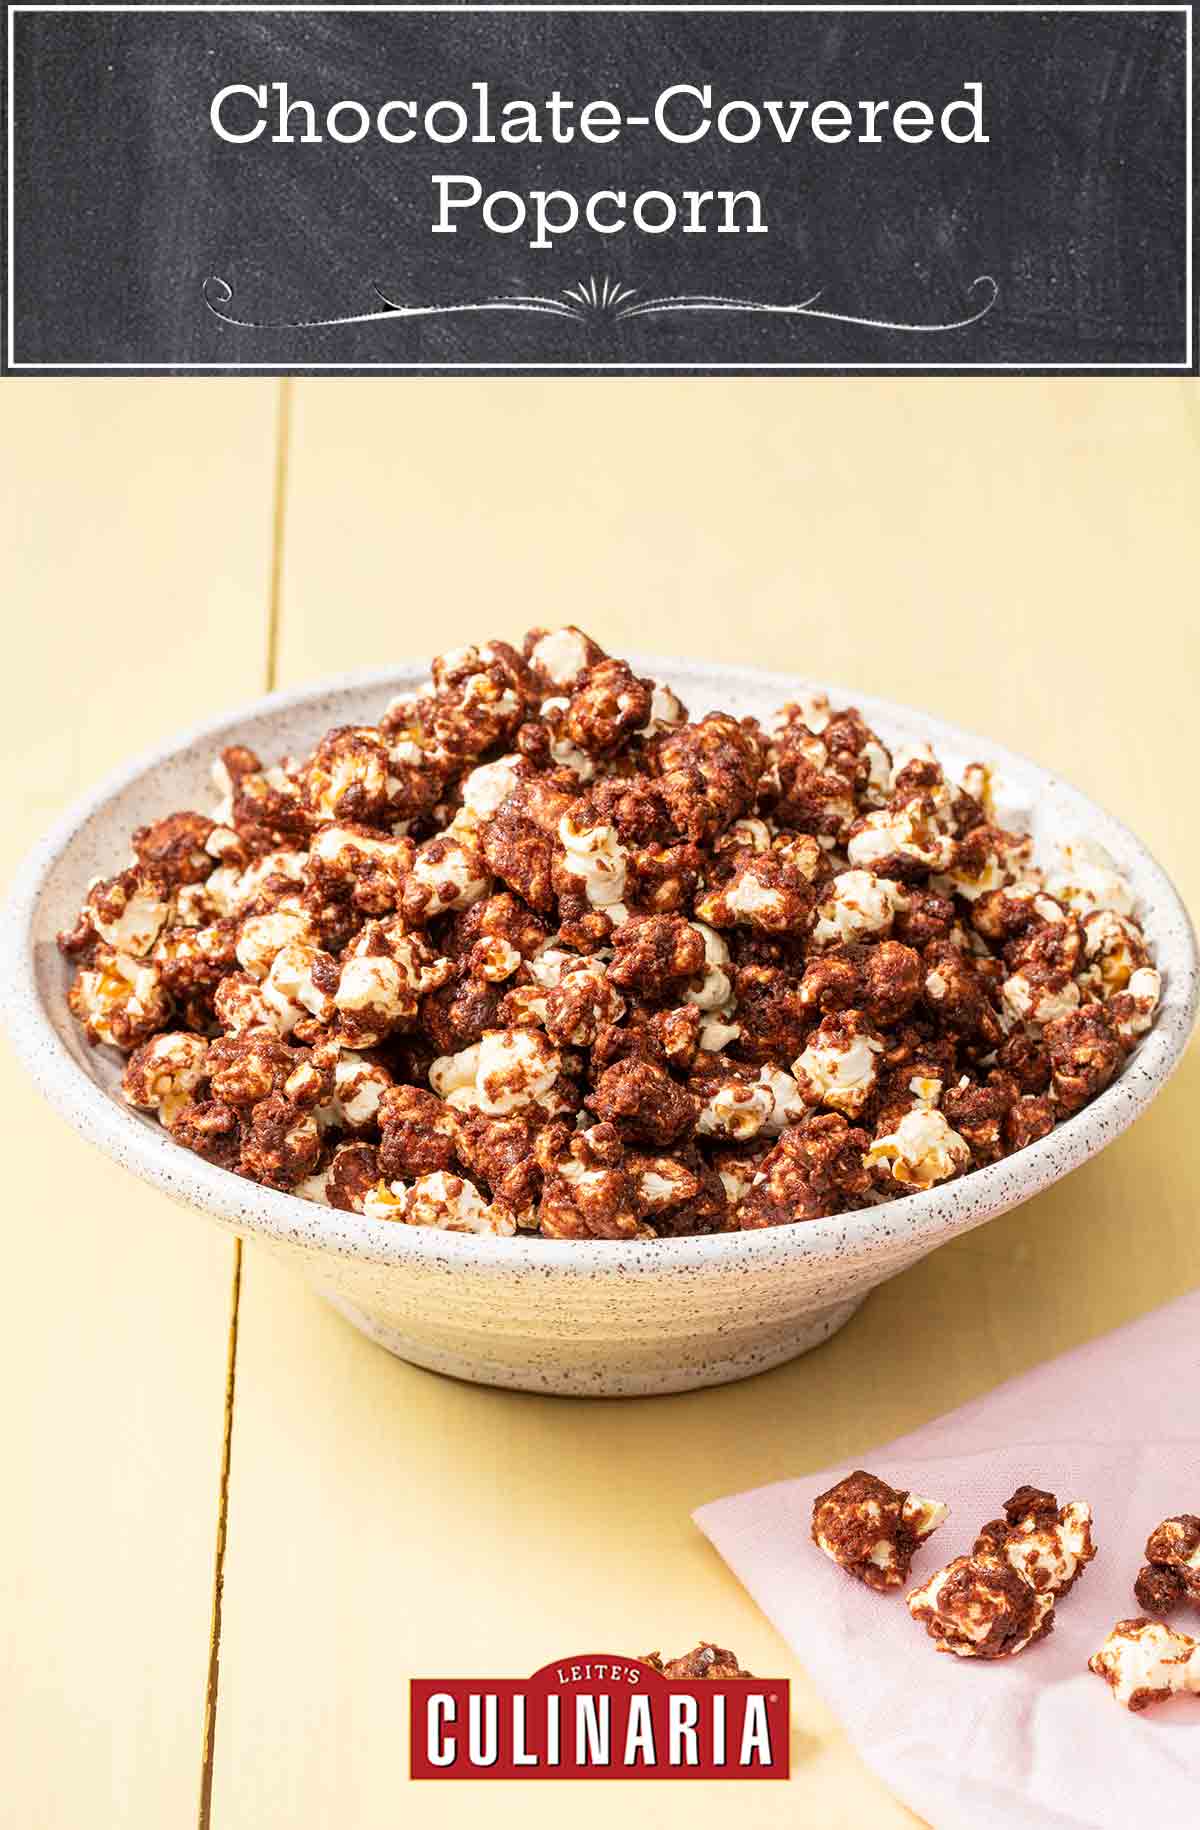
Take your popped kernels to the next level by coating them with a chocolaty sauce for a sweet-and-salty treat. Only use plain popcorn in this recipe, not popcorn with butter flavoring. Natural unsweetened cocoa powder works best; Dutch-processed cocoa powder makes the sauce too grainy. —America’s Test Kitchen
Chocolate-Covered Popcorn FAQs
The best way to store this popcorn is in an airtight container. Any leftover metal tins, glass jars, or plastic with tight-fitting lids are ideal.
Moisture is the enemy of popcorn, which is why it turns stale on the counter. Storing popcorn in the freezer can keep it fresh for several weeks because of the lack of moisture. First, make sure to wait until the popcorn has fully cooled. Then pop it in a resealable freezer bag, remove any excess air, and stash it in the freezer.
More Intense Chocolate Recipes
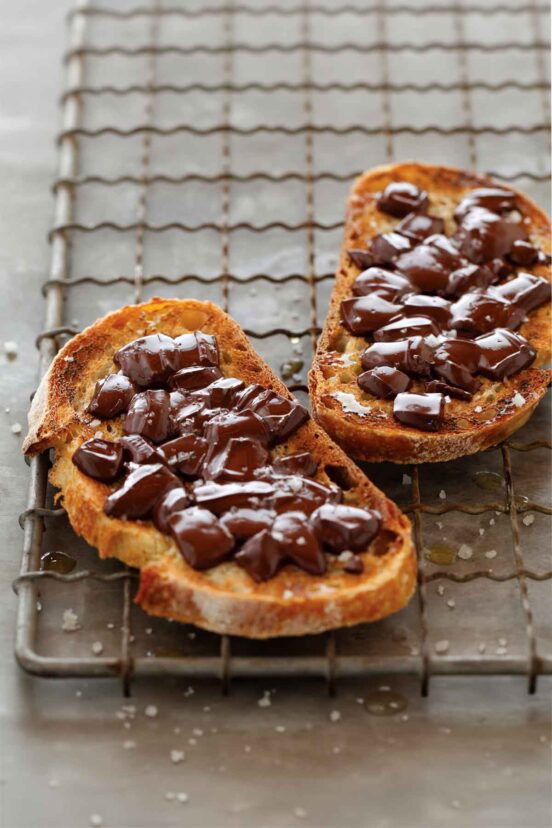
Chocolate Sandwich
5 mins
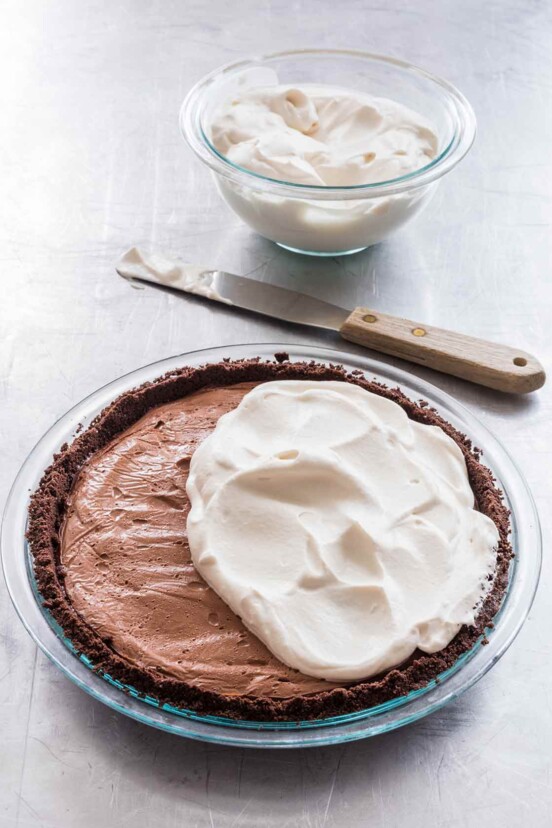
Dark Chocolate Cream Pie
2 hrs 30 mins
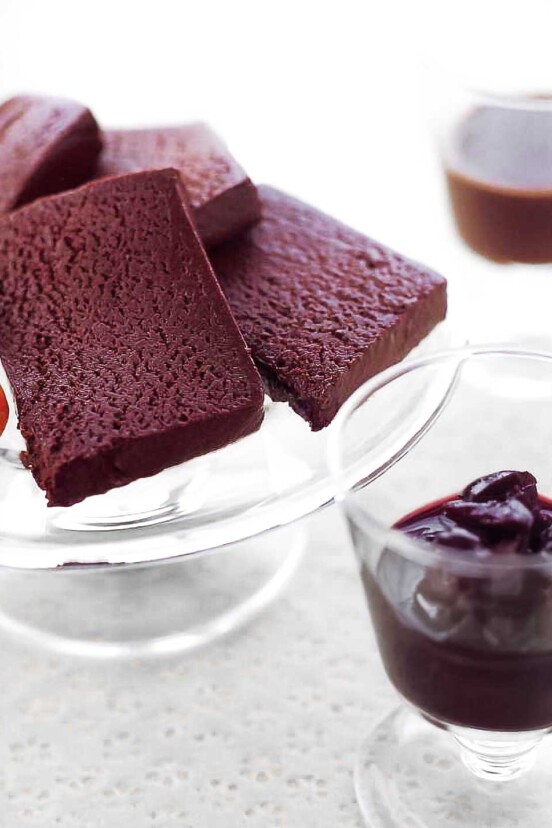
Ultimate Chocolate Marquise
6 hrs 25 mins
Easy Chocolate Fudge
4 hrs 15 mins
Write a Review
If you make this recipe, or any dish on LC, consider leaving a review, a star rating, and your best photo in the comments below. I love hearing from you.–David
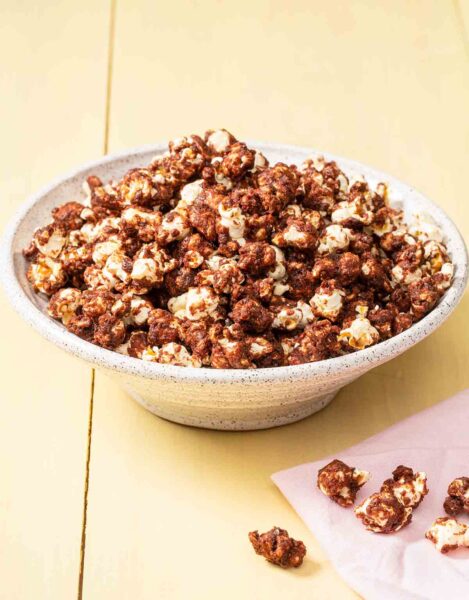
Chocolate-Covered Popcorn
Ingredients
- Vegetable oil spray
- 7 cups popped plain popcorn
- 5 tablespoons (2 1/2 oz) unsalted butter
- 3/4 cup granulated sugar
- 1/4 cup light corn syrup
- 3 tablespoons natural unsweetened cocoa powder
- 1/4 teaspoon table salt
- 1/4 teaspoon baking soda
- 1 teaspoon flaky sea salt (optional)
Instructions
- Adjust oven rack to middle position and heat oven to 250°F (120°C). Line 13- by 9-inch (33- by 23-cm) metal baking pan with aluminum foil. Spray inside bottom and sides of pan with vegetable oil spray.
- Spread popcorn in baking pan.
- In a large saucepan over medium-high heat, melt the butter. Add sugar, corn syrup, cocoa powder, and 1/4 teaspoon salt and bring mixture to boil.
- Reduce heat to medium-low and cook, stirring constantly with a rubber spatula, until sugar dissolves and mixture is smooth, 2 to 5 minutes.
- Turn off heat and slide saucepan to a cool burner. Carefully add baking soda and stir until well combined, about 30 seconds.
- Working quickly, while mixture is still hot, use the rubber spatula to carefully scrape sauce mixture onto popcorn in baking pan. Use the rubber spatula to gently stir until popcorn is evenly coated. Spread popcorn into an even layer. Sprinkle with flaky sea salt, if using.
- Place baking pan in the oven and bake for 20 minutes.
- Use oven mitts to remove baking pan from oven and place on cooling rack. Use rubber spatula to carefully stir popcorn, scraping up sauce from bottom of pan. Spread popcorn back into an even layer.
- Use oven mitts to return baking pan to oven. Bake until chocolate coating has hardened, 30 to 40 minutes, repeating stirring halfway through baking.
- Use oven mitts to remove baking pan from oven and place on cooling rack. Carefully stir popcorn one last time. Let popcorn cool completely in pan, 20 to 30 minutes. Break popcorn apart with your hands and serve.
Explore More with AI
Nutrition
Nutrition information is automatically calculated, so should only be used as an approximation.
Recipe Testers’ Reviews
Did you know only 68% of the recipes we test make it onto the site? This recipe survived our rigorous blind testing process by multiple home cooks. It earned the Leite’s Culinaria stamp of approval—and the testers’ reviews below prove it.

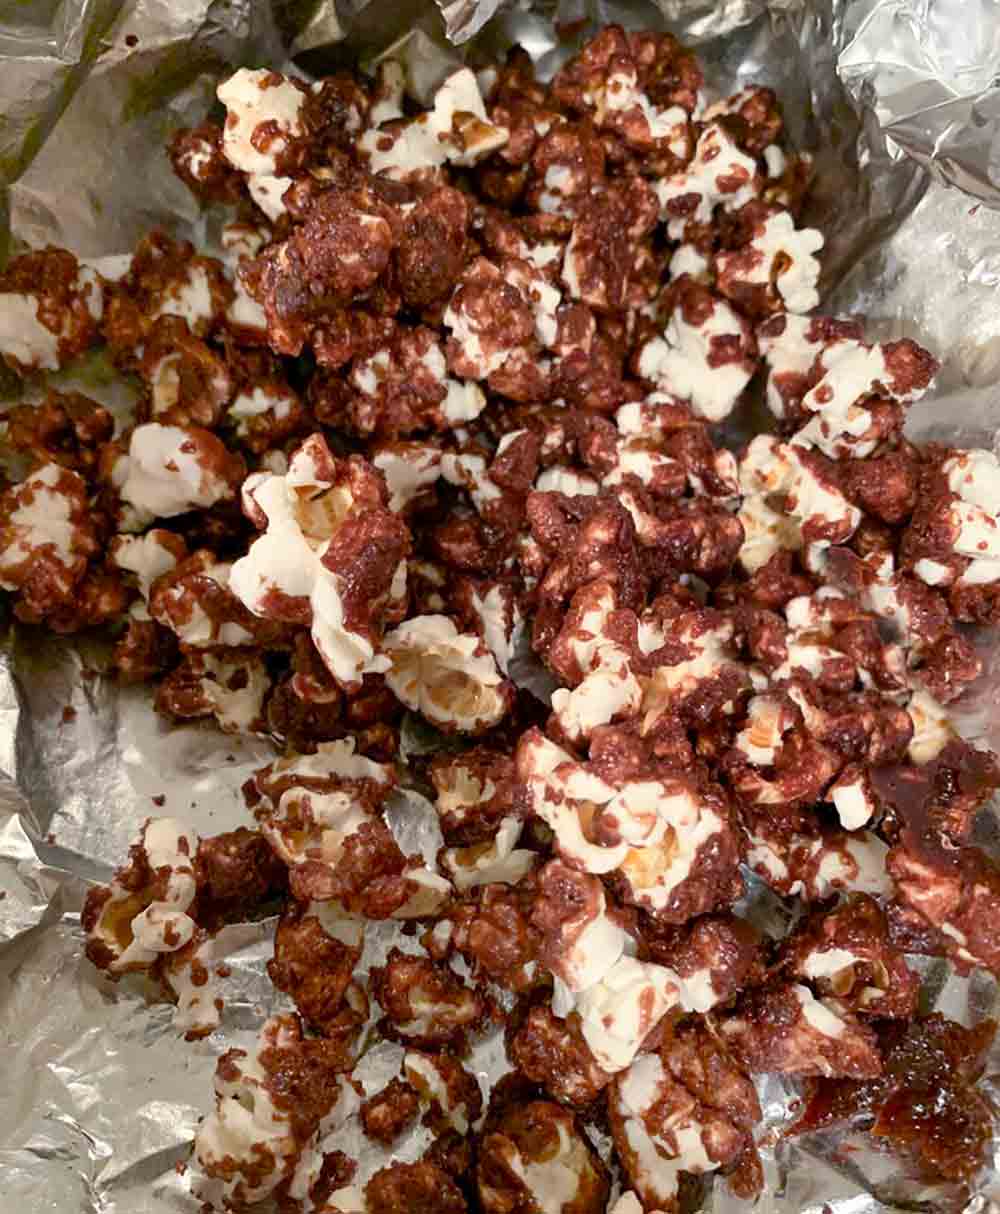
I thought this chocolate-covered popcorn blew away the store-bought kind. As I was making it, I didn’t think the chocolate flavor would be strong enough but I think it was (though I wouldn’t be against adding more). I also thought that there wasn’t enough sauce to really get all the popcorn nicely coated but again I was wrong. The final product is a good mix of coated and uncoated popcorn, which I found good because I didn’t get overwhelmed with the chocolate (as some other chocolate-covered popcorn have done). Of course, the flip side of that is that I didn’t want to stop eating it!
The recipe was straightforward but it was a little challenging knowing when the sauce became smooth because it’s hard to test a sauce that’s near the boiling point. Other than perhaps adding more cocoa next time, I might also add a dash of cayenne or chipotle powder to add some heat. But really, it’s good as is.

This chocolate-covered popcorn is delicious! I usually make Moose Munch with chocolate and caramel. I didn’t miss the caramel at all! I also usually use melted chocolate chips. The cocoa made for a really delicious rich chocolate topping for this popcorn.
I was looking for a relatively light snack and this was the perfect recipe! It’s quick, simple, and does not require too many ingredients to make. As a huge popcorn lover, I found this to be a great way of elevating the treat to enjoy while watching movies.
It was slightly difficult to get the syrup spread over the popcorn in the baking pan and would personally fold the popcorn into the syrup in a large bowl instead. I did find it slightly on the sweeter side and might opt to use a little less sugar next time for the perfect balance. As well, it was too buttery for my liking, so I would reduce by half the next time I make it. I would like to add some peppermint flavour for the holiday season with the addition of crushed candy canes or peppermint candy or add in some chopped hazelnuts to pair with the chocolate flavouring.

This chocolate-covered popcorn recipe is excellent. Easy to execute, simple ingredients, and a delicious final product. It is great as is but also provides a solid starting point for endless variations. I made it as written and it was very good – sweet, salty, crunchy, chewy. However, I can see adding crushed peppermint or candies or pretzels or festival sprinkles and finishing with a white chocolate or caramel drizzle for a very special feeling holiday gift.
Christmas time provides all the excuse needed for holing up in the kitchen with the richest of ingredients in the hopes of creating something special to share with others. However, many of us find ourselves too busy to spend hours in the kitchen during this time of year on account of all the other Christmas traditions that compete for our time. As I am often on the hunt to find quick but delicious holiday recipes, I am feeling fortunate to have this recipe to add to my repertoire. Chocolate-covered popcorn is a quick and easy recipe that is inexpensive and deliciously addictive.
The end result took some getting used to, mostly on account of me being less familiar with chocolate popcorn and expecting each bite to be Popcorn with Bacon Fat, Bacon, and Maple Syrup which is more common in my home. The amount of salt was lacking, I recommend adding the flaky sea salt suggested in the recipe or including savory nuts. However, the more we all ate in the name of recipe testing, the more addicted we all became! It really grew on all of us, so much so that I have decided this recipe should be added to the sweet treats I make for my neighbors and friends. Finally, I must add that adding this popcorn as a topper on peppermint ice cream is absolute aces!


