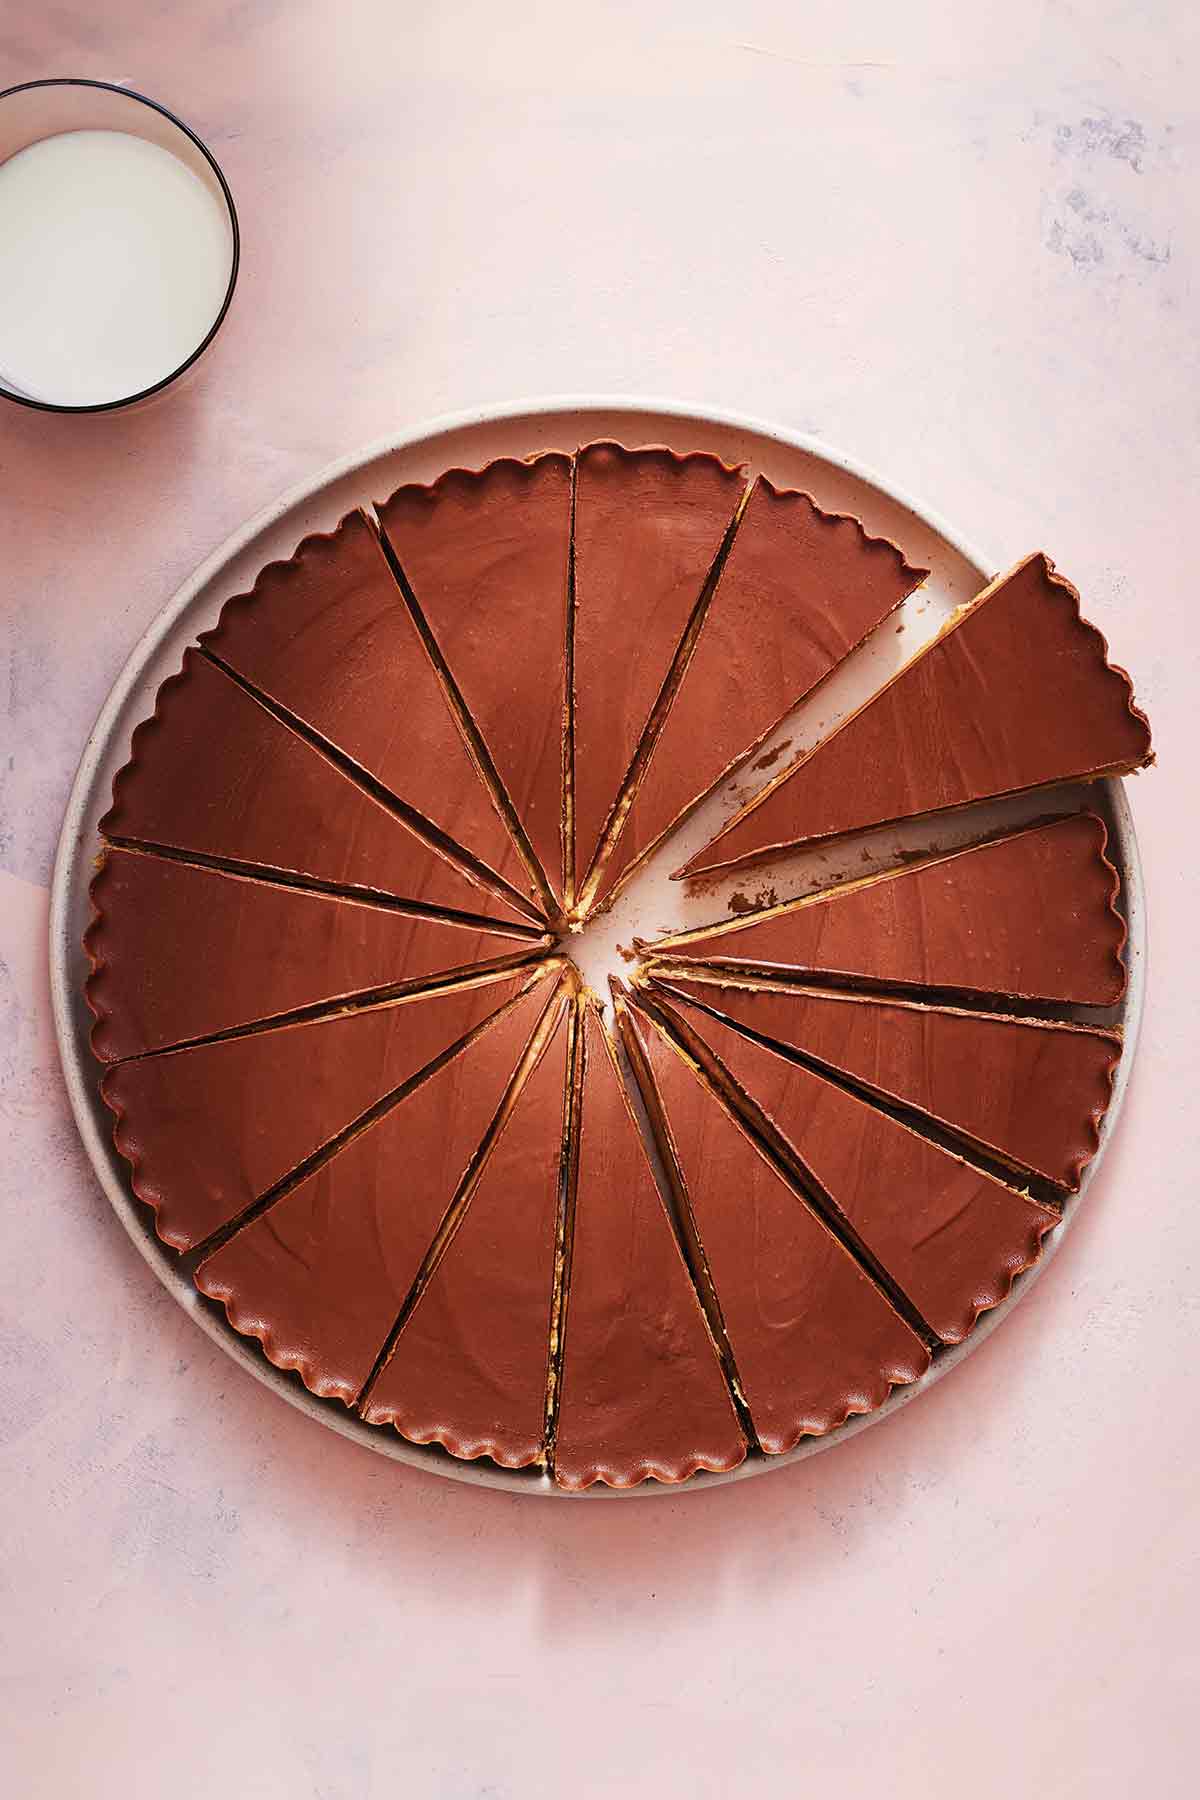
Okay, so most importantly, this giant peanut butter cup is a magnificent snackable treat to make for all the Reese’s Peanut Butter Cup lovers in your life (and if you’re doing life right, there should be many).
It does require a 9 1/2-inch tart pan with a removable bottom (and preferably with fluted edges, for the quintessentially “Reese’s” look) and maybe you’re mad at me ’cause you don’t own one and you don’t want to buy one, but I promise it is worth it due to the many (many) times you will be making this (dare I say) iconic confection. In a pinch, a 9 1/2-inch springform pan will work, too.–Jessie Sheehan
Giant Peanut Butter Cup FAQs
The recipe calls for high power, but if you’ve got a newer, more powerful microwave, we suggest using a more conservative approach, especially if this is your first foray into tempering chocolate with your microwave.
Start on medium power (100-110°F), and stop and stir your chocolate every 20-30 seconds until it’s smooth and shiny. If it appears grainy or unusually dry and chunky, it’s likely been burned and should be tossed.
Trust us, we know firsthand the disappointment of having to chuck a bunch of chocolate. Better safe than sorry. Lower heat.
Sure, once you’ve mastered the melting, get crazy. Feel free to use white chips, dark chocolate, or whatever your heart desires. Our testers offered some really intriguing additions (think pretzel or Butterfinger bits) to the peanut butter layer as well.
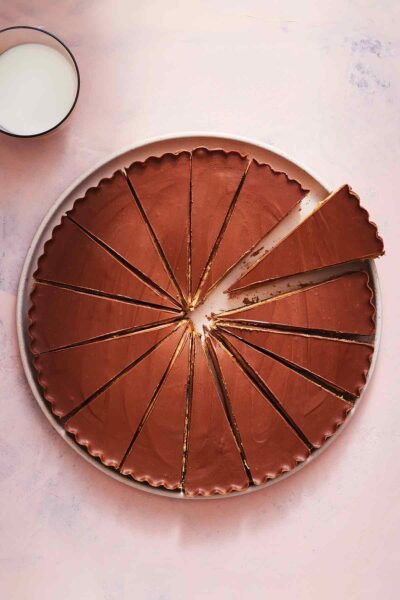
Giant Peanut Butter Cup
Ingredients
- 3 cups milk chocolate chips
- 3 tablespoons mild vegetable oil
- 1 1/2 cups smooth peanut butter, not all-natural
- 1 2/3 cups confectioners’ sugar
- 6 tablespoons (3 oz) unsalted butter, melted and cooled slightly
- 1 teaspoon vanilla extract
- 1 teaspoon kosher salt
Instructions
- Have ready a 9 1/2-inch (24 cm) tart with fluted sides and a removable bottom (or a springform pan), as well as a rimmed baking sheet.
- In a medium microwave-safe bowl, microwave 1 1/2 cups (255 g) of the chocolate chips and 1 1/2 tablespoons of the oil on high in 20-second bursts, stirring with a flexible spatula after each burst, until smooth, about 1 minute 20 seconds total.
- Spread the melted chocolate on the bottom of the tart pan and up the sides (as best you can) with the back of a spoon. (Don’t wash the bowl, as you’ll use it again.)
☞ TESTER TIP: Give the tart pan a few gentle taps on the counter after filling with the chocolate to help evenly distribute it.
- Set the tart pan on the baking sheet and place in the freezer to chill until the chocolate is set, about 15 minutes.
- In a large bowl, whisk together the peanut butter, confectioners’ sugar, butter, vanilla, and salt until smooth. Transfer the peanut butter mixture to the chocolate-coated tart pan and evenly spread with a flexible spatula.
- Microwave the remaining chocolate and oil in the same microwave-safe bowl you used previously, and pour it over the peanut butter filling, smoothing the top with an offset spatula, if you have one, or your flexible spatula.
- Freeze until the sides of the pan easily pop off, about 45 minutes. The longer you wait, the easier they will pop.
- Once removed, use a small paring knife to dislodge the base from the bottom of the cup. Let sit at room temperature for 5 to 10 minutes before cutting. Slice with a large chef’s knife, dipping the knife in hot water and drying it in between cuts for the cleanest slices.
- Keep the cup, wrapped, in the refrigerator for up to a week.
Explore More with AI
Nutrition
Nutrition information is automatically calculated, so should only be used as an approximation.
Recipe Testers’ Reviews
Let me start with the end of the story in the beginning: this is a hit! This tastes nearly identical to the brand name peanut butter cups you find at the store, which makes me wonder why I’ve spent so much over the years on something that is fairly simple to make at home. However getting to this point was sort of a comedy of errors.
I wanted to make something nice for my husband to thank him for watching our two young children while I was out of town (no small feat, as any parent with young children will understand!) He’s one of those people that love all things chocolate and peanut butter (you know those people) and when I saw a recipe that gave me the opportunity to make him a giant peanut butter cup it was a no-brainer.
The finished product was unbelievable! We couldn’t believe how much it tasted like the store bought variety (or maybe even better!) My husband was over the moon. And maybe it was the sugar rush talking, but he gave me the ultimate compliment: he said it was one of the best sweet treats I had ever made.
So would I make this again? You betcha!
I’m a sucker for a peanut butter cup, especially the novelty Trees, Eggs, and Bunnies, that come out around holiday times. The reason the novelty shapes are irresistible is the ratio of chocolate to peanut butter filling. More filling is where it’s at.
This giant peanut butter cup recipe has all the peanut butter filling one would want, and it’s slightly less cloying than the original. Simply the perfect chocolate-to-peanut butter ratio in my book. With just 15 minutes of hands-on time, this dessert could be a low-key after-school crowd-pleaser or a last-minute dinner party delight.
I was away and without my fluted tart pan, so I had to use a springform pan for the recipe. I definitely see how much more finished, and desirable the peanut butter cup would look using the tart pan. So, as stated, only use the springform in a pinch.
☞ TESTER TIP: For either pan after each addition of chocolate I suggest a few taps on the counter or a little shake from side to side. This really helped equalize the chocolate and make for a beautifully smooth surface.
☞ TESTER TIP: When the finished cup comes out of the freezer, it’s easier to slice if it sits at room temp for 5 to 10 minutes. I found the chocolate cracked while cutting when it was too cold.
This is delicious and exactly like eating a giant Reese’s peanut butter cup! Incredibly easy to make with minimal steps involved, yet it looks so fancy. I followed the recipe exactly and had no issues at all. I halved the recipe and used a 7-inch pan instead of 9 1/2 inches and the proportions still worked out great!
Yes, making your own giant peanut butter cup is totally worth it. It’s rich and decadent, salty and sweet, and it gives you a reason to buy the peanut butter you grew up eating.
☞ TESTER TIP: Cut this thing into 16 pieces. Not any bigger. You think you can eat a larger hunk, but you cannot without having to lie down. Unless that’s your goal.
When I was spreading the initial chocolate layer, I wasn’t super careful getting it totally even and had too much chocolate around the edge. The peanut butter filling was then uneven, so some bites had more of one than the other. (My family didn’t care. They were too busy discussing if crushed pretzels or Butterfingers should be added to the PB part).
If you slice and eat directly from the fridge, the chocolate may crack a bit more than if you let it warm a bit.
So I guess what I am saying, if you don’t have a 9 1/2-inch tart pan, get one.



Recipe worked well, although I ended up adding more chocolate for the top because my sides were higher than the top of the cup. If I did it again, I would use more chocolate on the bottom. This was a gift for my son and I was hoping for the taste of a Reese cup. My Son said it tasted more like my buckeye recipe. Buckeyes are actually a bit harder to make but easier to share.
Hi, Leanne. Thanks so much for your thoughtful feedback and for sharing your experience. It sounds like your peanut butter cup turned out beautifully, and I love the idea of adding extra chocolate for the top—after all, who doesn’t love more chocolate?
One thought about the chocolate distribution: The recipe is designed for a 9 1/2-inch tart pan with fluted sides and a removable bottom (or a springform pan). Using a pan with different dimensions or higher sides might cause the chocolate layer to spread a little thinner, requiring some adjustment. Sticking to the specified pan size should allow the recipe’s measurements to work perfectly without the need for additional chocolate.
That said, your personal twist sounds delicious, and if it worked for you and your son, that’s what matters most! If you give it another go, I’d love to hear how it turns out.