Although there’s something incredibly satisfying and rewarding about coaxing a light and flaky pie crust into existence entirely by hand, the reality is that it’s much easier and faster to make it in the food processor. This recipe uses both butter and shortening to maximize flavor and minimize shrinkage, resulting in a tender crust that’s my go-to pie crust recipe for blind-baked pies. I’m sure it will be yours, too.

Why Our Testers Loved This
Besides loving the no-fuss method of making pie dough in the food processor, my testers were also delighted with the flaky texture and buttery flavor of the finished crust.
Notes on ingredients
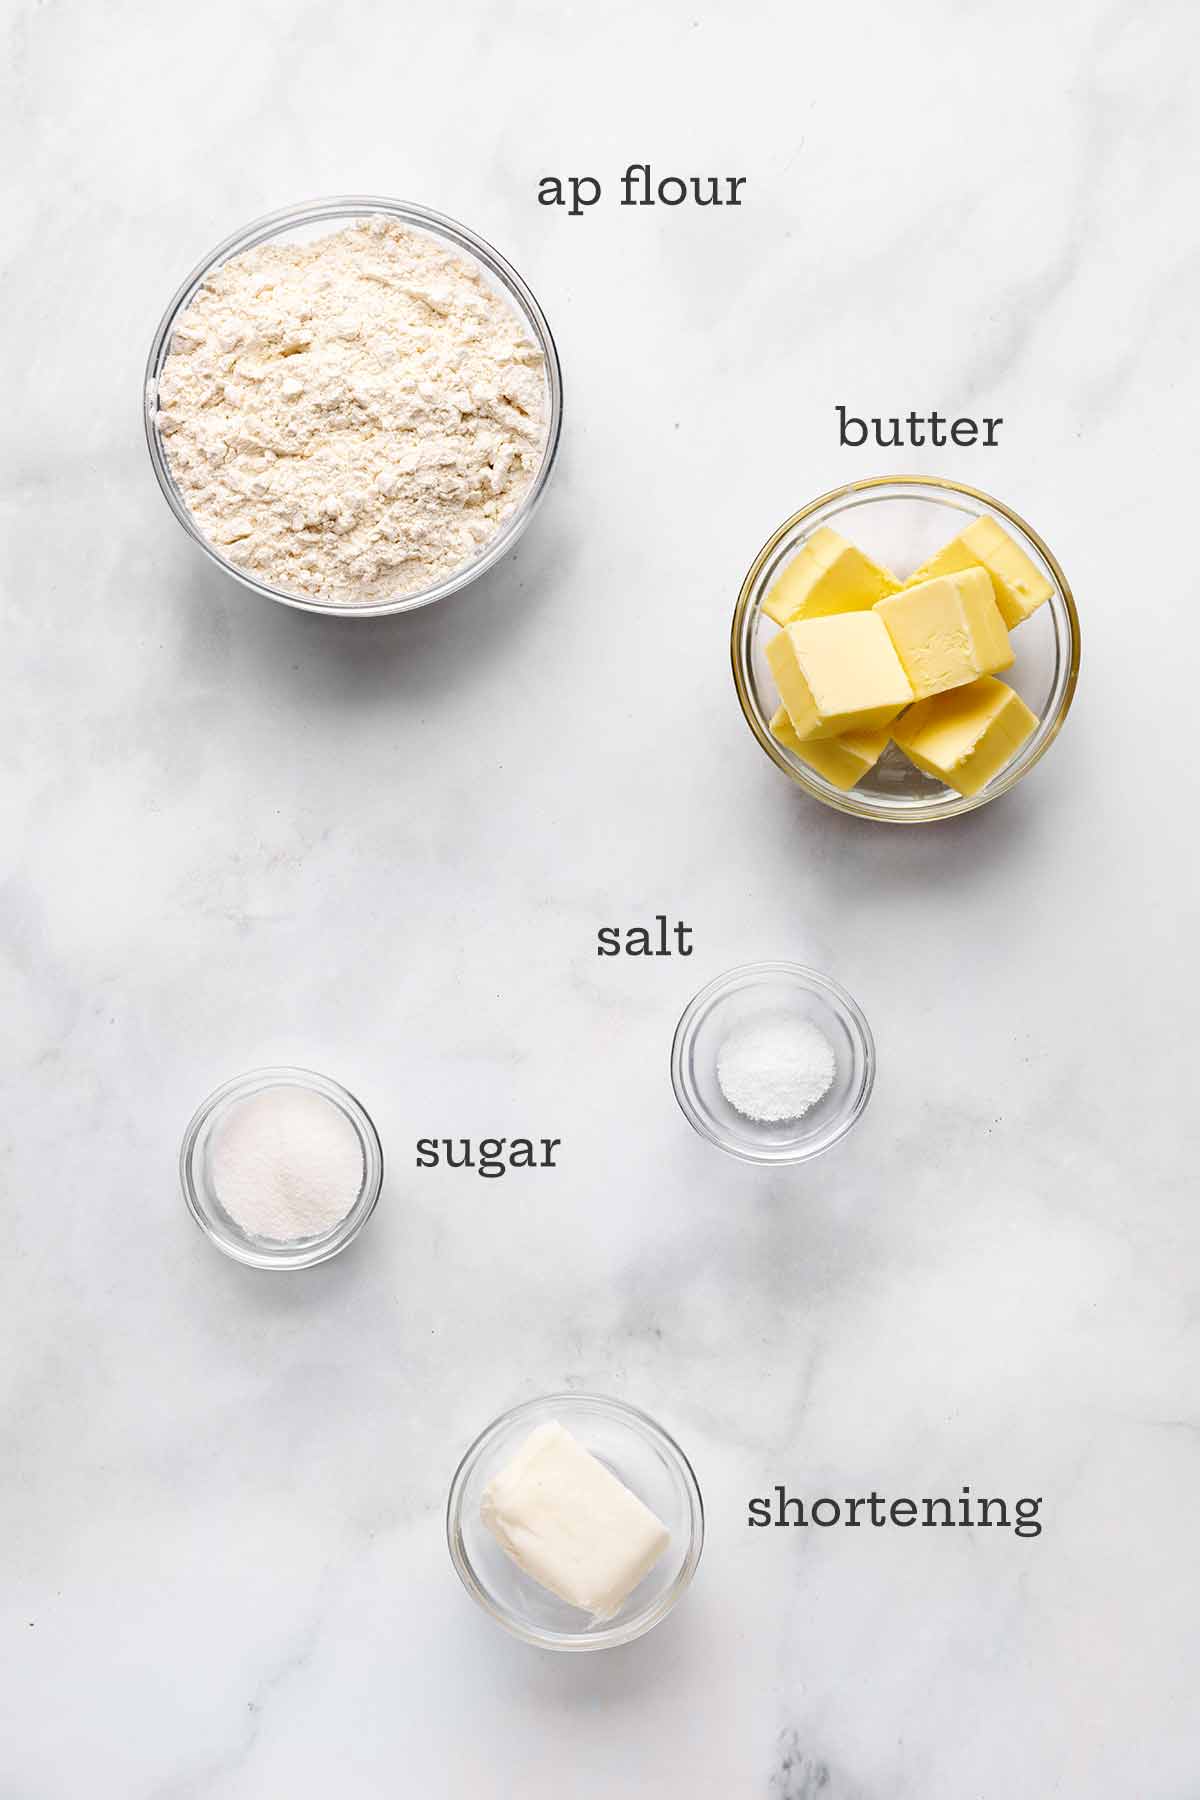
- All-purpose flour–For best results, always measure your flour by weight.
- Salt–Use regular table salt or fine sea salt for this recipe.
- Vegetable shortening–The addition of shortening to the pie dough makes it easier to work with and allows it to hold its shape better while baking. You can substitute your favorite homemade or store-bought pie crust.
- Unsalted butter–This adds plenty of rich flavor to the crust and the filling and helps ensure a flaky, tender crust. If you only have salted butter, reduce the amount of salt to 1/4 teaspoon.
How to Make Pie Crust in a Food Processor
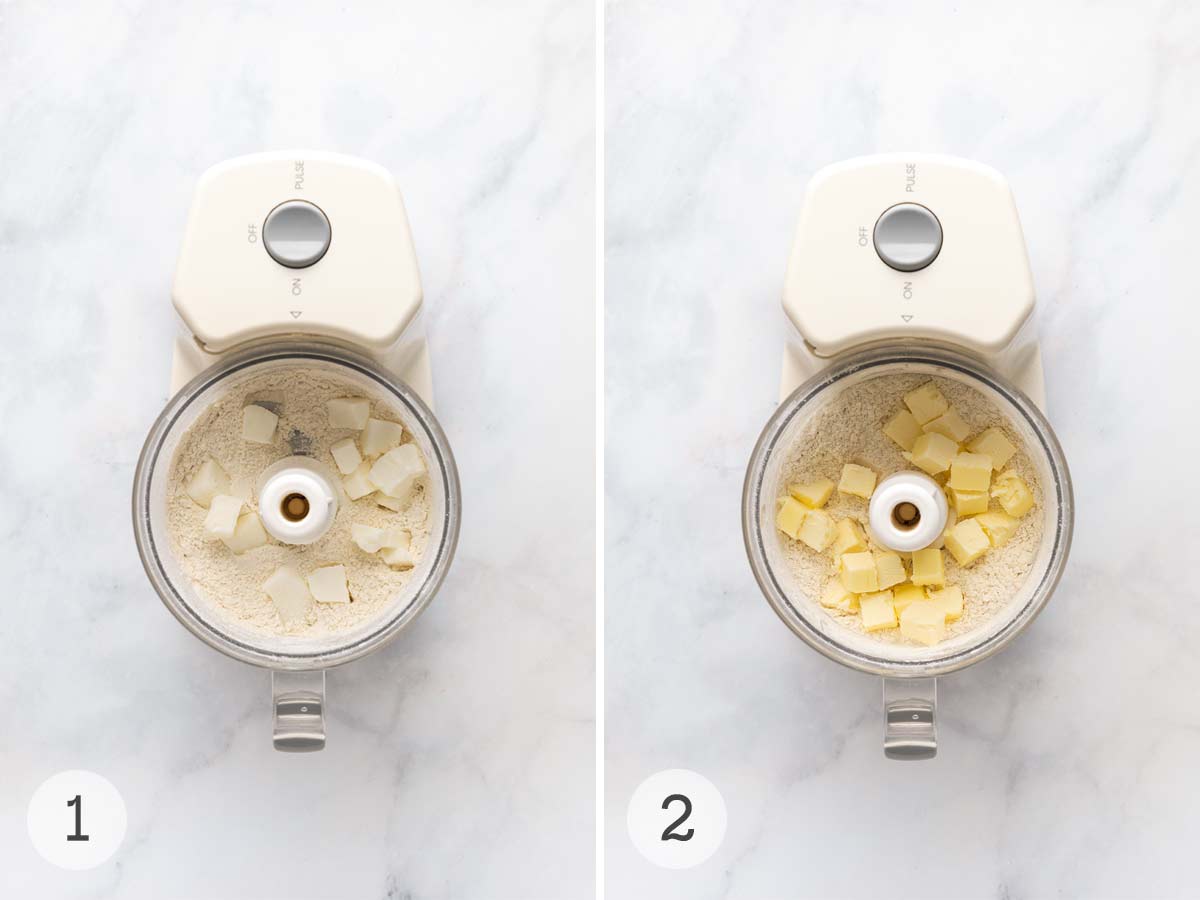
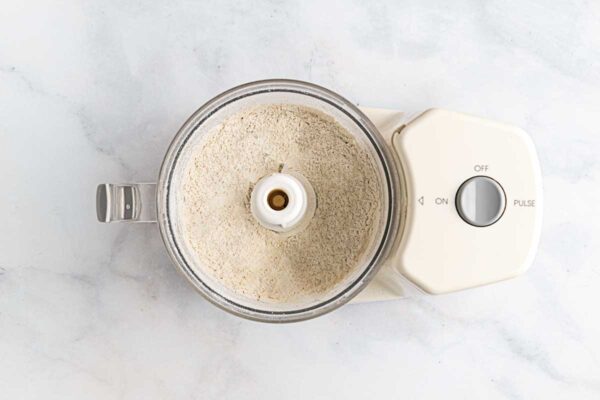
- Process the flour, sugar, and salt in a food processor. Add the shortening and pulse until coarse.
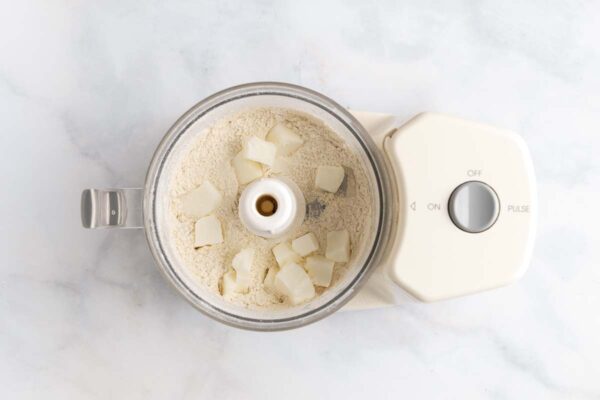
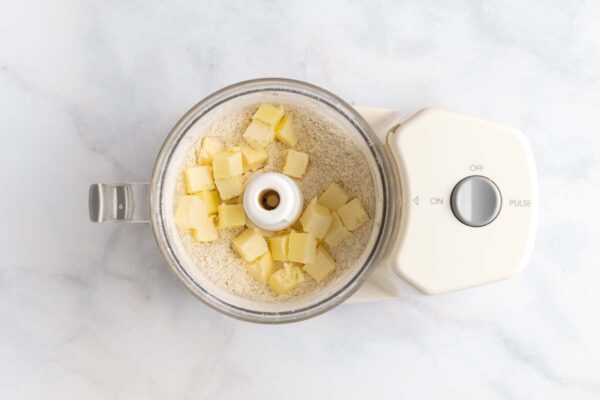
- Add the butter.
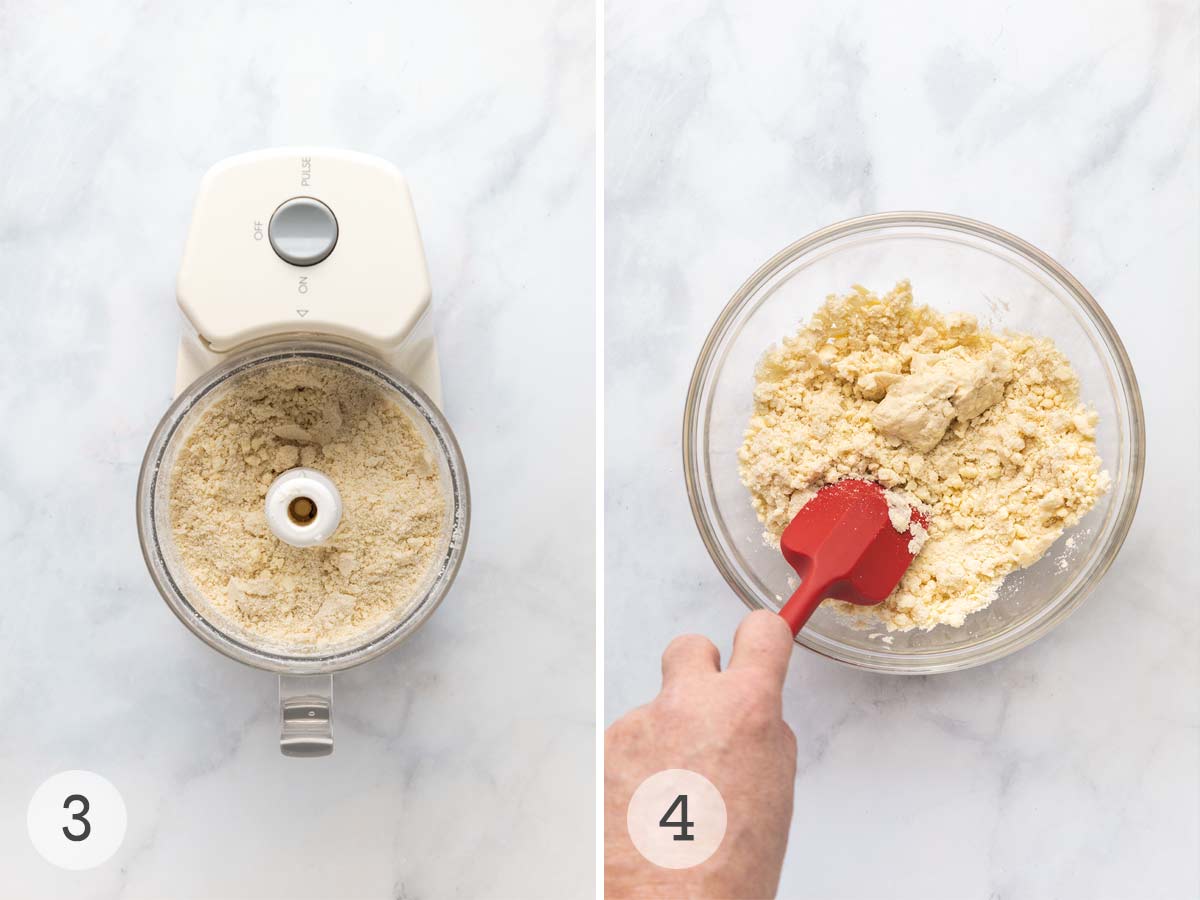
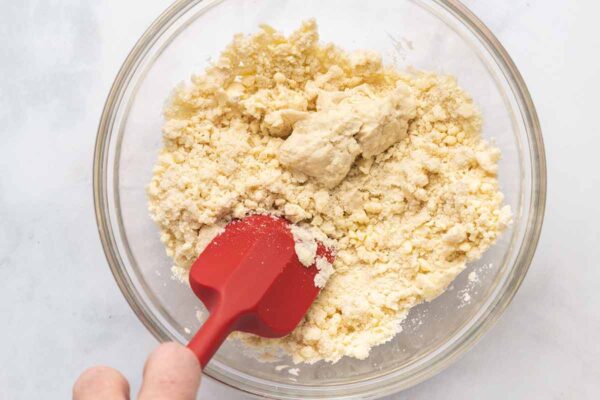
- Pulse until the mixture until crumbly. Transfer to a bowl.
- Stir in 3 tablespoons of water and mix until the dough sticks together.
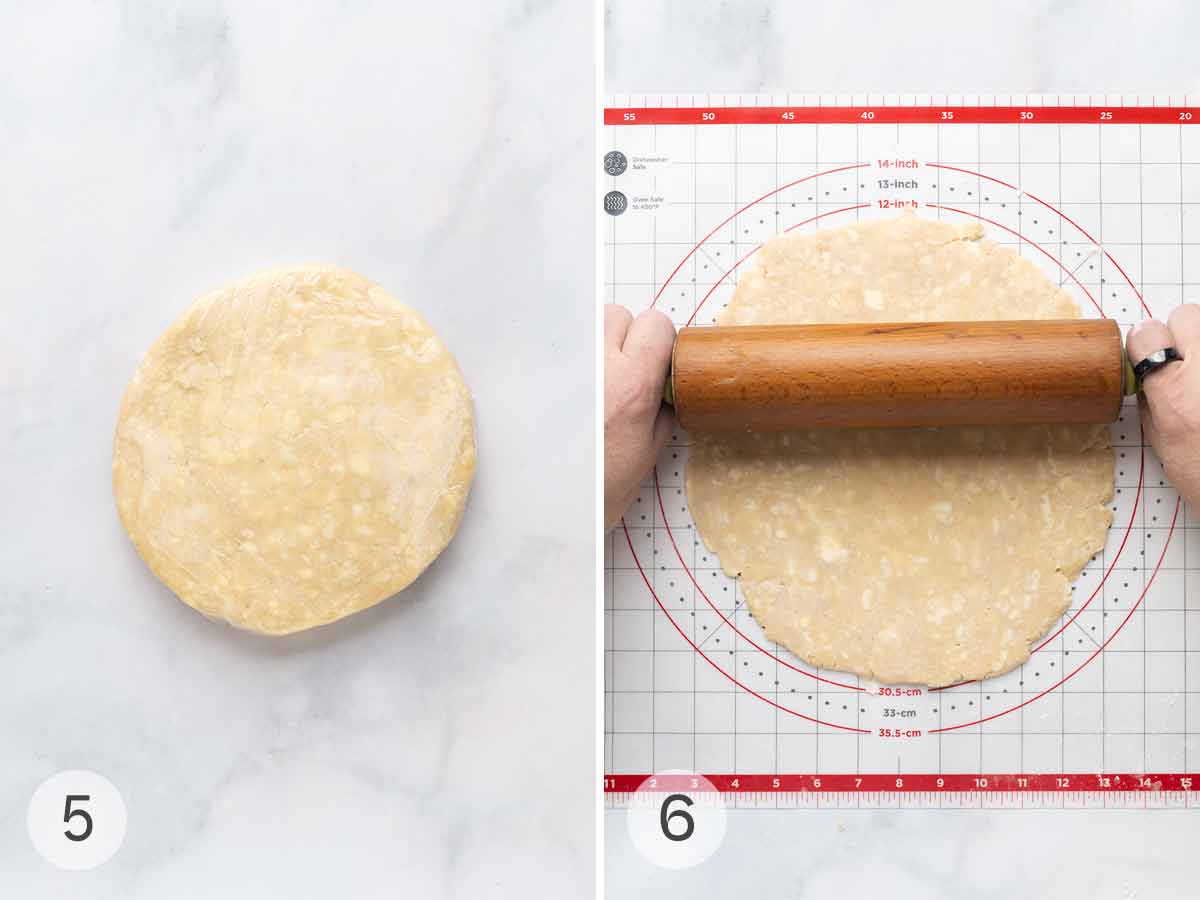
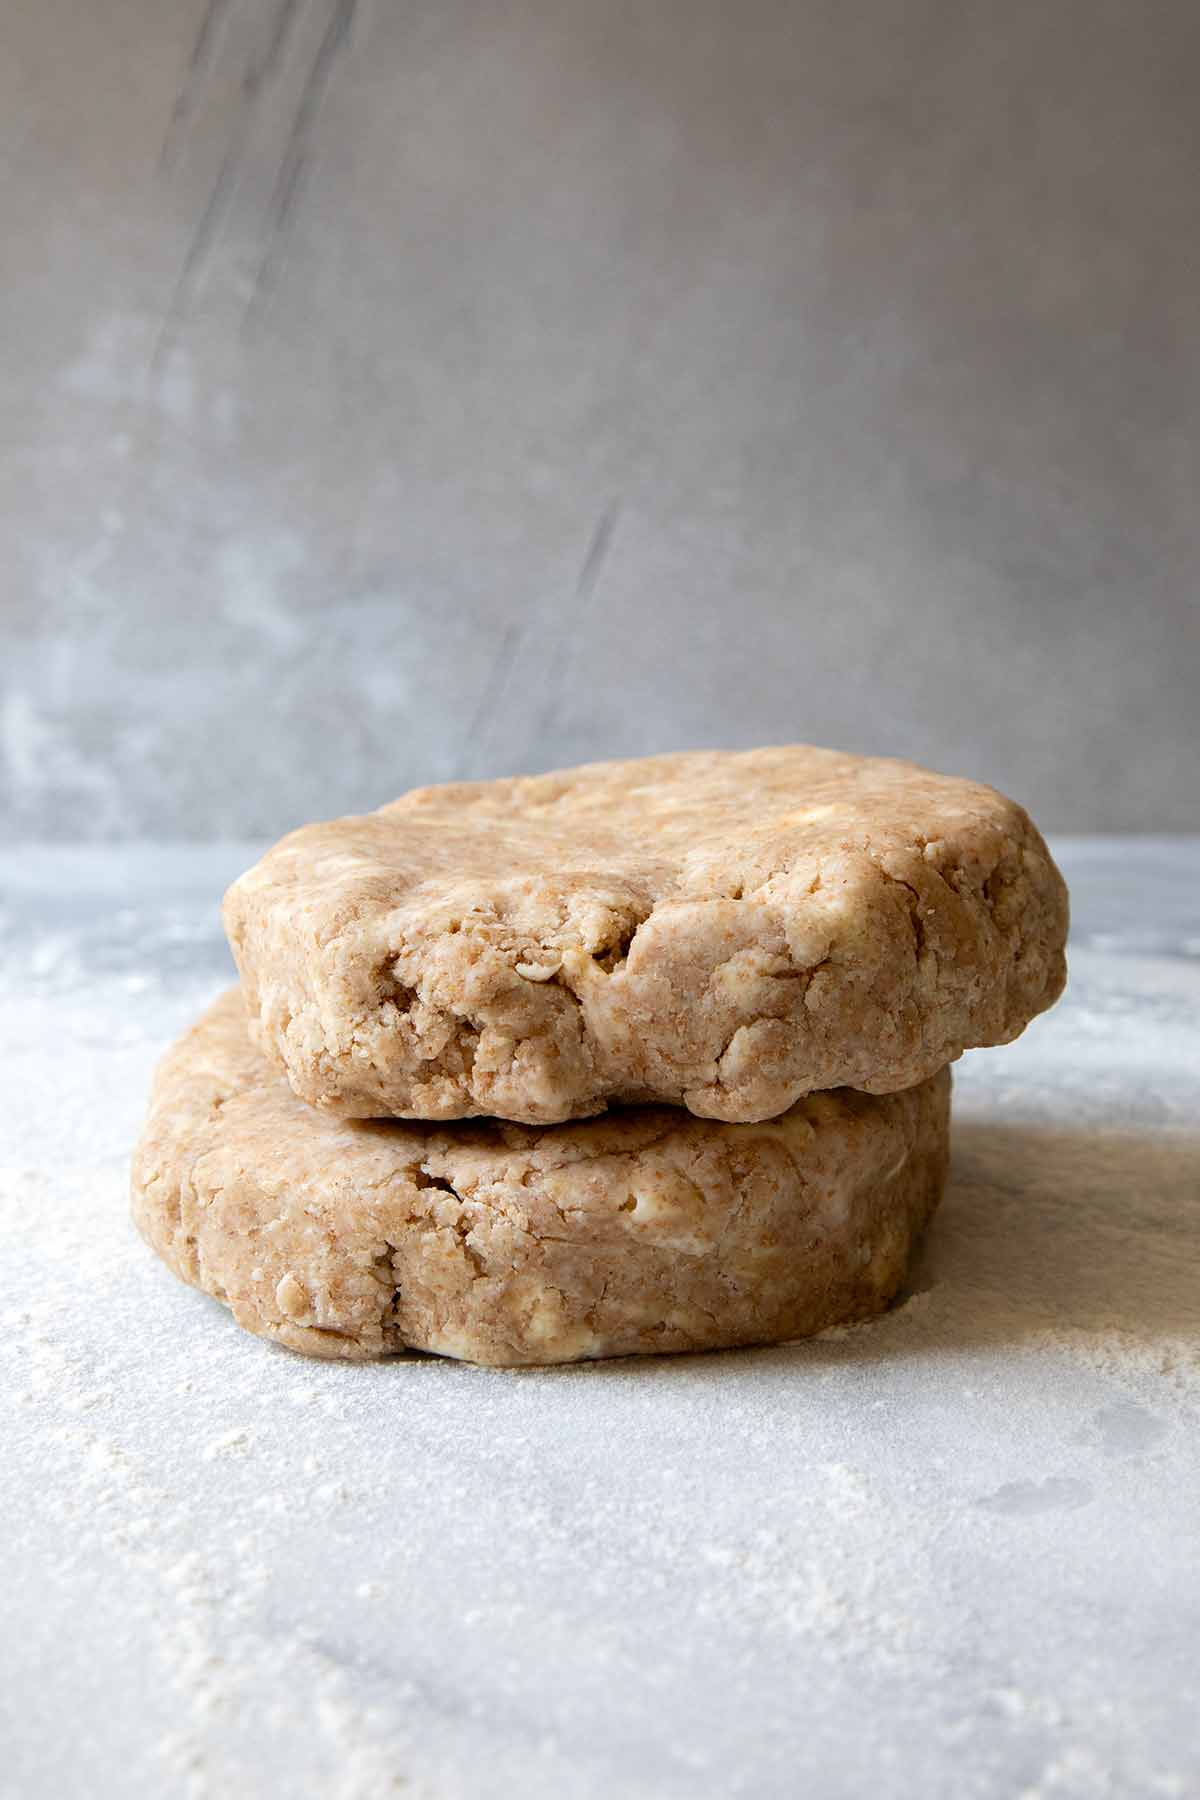
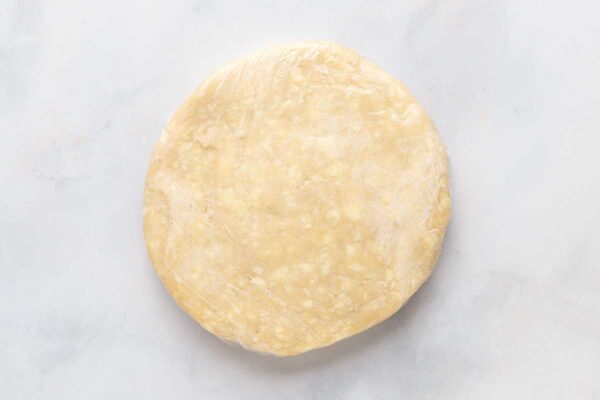
- Wrap in plastic and chill for at least 1 hour.
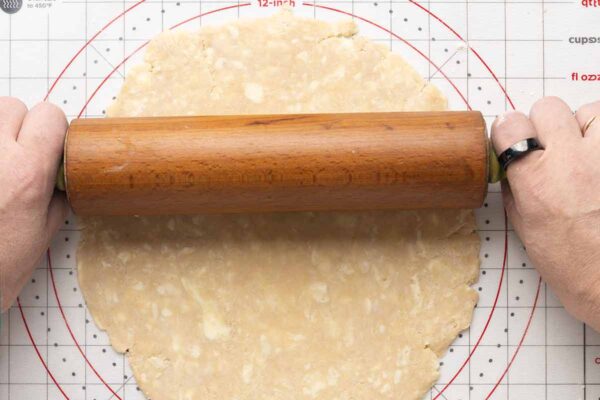
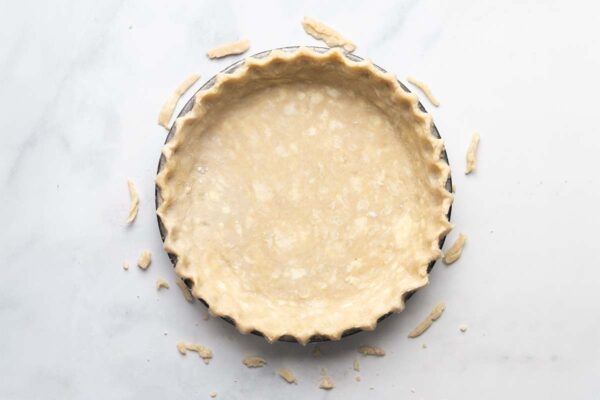
- Roll out the dough to a 12-inch circle and transfer to a 9-inch pie plate.
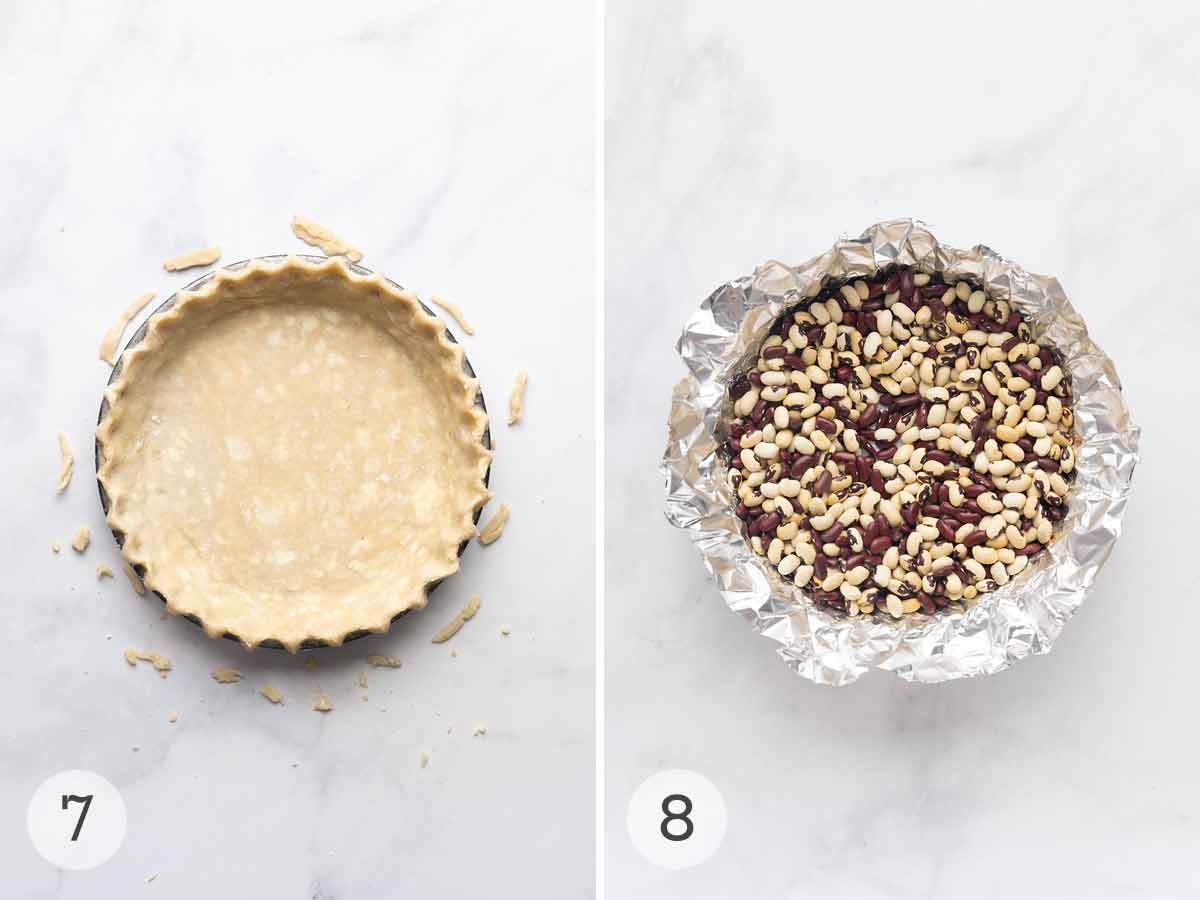
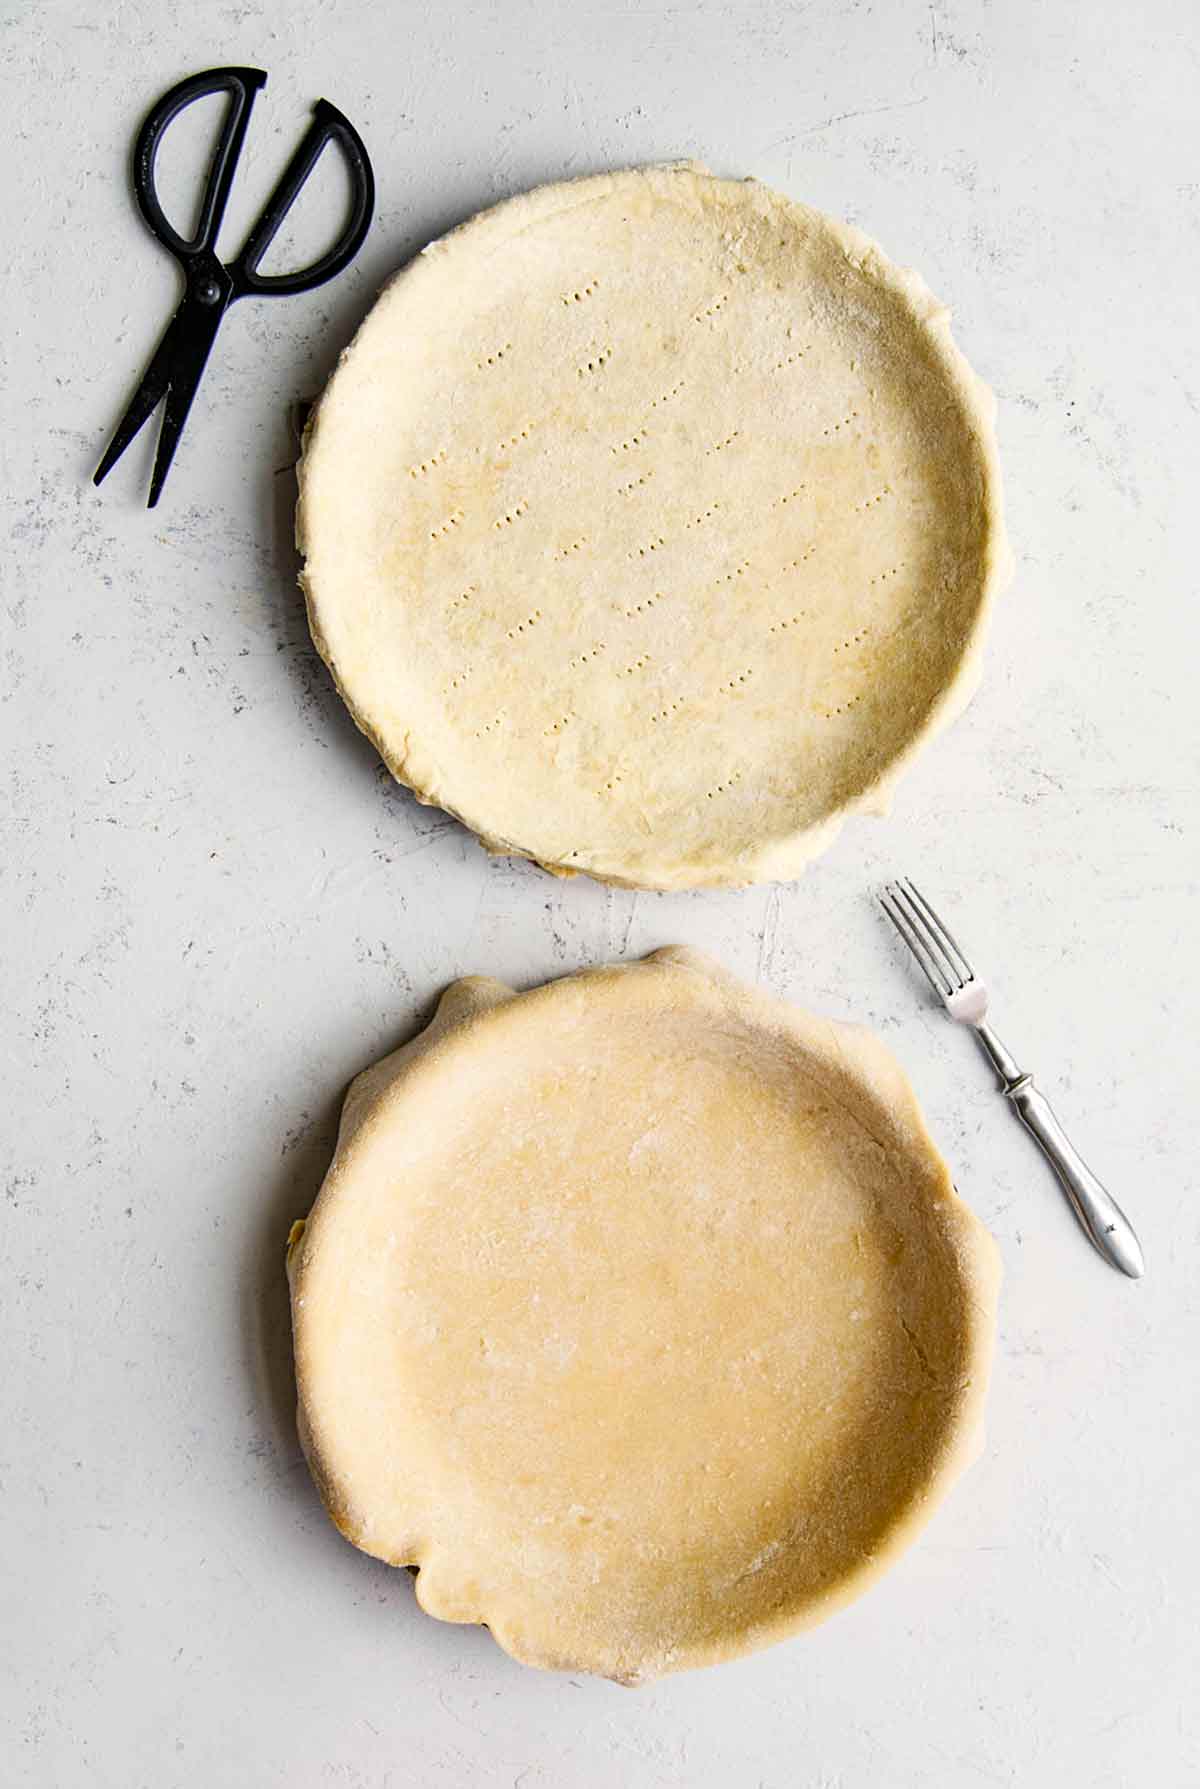
- Trim and crimp the edges. Wrap in plastic and freeze for 30 minutes.
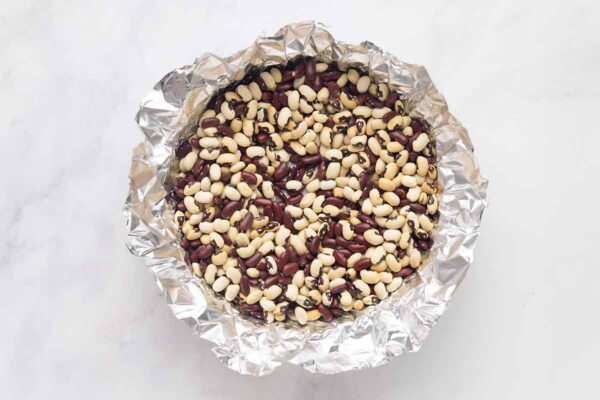
- Line the pie crust with parchment or foil and fill with pie weights, beans, or rice. Bake at 375°F until lightly golden on the edges. Remove the weights and paper or foil and continue to bake until just beginning to dry in the center.
Common Questions
Want to save this?
Absolutely. The pie dough can be prepared up to 2 days in advance or frozen for up to 1 month before using. Keep the dough tightly wrapped in plastic until ready to use.
Baked pie crust can be frozen for up to 1 month. Let it cool completely, then wrap it in plastic before freezing.
There are a few tricks to rolling out your pie dough with ease. First, make sure your dough is cool but not too cold. Letting it sit on the counter for a few minutes before rolling will help.
Always roll from the center outward. This allows you to roll the dough evenly. After each pass of the rolling pin, give the dough circle a quarter turn to create an evenly shaped circle.
For more detailed tips on rolling pie dough, see this article on how to roll a pie crust.
Pro tips & troubleshooting
- Keep your ingredients cold. Cold butter and cold water will help give the pie crust a flaky texture.
- Only add enough water just to bring the dough together. Too much water will result in an overly sticky dough, and too little water will make the dough crumbly and difficult to roll.
- If your pie dough is too firm to roll out after chilling, let it sit at room temperature for about 5 minutes, then try again. Don’t let it sit for too long, though, as it may become sticky.
- To prevent the dough from sticking, flour your rolling pin and work surface, and use a silpat mat for rolling out the dough.
Write a Review
If you make this recipe, or any dish on LC, consider leaving a review, a star rating, and your best photo in the comments below. I love hearing from you.–David
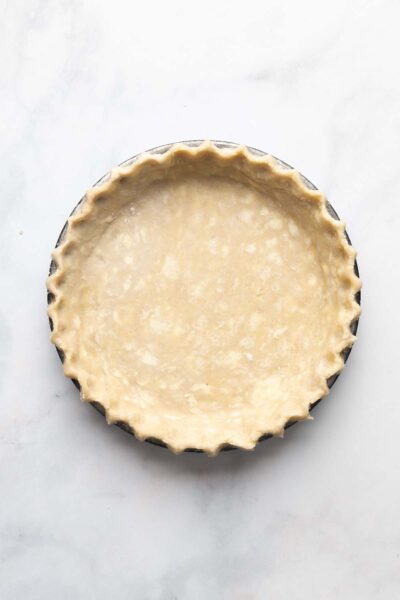
Food Processor Pie Crust
Ingredients
- 1 ¼ cups all-purpose flour
- 1 tablespoon granulated sugar
- ½ teaspoon salt
- 4 tablespoons cold vegetable shortening, cut into ¼-inch (6-mm) pieces
- 6 tablespoons (3 oz) cold unsalted butter, cut into ¼-inch (6-mm) pieces
- 3 to 4 tablespoons ice water
Instructions
- Dump the flour, sugar, and salt in a food processor and process until combined, about 5 seconds.
- Toss in the shortening, scattering it evenly over the flour mixture, and pulse until the mixture resembles coarse cornmeal, about 10 seconds.
- Toss in the butter, again scattering it evenly, and pulse until the mixture resembles coarse crumbs, about 10 pulses. Dump into a bowl.
- Sprinkle 3 tablespoons ice water over the flour mixture. Reach for a rubber spatula and stir until the dough sticks together when you press it. If the dough doesn't come together, add the remaining 1 tablespoon water.
- Turn the dough onto a sheet of plastic wrap, form it into a 4-inch disk, wrap it tightly in plastic wrap, and refrigerate for 1 hour. (You can refrigerate the dough for up to 2 days or freeze it for up to 1 month. If frozen, let the dough thaw completely on the counter before rolling it.)
- Remove the dough from the fridge and let it warm up and soften slightly, about 10 minutes. On a lightly floured work surface, roll the dough into a 12-inch circle.
- Loosely roll the dough around your rolling pin so the pin supports the dough, hold the dough over a 9-inch pie plate, and gently unroll the dough onto the plate, letting the excess dough hang over the edge. Ease the dough in place in the pie plate by gently lifting the edge of the dough with one hand while pressing it against the bottom and sides of the pie plate with your other hand.
- Trim the overhang to 1/2 inch beyond the edge of the pie plate. Tuck the overhang under itself so that the folded edge is flush with the edge of the pie plate. Crimp the dough evenly around the edge of the pie plate using your fingers. Wrap the dough-lined pie plate loosely in plastic and freeze until dough is firm, about 30 minutes.
- Adjust the oven rack to the lower middle position and heat the oven to 375°F (190°C).
- Line the chilled pastry in the pie plate with two 12-inch squares of parchment paper or a double layer of aluminum foil, covering the edges to prevent burning. Fill the pie plate with pie weights, dried beans, or uncooked rice.
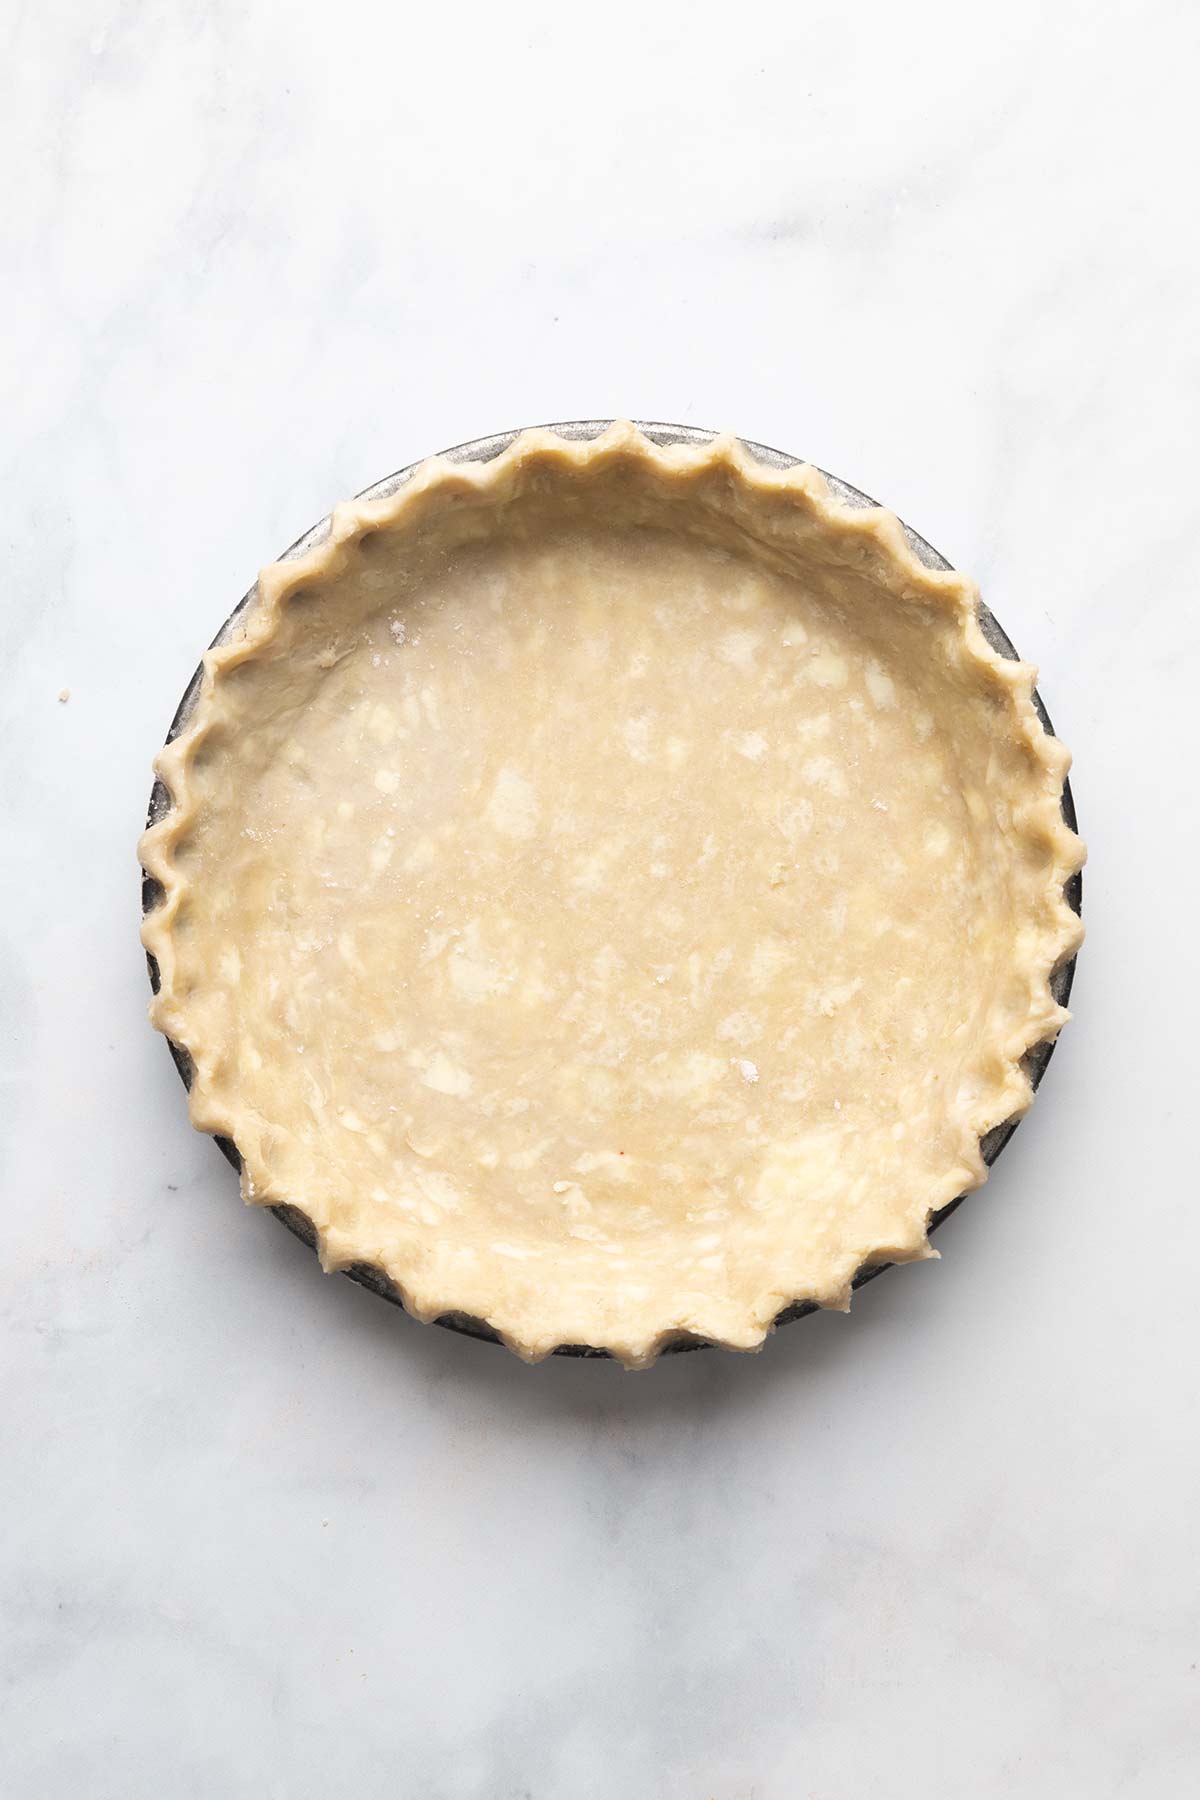
- Bake until lightly golden around the edges, 18 to 25 minutes. Carefully remove the weights and parchment or foil, rotate the pie plate, and continue to bake until the center begins to look opaque and slightly drier, 3 to 6 minutes. Let cool completely, at least 1 hour.
Notes
- Use cold ingredients–Cold butter and cold water will help give the pie crust a flaky texture.
- Don’t add too much water–Only add enough water to just bring the dough together. Too much water will result in an overly sticky dough, and too little water will make the dough crumbly and difficult to roll.
- Let it warm up a little–If your pie dough is too firm to roll out after chilling, let it sit at room temperature for about 5 minutes, then try again. Don’t let it sit for too long though, as it may become sticky.
- Avoid sticky dough–To prevent the dough from sticking, flour your rolling pin and work surface, and use a silpat mat for rolling out the dough.

Explore More with AI
Nutrition
Nutrition information is automatically calculated, so should only be used as an approximation.
Recipe Testers’ Reviews
I used only 3 tablespoons of ice water, and the dough was quite moist (more so than I’m used to with a crust). However, after resting in the fridge, it was a soft but not wet consistency and rolled out without any issues.
This food processor pie crust was buttery and crumbly, and I never suspected it would turn out so well because the dough was so sticky. While preparing the dough, I only used 3 tablespoons of ice water and baked it for the full 25 minutes.
