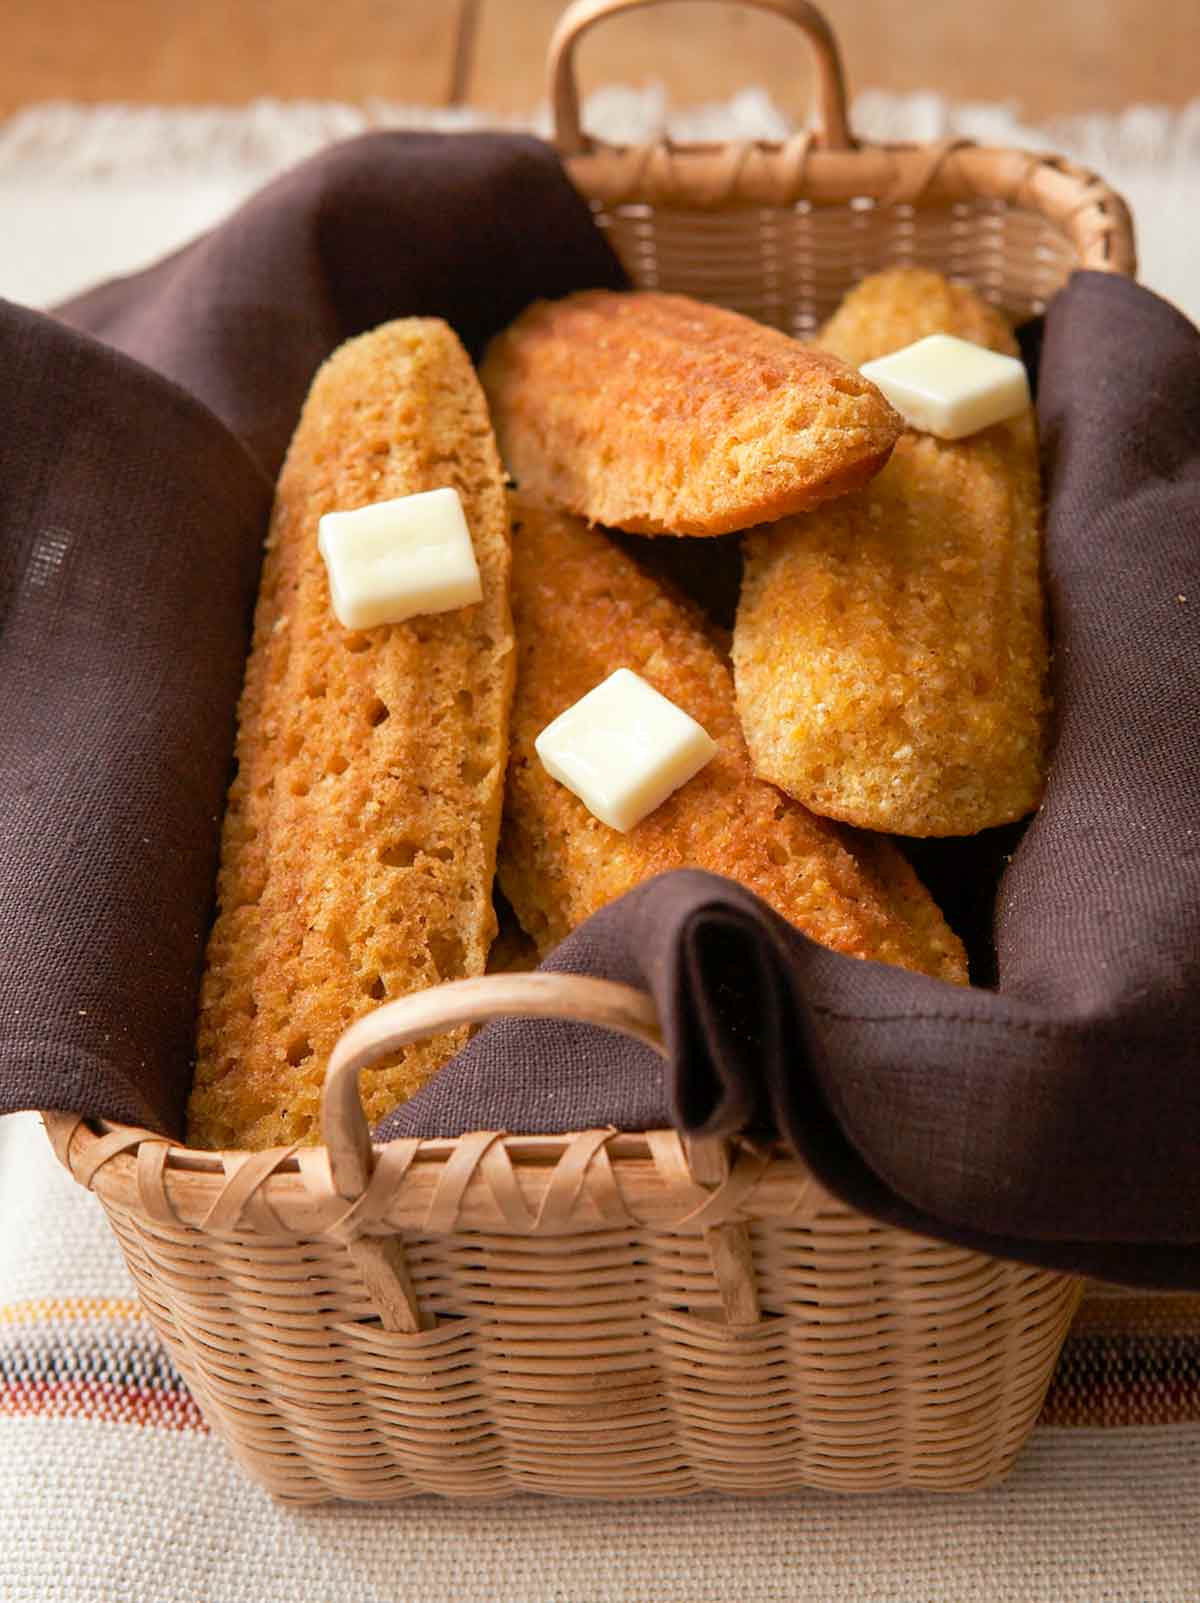
Corn sticks were a big part of my childhood. When I was growing up, we often had dinner at Morrison’s Cafeteria. My favorite part of the outing was reaching the end of the line where the hot corn sticks were served. They were crisp on the outside, soft on the inside, and topped with pats of butter that melted over them. The cafeteria is long gone, but not the corn sticks. They survive in this recipe.–Elinor Klivans
LC LUCKY SEVEN NOTE
We know. You’re thinking, “I don’t have a corn stick pan and I’m not going to buy one.” Yet part of what makes this corn stick recipe from baker Elinor Klivans so spectacular, as she explains above, is the lovely old-fashioned cast-iron pan in which it’s baked. The batter just doesn’t actualize its fullest potential when made in a baking dish or muffin tins. (Though we’ve been told by Southerners that, in a pinch, a madeleine pan turns out not at all shabby, albeit rather squat, corn sticks.)
What do we think is a shame? That the darn pan affords only seven corn sticks. How often do you have seven people at your table? What happens if you’ve invited six guests? It could get not so pretty if anyone finds out there’s a single, lonely leftover corn stick hanging out in the kitchen. Or, heaven forbid, what if you’re expecting eight?! It’s far beyond the normal call of host or hostessing to ask us to do without one of these little lovelies. It’s a problem that’s easily remedied, though. Simply double the recipe and make the corn sticks in batches. Or invest in a second pan. Trust us.
CAN I MAKE CORN STICKS AHEAD OF TIME?
You might think that these gorgeous little morsels are only good as soon as they’re pulled from the pan. Luckily, you can make them ahead of time–meaning, you can make a LOT more than 7. The corn sticks can be baked a day ahead, covered, and left at room temperature. To serve, preheat the oven to 275ºF (135°C) and reheat the corn sticks, uncovered, just until warmed through, about 10 minutes. Simple and solves the problem of odd-numbered sticks, right?
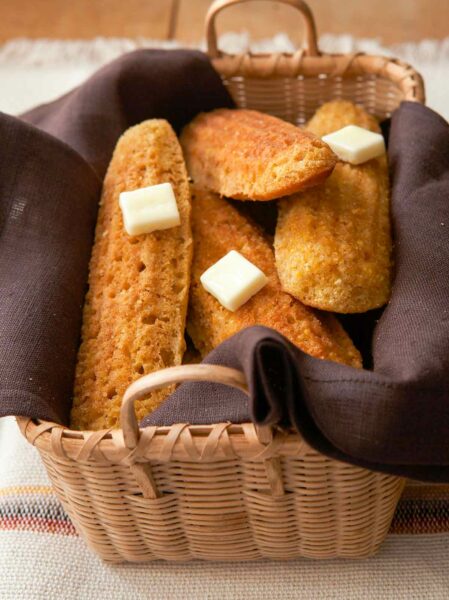
Southern Corn Sticks
Equipment
- 1 cast-iron corn stick pan with 7 wells
Ingredients
- 2 teaspoons unsalted butter, melted
- 1 tablespoon plus 1 teaspoon mild vegetable oil
- 2 tablespoons unbleached all-purpose flour
- 3/4 cup fine-grind stone-ground yellow cornmeal
- 1 tablespoon granulated sugar
- 1/2 teaspoon baking powder
- 1/2 teaspoon baking soda
- 1/4 teaspoon kosher salt
- 1/2 cup buttermilk, (either low-fat or full-fat)
- 1 large egg, lightly beaten
Instructions
- To prepare the corn sticks, position the oven rack in the center position and preheat the oven to 425ºF (218°C).
- In a small saucepan over low heat, melt the butter with 1 teaspoon of the oil. Use a pastry brush to coat each corn stick pan well generously with the butter-oil mixture. Place the corn stick pan in the oven to heat while you mix the batter.
- In a large bowl, stir together the flour, cornmeal, sugar, baking powder, baking soda, and salt. Add the buttermilk, egg, and the remaining 1 tablespoon oil and use a large spoon to stir the batter slowly, just until the ingredients are combined. There will be some small lumps; that’s okay. No need to panic.
- Remove the corn stick pan from the oven and spoon about 2 tablespoons of the batter into each well. The batter should fill the well to the rim.
- Bake the corn sticks until the tops are lightly browned and a toothpick inserted in the center comes out clean, about 15 minutes. If you peek at the bottom of the corn sticks, they'll be browned. Let the corn sticks cool in the pan on a wire rack for 5 minutes (but no longer than that).
- Use a small, sharp knife and your fingers to loosen the edges of the corn sticks and carefully move the sticks from the pan to the rack. Don't turn the pan upside down to release the corn sticks because their weight may break them. Serve warm.paring knife
Nutrition
Nutrition information is automatically calculated, so should only be used as an approximation.
Recipe Testers’ Reviews
I jumped at the chance to test this recipe if only to have a good excuse to pull out my corn stick pans. I was raised on corn sticks, so they’re comfort food for me. This version baked perfectly and was light and delicate. The recipe calls for a higher proportion of flour and more sugar than the corn sticks I grew up on, so they’re just a tad sweet for my taste, but I’d call this a good compromise for those who want to try a Southern cornbread but want something with a bit of sweetness.
One thing I did slightly differently than in the instructions: I heated the corn stick pan in the oven before brushing on the melted butter. I brushed the butter on the hot molds just before filling them with batter.
I grew up in Florida and remember eating at Morrison’s Cafeteria. Of course, it was many years ago, but these corn sticks taste just as I remember them from Morrison’s. Are they really that delicious, or are they enhanced by the memories they brought back for me? I side with the former; these really are that delicious.
The recipe is straightforward and easy. The corn sticks, hot out of the oven with butter melting over them, were definitely worthy of the highest Testers Choice distinction.
I’m a Southern girl who grew up on sweet cornbread. Just like the recipe mentions, my corn stick pan has been handed down from generation to generation.
This recipe was very quick and easy to prepare. The batter was ready in the same amount of time it took my pan to heat, and the baking time was just as the recipe stated. The result was a perfect corn stick that came out of the pan with a slight prod from the toothpick I tested it with.
I see a trip to the store in my future to get more pans so I can feed the crew when everyone is here. The corn sticks had a well-balanced corn flavor that would be perfect for any chili, soup, or pot of pinto beans.
These are wonderful. The only thing I’d do differently next time is to omit the sugar. I just don’t think cornbread needs sugar, but that’s a Southern taste preference of mine. I love using my cast-iron corn stick pan, and it made these just as promised: crunchy on the outside and tender on the inside.
The baking time was right on the mark. My grandma taught me to preheat the cast-iron skillet with melted butter for the best cornbread, and it was nice to see this tip in this recipe.
I loved that these were so tender and crispy. I couldn’t find my corn stick pan (and believe me, I looked and looked), so I whipped out the cast-iron skillet and put it in the hot oven with the butter and batter.
I’ll use this recipe again for sure. We had a Morrison’s Cafeteria in our town, too. There were many times I’d go and enjoy just about everything there. Thanks for the memory, Elinor!




Excellent! Just what my Southern hubby was craving! And they slid right out of my newly acquired vintage cornstick pan.
Ooooh, a vintage cornstick pan, Dee? Now I am jealous!
Picked up a pre-1960 cornbread stick pan from a flea market for $8. Cleaned it up, seasoned it and went on the hunt for a recipe.
Landed on this page. Glad I did. These were PERFECT!!! The recipe makes the right amount of batter, they taste great, cook perfectly. Thinking about making another batch right now.
Magnificent, Jeff! Love the photo. Love that your flea market find worked out so well. Sometimes old-fashioned remains the best, yes?
Grew up with cornbread sticks and cornbread in a cast iron pan, but love the sticks the best. This recipe is great, although a little too sweet for my Texas taste, so I used only half the sugar, and like Melissa I heated the pans and then put the butter and batter in. Can’t beat the crisp texture and the taste!
Nice, Patti! Appreciate your kind words. Like you, I love the proportion of crisp exterior that comes with corn sticks as opposed to corn bread. Can’t be beat.