

Email me the recipe, David
TL;DR (Quick-Answer Box)
- What it is: An incredibly fast, press-in pie dough made with melted butter that requires absolutely no chilling or rolling, resulting in a perfectly buttery, tender, and crisp crust.
- Why you’ll love it: A foolproof, revolutionary crust recipe that takes just five minutes of prep, saving you time and stress, especially during the busy holiday season.
- How to make it: Whisk together dry ingredients, mix in cooled melted butter until crumbly, then simply press the dough into your pie plate and bake.

Jump To
This pie crust is unlike any you’ve ever made. It certainly threw me for a loop the first time I whipped it up. It’s a press-in crust with no rolling or chilling required. So no more panicking about dough becoming too soft, sticking to the counter, or being overworked. And that means all you avowed pie-crust haters can finally, finally make a pie!
Plus, it’s buttery and crisp, and it’s so easy to make that it might just become your go-to crust recipe. You can use either granulated or light brown sugar. Both are delicious here.
If you’re pre-baking the crust, use dried beans or pie weights, which can be reused over and over again. I stash mine in a zip-top bag, but Mason jars are great, too.
Chow,


Why this pie crust recipe works
This recipe ingeniously combines simple ingredients and techniques to achieve a delicious, crispy pie crust.
Using melted butter rather than traditional shortening or cold butter creates a tender and crumbly dough that’s easy to press into the pie plate. Skipping a trip to the fridge saves oodles of time.
The combo of flour, sugar, and salt provides the perfect balance of structure and flavor, giving you a fabulous golden-brown and dee-licious crust. Whether you choose granulated or brown sugar, this recipe delivers a foolproof pie crust that’s both convenient and incredibly tasty.
Featured Review
This is a delicious no-fuss crust. It has a nice flavour and isn’t too sweet. It blind baked beautifully without shrinking and worked well for a sweet potato tart.
Sadie
Tasting is believing
Close your eyes and take a nibble of this no-roll-out pie crust, and you may just mistake it for a shortbread cookie. Is that such a terrible thing? The recipe does make you work, though, seeing as you need to decide whether to use granulated or brown sugar. We tend to reach for the former with traditional fruit fillings, the latter for spiced nut or custard fillings.
Melted-butter pie crust pro tips
☞ Squeeze me!
When mixing the dough, aim for a moist and crumbly texture. It should hold together when pressed but not be overly wet or sticky.
☞ Uniform is the way to go
Pressing the dough evenly into the bottom and up the sides of the pie plate creates a uniform crust.
Make ahead & storage
You can definitely make this dough ahead of time. After mixing, form it into a disc, wrap it tightly in plastic wrap, and refrigerate for up to 3 days. Or freeze it for up to 2 months.
When ready to use, allow the dough to soften to room temperature before pressing it into a pie tin.
More to die-for pie crust recipes

Food Processor Pie Crust
2 hrs 10 mins

Vinegar Pie Crust
40 mins
Whole Wheat Pie Crust
1 hr 5 mins
Perfect Pie Crust
1 hr 15 mins
Write a review
If you make this shortcut pie crust, or any pie on LC, consider leaving a review, a star rating, and your best photo in the comments below. I love hearing from you.—David
Shortcut Pie Crust
Ingredients
- 1 1/2 cups unbleached all-purpose flour
- 1/4 cup granulated or packed light brown sugar
- 1/2 teaspoon fine sea salt
- 8 to 10 tablespoons melted unsalted butter, cooled to warm (You might not need all the butter.)
Instructions
- Whisk together the 1 1/2 cups unbleached all-purpose flour, 1/4 cup granulated or packed light brown sugar, and 1/2 teaspoon fine sea salt in a medium bowl.
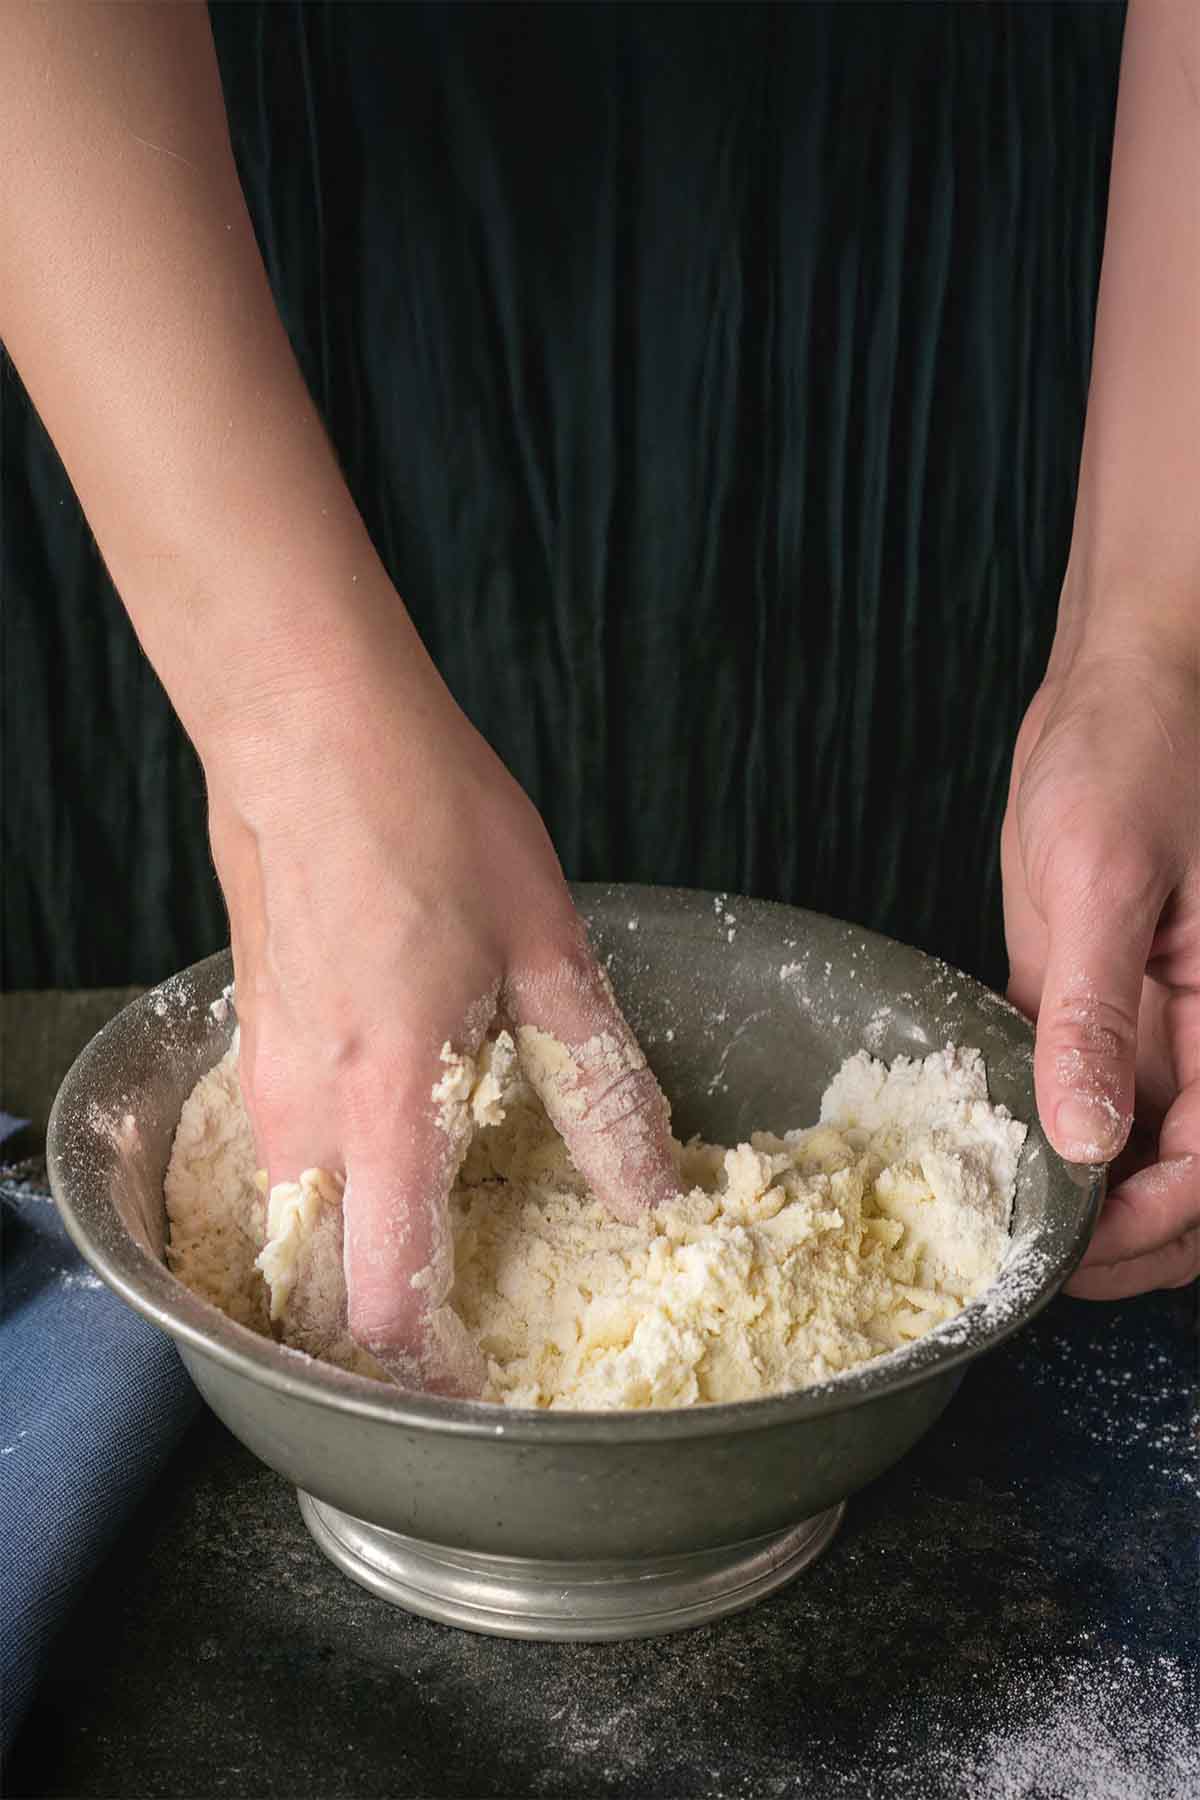
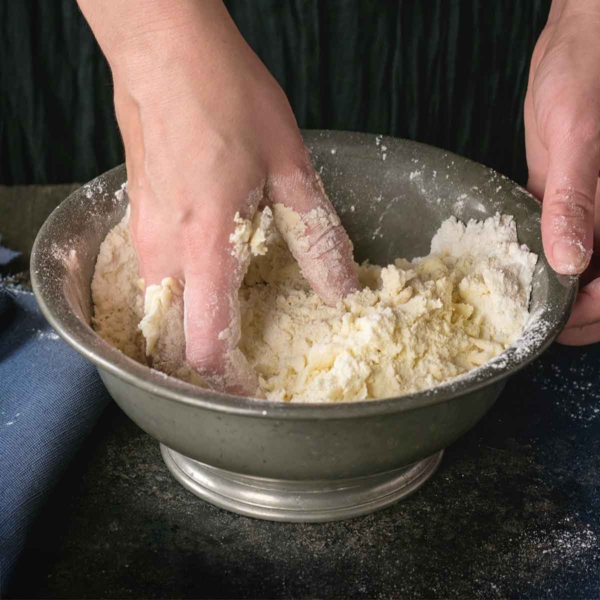
- Slowly drizzle in 8 tablespoons (113 g) of the melted butter and stir with a fork, just until the mixture looks moist and crumbly.
☞ TESTER TIP: If the dough's dry, add the remaining melted butter, 1 tablespoon (14 g) at a time.
- Press the dough evenly over the bottom and up the sides of a 9-inch (23-cm) pie plate. You can crimp the edges decoratively or leave them rustic. Your choice.
- Bake the pie crust according to your fave pie recipe.
Notes
Blind-baking this crust
If the recipe calls for a pre-baked pie crust, this works perfectly.- Preheat the oven to 350°F (175°C).
- Press the dough into the pie plate.
- Line the pie crust with aluminum foil or parchment paper, fill it with dried beans or pie weights, and bake for 15 to 20 minutes.
- Remove the foil and beans or weights and bake for an additional 5 minutes, or until golden brown. Let cool before filling.

Nutrition
Nutrition information is automatically calculated, so should only be used as an approximation.
Recipe Testers’ Reviews
Did you know only 68% of the recipes we test make it onto the site? This recipe survived our rigorous blind testing process by multiple home cooks. It earned the Leite’s Culinaria stamp of approval—and the testers’ reviews below prove it.

This recipe makes a rich and delicious crust that is reliable no matter the filling. A little disclaimer here is that rather than a pie crust, what you’ll get is more like a shortbread cookie crust. Using melted butter makes a very moist mixture, but I personally think the wet texture makes it easier to press the dough into a pie plate evenly by hand (no cracks!). Pre-baking worked well when I tested it in a sweet potato pie recipe a few years ago. Most recently I filled a raw crust with partially cooked pears for a pear crumb pie. The crust baked beautifully with a golden bottom (20 minutes at 400°F and an additional 45 minutes at 375°F after covering the edges with foil). When serving your pie, you’ll be pleased that the crust slices neatly from the edges to the center.

I’m in love with this piecrust! I don’t have to clear off my very crowded kitchen counter to roll it out; I just toss it into the pan and make it pretty! And it tastes amazing. I don’t have pie weights and it baked up just fine lined with foil. I’m off to find other fillings to use just so I can make it again!

Wow. I loved this recipe for its ease and simplicity. It’s so easy to assemble and certainly withstood a heavy sweet potato custard filling. Of course, it’s not light and flaky like a traditional pie crust, but I’d use this recipe in a heartbeat with other custardlike pie fillings.

I made this twice. It’s easy to throw together. The first time I made it with granulated sugar and pressed it into the pie plate. The second time I made it with brown sugar and rolled it out. Both tasted good. Rolling gives a much more even result but requires more flour. The unevenness made it bake unevenly, too. Brown sugar gives the crust an automatic brown look at the prebake stage. It went nicely with the sweet potato pie filling.

This recipe is for a very simple piecrust. It doesn’t require the cold butter or ice water or anxiety over whether the dough is too dry or too wet. Flour, sugar, and salt are combined with melted butter and patted into the pan by hand, so no rolling pin is required.
The option to use granulated sugar or brown sugar is interesting. For testing, I used brown sugar. As I patted the dough into the 9-inch pie pan, my instincts told me that the crust would be too thick but I followed the instructions in the recipe. The dough was easy to work with, and I was able to make a decorative crimp along the edge. I baked the crust for 20 minutes with the weights, and then it took about another 10 to 12 minutes more to get golden brown.
The result was buttery and crunchy like a shortbread-cookie crust. This would work well with sweet fillings, but not with savory fillings. I think the recipe actually makes a bit more dough than is required for a 9-inch piecrust. It’d work in a 10-inch pie pan, maybe even a 9-inch springform pan. Were I to make this again, I’d likely use less if I was making a 9-inch pie.
I’m a bit of a piecrust purist and was shocked at the thought of melting the butter and mixing it all in. I wasn’t sure how this crust would turn out. Overall, it worked well for this pie and the kids all thought it tasted like a sugar cookie. Now I have to figure out how to use it for other types of pie. Also, I’ll have to experiment with making it look prettier.










This is a delicious no-fuss crust. It has a nice flavour and isn’t too sweet. It blind baked beautifully without shrinking and worked well for a sweet potato tart.
Freshly baked and cooled to room temperature, it was crisp and tender but was crunchier and a bit difficult to cut with a fork on the sides after the pie had been chilled overnight.
Sadie, I’m delighted you like the crust and the sweet potato pie. Isn’t it such a great autumn dish?
The reason it was a bit crunchier right out of the fridge is because of the melted butter and sugar. With a traditional pie crust, tiny cold chunks of butter melt in the oven and release steam, creating light, flaky pockets.
Because this recipe uses melted butter, it thoroughly coats the flour, creating a denser, tender structure similar to shortbread rather than flaky layers. Once chilled, that butterfat (and the dissolved sugar) firms up.
To keep that crisp and tender bite, just let the pie sit at room temperature for 30 minutes before serving so the butter can soften back up. Chow!
Thank you for the detailed explanation and solution. I love this crust. It’s the best press-in tart crust I’ve made in the 50+ years I’ve been baking. To me, it’s reminiscent of pan-baked shortbread. It’s buttery, rich, tender, and “short”.
I made it again using brown sugar and adding 1 tbsp cornstarch, and let the chilled pie come to room temperature before serving. The crust was crisp, but much easier to cut with a fork. A foolproof, delicious crust doesn’t get much easier than this one!
Sadie, okay, you’re quickly becoming my favorite baker/reader. Brown sugar and a tablespoon of cornstarch are a smart move. Less gluten and a more tender bite.
Fifty+ years in the kitchen, and you’re still tinkering with a five-ingredient crust. I wanna be you when I grow up. Chow!
I’m an obsessive recipe tester and rarely make the same thing twice. You really can teach a old dog new tricks!
A woman after my own heart!
Amando essas receitas! Dá vontade de fazer todas e devorar. Parabéns. Deus lhe abençoe.
Maria, muito obrigada pelas suas palavras gentis! Espero que você faça muitas das receitas e me conte se fizer! Tenha um ótimo dia.
Please check the salt. In US measurements, it calls for 1/2 teaspoon. In metric, it calls for 1 teaspoon.
John, thanks for your eagle eye. I changed the metric amount to 1/2 teaspoon (3 g). Chow.