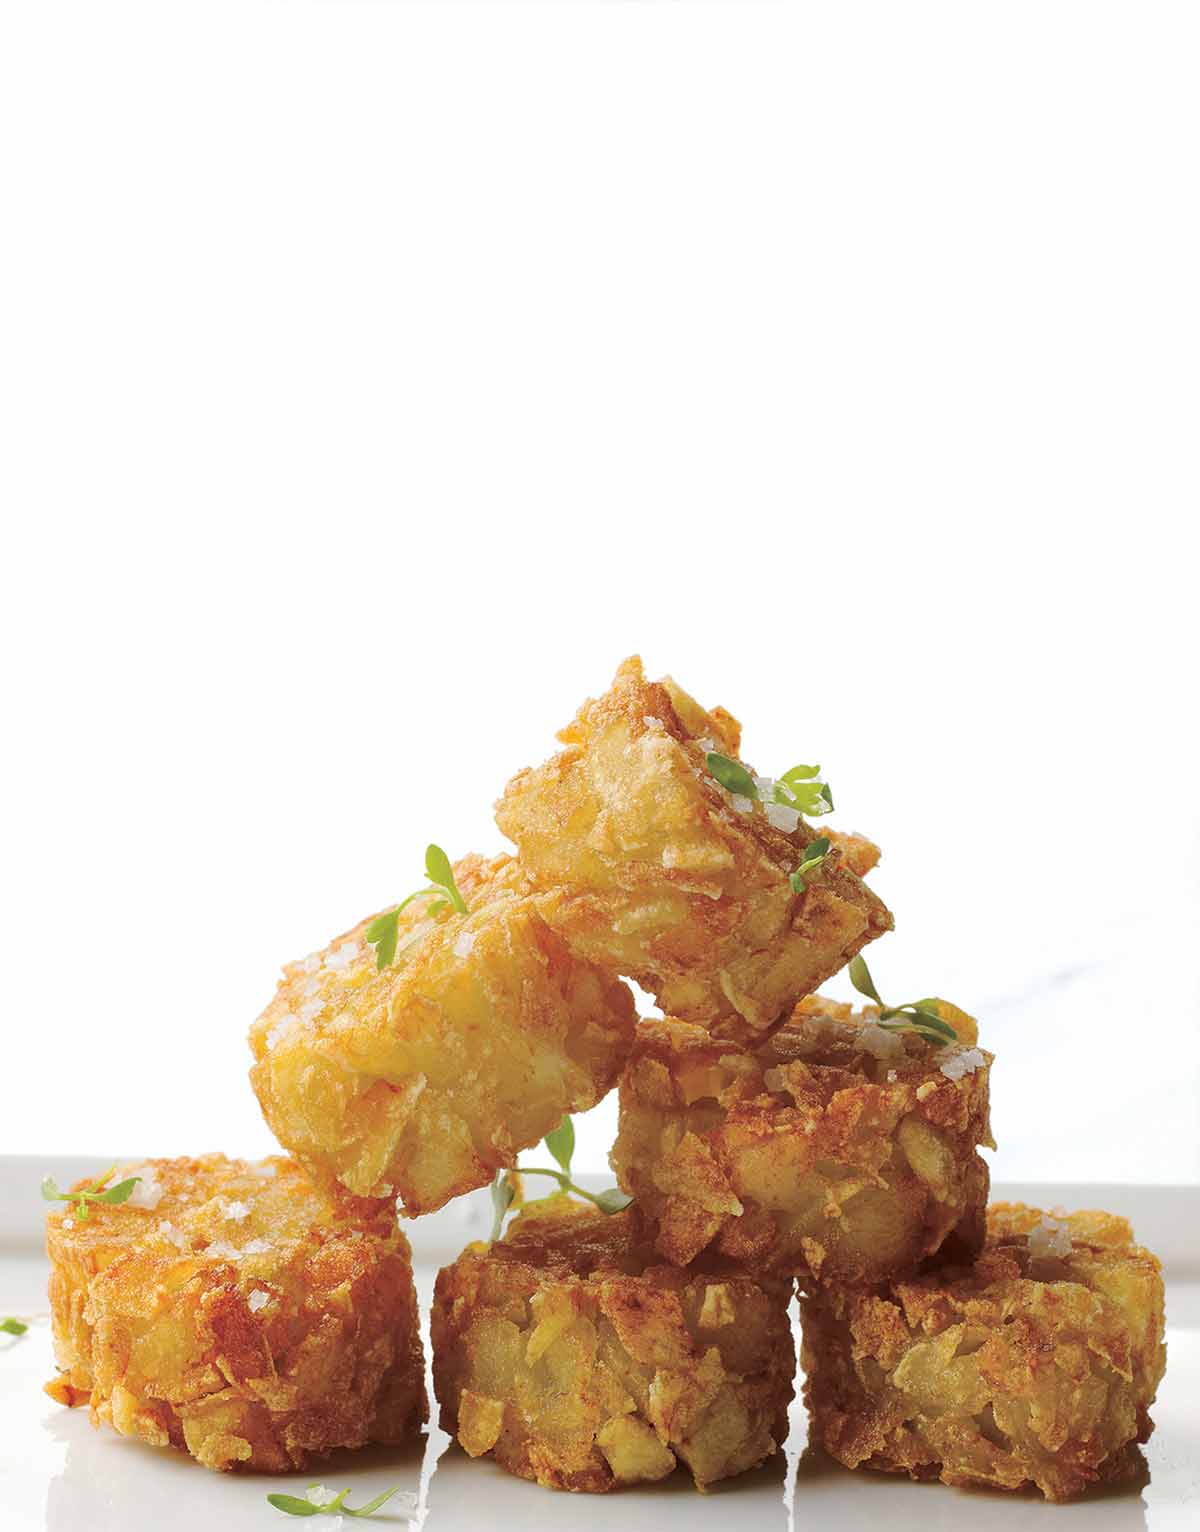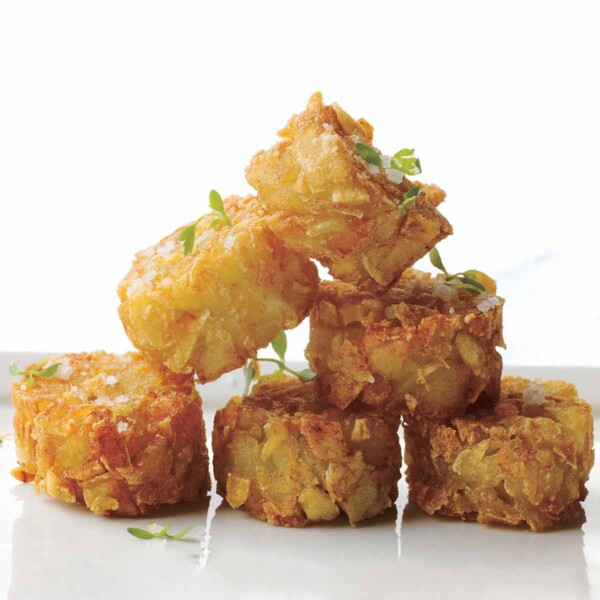
The latest restaurant concept from French chef–and college frat-brother-like character–Michel Richard? Balls. As in Meatballs, his recent love child launched in the Penn Quarter neighborhood of Washington, D.C. Though the restaurant has since closed, Richard reveled in taking the concept quite literally, dishing out sides that follow the same format as the namesake–as well as his jolly round self. Witness Tater Tot™-like orbs usurping the stereotypical squashed square shape. You could try the same with the recipe below, saving yourself a little trouble and just forming potato balls. Or you could remain true to their traditional format. The choice is yours.–Renee Schettler
WHAT ARE SOME TIPS FOR HOMEMADE TATER TOTS?
Why “spuddy”? It’s what you get when you combine “spud” and “buddy,” and the name Tater Tot™—the inspiration for this recipe—was already taken. The Tater Tot™ has a crisp outside and a smooth inside. But it’s much more interesting if you have crunchy little potato bits throughout. The trick is to put some water into the food processor along with the potatoes. When you turn on the processor, the little potato bits float around in the water instead of all staying on the bottom and getting puréed. Then the potatoes are mixed with gelatin for a binder. When you fry the spuddies after chilling them, the gelatin melts away, and this allows the oil to penetrate, firming up the flour and crisping around the potato bits. Be creative about adding flavor to the basic recipe. Coriander or curry works, as does garlic, onion, or parsley.
If you’re entertaining, you can hold the potatoes for a few hours after frying and then do the second and final crisping just before serving. [Editor’s Note: Nifty entertaining trick, eh? Richard also divulges how you can freeze the spuddies, so all you need to do just before guests come over or when you walk into the kitchen on a wretchedly harried weeknight is yank them from the freezer and shove them in the oven. His specific how-tos can be found in the recipe below.]

Homemade Tater Tots ~ Spuddies
Ingredients
- 1 1/2 pounds baking potatoes, about 3 large
- 2 cups cold water
- 1 tablespoon unflavored gelatin
- 2 tablespoons Wondra, instant flour
- Salt
- Peanut or canola oil , for deep-frying
- Fleur de sel
Instructions
- Preheat the oven to 250°F (121°C). Position a rack in the center of the oven.
- Peel and rinse the potatoes. Cut each potato lengthwise in half and then lengthwise in half again to make 4 wedges. Cut each wedge crosswise into 4 pieces. Place the potato chunks in a food processor with the cold water and pulse until the potato chunks are about a 1/4 inch or so. They don’t need to be totally consistent in size, but do be careful not to overprocess them.
- Dump the potatoes in a colander and rinse them under cold running water, shaking the strainer to remove as much water as possible, then spread the potatoes on a towel. Cut any rebellious potatoes that are larger than a 1/4 inch into smaller chunks. Place another towel on top and then roll the towels up tightly to remove all excess moisture from the potatoes.
- Spread the potatoes in an even layer on a baking sheet. Place the gelatin in a small dry sieve or tea strainer and sprinkle it evenly over the potatoes. Place the potatoes in the oven until the gelatin has melted, 4 to 5 minutes. The potatoes will appear oily because of the gelatin; this is okay. Remove the pan from the oven and set aside to cool slightly.
- Dump the potatoes into a bowl and mix well with a rubber spatula to evenly distribute the gelatin. Mix in the flour and salt to taste.
- Lightly rub your work surface with water, then place a piece of plastic wrap at least 18 inches long on the work surface with the short end toward you. The water will anchor the plastic to the counter. Place half the potato mixture on the plastic, about 6 inches (15 cm) from the edge closest to you, and use your hands to shape it into a log approximately 8 inches (20 cm) long, pressing the potatoes to hold them together. Lift the edge of the plastic wrap closest to you up and over the log, bringing it down on the far side of the potato mixture. Roll it into a compact log, using the ruler or the back of a chef’s knife to push against the roll as you compress it. If necessary, squeeze the plastic at the ends to compact the mixture as you roll. The finished log should be about 1 1/2 inches (4 cm) in diameter. Twist the ends of the plastic and tie them tightly with kitchen twine. If there are any air spaces in the potatoes that are visible through the plastic, prick a small hole in the plastic to release the air. Repeat with the remaining potatoes to make a second log.
- Place the logs in the freezer just until firm enough to slice, 30 to 60 minutes. Do not freeze the potatoes for longer or they may turn brown.
- For the first frying, heat the oil in a deep fryer or heavy pot to 375°F (190°C). Remove the logs from the freezer. Cut off the ends of the rolls, slicing through the plastic, then cut each roll, right through the plastic, into 3/4-inch-thick slices, about 10 per roll. Remove and discard the plastic. Fry the spuddies in small batches until golden brown, about 3 minutes. Move to a plate or tray.
- For the second frying, reduce the oil temperature to 325°F (163°C). Fry the potatoes, again in batches, for about 2 minutes, until richly browned and crisp. Drain the potatoes on paper towels, and sprinkle with fleur de sel. Watch them disappear. [To freeze the spuddies, just cook them for a minute less than directed in the second frying, then plonk the cooked potatoes in a single layer on a baking sheet and transfer to the freezer. Once the spuddies are frozen, transfer to resealable plastic freezer bags. To serve, spread the frozen potatoes on a baking sheet to defrost at room temperature. Warm in a 400°F (204°C) oven until hot and crisp, 5 to 8 minutes.]

Explore More with AI
Nutrition
Nutrition information is automatically calculated, so should only be used as an approximation.
Recipe Testers’ Reviews
Did you know only 68% of the recipes we test make it onto the site? This recipe survived our rigorous blind testing process by multiple home cooks. It earned the Leite’s Culinaria stamp of approval—and the testers’ reviews below prove it.
There isn’t a better potato snack in the world than a frozen and reheated tater tot—unless you can make them from scratch at home. These were the best potato nuggets I’ve ever had. They were crisp on the outside, light and fluffy on the inside. Such a treat.
You could serve these with chili and cheese on top, but why would you want to? They’re incredible on their own. I don’t think I can ever go back to a store-bought tater tots again. While rolling the potato mixture, I became a bit frustrated because my logs had an air pocket or two in them. But this wasn’t a problem. Just place them in the freezer, and they’ll come out firm.
I’ve never been disappointed with a recipe from this book and these tater tots are no exception. They really are a bit labor intensive, but lots of prep can be done ahead of time. The end result is really cool and a tasty crunchy treat that everyone enjoys, kids and adults alike. I love serving them with a couple of different dips, but of course they work great with ketchup.
I have to admit that I was taken aback a bit by the length of the recipe; however, once you get going on it, it isn’t that bad. Michel Richard does a great job of describing the method. You really can’t make a mistake if you follow his directions. I made these with the 1/4 teaspoon of ground coriander, but the flavor wasn’t noticeable at all so next time I’d just leave the tater tots as is with salt and pepper.
I found it easier to roll the tots when I divided it into 4 rather than 2 logs as suggested. The rolling took a bit of practice, but after the first one it went fairly smoothly. Really fascinating to see the frozen tater tots turn into a crunchy outside–moist inside potato delight. The fleur de sel is a must at the finish. Served these as a side dish with steak, but could easily see the attraction of serving these as an appetizer at a cocktail party. Even tried them dipped in ketchup—fantastic!


