
When I was growing up, my family’s happy place was snorkeling in the Florida Keys and we would go there often. At every restaurant we went to, we would always order a key lime pie for dessert and make a note of our favorites. Once, we ordered as many key lime pies as we could from different restaurants in the Keys and brought them home to have a tasting contest with our friends. Our favorite pie had an almond graham cracker crust. It was tart but not too tart and was topped with fresh whipped cream. This pie was inspired by that one!—Christy Denney
Key Lime Pie Bars FAQs
You could definitely squeeze the juice yourself with fresh Key limes but they’re not available in all areas, and because of their size, it takes a lot of them. You can use Persian limes (the ones that are carried by most grocery stores), it just won’t be quite as potent.
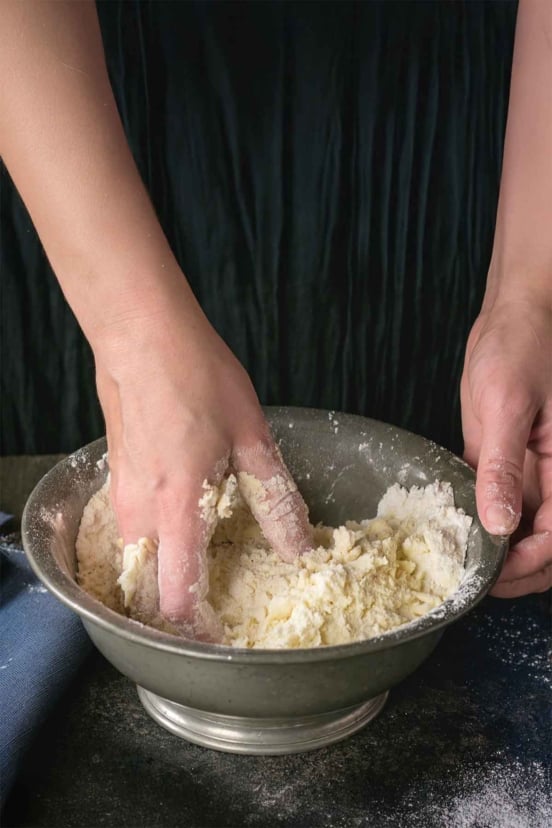
You need to get all those crumbs tamped down pretty well so that the crust doesn’t crumble apart when you slice into it. Dump the crumbs into your pie pan and spread them out so they’re even. Using the bottom of a glass, pack it all down. If you’re using a square pan, just use your fingers in the corners—we won’t tell anyone.
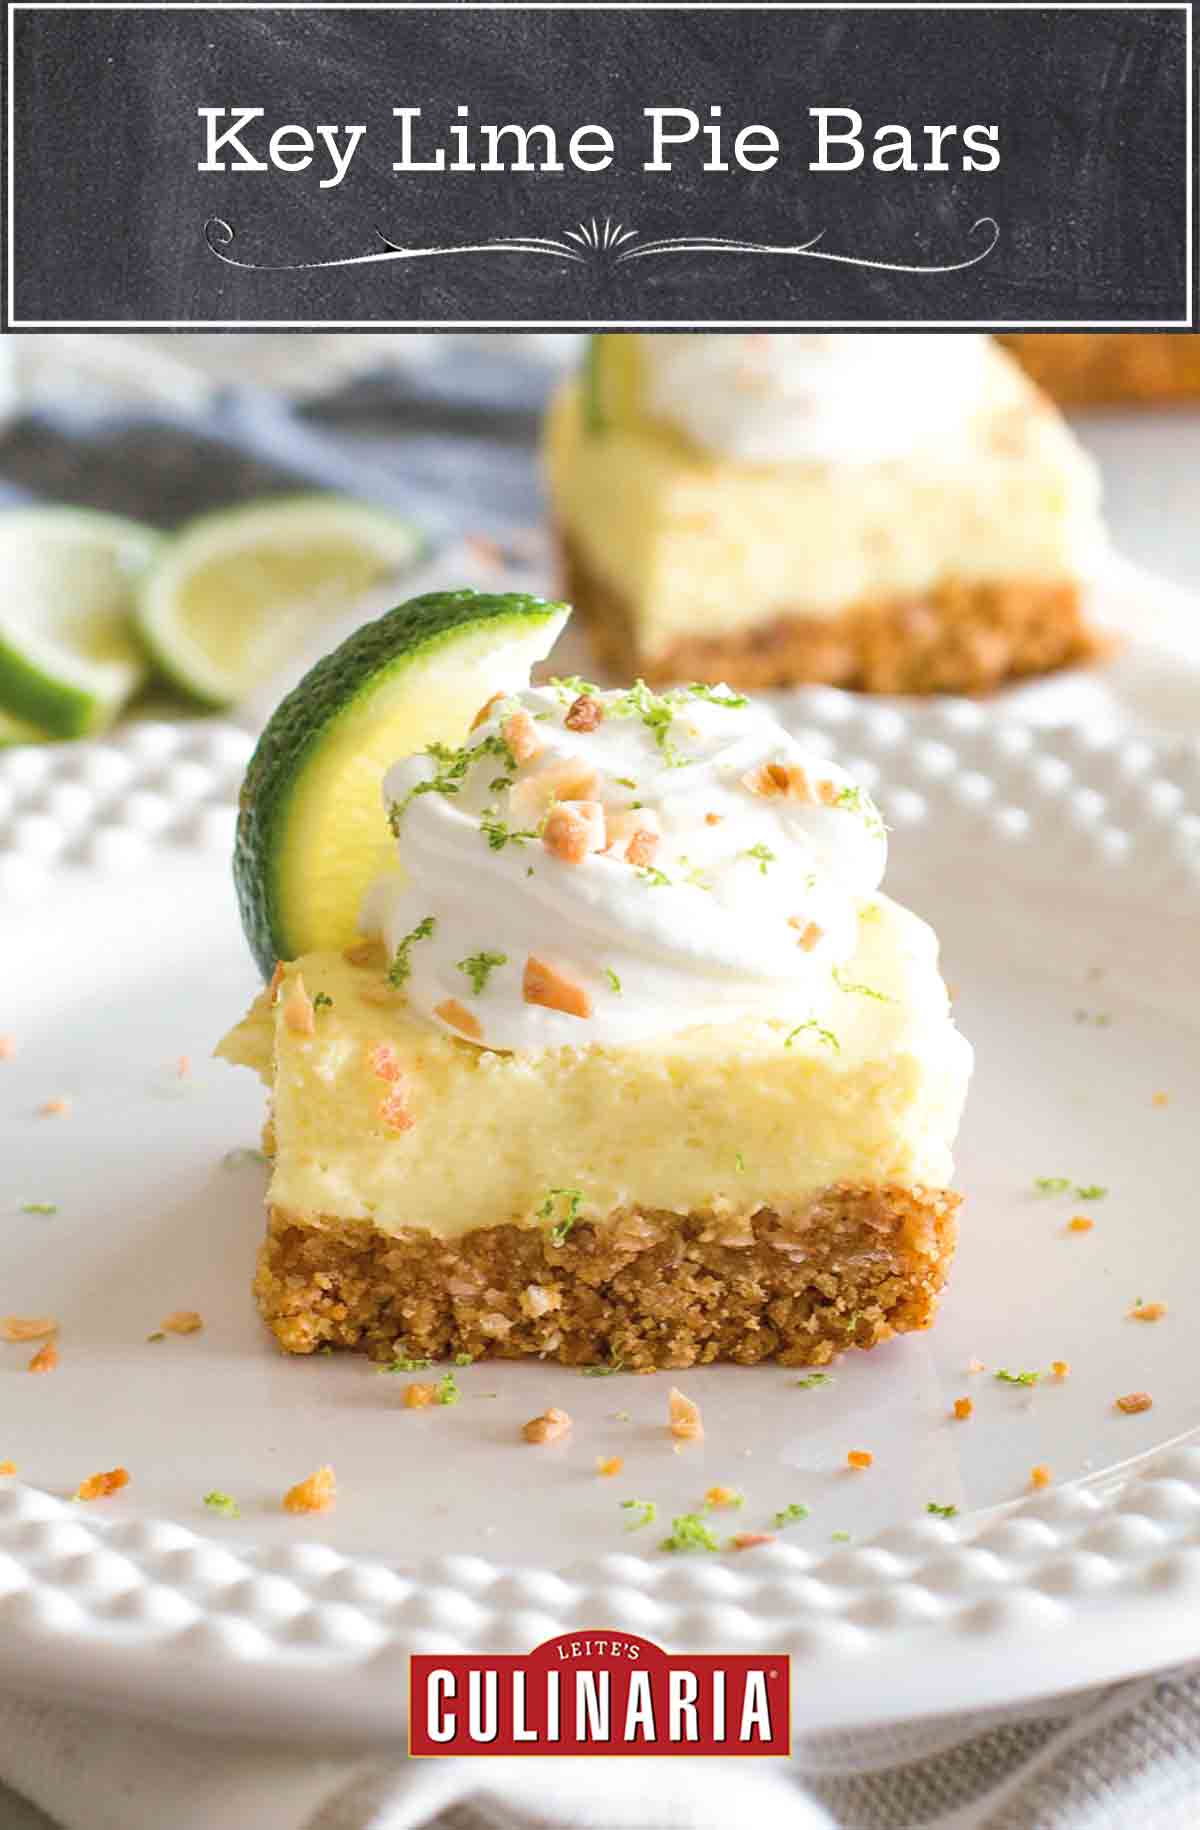
Key Lime Pie Bars
Ingredients
For the crust
- 1 cup (3 1/2 oz) store-bought or homemade graham cracker crumbs
- 1 cup (3 oz) sweetened toasted coconut
- 6 tablespoons (3 oz) unsalted butter, melted
- 1/4 cup (1 oz) finely ground almonds
- 3 tablespoons granulated sugar
- 1/4 teaspoon ground cinnamon (optional)
For the filling
- 3 large egg yolks, at room temperature
- 1 can (14 oz) sweetened condensed milk
- 2/3 cup fresh lime juice
For serving
- Whipped cream (optional)
Instructions
Make the crust
- Preheat oven to 350°F (177°C). Line an 8 inch (20 cm) square baking pan with parchment paper.
- In a food processor, combine the crust ingredients and pulse until mixture resembles wet sand. Press mixture into an even layer in prepared pan. Bake until crust is golden brown, 8 to 10 minutes. Cool completely.
Make the filling
- In a fitted with the whisk attachment, whisk the egg yolks on medium speed until they turn pale yellow and thicken, 2 to 3 minutes.
- Slowly whisk in sweetened condensed milk. Whisk for 2 minutes. Slowly pour in lime juice. Whisk until fully combined.
- Pour mixture into cooled graham cracker crust. Bake until filling is set, 12 to 15 minutes. Cool completely on a rack, then refrigerate for at least 2 hours before serving.
Serve the key lime pie bars
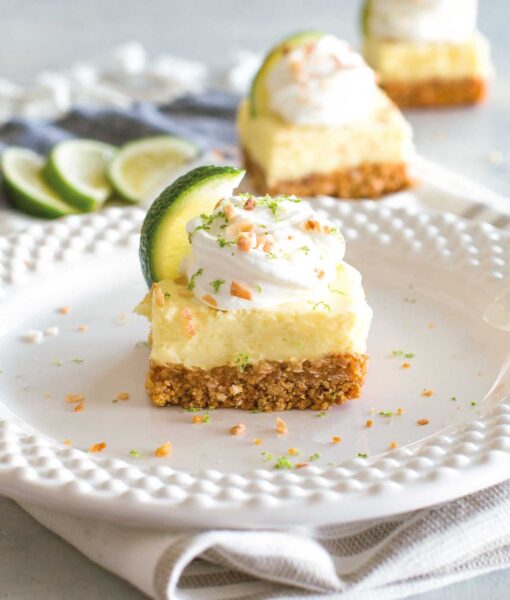
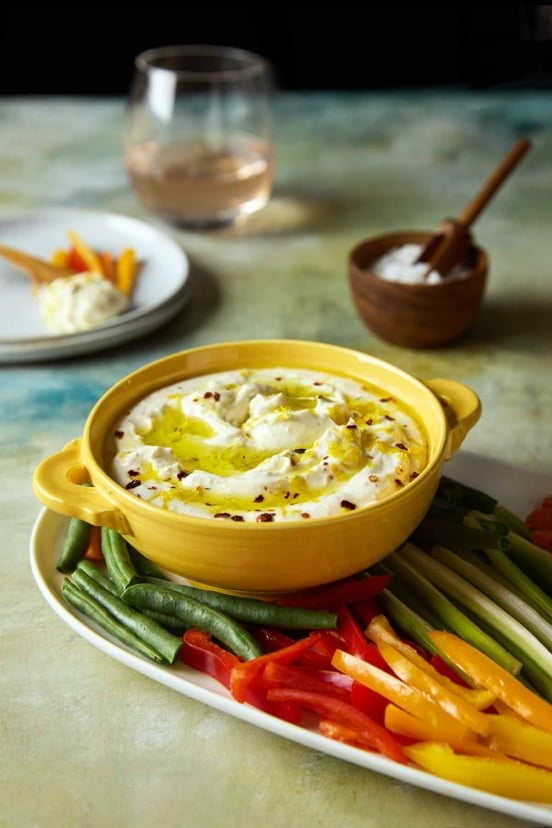
- Cut into squares and serve with fresh whipped cream, if desired.

Nutrition
Nutrition information is automatically calculated, so should only be used as an approximation.
Recipe Testers’ Reviews

These Key lime pie bars will transport you to sunny, warm Florida! The filling is light and airy, almost chiffon-like and the crust is fabulous with hints of almond and coconut.
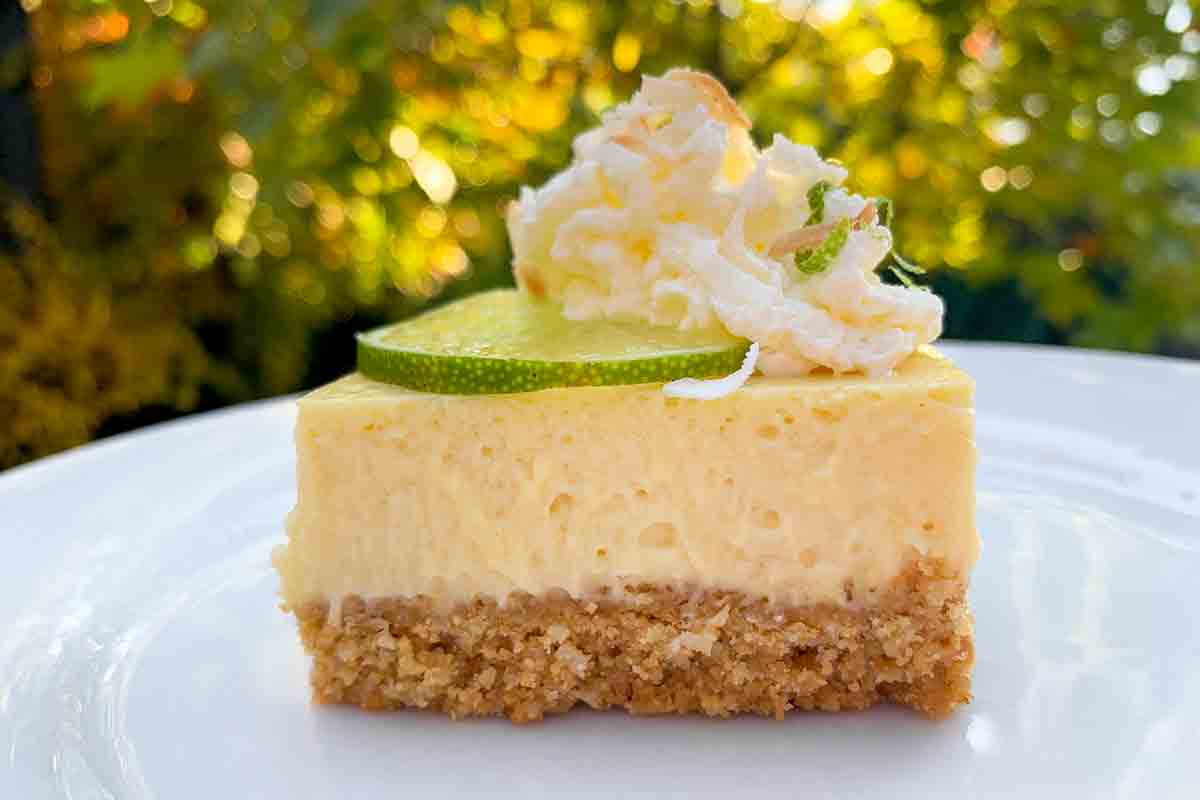
Although there is a full cup of coconut in the crust, it’s not obvious or overwhelming; my husband, who doesn’t like coconut, wasn’t aware that it was an ingredient (and I sure didn’t tell him!) The crust to filling ratio is high—I happen to love a thick layer of graham cracker crust so I found it perfect. If you prefer a thinner base, you can opt to use less of the crust mixture. The dessert sets up in a couple of hours and cuts beautifully.

If we all could get away with eating sweets all the time, these Key lime pie bars would be on the top of the list!
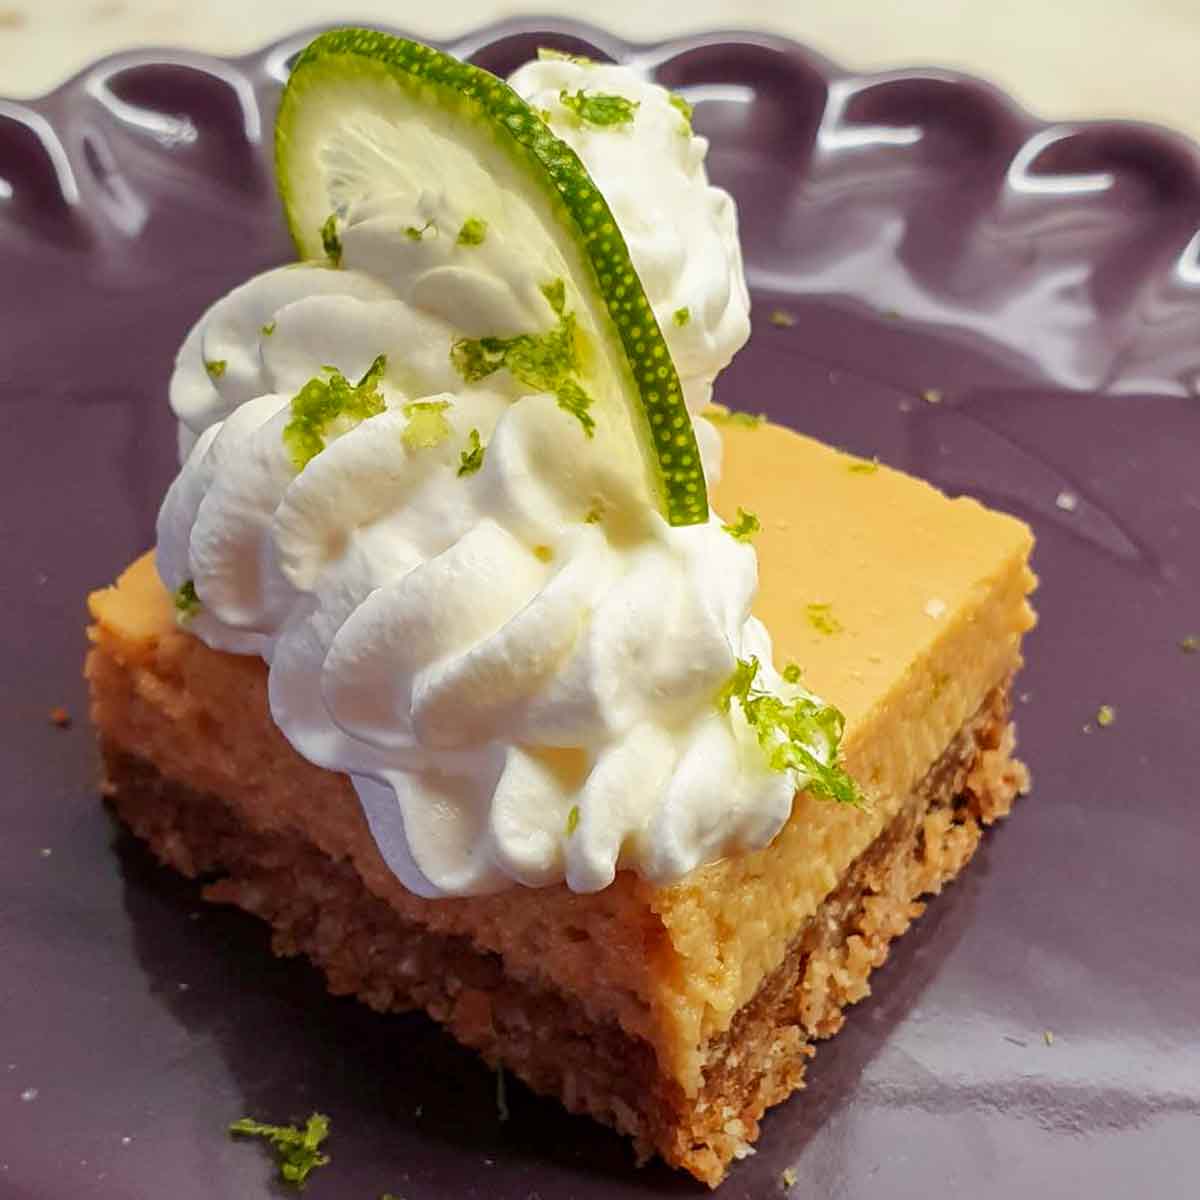
Pie is life in my house, pie in wedges, pie in tins, pies in bars. They’re all the magical deliciousness one wants to eat. These finger-licking good squares are just that good! The custard-like, smooth, perfectly sweet, and tangy filling is the best friend to a graham cookie/cracker bottom. Top with a dollop or a swirl of whipped cream, it’s the perfect accessory to this velvety square of sunshine.


My husband had been begging me to make him a key lime pie but I told him I would not buy that bottle stuff. I knew LC had the best selection of recipes so here I landed. I’ve made it 4 times in the last 30 days because he and my oldest granddaughter love it. I cut it in sections and place it in the freezer so he can pace himself.
I have 2 questions.
1. How far in advance can you squeeze the limes and not compromise the taste?
2. Can you use coconut-sweetened condensed milk? If yes, do I adjust the lime juice to the same ratio as it is to the sweetened milk? Coconut can is only 11.5 oz for 330g. I can do the math if yes.
Thanks for this recipe. Another LC recipe at the top of the list.
Jeanette+T, we are thrilled this recipe is top of your baking list! Freshly squeezed lime juice should last two to three days in the fridge and keep all its zing. We haven’t tested these bars with coconut-sweetened condensed milk but it should work successfully. If you try it, please do let us know how it turns out.
Perfect timing, Karen. I’m about to make another batch. I’m going to use the sweetened condensed coconut milk, I’m considering reducing the lime juice. I’ll be in touch with the results. Thanks so much for your reply and for answering my questions. Take care.
You’re welcome, Jeanette+T.