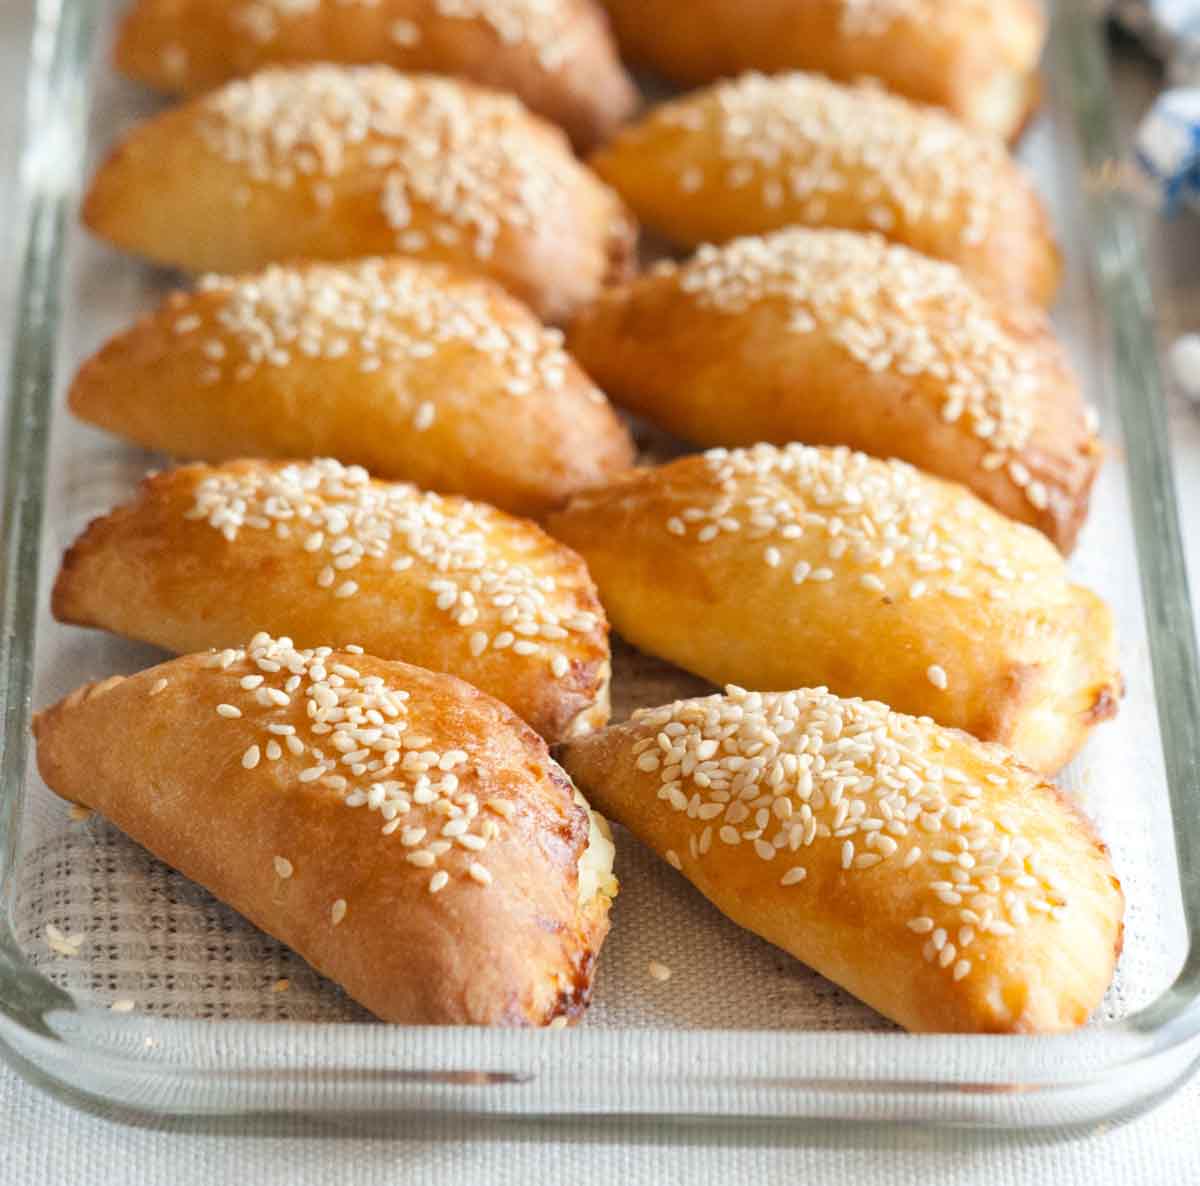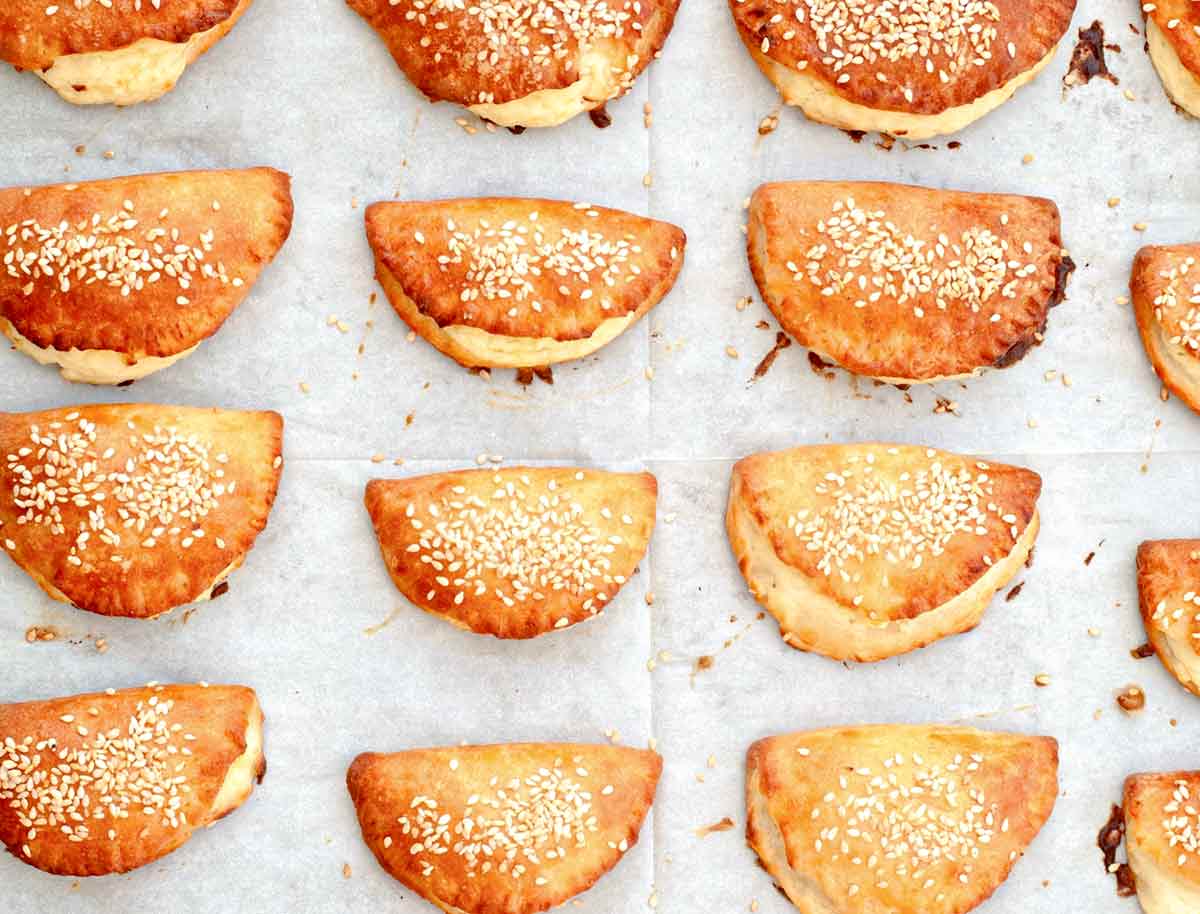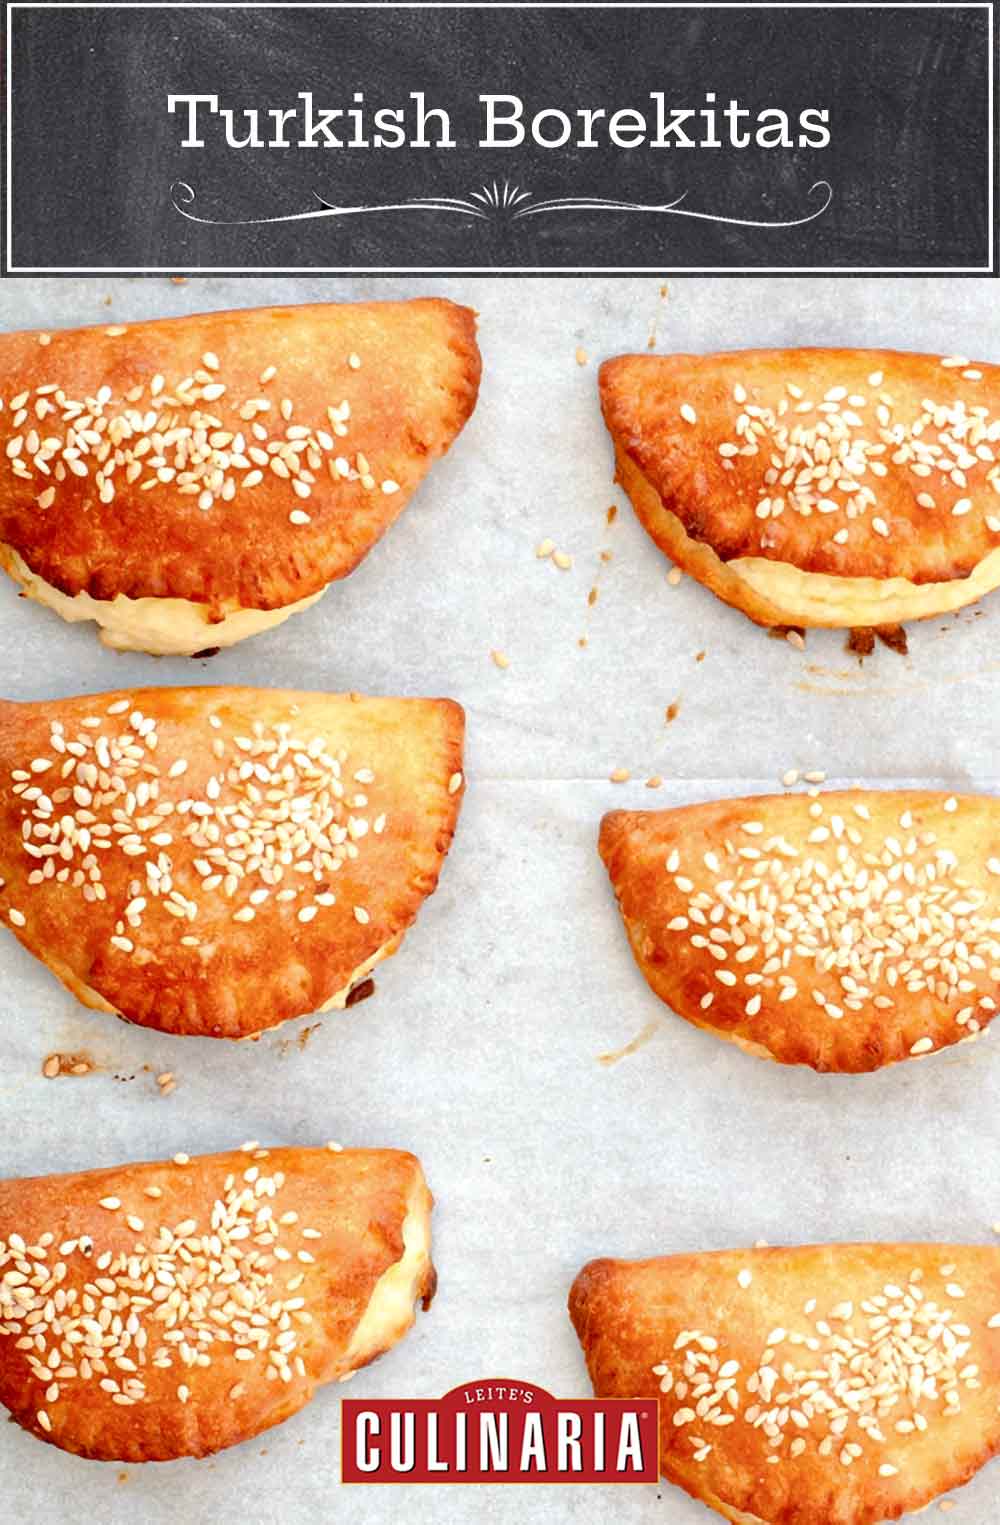

These small borekas, or borekitas, are made in the Sephardic-Greek style and are yet another recipe that I learned to make from my mother. There’s cheese both in the dough and the filling, making them a great source of calcium and an excellent snack for kids.–Orly Ziv
Regardless of whether you consider yourself a diva of homemade pastry dough or not, some days you’re just not up to the task. But you can still have something similar to borekitas. Just purchase a package of frozen all-butter puff pastry (shhhhhhh!), roll it out ever so slightly on a lightly floured surface, and pretend nothing’s amiss. Don’t forget to toss the pastry package in the trash before guests invade the kitchen.


Borekitas with Cheese Filling
Ingredients
For the dough
- 2 cups self-rising flour, plus more for rolling
- 1/3 cup canola oil
- 8 ounces cream cheese or soft white cheese, such as whole-milk ricotta or farmer cheese
- 1 teaspoon salt
For the filling
- 5 ounces feta, (NOT the pre-crumbled sort)
- 8 ounces soft white cheese, such as whole-milk ricotta or farmer cheese
- 1 large egg
- 1 very small potato, peeled, boiled, and mashed (optional)
For the topping
- 1 large egg, lightly beaten
- Sesame seeds, for sprinkling
Instructions
For the dough
- In a bowl, mix together the dough ingredients until crumbly. Gently shape the dough into a round, cover the bowl, and refrigerate for 1 hour.
For the filling
- Mix the cheeses, egg, and potato, if using, in a bowl until smooth.
For the assembly
- Preheat the oven to 350°F (177°C).
- Divide the dough into 4 portions. Working with 1 portion dough at a time, turn it onto a lightly floured work surface and roll it to 1/8 inch thickness. Using a round cookie cutter or an upside-down glass that’s 3 to 3 1/2 inches in diameter, cut out circles from each portion. You should have 24 to 30 circles total.
- Place 1 teaspoon filling in the center of each circle, fold in half to form a semicircle, and pinch the edges to seal. (You may have a little filling left over after making all the borekitas.) Transfer the filled pastries to a baking sheet lined with parchment paper.
For the topping
- Brush the top of each borekita with the lightly beaten egg and sprinkle with sesame seeds.
- Bake until golden brown, 25 to 30 minutes.
- Remove the borekitas from the oven, let cool to warm or room temperature, and succumb. (It turns out that the baked borekitas freeze well, too, allowing you to make them ahead and thaw them for a few hours on the kitchen counter.) Originally published August 4, 2014.

Nutrition
Nutrition information is automatically calculated, so should only be used as an approximation.
Recipe Testers’ Reviews
These borekitas are really very impressive for such little work. The filling came together very quickly and easily, and I used puff pastry instead of the pastry dough. I floured a marble slab and rolled the puff pastry sheet just a bit until it was about 10 inches square.
Then I cut each sheet of puff pastry into fourths. I put about 1/3 cup filling on each piece of pastry, wet the edges, folded each piece into a triangle, and then sealed it with my fingers. I baked them for 30 minutes. I really want to make these again using phyllo dough and making the triangle shapes as well as the rolled cigar shapes. I am also going to play around a bit with the filling. I think that more feta is needed for a bit more of that tang and salty component that feta brings to everything. I will definitely be experimenting with this recipe in the future.
All my tasters liked this little borekitas recipe very much. It makes a tasty snack and could even be served as an hors d’oeuvre with a glass of wine. The dough is very easy to put together, and although it starts out crumbly it turns smooth and easy to handle if you shape it into a mound prior to resting.
I feel this dough is best mixed with your hands. I used a 3 1/2-inch round cutter and rolled the dough to a thickness of 1/8 inch and had a yield of 30 borekitas. I used ricotta with feta for the filling, and I’m pretty sure the filling would work just fine without the potato. I had 2 to 3 tablespoons filling left over, as I didn’t want to overfill the rounds because I thought they might open up during baking. (The next time I make these borekitas, I may use a very, very small potato or perhaps eliminate the potato altogether.) I pinched the edges to seal as the recipe instructed, but these would also look nice if they were pressed with a fork or braided like an empanada.
I thought the dough was a little salty, but no one else mentioned it. The recipe stated 1 teaspoon salt, and I always use fine salt for baking, but perhaps it was supposed to be kosher salt, which would have made the dough a bit less salty. In the future, I will either cut the fine salt to 1/2 teaspoon or use 1 teaspoon of kosher salt. They took 25 minutes to turn golden brown. We tasted the borekitas after they cooled a bit and again after they cooled completely.
Cheese! Cheese in the dough and cheese in the filling. For the borekitas dough, I used full-fat cream cheese. My dough was soft and a little lumpy. I didn’t try to get it to be perfectly smooth, as I didn’t want to overwork it. That ended up being fine.
Similarly, my filling mixture wasn’t perfectly smooth, either, and that, too, was fine. After dividing the dough into 4 portions, I placed the remaining 3 portions back in the refrigerator since the dough was so soft. As the dough was very soft, I used a lot of flour for rolling, and for this I used plain all-purpose flour. My use of flour here was more than a light flouring. The dough was sticky as well as soft, and I could neither roll it very thin nor keep it from breaking completely, although it was easy to patch and re-roll.
I used a glass cup with a 3-inch opening. Note that 1 teaspoon filling seemed just right for my 3-inch circle of dough. I used a fork to pinch the edges together because I like that look. I baked the borekitas for 20 minutes, rotating the baking sheet halfway. The bottoms of the borekitas were nicely golden brown at that point, and I didn’t want to let them get any browner. However, the tops never turned a golden brown. Because they were a little pale, I might use black sesame seeds next time, or a combination of black and white.
The first sheet spread a little, so on subsequent batches, I placed the sheet of borekitas in the freezer briefly, which helped the borekitas to hold their shape. I tried one pretty much right out of the oven, and then served the rest warm. I also tried one of the few leftovers at room temperature and it was fine but not quite as wonderful as it was warm. I served this with the tabbouleh on the site, and it was a perfect combination. The tabbouleh added color to the meal, as well as the brightness of lemon, and the freshness of the parsley and herbs. One addition that seems natural to try would be to add some spinach to the filling and/or some onions.
Also, the first time I made these borekitas, I froze a tray of assembled but unbaked pastries instead of continuing to bake them. Tonight I baked them straight from the freezer. They actually looked better than the ones I made previously. The shape had more integrity, they did not spread at all, and they had a golden glow that the first batch did not. I’d originally baked them for 20 minutes, and from frozen I baked them for 30 minutes. I rotated the sheet tray at the midpoint like I did on the first batch. This adds a big plus to these already wonderful little cheese pastries—prepare today and bake later!
I’m glad I decided to test this borekitas recipe. The finished borekitas were very tasty. They would make a nice snack as well as a wonderful tapas or appetizer course.
The dough was quick to mix by hand and easy to work with—not very sticky at all. I rolled each of the portions of dough to about 1/8 inch thickness and used a 3 1/2-inch diameter glass tumbler to cut out the rounds. I got 6 rounds from each portion, and 1 teaspoon filling was just the right amount for each. (Whole milk ricotta was my “soft white cheese” for the filling. I tried it with and without the mashed potato. In my opinion, the potato isn’t necessary.) I pressed the edges of the dough together with the tines of a fork to ensure a tight seal. The pastries browned nicely in the oven after 30 minutes, and the finished borekitas were good both warm and at room temperature.
It turned out that the baked borekitas freeze well, too, allowing you to make them ahead and thaw them for a few hours on the kitchen counter.


I made the recipe tonight with my kids. We cheated and used the premade frozen empanada dough from the supermarket (shhhh!). Seriously, we’ve been cheating with that dough for borekas for about a year. It makes life way easier. We add a little (ok, a ton – of parmesan cheese). I skipped the feta because we didn’t have any. They came out pretty much like my mom and grandma used to. 🙂 Kids fight for these things at all family gatherings. Heck, that’s part of the family tradition. LOL. Thanks for the easy filling recipe and posting. Can’t wait to try it your way.
PS: These things freeze really well. I leave them on the baking tray, uncooked and uncovered overnight. In the morning I transfer to a large Ziploc. They stay for a really long time and you can throw them in a toaster oven for 20 minutes and they’re ready to roll.
Thanks for the great freezing tip, R Katz, and for your time saving store-bought dough tip. We are always looking for ways to make life simpler.
I adore foods like this and this one is particularly fantastic what with cheese in both the dough and the filling. Another recipe bookmarked to do…
When you make it, Jamie, let me know what you think.
Cream cheese pastry? Oh my word…
Our sentiment exactly, Ling Teo!