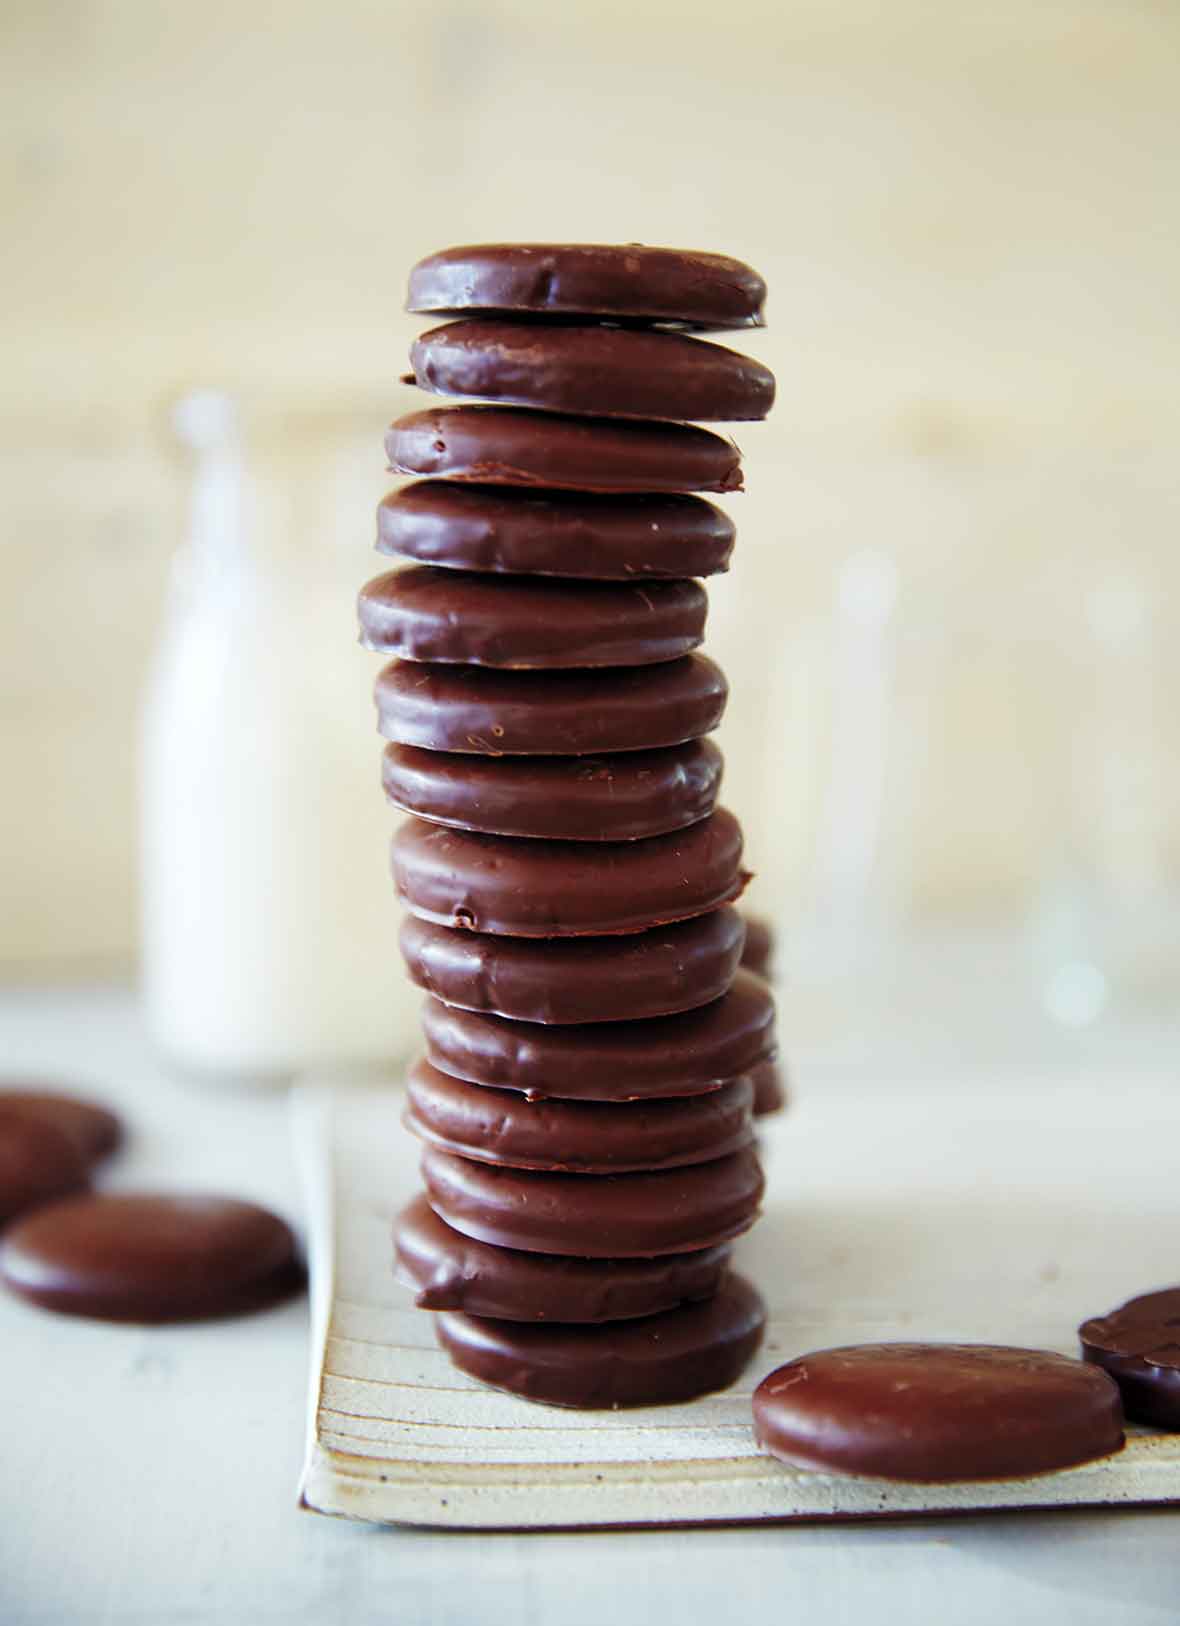
No more waiting and waiting and waiting each year for that magical moment when your boxes of Girl Scout Cookies FINALLY arrive. No more trying and trying and trying the rest of the year to resist the lure of those boxes you attempted to hide from yourself to make them last. No more praying and praying and praying you’ll forget the craving because you depleted your secret stash of Thin Mints and there are still months to go before they’re once again available. No more wishing for a homemade Thin Mints recipe, because here it is. Whew.–Renee Schettler Rossi

Homemade Thin Mints
Equipment
- 1 1/2-inch round cookie or biscuit cutter; candy or deep-fry thermometer
Ingredients
Make the homemade Thin Mint cookies
- 1 cup gluten-free all-purpose flour mix, (or substitute all-purpose flour)
- 1/2 cup
unsweetened cocoa powder
- 1/2 teaspoon baking powder
- 1/2 teaspoon baking soda
- 1/2 teaspoon salt
- 3/4 cup granulated sugar
- 5 tablespoons (2 1/2 oz) shortening (or substitute butter), at room temperature
- 1 large egg plus 1 large egg yolk, at room temperature
- 1 teaspoon vanilla extract
- 1 1/2 to 2 teaspoons peppermint extract, (depending on how minty you like your Thin Mints)
- Confectioners’ sugar, for dusting
Make the chocolate glaze
- 12 to 16 ounces semisweet chocolate, such as Guittard or Callebaut, finely chopped
Instructions
Make the homemade Thin Mints cookies
- In a medium bowl, whisk together the flour, cocoa powder, baking powder, baking soda, and salt.
- In the bowl of a stand mixer or in a large bowl with an electric mixer on medium speed, beat together the sugar and shortening (or butter) until creamy and well combined, about 1 minute.
☞ TESTER TIP: If you’re using shortening, the mixture won't become as light and fluffy as when you beat sugar with butter. That's okay.
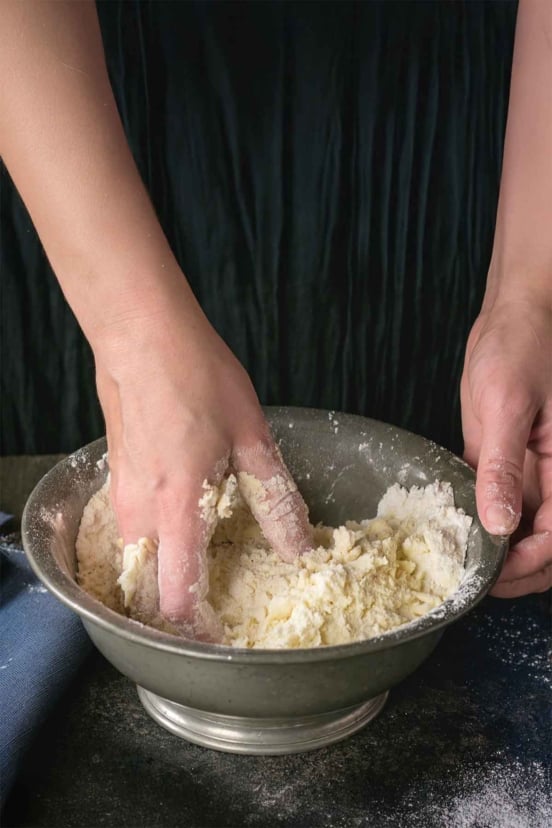
- Reduce the speed to medium-low and first add the egg, then the egg yolk, beating well after each addition. Beat in the vanilla and peppermint extracts. Slowly add the flour and beat until just combined. The dough will be pretty darn sticky.
- Lightly coat the cookie dough, your hands, and a piece of parchment paper with confectioners’ sugar. Shape the dough into a disk and place it on the parchment paper. (If the dough is too sticky to shape into a disk, just plonk it in the fridge for 30 minutes and it'll be more manageable.)
- Now wrap the disk of cookie dough in plastic wrap and refrigerate until firm, at least 30 minutes and up to overnight.
- Preheat the oven to 350°F (177°C) and adjust the oven racks to the middle and upper third positions. Line 2 baking sheets with parchment paper.
- Roll out the dough on the parchment until it’s 1/8 to 1/4 inch thick. Depending on how long the dough was in the refrigerator, you may need to let the dough sit at room temperature a little so it's soft enough to roll it out.
- Using a 1 1/2-inch round cutter, cut out cookies from the dough and place them 1/2 inch apart on the prepared baking sheets. Reroll any scraps and cut out more cookies. Place the baking sheets in the freezer for about 15 minutes.
- Bake the Thin Mints straight from the freezer, switching the baking sheets from top to bottom and front to back halfway through, until dry and crisp and firm around the edges, anywhere from 10 to 18 minutes, depending on exactly how thick your cookies are. Let the cookies cool slightly on the baking sheets and then transfer them to wire racks to cool completely.
☞ TESTER TIP: The cookies will crisp as they cool. If they're not crisp throughout at room temperature, the next time you make this recipe, the cookies will need a little more time in the oven.
Make the chocolate glaze
- Meanwhile, in a double boiler or a heatproof bowl set over but not touching a pan of gently simmering water, heat 2/3 of the chocolate until it melts and registers 115°F (46°C) on a candy or deep-fry thermometer.
- Stir in the remaining chocolate and let it sit, without stirring, over the water for 5 minutes. Then stir to combine. Remove the pan from the heat and let the chocolate cool to 90°F (32°C).
Coat the homemade Thin Mints with the chocolate glaze
- Submerge a cookie in the melted chocolate glaze and use the tine of a fork to turn it to coat all sides. Remove the cookie from the chocolate glaze and shake off any excess chocolate. Place the cookie on a piece of parchment paper. Repeat with the remaining cookies and chocolate glaze, reheating the chocolate as needed to maintain it as close to 90°F (32°C) as possible.
- Let the cookies rest, undisturbed and unnibbled, until the chocolate glaze has set, at least 30 minutes. In theory, the cookies will keep, layered between sheets of parchment paper in an airtight container, for up to 1 week. Good luck keeping them around that long.

Adapted From
Silvana’s Gluten-Free and Dairy-Free Kitchen: Timeless Favorites Transformed
Buy On AmazonNutrition
Nutrition information is automatically calculated, so should only be used as an approximation.
Recipe Testers’ Reviews
This take on the famous Thin Mints cookie brought to you annually from the Girl Scouts is, in a word, UNBELIEVABLE. The flavor and texture are incredible.
I found the finished dough to be soft but not at all sticky. Having little room in my refrigerator to rest rolled sheets of dough, I chose to roll the dough into a log about 2 inches in diameter. It worked perfectly. I then wrapped the dough tightly in plastic wrap and refrigerated it overnight. When it was time to bake the cookies, I simply sliced them a bit under 1/4 inch thick.
I couldn’t find chocolate coating, so in its stead, I melted 14 ounces semisweet chocolate with 1 tablespoon vegetable shortening. It worked very well, hardened nicely, and had a beautiful sheen. Now that I have this MAGNIFICENT homemade Thin Mints recipe in my arsenal, I shall easily be elevated to a cookie baking god. Although trust me, there is enough room in the cookie kingdom for everyone!
This homemade Thin Mints recipe really does replicate the taste of the iconic Girl Scouts Thin Mints. These are a bit chewier and moister, which I think is normal given that they’re homemade and have fewer preservatives than “the real thing.” The mint flavor and the texture were delightful, and the chocolate coating really made them feel like Thin Mints. These were a real pleasure to make.
This recipe is quite easy to follow and mostly true to the directions. A few things to note, however. First, I used regular white flour, not gluten-free. Second, the sugar and shortening mixture never got “fluffy” for me like it does with butter and sugar. Also, the dough was VERY sticky. I had to use a healthy coating of confectioners’ sugar on the rolling pin and tabletop to be able to roll the dough out.
I refrigerated the cookie dough overnight. When I took it out in the morning, the dough cracked easily. It’s worth noting that the first batch I made I did not coat in chocolate, but rather put a layer on top, and the full cookie coating in my second batch made a huge difference in the flavor and similarity to real Thin Mints.
Every now and then, a recipe comes along that really grabs my imagination. The kind of recipe that, as soon as I make it, or even before I’m finished making it, has me thinking about 50 different variations, and wanting to get right back into the kitchen to start trying them out. This homemade Thin Mints recipe was like that.
I used the author’s gluten-free flour blend. This mixture is very close in proportions to some of the commercial gluten-free flour blends, so I think you could substitute your favorite store-bought blend without worries.
I also used butter instead of shortening, since having the cookies be dairy-free wasn’t important to me and I don’t keep shortening in the house. The cookie dough was very sticky—far too sticky to roll out. I started out using confectioner’s sugar to roll out the dough, but it became clear that I would have to use so much sugar it would change the flavor of the dough, so I switched to the flour blend. And instead of rolling it out to 1/8 inch from the start, I got it into a disk, and put it in the freezer for about 15 minutes, after which it was much easier to roll. After rolling and cutting out the cookies, the 2 baking sheets went back into the freezer for another 15 minutes or so before baking. This was sufficient to keep them firm and they held their shape nicely during baking.
I used Ghirardelli coating chocolate disks and found that 12 ounces was plenty to coat the whole batch of cookies with some chocolate left over. What to do with the leftover chocolate? Pour it on a piece of parchment, and sprinkle on some nuts, dried fruit, or coconut flakes, and let it harden into bark. Cook’s treat!
The cookies came out beautifully. I do think that I would increase the mint extract in the future, as once the cookies were coated with chocolate, the mint got overwhelmed. I’d also love to try other variations of this. For example, I think these would be great made with some orange extract and zest instead of mint. Or one could skip the cocoa powder, add some more flour, and flavor the cookies with lemon and coat them with white chocolate. The recipe seems to be pretty forgiving, and there are lots of possibilities to explore.
This homemade Thin Mints recipe was a true hit in our household. The cookies are very comparable to the Thin Mints we are all used to, but in my mind, they’re even better as they’re not as sweet and use darker chocolate.
This is a very easy recipe to follow. The only problem I had was creating a disk out of the dough, so I decided to refrigerate it for about 20 minutes, and I was then able to create the disk, as prior to that it was too sticky. After the dough was rolled out, the first batch stayed in the fridge for about 2 hours. The second stayed overnight. The baked cookies came out hard enough not to break apart when dipping in the chocolate.
In terms of the melted chocolate, the temperatures worked beautifully. The hardest part was dipping. I guess it’s a matter of experience, as my fingers were filled with melted chocolate! One thought I had for those who prefer less dark chocolate taste would be to use sweet chocolate for the melting portion of the recipe.
This recipe will absolutely be a favorite for us here at home, but also as Christmas gifts, for parties, etc. For the last batch, I decided to melt semisweet and sweet chocolate to use on the cookies. My older daughter’s comments were:” WOW… how did you do this? They’re a cross between Thin Mints and Milano cookies. I LOVE them!”


Wow theses cookies are fantastic! My family ate them up and said they tasted just like Thin Mints (really they do). The only problem I had was coating them in chocolate I found it tough to find a balance between having the cookie covered in a huge gob or not having enough on it. Any suggestions for proper cookie dipping techniques?
Hi Laurel, was the chocolate running off the cookies when you first starting dipping, then globbing up later in the process? If so, it may be a function of the chocolate temperature. Very hot chocolate will tend to be runny while cooler chocolate tends to gob up. Keep an eye on that thermometer as a guide.
If you don’t use baking powder does it make a big difference?
Jane, baking is such a precise science, I hesitate to recommend omitting something that usually plays a pretty critical role. We test each recipe before it goes on the site so we can guarantee you’ll have spectacular results. And I just can’t guarantee the results if you omit the baking powder. Chances are it won’t be a complete flop, but still, I think it’s worth a trip to the store just so make sure your time and other ingredients aren’t wasted. Sorry if that’s not what you want to hear!
If making these gluten-free, should I use an all-purpose flour with or without xantham gum already added?
Deni, good question. If you click on the link in the ingredient list to the gluten-free all-purpose flour mix, you’ll see that the recipe includes xantham gum, so my recommendation for a store-bought or other homemade gluten-free all-purpose flour mix would be for it, too, to include xantham gum. Love to hear what you think of the cookies!
Deni,
When testing this recipe I used the Gluten-Free All-Purpose Flour Mix. You can use any store-bought GF all-purpose flour, though I would advice to shy away from heavy mixes with beans. What I love about the one as per recipe is that it creates a light mix that works beautifully for cookies. Looking forward to hearing how you liked this recipe. These cookies are extremely addicting.
Deni, the flour blend used in the recipe does have xanthan gum, but for this type of cookie, I feel confident you could use one without the gum and get equally good results. The texture you are going for here is a cookie that is crisp all the way through, not chewy, and xanthan gum doesn’t really help for achieving that texture. One place where the use of gums makes a difference in a recipe is the amount of water the dough absorbs, but this recipe has very little liquid in it, so that’s not really an issue here. The mix linked to in the recipe works great, but if you want to buy one at the store (and I don’t blame you!), or prefer to avoid the gums, go for whatever is available or you have liked in the past, and don’t worry about it. The King Arthur mix is one I think would work well here, and it does not have xanthan gum in it.