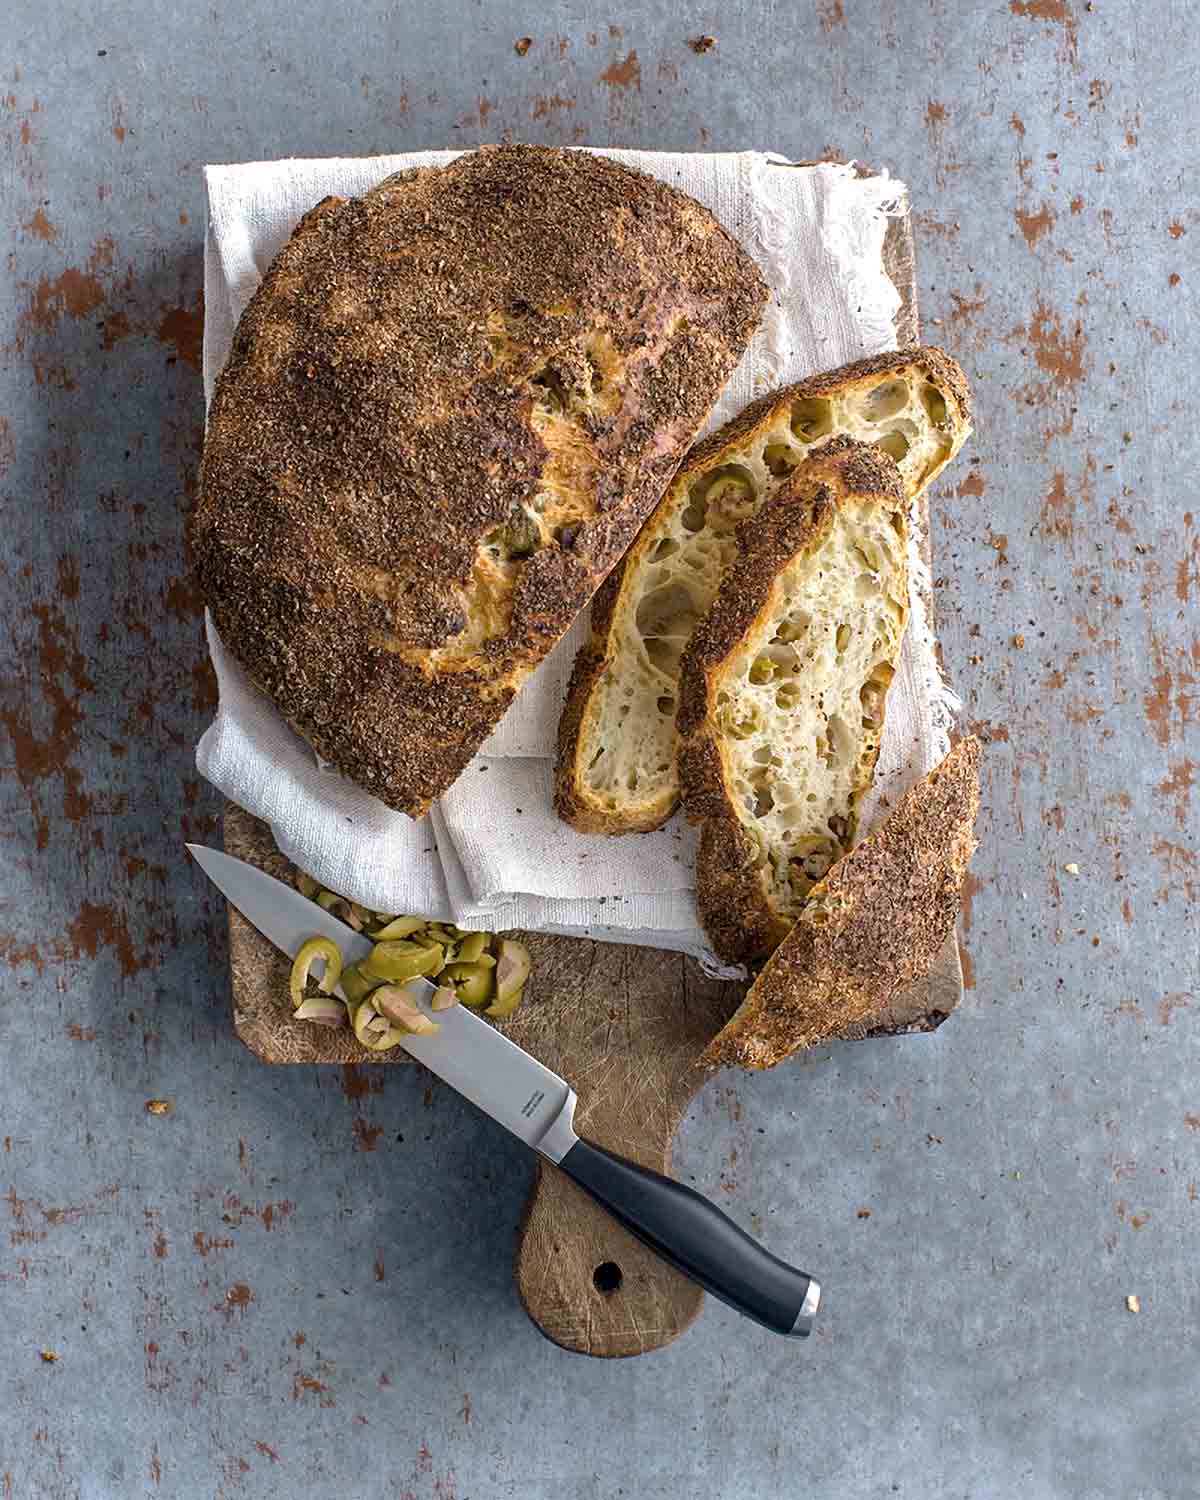
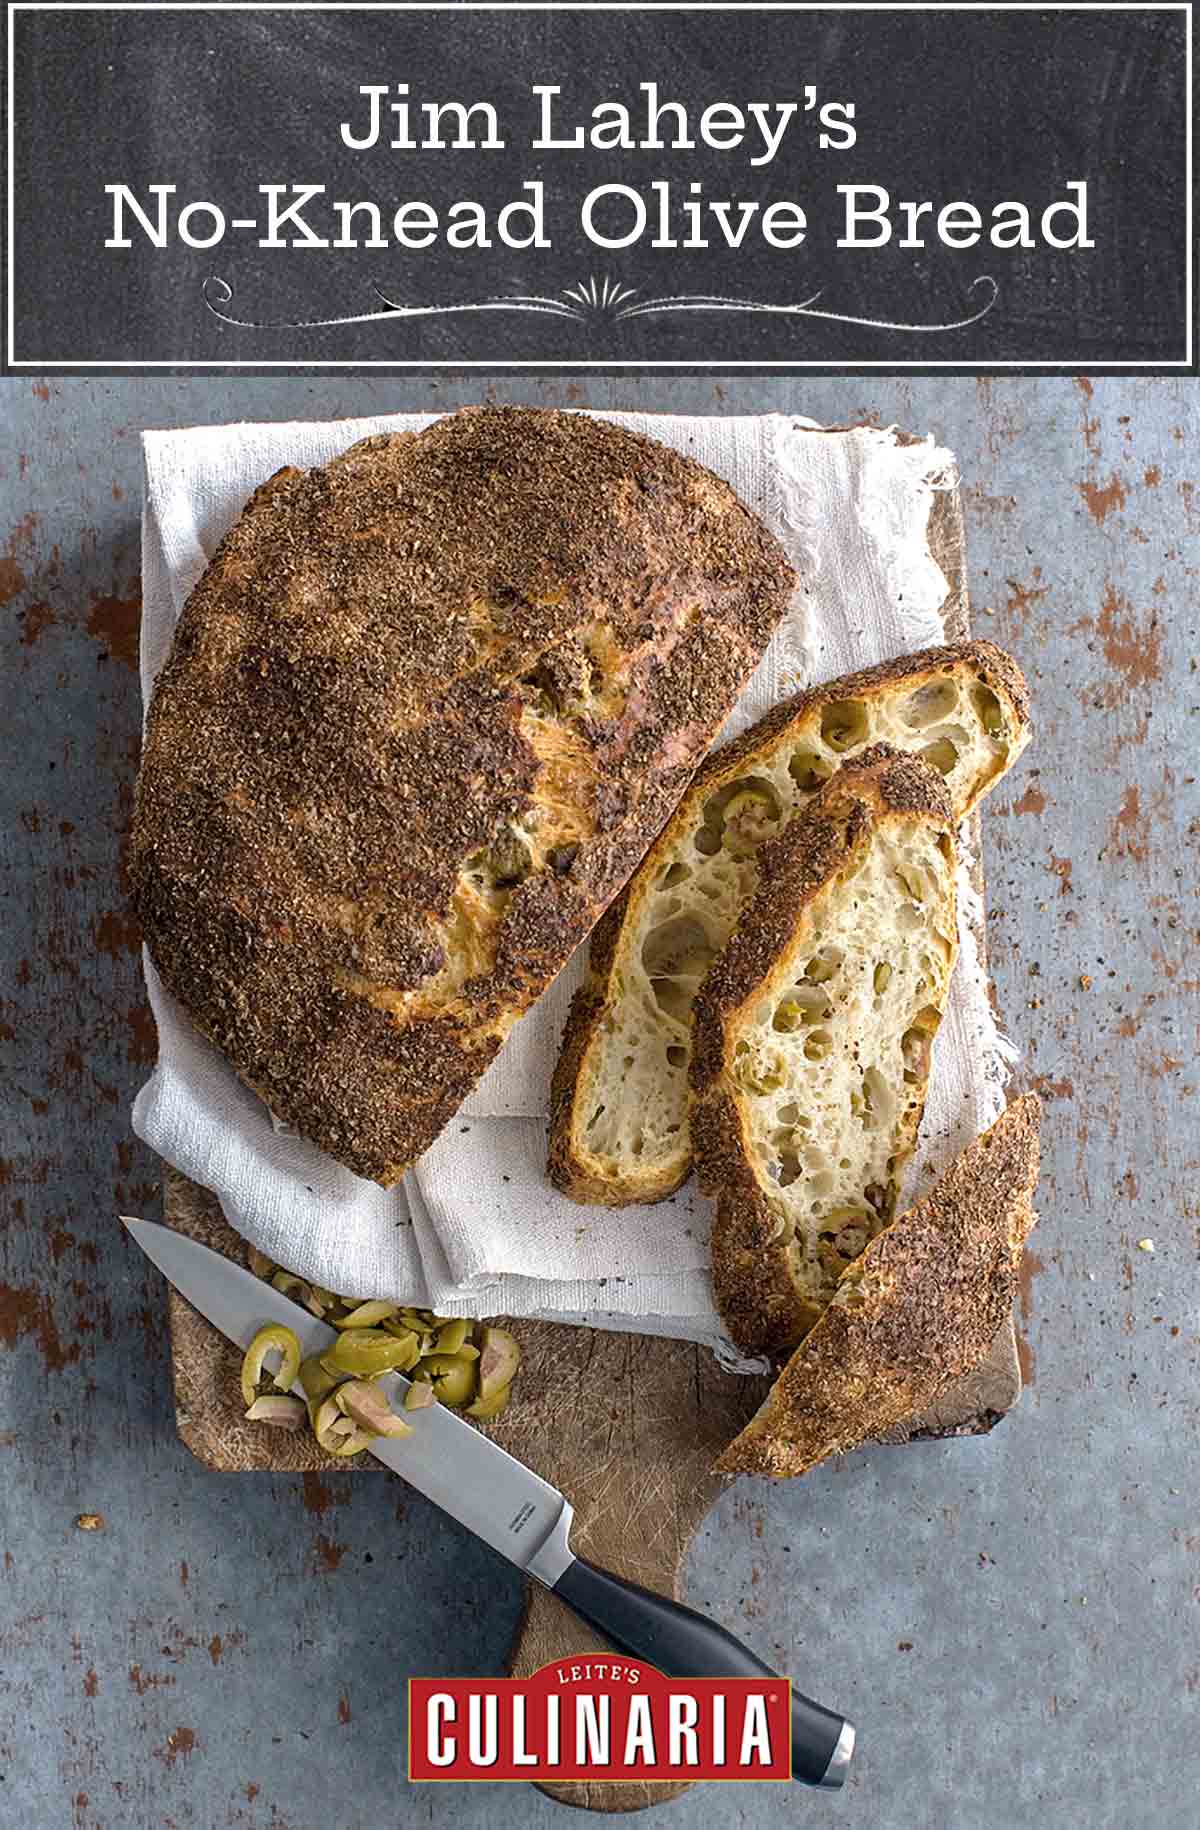
When I first opened Sullivan Street, with Roman baking in mind, this slightly pungent olive loaf became my signature bread. As a result of the brine the olives release during baking, this recipe calls for no salt. The loaf possesses a golden-brown crust and an open, airy crumb with large pieces of green olive. It’s slightly sour with an intense olive flavor.–Jim Lahey with Rick Flaste
Jim Lahey’s No-Knead Olive Bread FAQs
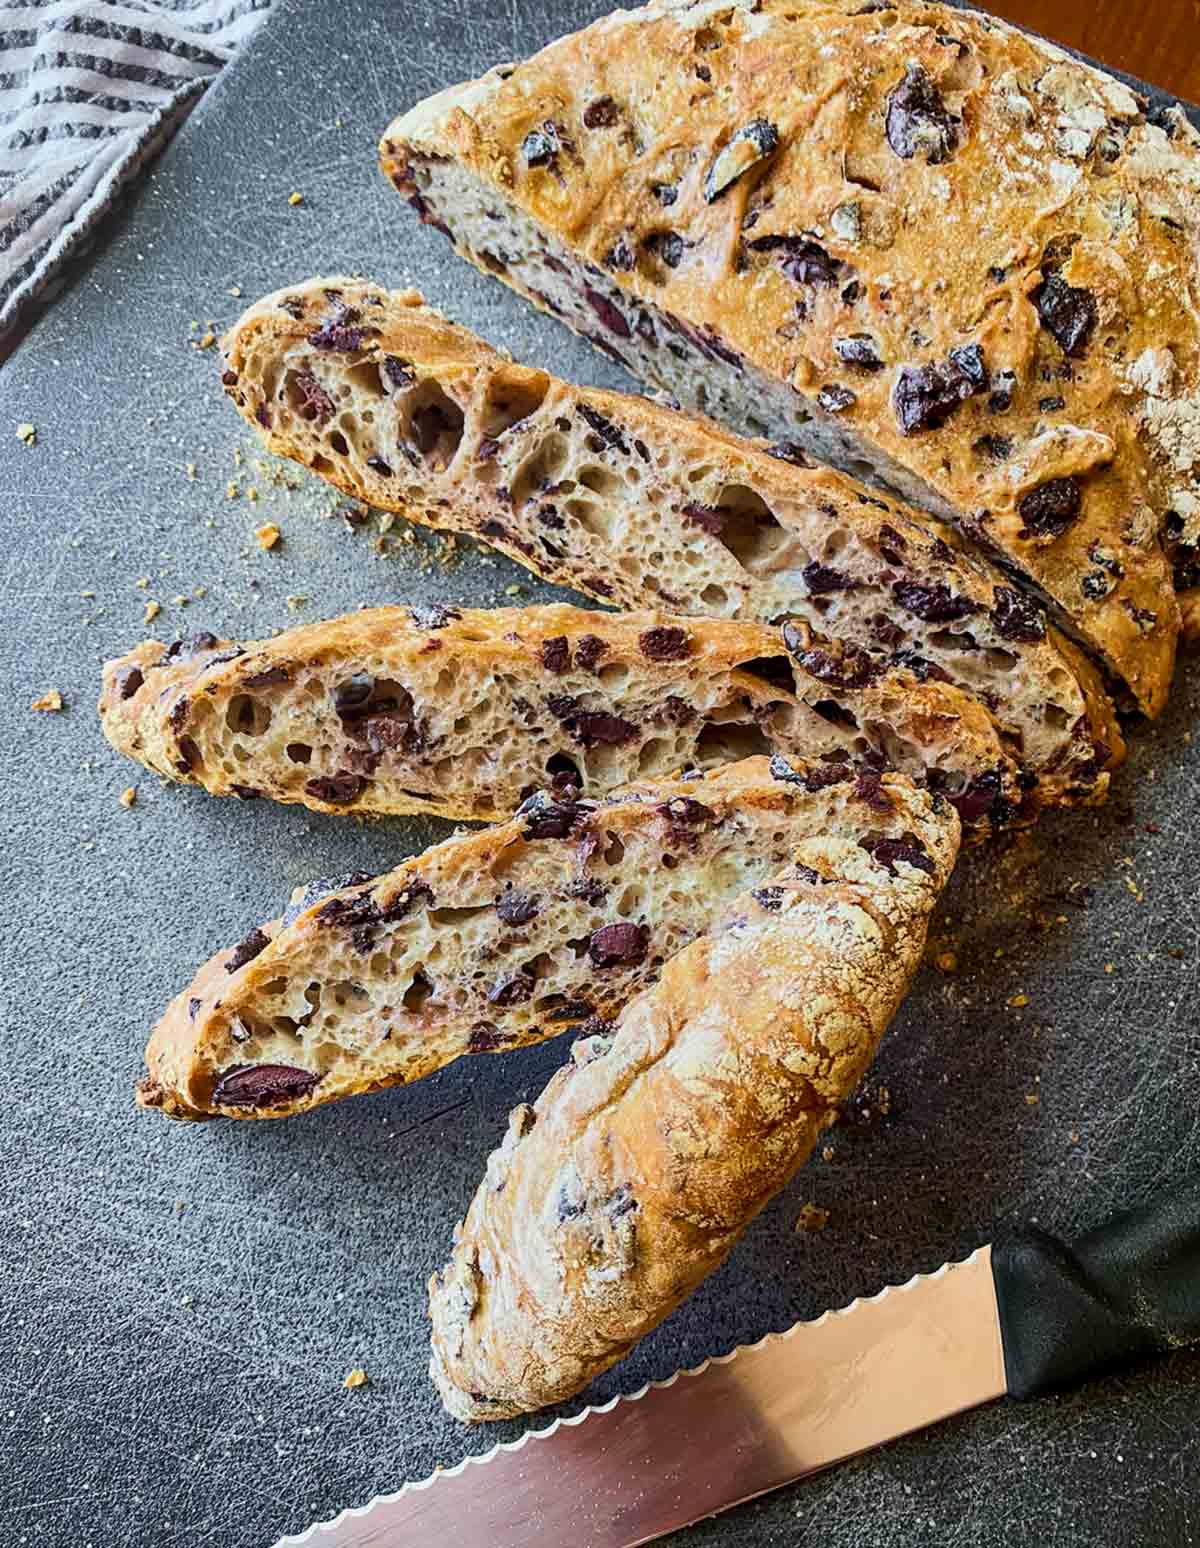
For this loaf, any pitted olive will yield something worth eating. (You don’t want to go to the trouble of pitting them yourself because it is tedious, and the results will not be as neat.) But what Lahey turns to most often are pitted Kalamata olives soaked in a pure salt brine, nothing else, just salt. You might think that because they’re black, they’ll change the color of the bread, but they won’t unless you accidentally dump some of the brine into the dough.
Green Sicilian colossals, sometimes called “giant” olives, packed in pure salt brine, are another good option; they’re often available at Italian food stores.
The most likely reason is moisture. Because the bread is baked in a cloche, it needs that last little bit of uncovered baking to crisp it all up. And during the hour rest period, ensure that air can circulate around it by putting it on a wire rack with nothing touching it.
In that hour (some say it’s the longest hour in the world…), the steam inside gets absorbed back into the bread as moisture. If you cut into it, the steam escapes, and your bread is going to dry out faster than it should. Unless you plan on eating the whole loaf, like, immediately (no judgment here, I promise), try and hang on for that interminable hour.
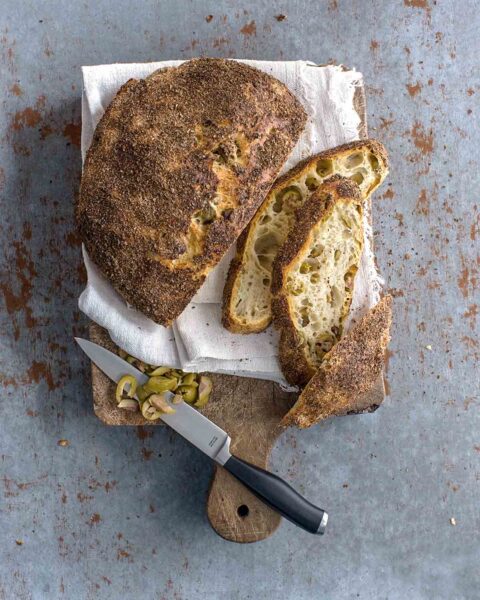
Jim Lahey’s No-Knead Olive Bread
Ingredients
- 3 cups bread flour, plus more for the work surface
- About 1 1/2 cups roughly chopped pitted olives, (see FAQ above)
- 3/4 teaspoon instant or other active dry yeast
- 1 1/2 cups cool (55 to 65°F | 13 to 18°C) water
- Wheat bran, cornmeal, or additional flour, for dusting
Instructions
- In a medium bowl, stir together the flour, chopped olives, and yeast.
- Add the water and, using a wooden spoon or your hand, mix until you have a wet, sticky dough, about 30 seconds.
- Cover the bowl and let sit at room temperature until the surface is dotted with bubbles and the dough has more than doubled in size, 12 to 18 hours.
- When the first rise is complete, generously dust a work surface with flour. Use a bowl scraper or rubber spatula to scrape the dough out of the bowl in one piece. Using lightly floured hands or a bowl scraper or spatula, lift the edges of the dough in toward the center. Nudge and tuck in the edges of the dough to make it round.
- Place a clean towel on your work surface and generously dust it with wheat bran, cornmeal, or flour. Gently place the dough on the towel, seam side down. If the dough seems sticky, dust the top lightly with a little more wheat bran, cornmeal, or flour.
- Fold the ends of the towel loosely over the dough to cover it and place it in a warm, draft-free spot to rise for 1 to 2 hours. The dough is ready when it is almost doubled. If you gently poke it with your finger, it should hold the impression. If it springs back, let it rise for another 15 minutes.
- Half an hour before the end of the second rise, preheat the oven to 475°F (245°C) and adjust the rack to the lower third of the oven. Place a covered 4 1/2- to 5 1/2-quart heavy pot in the center of the rack to warm it.
- Using pot holders, carefully remove the preheated pot from the oven and uncover it. Unfold the towel and quickly but gently invert the dough into the pot, seam side up. (Use caution—the pot will be very, very hot). Cover the pot and bake for 30 minutes.
- Remove the lid and continue baking until the olive bread is a deep chestnut color but not burnt, 15 to 30 minutes more. Use a heatproof spatula or pot holders to gently lift the bread from the pot and place it on a wire rack to cool completely before slicing.
Nutrition
Nutrition information is automatically calculated, so should only be used as an approximation.
Recipe Testers’ Reviews

This Jim Lahey bread is absolutely STUNNING, from the crunchy, dark crust to the shiny crumb with nice, big holes.
I used green and black olives and I also took the liberty of grinding some fresh rosemary from our garden and kneading it throughout the dough. The dough had more than doubled in about 10 hours, but if you wait a few extra hours, the flavors will be WONDERFUL.
I also recommend patience in leaving the lid on the Dutch oven for the entire 30 minutes. The idea behind Jim Lahey’s method is to create a soft, airy crumb surrounded by a CRUNCHY, dark, almost nutty crust. Take your time and adjust for the depth of color AFTER the first 30 minutes when you remove the lid. My oven browns things quickly, and I checked the loaf after 15 minutes uncovered and it still needed another 5 minutes to reach perfection.
As the loaf cools, listen to it crack and groan and enjoy the wonderful scent of olive and wheat while patiently waiting for the loaf to cool enough to slice. Take your time with this recipe and you will reap RICH rewards.
I’m an experienced bread baker and accustomed to teaching breadmaking. This olive bread recipe was so foolproof, simple to make, and delicious that I will definitely make it again and again. It had an excellent crust and crumb structure.
It’s an especially good recipe for a neophyte to breadmaking. The recipe calls for baking it 30 minutes covered and then 15 to 30 minutes uncovered, until it’s a deep chestnut color. When I uncovered it after the initial 30 minutes and tested it with an instant-read thermometer, it had already reached 190°F, which is when bread is fully done. I’d suggest checking it after about 20 minutes and then uncovering i
This is an easy-to-make olive bread with simple ingredients that doesn’t require a lot of expertise to put together. I liked that I could assemble the dough and let it rise overnight and during the day. It also freezes well.


The metric conversion for yeast states 9 grams. Should only be 3 grams 🙁
Thanks for bringing this to our attention, Tim. We’ve updated the recipe.
Was pretty concerned because the dough was so wet that I couldn’t even poke my finger in it, so I dusted it with more flour and as you can see it did eventually turn out pretty well. I weighed all the ingredients except the water so that might have been why it was a little wetter than expected. I did add some rosemary, which was really good and can’t wait to try it again with one of the suggestions using a little bit of whole wheat, because that should absorb any extra water, correct?
Yes, that should definitely help, Andrea. Gorgeous loaf!