LC No Canning Required Note
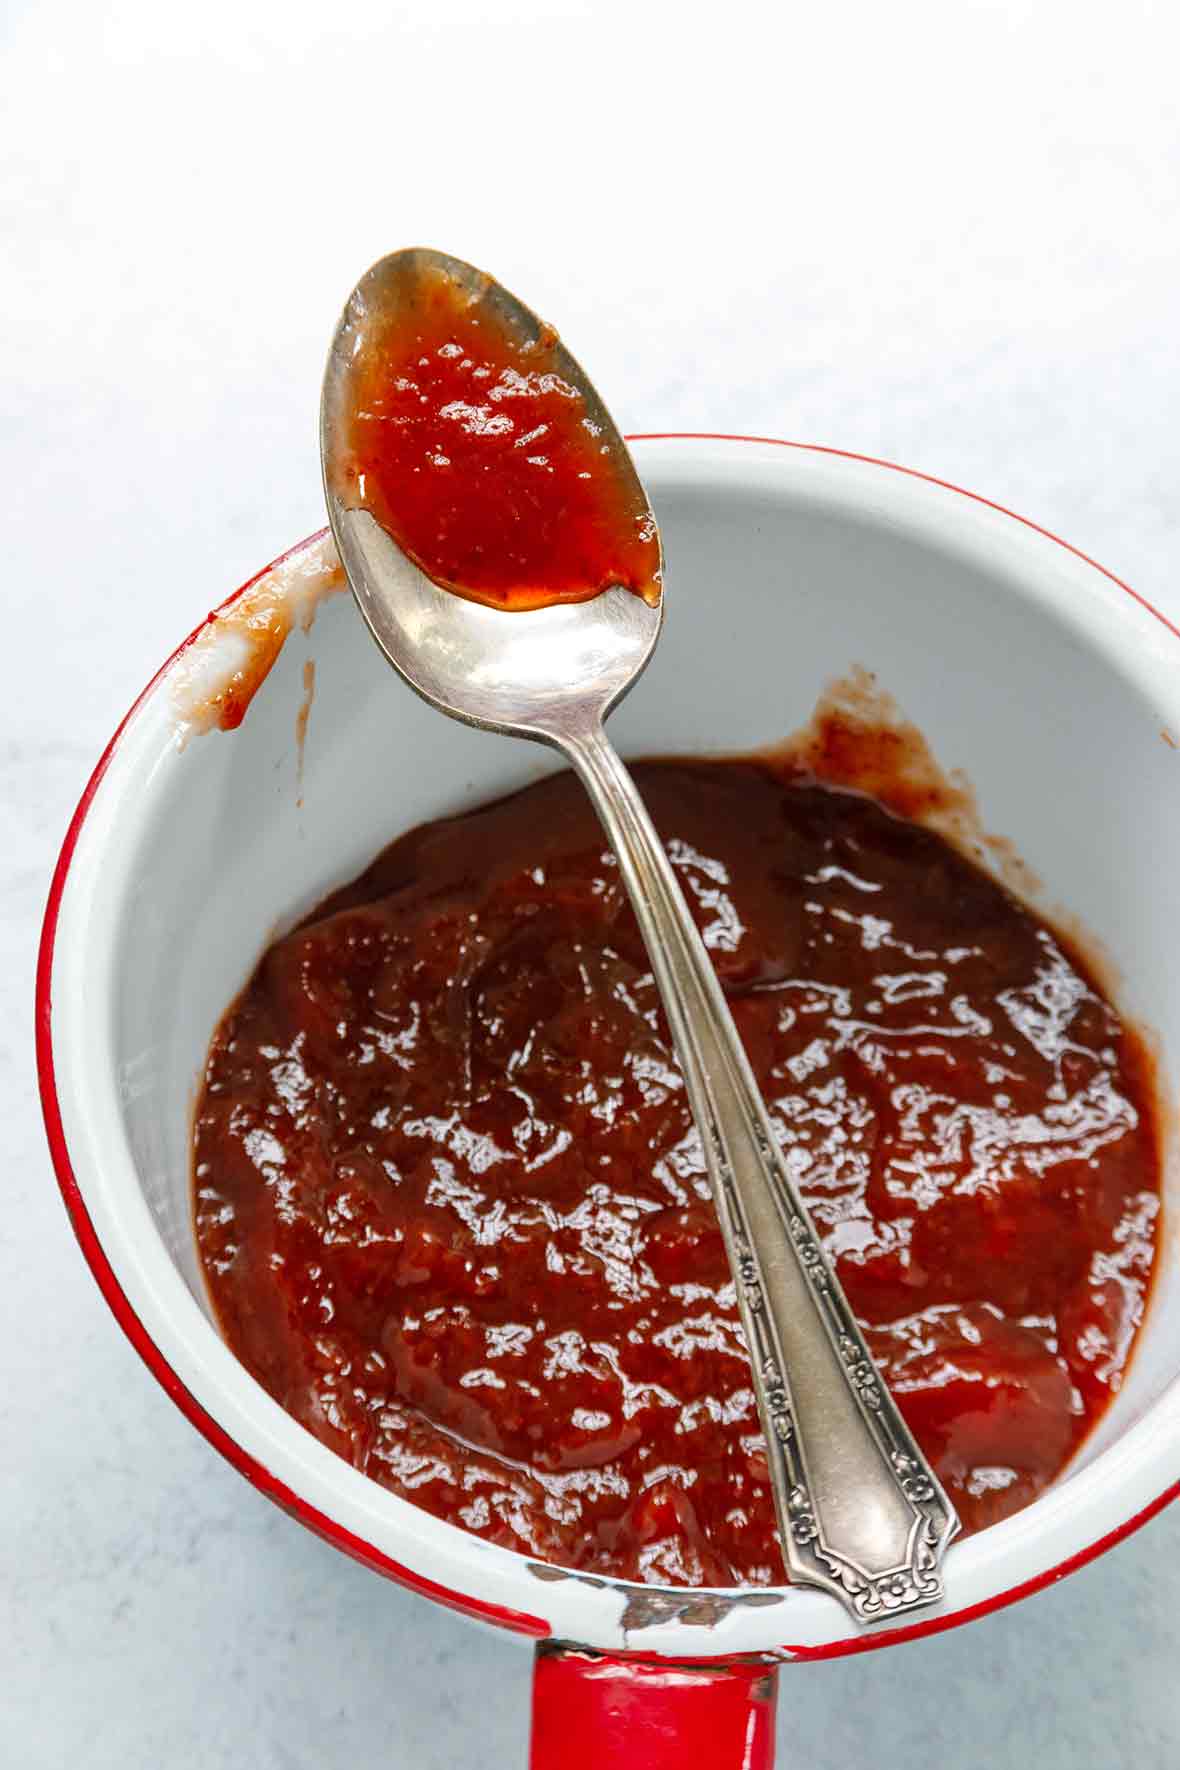
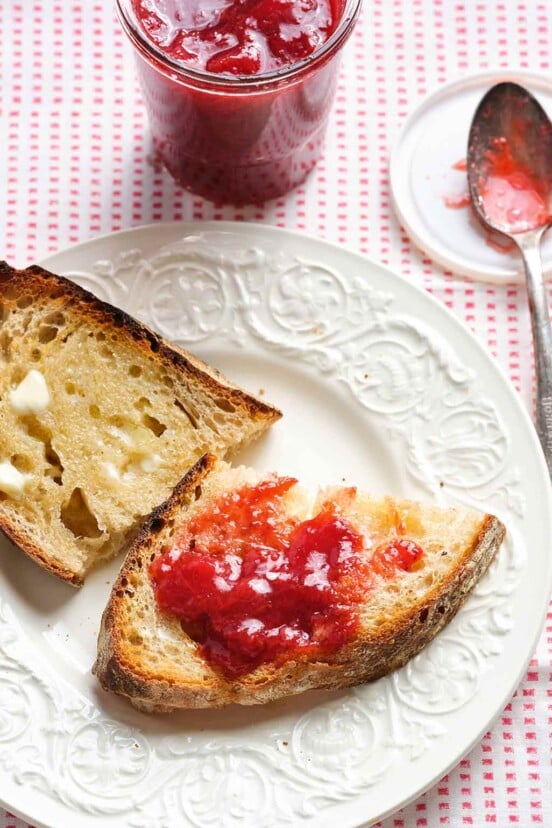
This strawberry jam is great dolloped onto pancakes or homemade bread and can also be used to sandwich together a simple sponge cake. I love it spooned into tiny sweet tart shells with another miniature dollop of whipped cream on the top. If you like, you can make this with some chunks of strawberry, but you can easily tweak it to make it all smooth.
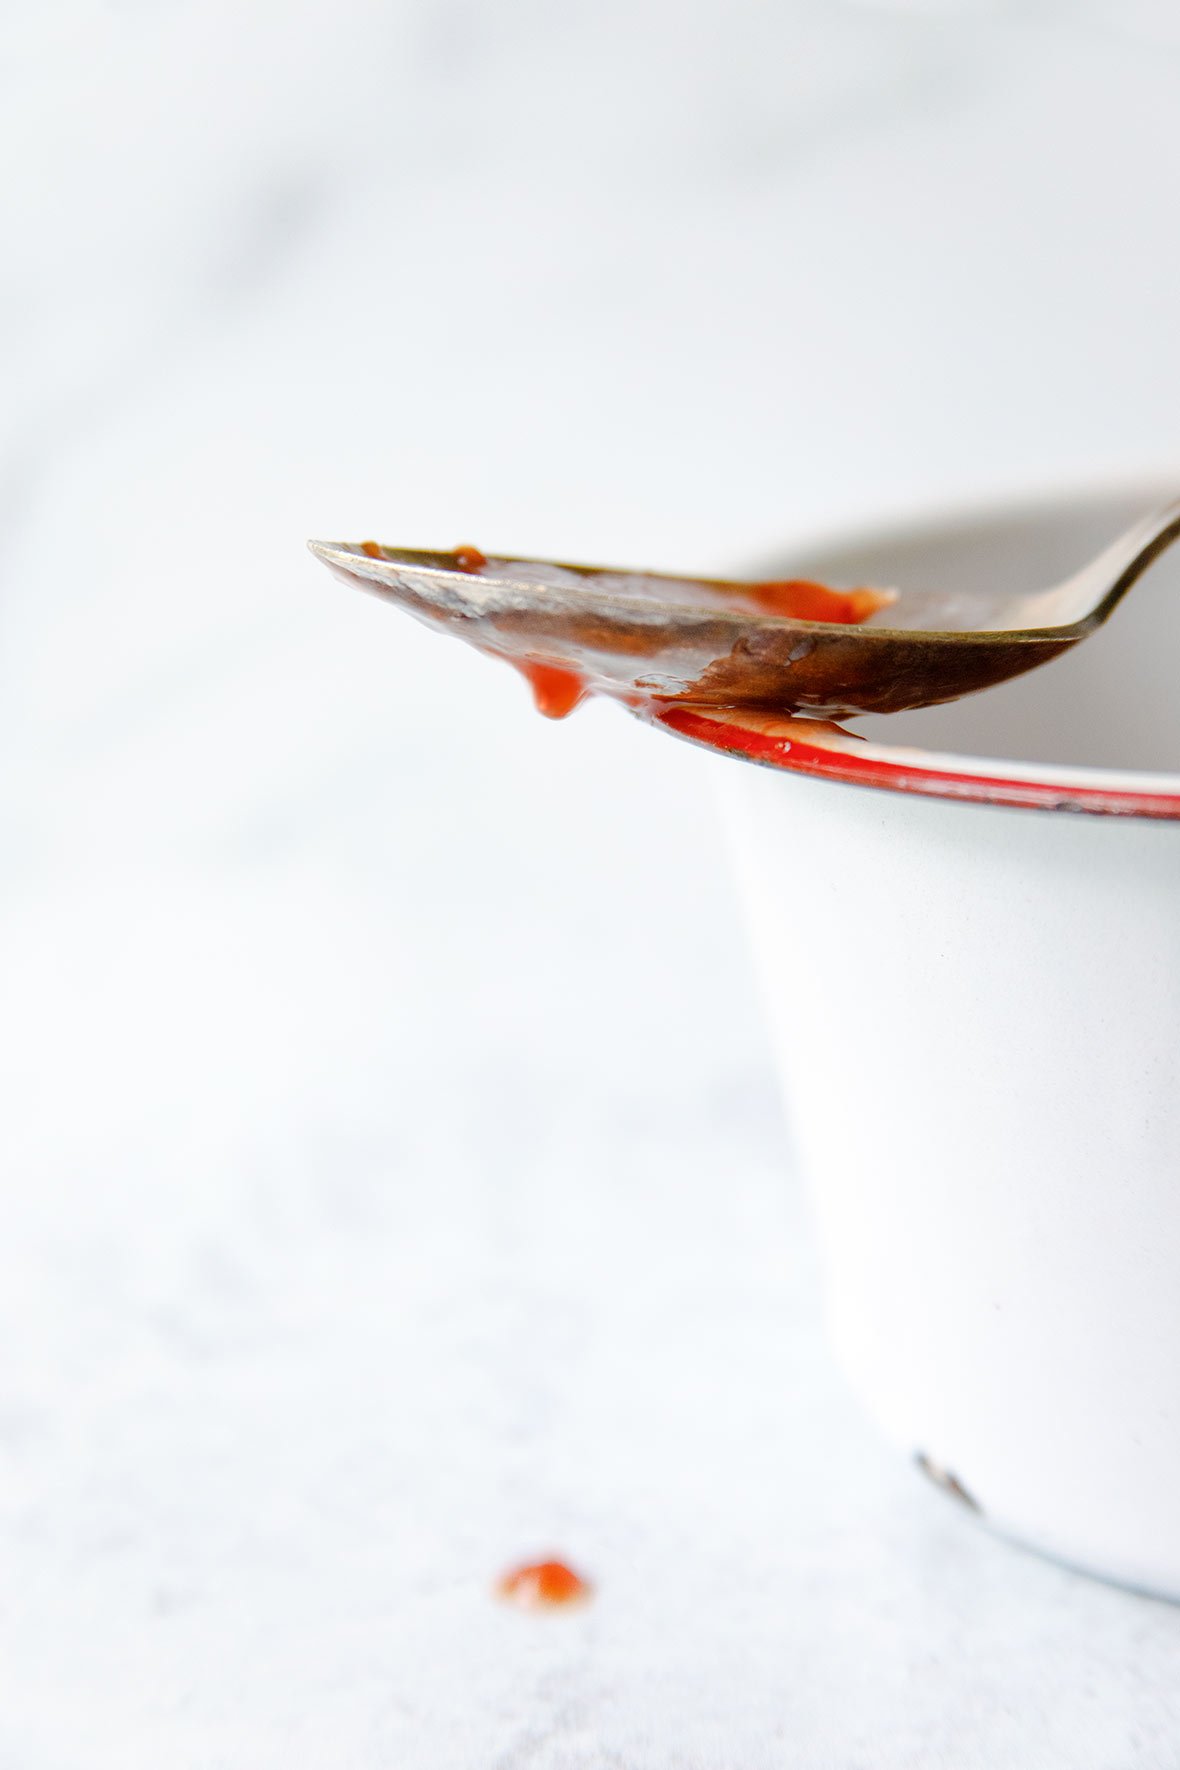
But rather than go without, some of us lazy home cooks cheat. We make a small batch of strawberry jam and, rather than fuss with canning, we stash it in the fridge in an unsealed, unsterilized, handy little container for a week or so. The small, manageable batch lasts just long enough before we grow tired of the particular flavor. And then we move on to the next fruit that we fancy, using any recipe for preserves but skipping the preserving part. And we always, always, always keep it in the fridge.
The beauty of this approach lies not just in its ease, but in the lesser amount of preserves. As author Tessa Kiros notes, “It’s not necessary to make a supply for the whole year and the whole neighborhood—although wouldn’t that be nice?” In theory, perhaps.
Strawberry Jam
Equipment
- 4 ounce jelly jars (optional) or other small resealable containers
Ingredients
- 3 1/2 cups strawberries, (try to find small strawberries, which tend to have more flavor than the large ones), rinsed and hulled
- 1 cup superfine sugar, (or just blitz granulated sugar in a blender until finely ground but not powdery)
- 1 lemon, juiced
Instructions
- Quarter the strawberries or, if they're especially large, cut them into smaller chunks.
- Place them in a nonreactive bowl, add the sugar and lemon juice, and toss well. Cover and stash the bowl in the fridge overnight to release the strawberries’ juices.
- The next day, strain all the liquid from the strawberries into a large, heavy-bottomed jam pan or wide saucepan. Add half the strawberries and bring to a boil. Reduce the heat and simmer gently until the juices are thickened somewhat, about 15 minutes.
- Remove from the heat and let cool for at least 10 minutes.
- Transfer the strawberry mixture to the blender and purée until smooth or, if you prefer your jam rather chunky, pulse until the desired consistency.
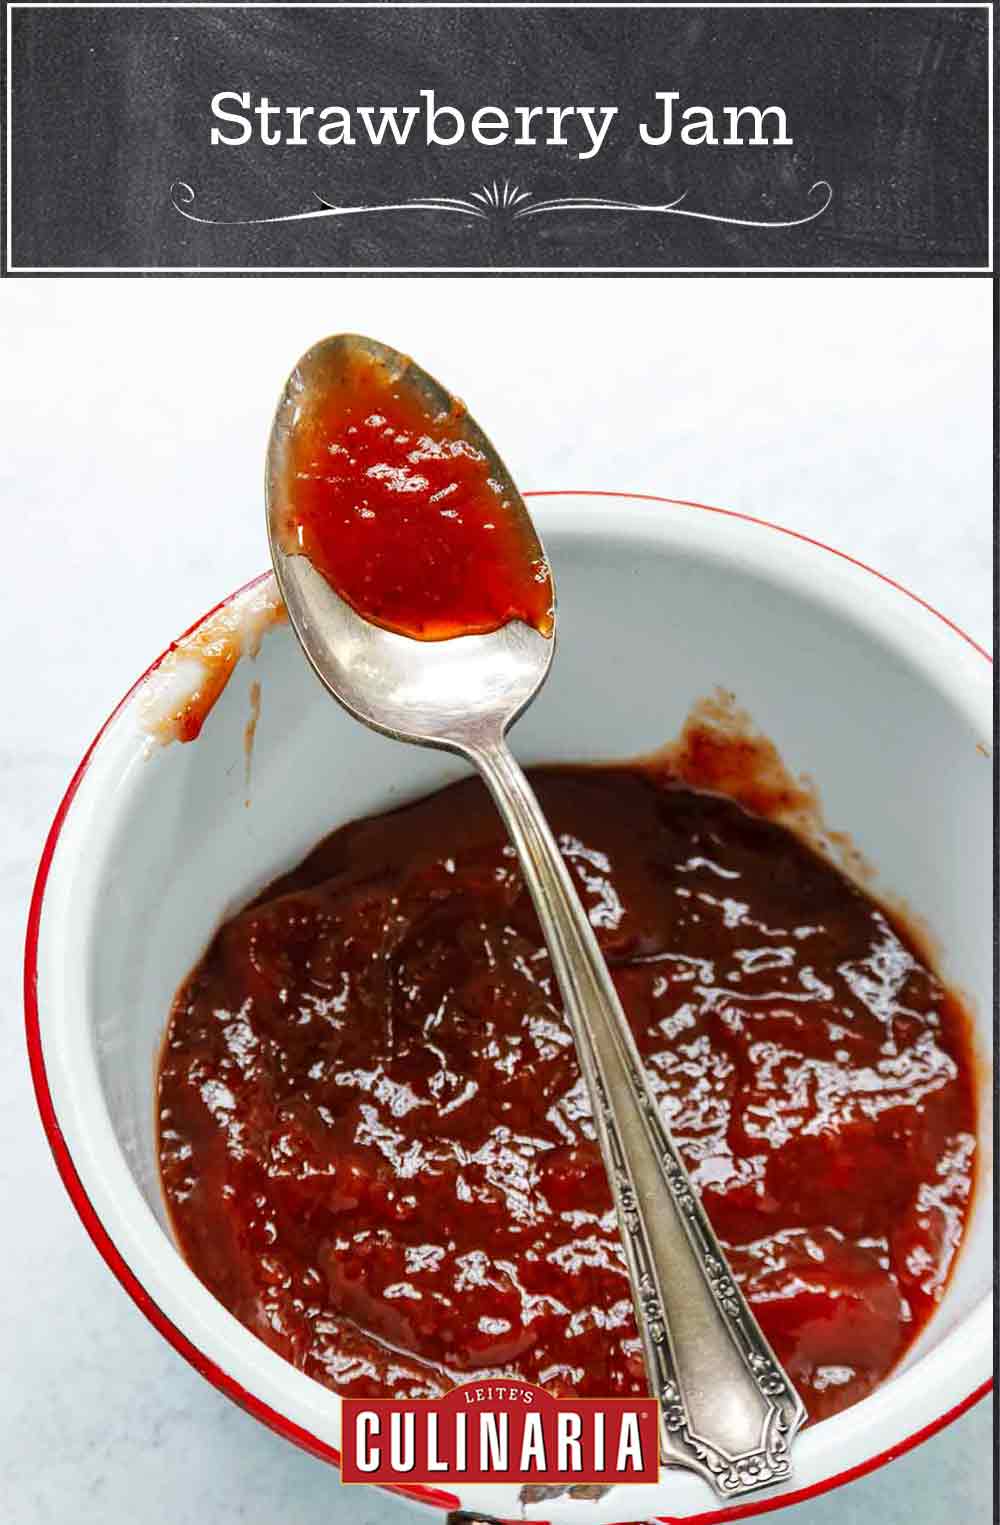
- Return the mixture to the pan, add the rest of the strawberries, and return to a boil. Reduce the heat to low and simmer gently for 10 to 15 minutes more. To test if the jam is ready, drop a teaspoonful on a plate and tilt the plate so it's almost vertical. The jam is done when it's a lovely red hue, looks quite sticky, and doesn't run down the plate but rather clings to it and slowly glides down the plate. If the jam isn’t ready, put it back on the heat for a while and test it again.
- Spoon the jam into small jars and refrigerate for up to a couple weeks or spoon it into resealable plastic containers and freeze. You can't leave this jam on the shelf since it hasn't been canned. (If you prefer to can it, see the Variations below.)
Notes
Strawberry Jam Variation
Raspberry Jam You can make raspberry jam like this, too. Just pass it through a fine sieve to get rid of the seeds. What You Need To Know About Canning Strawberry Jam Here’s the thing about making and canning jam from scratch—it’s lovely in principle, although not often likely in reality. It’s not the actual act of making preserves that’s hard. It’s the idea of putting up preserves that gives some of us pause. But if you wish instead to actually can the jam, don’t let us deter you. Be sure to sterilize your jars before you have a panful of hot jam ready to put up. Then follow the instructions below. Preheat the oven to 250°F (121°C). It’s best to use several small jars, rather than one or two big ones. Wash the jars and lids in hot soapy water, or in the dishwasher, and rinse well in hot water. Then place the jars and the lids on a baking sheet for at least 20 minutes, or until you are ready to use them. Don’t use a dish towel to dry them. They should dry thoroughly in the oven. When the jam is ready, spoon it into the warm sterilized jars and close the lids tightly. Turn the jars upside down, cover with a dish towel, and let stand until completely cool. This creates a vacuum that can be seen with the lid. Turn upright and store in a cool dark place.
Nutrition
Nutrition information is automatically calculated, so should only be used as an approximation.
Recipe Testers’ Reviews
Oh, this is soooooo good, and so easy to make, that everyone is having PB&Js today in their lunches with homemade strawberry jam! This is the perfect time of year for this recipe. Sweet and delicious strawberries are all over the markets right now. You can’t use them fast enough, but with this recipe, you can cut them up and quickly have fresh homemade jam.
The berries I had were really juicy, so it took a bit longer than the recipe states for the strawberries to cook down. If my next strawberries are as juicy, I may cut back on the sugar a tad, as I don’t think it will affect the flavor at all since the berries are so sweet.
Everyone in my family loves this jam. My son even said it has “intense fruitiness,” and I think that puts it perfectly.
I’ve been on a jam-making binge the last few weeks—just the combination of school back in session and still so much great fruit available. I looked at several strawberry jam recipes before making this one, and all the others had 3 or 4 times as much sugar, so I wondered how this would taste. If you’re looking for a little less-sweet yet still super strawberry jam, this recipe is amazing.
I took a tip from a friend and tried freezing what we weren’t using. It was only frozen for 2 weeks because the first jar of jam disappeared so fast, but it worked great and is much easier than canning.
When strawberries are in season but aren’t so sweet, or when all I can get are the grocery store berries, I make this strawberry jam. The flavor of any strawberry is improved and even amplified, I don’t have to mess around with canning equipment (or buy and store it and worry about whether the process worked), and I don’t have to find pectin—just a lemon.
I’ve made this jam probably twenty times, and the deep strawberry flavor never disappoints. It’s a looser jam than usual with chunks of berries; my daughters drizzle it on triple cream brie and baguettes, my husband has it on toast where it finds every nook, and I use it in cocktails instead of simple syrup when I want a strawberry flavor. It’s a little too drippy for using in jam thumbprint cookies, but I have trouble not imagining it in nearly any other jam application.
The recipe fills two old Bonne Maman jam jars for me; they hold 13 oz each. The plate test mentioned is the right cue for readiness. Using a stick blender in the pot is easier and makes less mess than a blender. When it’s warm, the jam might not seem sweet enough, but after chilling overnight, it’s perfectly sweet.




I am new to jam making and, I admit, a bit hooked. I’m curious why you didn’t recommend water bath processing in the canning directions? I’ve done that with small batches and it’s really easy and fairly quick. Also, I’m curious, is the method you described as safe as water bath canning? I’m assuming it is as you recommended it, but it does seem quite a bit different? Thank you.
Good question, Mom24. The author of this recipe has a European and South African background, and this particular method is popular in Europe, but not as common in North America. As long as the lid seals, creating a vacuum, the process is safe, however, if you prefer to water bath can, it will work with this recipe as well.
Thank you. You guys are the best.
Thank you, Mom24. You just made my day!
Great recipe…I have been making jam for a few years but as I start my first batch of the season, I like to check out other recipes. I have two quick questions, why superfine sugar vs. regular and do you feel macerating the strawberries first adds extra depth to the flavor of the jam? I currently just chop them and then bring them to a boil to draw out the juices.
Many thanks, John. The superfine will simply dissolve more quickly than granulated. I dare say in the end, as long as you wait for the sugar to dissolve, it won’t make an appreciable difference. As for the macerating of the berries, we don’t honestly know, as we didn’t do a side-by-side tasting. I wonder if perhaps it’s just tradition, as I grew up sugaring berries and setting them aside until they’d given up their juices? Anyone have any thoughts?
This recipe is simple to use with any of your favorite summer fruits, I used 3 1/2 pounds of peaches to a scant 3 cups of sugar, lightly pulsed the peaches in the food processor before cooking added a little lemon juice and cooked down in the same manner as above. Adjust your sugar accordingly to the sweetness of the peaches. Delicious!