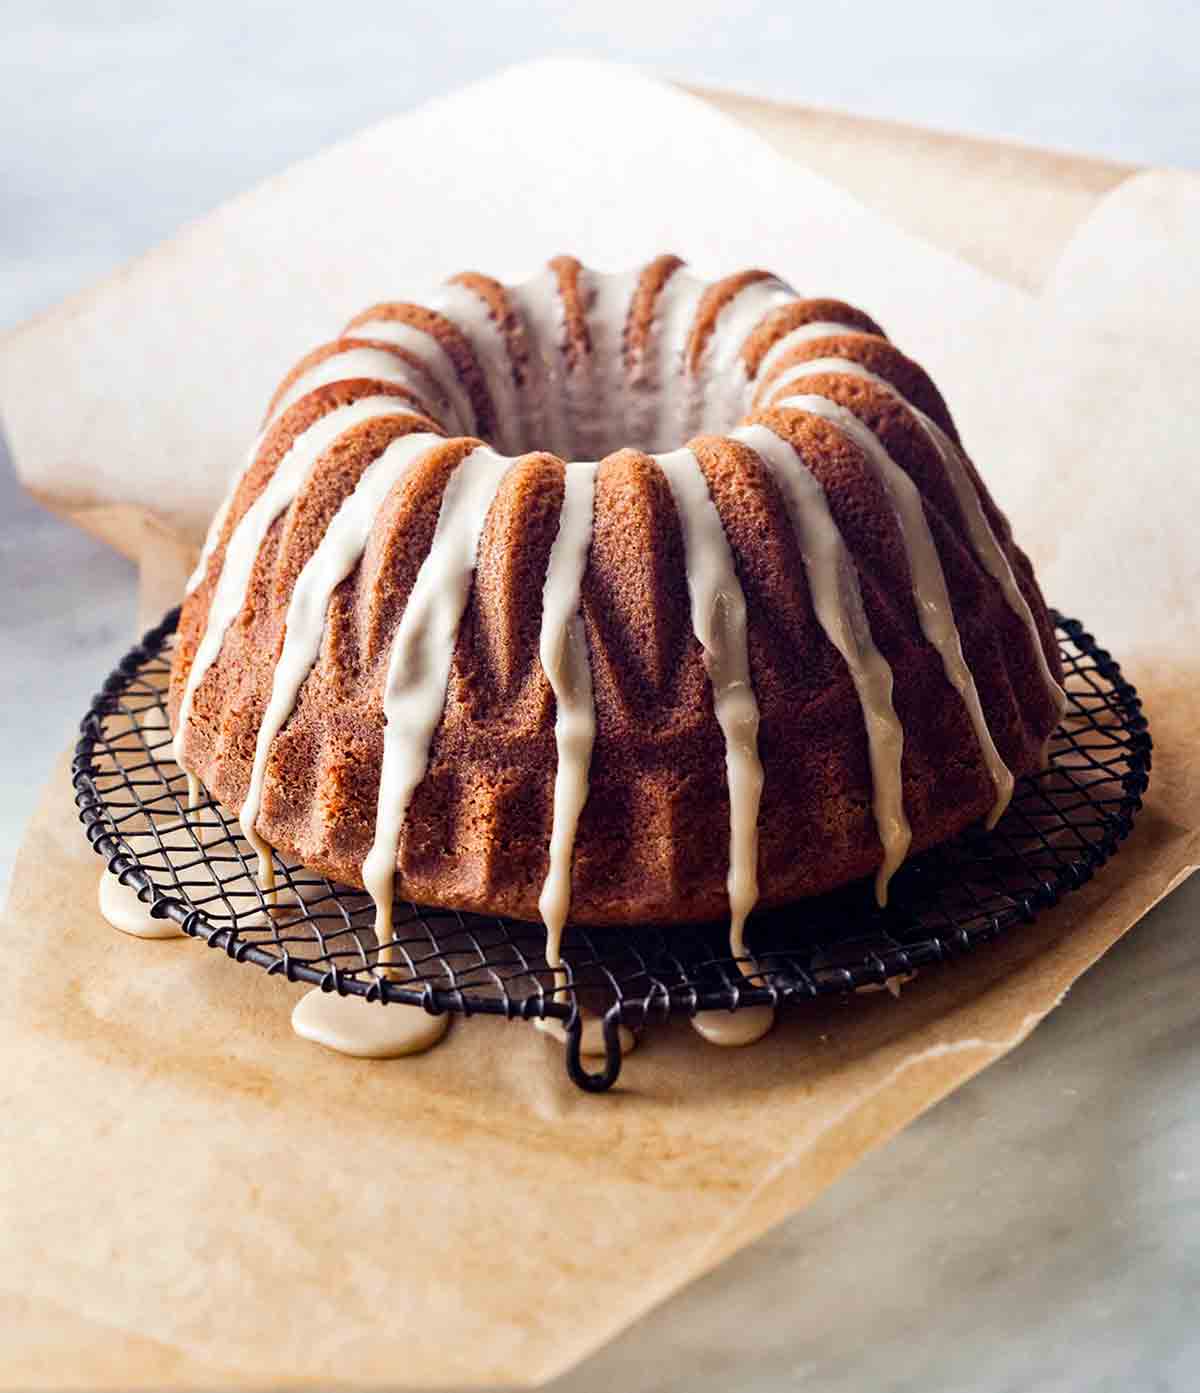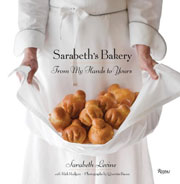
“This espresso cake is one of my late mother-in-law Margaret’s most-treasured recipes.” Thus begins pastry chef Sarabeth Levine’s introduction to this espresso cake recipe, which was originally published in her cookbook Sarabeth’s Bakery. Although we didn’t have the pleasure of knowing Margaret, we, too, think of her with appreciation when we make this simple yet spectacular espresso cake. We think you will, too. Don’t be misled by the relatively subtle flavor of the cake. The presence of coffee is unmistakable and rousing in that way only espresso can be.–Renee Schettler Rossi

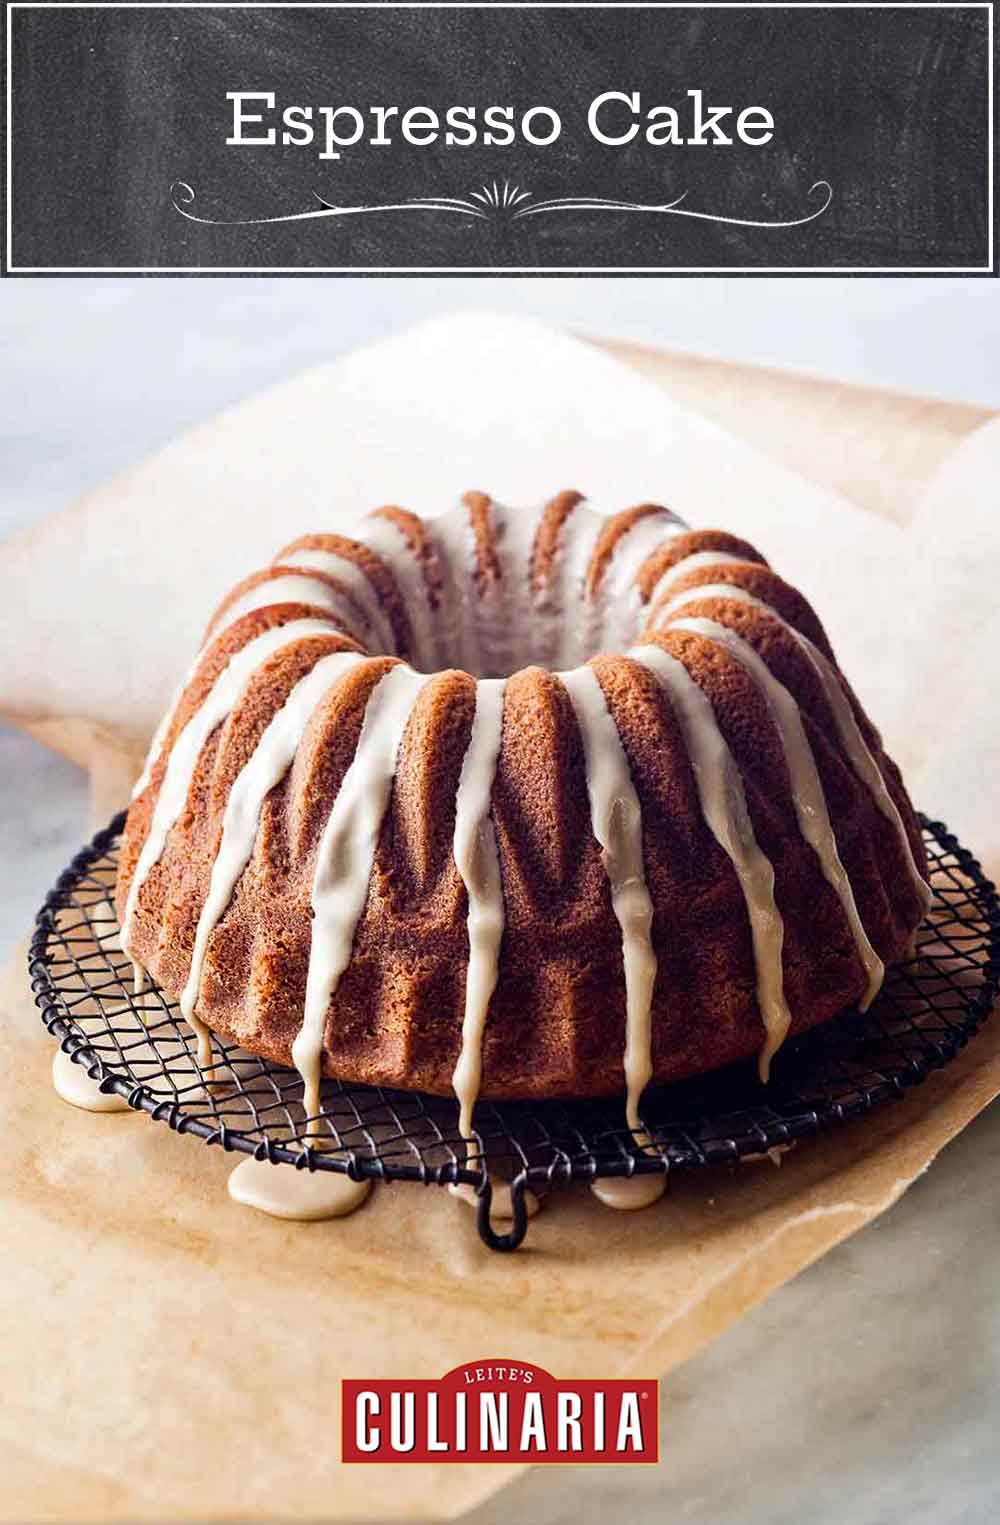
Espresso Cake
Equipment
- 10- to 12-cup Bundt pan or fluted tube pan
Ingredients
For the cake
- 1 cup hot strongly brewed coffee, (decaf works fine)
- 3 tablespoons instant espresso powder, or more to taste
- 3 cups unbleached all-purpose flour, plus more for the pan
- 2 1/2 teaspoons baking powder
- 1/2 teaspoon fine sea salt
- 2 sticks (8 oz) unsalted butter, chilled and cut into 1/2-inch (12-mm) cubes, plus more for the pan
- 2 cups superfine sugar, (or just blitz granulated sugar in a blender until finely ground but not powdery)
- 1 teaspoon vanilla extract
- 4 large eggs, at room temperature, separated
For the coffee glaze
- 2 tablespoons hot brewed coffee
- 1/2 teaspoon instant espresso or coffee powder, (preferably instant espresso)
- 1 tablespoon whole milk
- 1 to 2 cups confectioners sugar, sifted
Instructions
Make the espresso cake
- Preheat the oven to 350°F (176°C) and position a rack in the center of the oven. Butter and flour a 10- to 12-cup Bundt pan or fluted tube pan and tap out the excess flour.
- Combine the brewed coffee and espresso powder in a glass measuring cup and let cool.
- Sift the flour, baking powder, and salt together in a bowl.
- Beat the butter in the bowl of a heavy-duty stand mixer fitted with the paddle attachment on high speed until smooth, about 1 minute. Gradually beat in the sugar, then add the vanilla and beat, scraping the sides of the bowl occasionally, until the mixture is very light in color and texture, about 4 minutes. Beat in the egg yolks, 1 at a time.
- Reduce the mixer speed to low. Add the flour mixture in 3 additions, alternating with the cooled coffee in 2 additions, beginning and ending with the flour mixture. Beat until smooth after each addition.
- Beat the egg whites in a bowl with a handheld electric mixer on high speed or a balloon whisk until soft peaks form. Using a spatula, stir about 1/4 of the egg whites into the batter, then gently fold in the remaining whites. Scrape the batter into the prepared pan. Smooth the top with the spatula.
- Bake until the top of the cake springs back when gently pressed with your finger and a cake tester inserted into the center of the cake comes out clean, 45 to 60 minutes.
- Cool the cake on a wire rack for 10 minutes. Invert and unmold the cake onto the wire rack set over a baking sheet. Cool completely.
Make the coffee glaze
- In a small saucepan off the stovetop, stir the brewed coffee and espresso powder until the espresso powder dissolves. Stir in the milk. Add the confectioners sugar and whisk until smooth. Place over low heat and heat, whisking constantly, until the glaze is warm to the touch and thins slightly.
Glaze the cake
- Transfer the glaze to a glass measuring cup. Slowly pour the warm glaze over the cake, letting it flow over the indentations in the cake down the center of the cake. You will have plenty of glaze. (This is a good thing!) Cool completely before slicing. (The cake can be stored at room temperature, wrapped in plastic wrap, for up to 2 days.)
Notes
Shop The Look
Love the look? Click to bring the LC Lifestyle into your home. Royal Bundt Pan by Martha Stewart
Nutrition
Nutrition information is automatically calculated, so should only be used as an approximation.
Recipe Testers’ Reviews
This is a coffee lover’s dream cake. It has a very rich, deep, coffee flavor that’s balanced by sweetness. The espresso glaze enhances the moist cake—but it was incredibly sweet. Next time, I’ll reduce the sugar to 1 cup, which would also help cut down on the extra glaze that I found to be too much for the cake. If you’re not a coffee drinker (and I’m not), be prepared for the caffeine in this cake, as it packs a wallop. It actually kept me awake! I made this gluten-free, and I was quite happy with the texture of the final product: light, moist and smooth.
Absolutely amazing.
The first time I made this espresso cake recipe, I followed it to a T. It certainly is a cake for coffee lovers—and it’s so very good! I used the full 2 cups sugar in the coffee glaze and for my taste it was overly sweet and overpowered the cake. The second time I made this, I treated the recipe as an espresso bread and instead of using a fluted tube pan I used 3 loaf pans. I didn’t bother with the glaze.
In her introduction to this espresso cake recipe, Sarabeth notes, “This is one of my late mother-in-law Margaret’s most treasured recipes.” This could easily become one of mine, too. In the interest of full disclosure, I had the pleasure of assisting Sarabeth for a demo class she presented while on tour for her cookbook. The consistent deliciousness of the recipes Sarabeth presented plus her charming way of introducing each with history and anecdotes made me eager to test this cake. My more than half dozen tasters all agreed that this cake is simple, elegant, gently flavorful, and a crowd pleaser. It’s a lovely, rich, deeply coffee flavored (and colored!) cake that’s excellent and equally appropriate at breakfast, tea time, or dessert.
The recipe is well-organized, with the steps clearly and fully explained. Nearly each and every detail seems important to the success of the cake. Sarabeth notes the importance of both the HOT brewed coffee and the combination of the two instant coffees to give the cake its distinctive “proper” beige color. I trusted that these details were integral to success, and I was rewarded with a delicious cake.
I did bake the cake for the full 60 minutes because at 55 minutes it wasn’t quite fully baked. After letting it cool (nearly) completely, we made the first cut into the cake, and it had a beautiful, even crumb and a lovely, almost fluffy, texture. Sarabeth notes the cake makes 12 servings and could be stored, plastic-wrapped, for up to two days. Whether this would ever serve 12 or hang around long enough for two days of storage is unlikely! About Margaret, Sarabeth says, “when I make this cake, I think of her and smile.” When I made this cake, I thought of Sarabeth and smiled, as I will do each time I make this cake.


Not all of your readers have a stand mixer. It’d be great if you would give alternative directions to the rest of us.
Thanks, Tom. We do try to keep that in mind for baking recipes, and will continue to do so. If you have a handheld electric mixer, you can use that in place of the stand mixer.
This cake is delicious and given a stamp of utmost approval from my coffee aficionado son. I’m irked by people who take a recipe and change it then review it. During these times of COVID-19 pandemic, I have a lot of time on my hands to experiment AND review a recipe. That being said I’ve become one of those people and I apologize. This is what I did slightly differently:
1) I added an extra tablespoon of coffee powder only based on another reviewer expressing that it could use more coffee flavor, we’re strong coffee drinkers in my house so that’s why I did it.
2) I have a Keurig so to brew the strongest coffee the small cup portion only brewed about 3/4 c so I decided to fill the rest of the way up the cup with whole milk.
3) I’m an experienced baked and like to be quick about things so I did not use fine sugar nor did I put it into a blender. I used regular granulated. Also, I did not separate the eggs. I realized that it probably would have made for a lighter fluffier cake had I went the extra step, but I was more inclined to have a denser cake to have with coffee for breakfast anyway. It turned out great even skipping those two steps.
4) I made a bittersweet chocolate glaze in addition to the coffee glaze and drizzled first the coffee glaze then the chocolate glaze which made an interesting layering effect.
5) I then sprinkled flake sea salt (Maldon) on top. After you do this try not to cover or refrigerate your cake until beyond cool so that the salt doesn’t melt into glaze, it’s ok if it happens; it taste great still but the salt flakes look pretty on top.
5) This last change should have been stated near the beginning, I waited for the cake to cool in pan on cake rack for 15 minutes before dumping it out, came right out. This works every time as long as you greased the pan liberally and dusted with flour, or use Baker’s Joy, which I love using but didn’t have on hand.
Great recipe as it was I’m absolutely sure, but like I said I’m home and felt experimental (insert mad scientist laugh here). Thank you!
Lisa, wow, wow, wow! You took this to a whole new level. Congrats. The cake looks amazing.
THANK YOU! I was excited to have such a wonderful recipe to work with.
Lisa, you bet!
I’ve made this recipe about 7 times since discovering it a couple of years ago. It’s easily my favorite bundt cake recipe. I make it for Christmas morning and for potlucks. Everyone who tries it loves it. It’s not overly sweet, it’s loaded with heart-warming coffee flavor, smells like heaven while it mixes and bakes, and all-around is a unique dessert. It hits the spot every time! I like to keep my glaze thin so it soaks into the cake rather than sitting on top. It makes for a delightful experience. I find it’s even better the second day.
Renee, superb! I’m delighted you enjoy the cake!