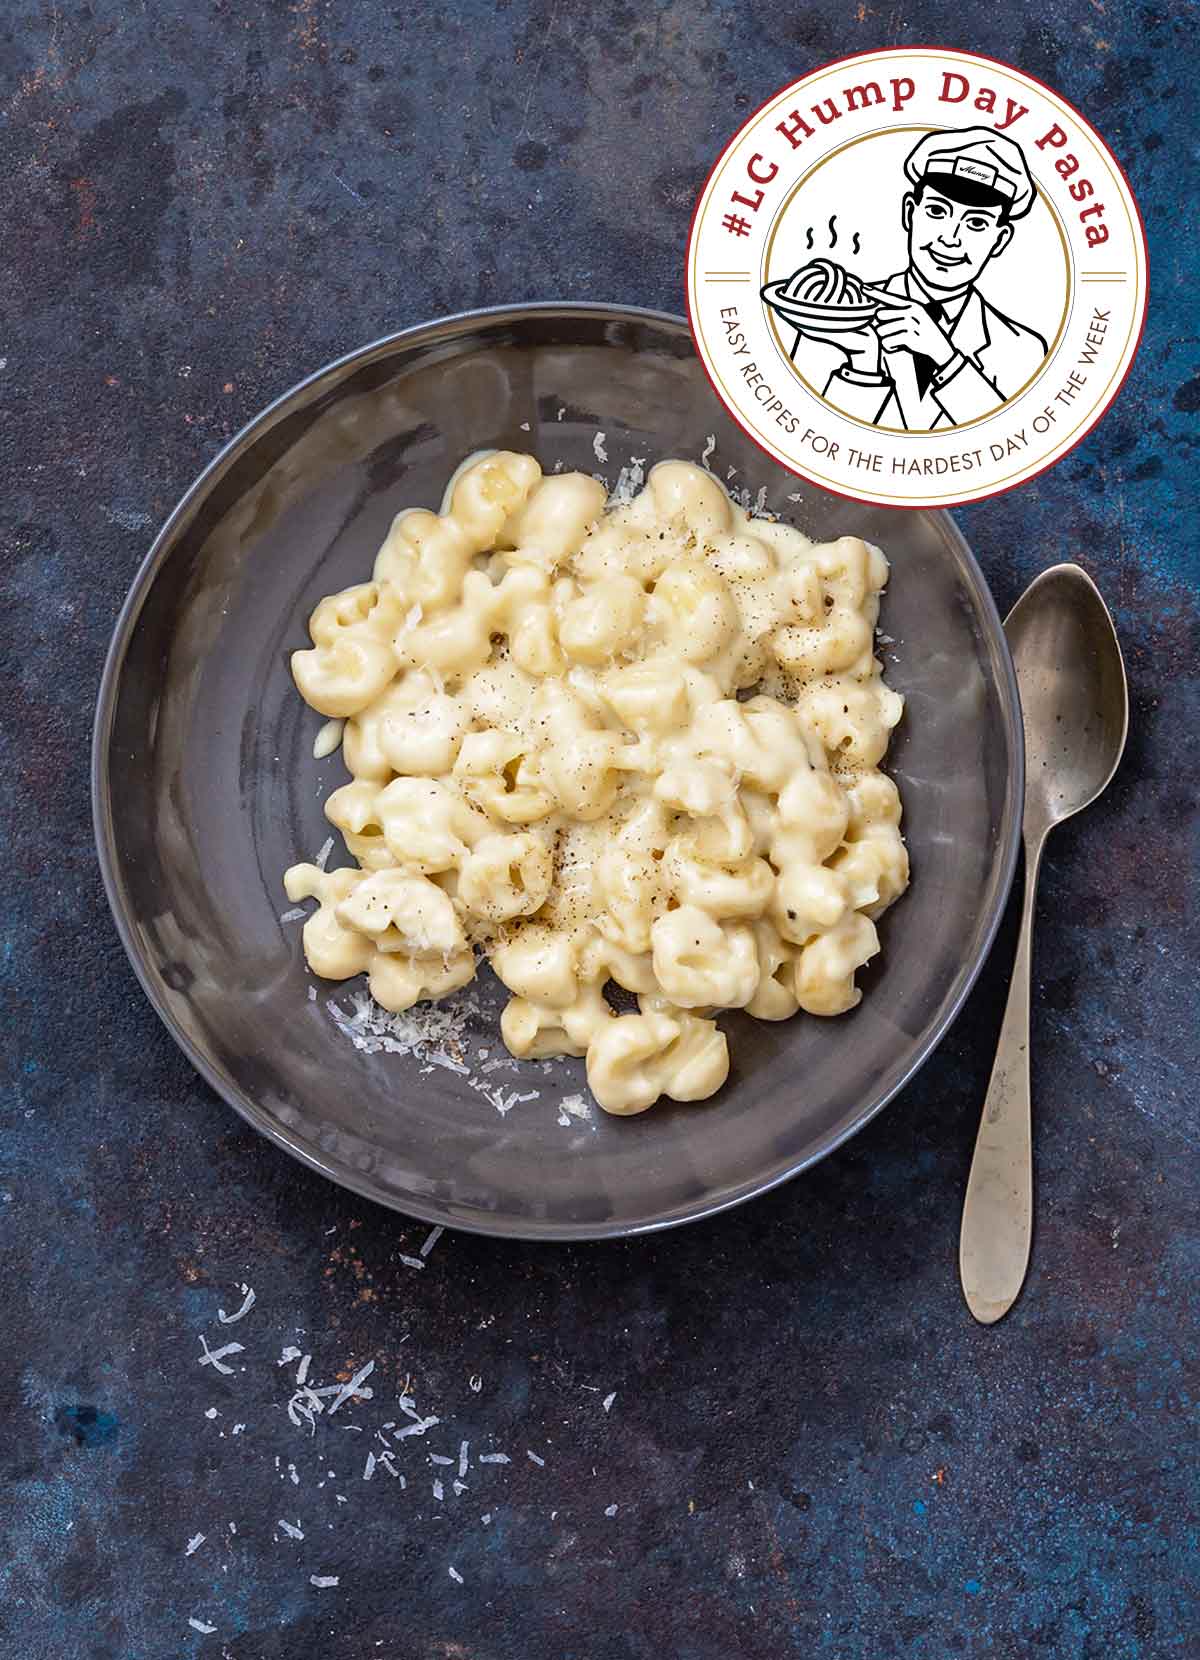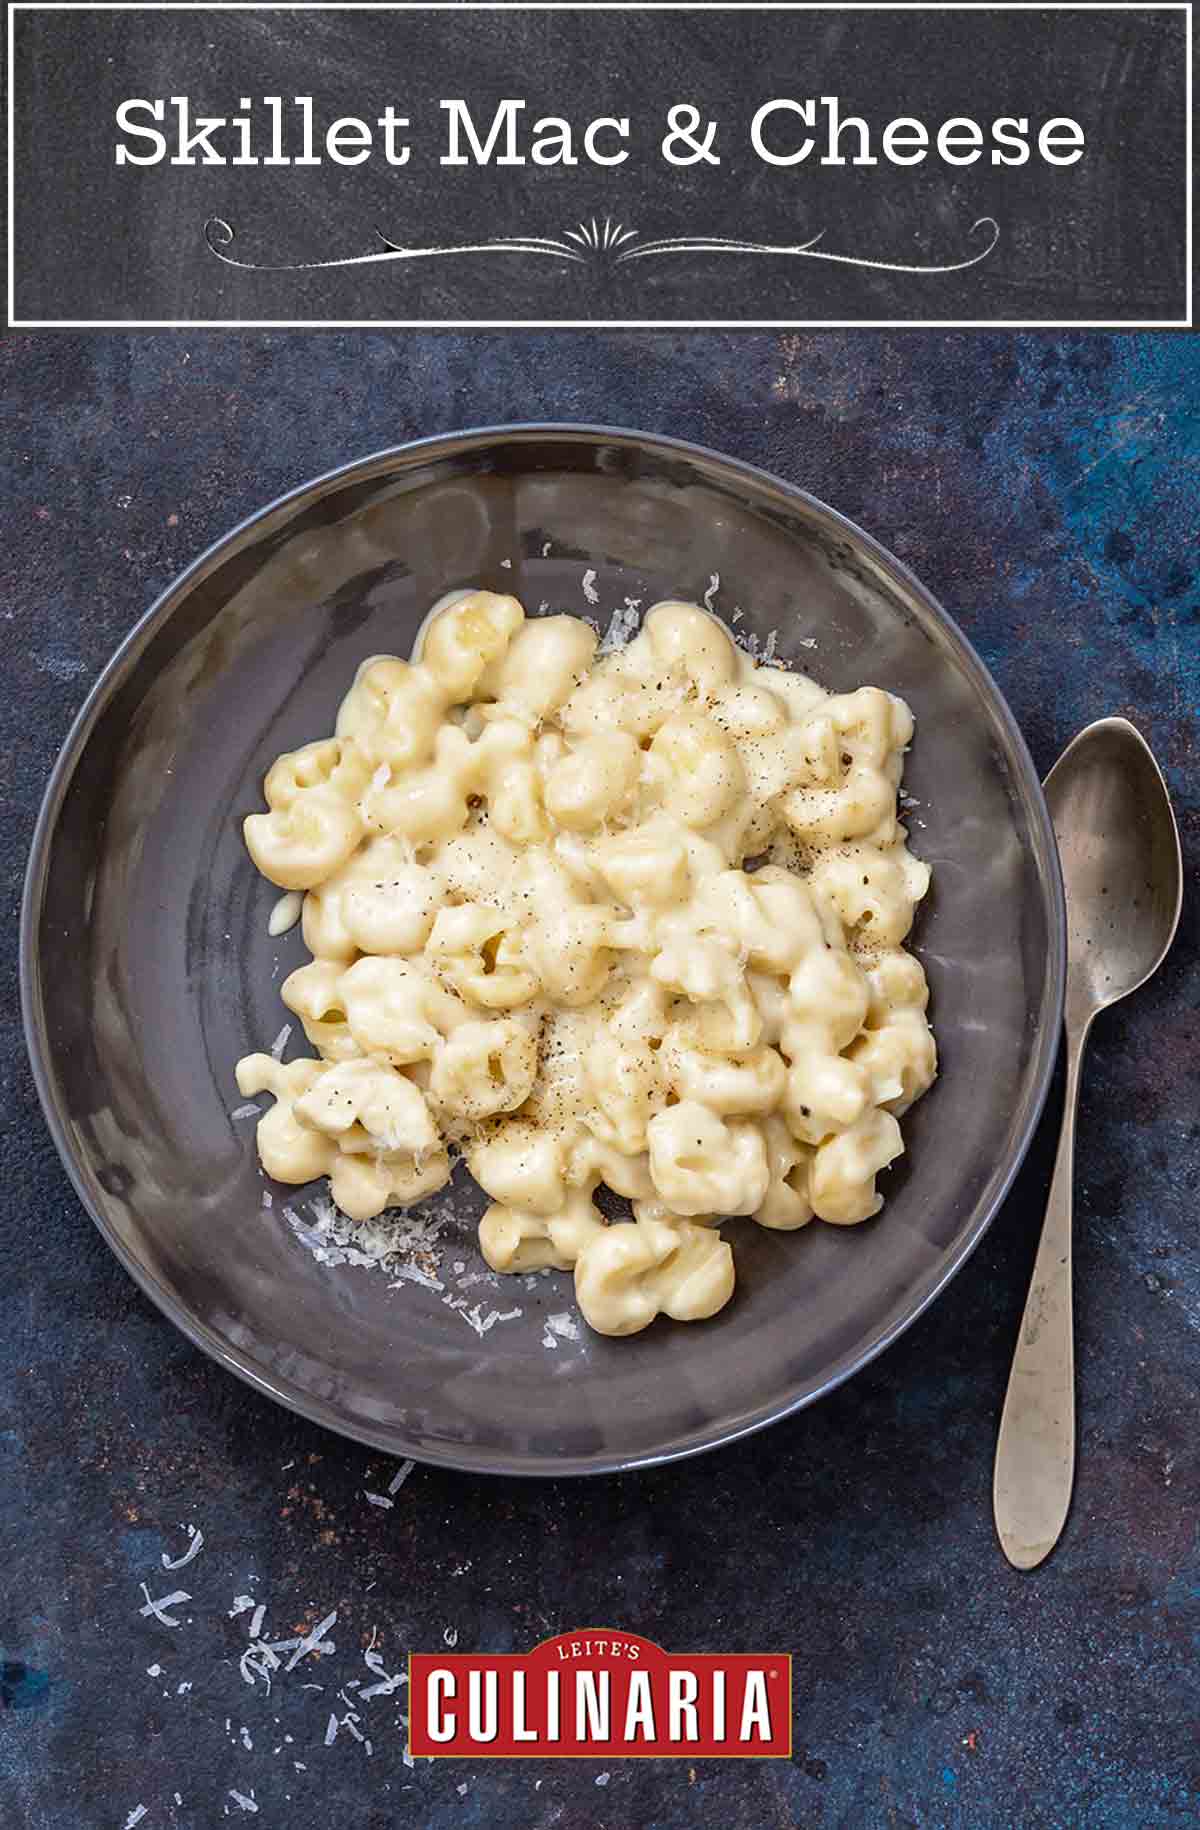
Add this simple skillet mac and cheese to your dinner arsenal and you just might achieve superhero status with the kids. And with yourself, since it uses the unconventional approach of not having to take the time or the extra pot to boil the pasta. Instead, you simply dump everything in the same skillet and shove it in the oven. (Yes, seriously, mac and cheese with no standing at the stovetop and stirring.) It’s better than the boxed stuff in terms of being creamy and comforting. And there’s no contest when it comes to an easy-peasy weeknight rescue that keeps everyone, including the one doing the cooking and dishwashing, quite content.–Anna Helm-Baxter
WHAT IS LC HUMP DAY PASTA?
We’re glad you asked. LC Hump Day Pasta (#LCHumpDayPasta) is a little something we cooked up to help you on the night of the week that you feel least like cooking. Wednesday was traditionally Prince Spaghetti Day (for those of you old enough to remember). We’ve revamped and updated that to Hump Day and included every type of pasta there is.

Skillet Mac and Cheese
Ingredients
- 4 tablespoons (2 oz) unsalted butter, cut into small pieces
- 1/4 cup all-purpose flour
- 3 1/4 cups whole milk, warmed
- 1 cup water
- 1/2 teaspoon sea salt
- 1/2 teaspoon freshly ground black pepper
- 8 ounces small pasta, such as shells, cavatappi, or lumache
- 8 ounces firm or semi-firm cheese, coarsely grated, preferably a combination of two or more, such as aged Cheddar, Fontina, Gouda, or Monterey Jack
- 2 tablespoons finely grated Parmesan
Instructions
- Preheat the oven to 350ºF (180°C).
- In a very large, high-sided, oven-safe skillet set over medium heat, melt the butter until foaming. Whisk in the flour and cook, stirring constantly, until the mixture is smooth and golden, 1 to 2 minutes. Gradually whisk in the milk. Add the water, salt, and pepper, and bring just to a simmer, stirring occasionally.
- As soon as the mixture comes to a simmer, immediately add the pasta and cook, stirring, for 1 minute. Cover with a lid or aluminum foil and bake until the pasta is just cooked, 12 to 14 minutes.
- Remove the skillet from the oven, add the cheeses, and gently stir just until the cheeses melt and the sauce is smooth. Let rest, uncovered, for 5 to 10 minutes before scooping it onto plates.
Notes
Skillet Mac and Cheese with Bread Crumbs Variation
Feel free to sprinkle the top of the finished dish with panko or breadcrumbs and slide it under the broiler for a minute or two.What pan should I cook Skillet Mac and Cheese in?
This recipe calls for a high-sided skillet to accommodate the cooking liquid. Alternatively, you could use a Dutch oven, although you may need to extend the time in the oven just a little. Bonus points if your pot of choice has an oven-safe lid, although a sheet of heavy-duty aluminum foil works quite nicely, too.
Explore More with AI
Nutrition
Nutrition information is automatically calculated, so should only be used as an approximation.
Recipe Testers’ Reviews
Did you know only 68% of the recipes we test make it onto the site? This recipe survived our rigorous blind testing process by multiple home cooks. It earned the Leite’s Culinaria stamp of approval—and the testers’ reviews below prove it.
This recipe was one that I really enjoyed making. Mac and cheese is one of the most-requested sides at our house, and I make it often. This recipe is easier than any other version I have tried and the results are pretty impressive.
The only change I would suggest (and the opinion was shared by our resident mac and cheese expert) is that a third cheese should be added to add creaminess and soften the chalkiness of the Cheddar. We suggest American cheese, because it melts well and is creamy when melted. Maybe 2/3 to 1/3 ratio.
The pasta was cooked just right and the sauce was plentiful and tasty. The recipe was super easy to make and time saving. Definitely a highly recommended keeper.
If you were to just look at this recipe’s ingredient list, it looks like a basic macaroni and cheese recipe. You have roux ingredients plus milk, cheese, and pasta.
But what is fascinating about this specific recipe is its cooking method. You begin making a traditional roux (equal parts fat and flour), or a thickening agent for the sauce, then as usual you slowly add in your liquid (milk and a touch of water). But instead of cooking the mixture on the stove-top until the sauce is thick and ready for the addition of grated cheese and cooked pasta, you immediately add the dried pasta to the warm milk mixture and pop everything into a preheated oven to finish cooking.
The sauce continues to thicken in the oven as the pasta becomes tender. A mere 12 to 14 minutes later, you take the skillet out of the oven and stir in the grated cheese until it’s completely melted.What I really like about this process is its simplicity, creativity, and the fact that it’s largely hands-off.
I used cavatappi pasta as my noodle choice. The only thing about the recipe I would suggest as a change is the type of pot you cook everything in; I think a Dutch oven with a lid works perfectly here. At first, it seems like a lot of liquid for just 1/2 pound of dried pasta, but once you add in the cheese at the end, stir everything until smooth, and let the dish cool for about 8 minutes, the sauce is just thick enough without being too soupy.
Overall, if you like a mac and cheese variation that is creamy through-and-through, this is for you. (It’s a great base recipe that I would like to experiment with in terms of other cheeses. What about a mixture of blue cheese perhaps? Fontina or goat cheese in addition to a Cheddar?) Not only did we adults like this creamy mac and cheese recipe, but I can see it being a huge hit with children as well!
Skillet macaroni and cheese might be life changing in this house. It’s super rich and satisfying, but most importantly, the cheese sauce did not become grainy. Start to finish, this mac and cheese took me about 30 minutes.
Oh, and I used an ordinary supermarket 6-month Cheddar. It was still delicious—and means I can make it whenever I want since I always have these staples on hand.
This recipe takes mac and cheese to a whole new level. The one-pot, stick-it-in-the-oven approach makes it especially weeknight-friendly with a smooth, creamy, cheesy sauce that tastes significantly better than the boxed option. It produced perhaps a little more sauce than I like but this is really personal preference.
I used pipe rigate shells which were great for sauce adhesion with those all-important ridges.
This recipe was easy to follow and make and the result was a very cheesy mac and cheese. While preparing the recipe, I was a bit worried that the sauce may not taste cheesy enough or be a bit bland, but the mature Cheddar and Parmesan cheeses resulted in a strong cheese flavor.
I chose to use small pasta shells and they carried the sauce well, which meant that every bite had enough sauce.
A great abbreviated recipe to have up your sleeve for quickly satisfying chilly-day cravings for mac and cheese. It didn’t have the ta-da appearance of a “full version” with a golden brown top and bubbly edges, but it had the essentials, which are perfectly cooked pasta in a rich cheese sauce. I used cavatappi.
None of my oven-safe skillets that are big enough to hold the mac and cheese has a lid, but that didn’t stop me from trying this recipe. My 11-inch skillet (1 1/2 inches deep) and a makeshift lid made of heavy-duty aluminum foil worked beautifully. Measuring and grating the cheese while the pasta cooked in the oven saved me a few minutes (every little bit counts on a weeknight, yes?).
The second time I made it, I experimented with my 3-quart saucepan, which comes with an oven-safe lid. The timing for each step for the skillet version also worked for the saucepan version, but the sauce didn’t thicken in the oven sufficiently, probably due to the smaller cooking surface and increased depth.
This recipe delivers heartwarming, satisfying, pure-comfort-in-a-bowl mac and cheese in just 30 minutes from start to finish. I was excited that I had everything in my pantry and fridge to whip up this delight. It’s creamy and thick and cheesy, everything I crave in a good mac and cheese. I will admit, I was a bit skeptical, as I’ve never made mac and cheese using the stove and oven method to actually cook the pasta, but it worked! This will be my new go-to recipe.
I used a 6-month aged sharp Cheddar. I imagine it would even be more spectacular with an older mature cheddar. I used a medium stainless steel pot with a lid. I didn’t warm my milk prior to whisking it into the flour and butter. I added the milk gradually as the recipe states, and it was fine.
If using a stainless steel skillet or pot, watch the handle when coming out of the oven, especially when serving to young ones. The handle gets hot as opposed to stove-top mac in which the handle usually remains cool. Just a reminder for caution while serving. Even though I knew this and purposely positioned the handle away from myself, my hand still managed to graze the handle for a slight second and I quickly pulled away.


