
Want to save this?
If you cook a lot of chicken, this pan-seared chicken breast recipe is life-altering. It’s cheap. It’s easy. It’s fast. It’s failproof. And wow! (We said “wow” because that’s what we say when too many words are jangling about in our minds at the same time and they can’t all come through on the keyboard to the page at the same time.) All that’s left to do is sit down and accept accolades. Best pan seared chicken breast ev-ah. Oh, and you’ll either have to sweet talk your butcher into doing a little knife work or do it yourself. (If you’re wondering why on earth you have to remove the bone, it’s because this allows the entire surface of the meat to lie flat and even against the pan—a must for perfectly crisp skin.) We instruct you how to do it below.
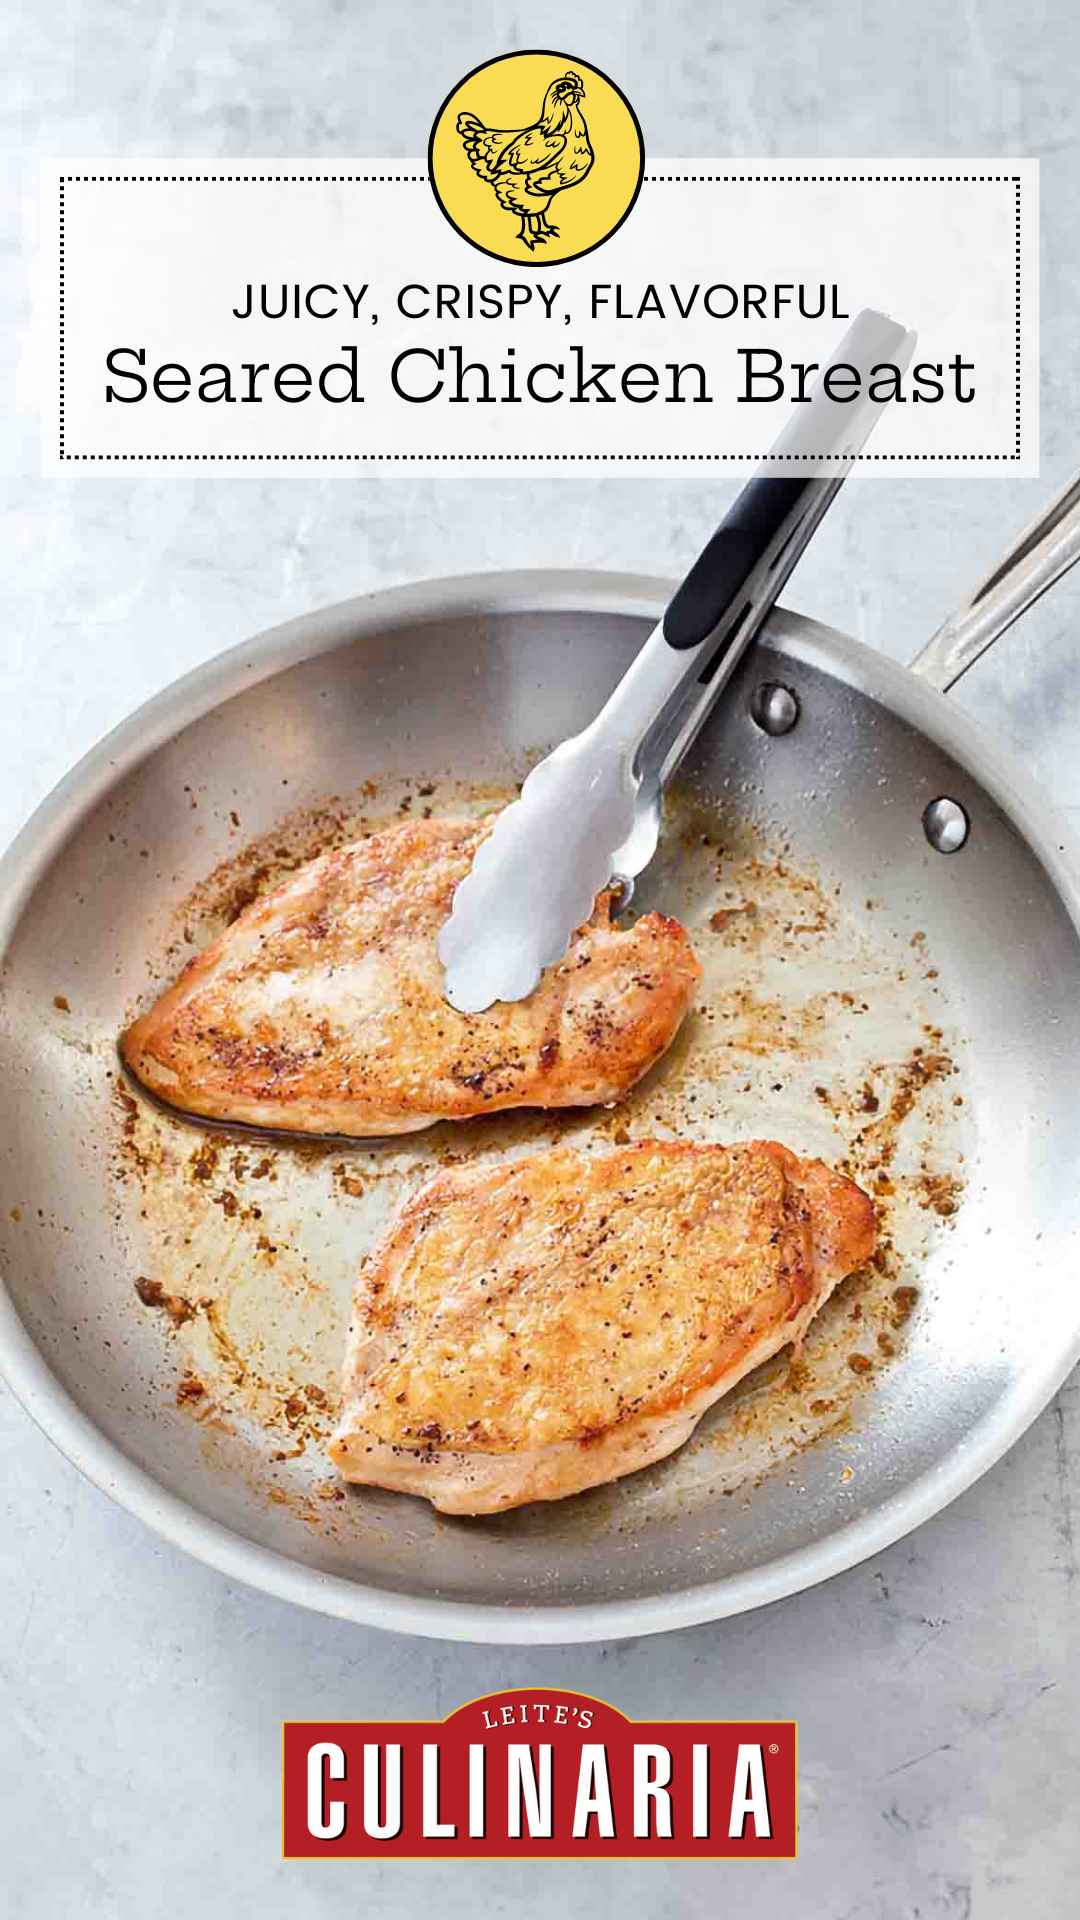
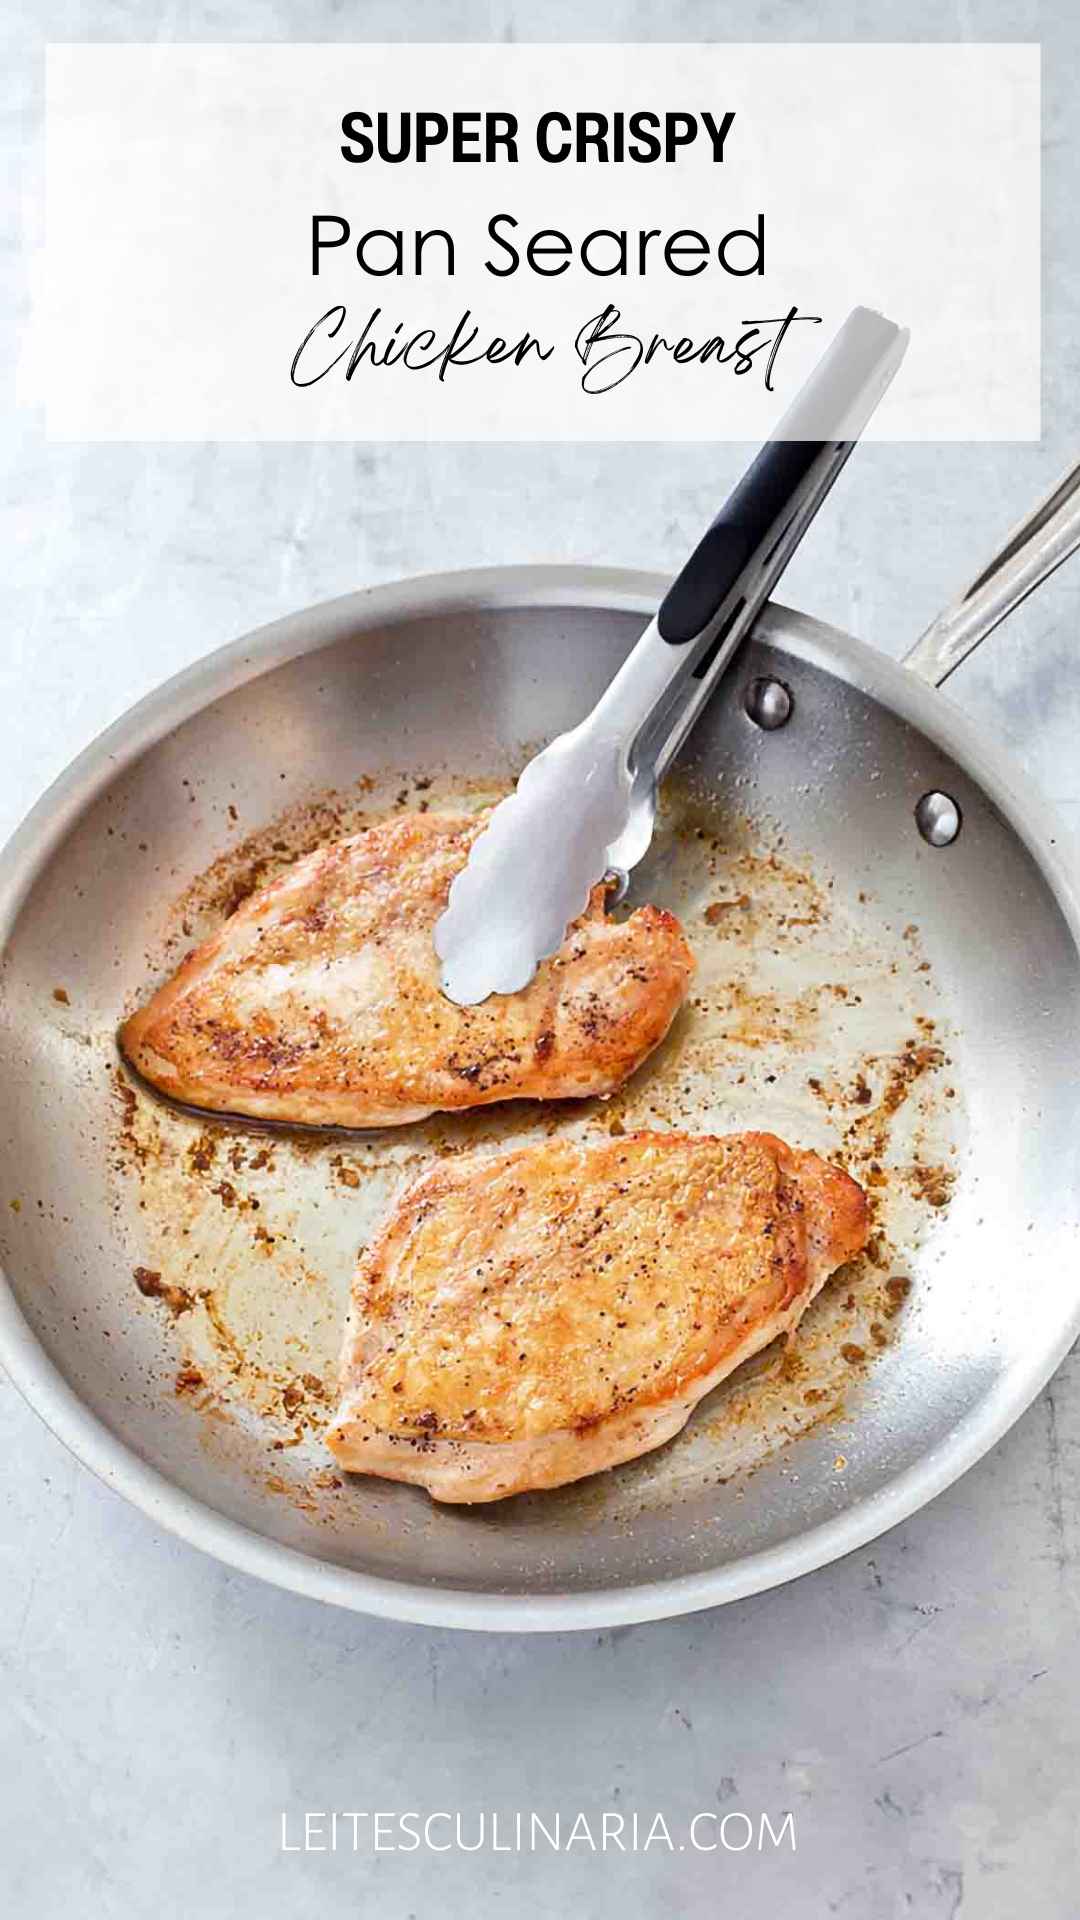
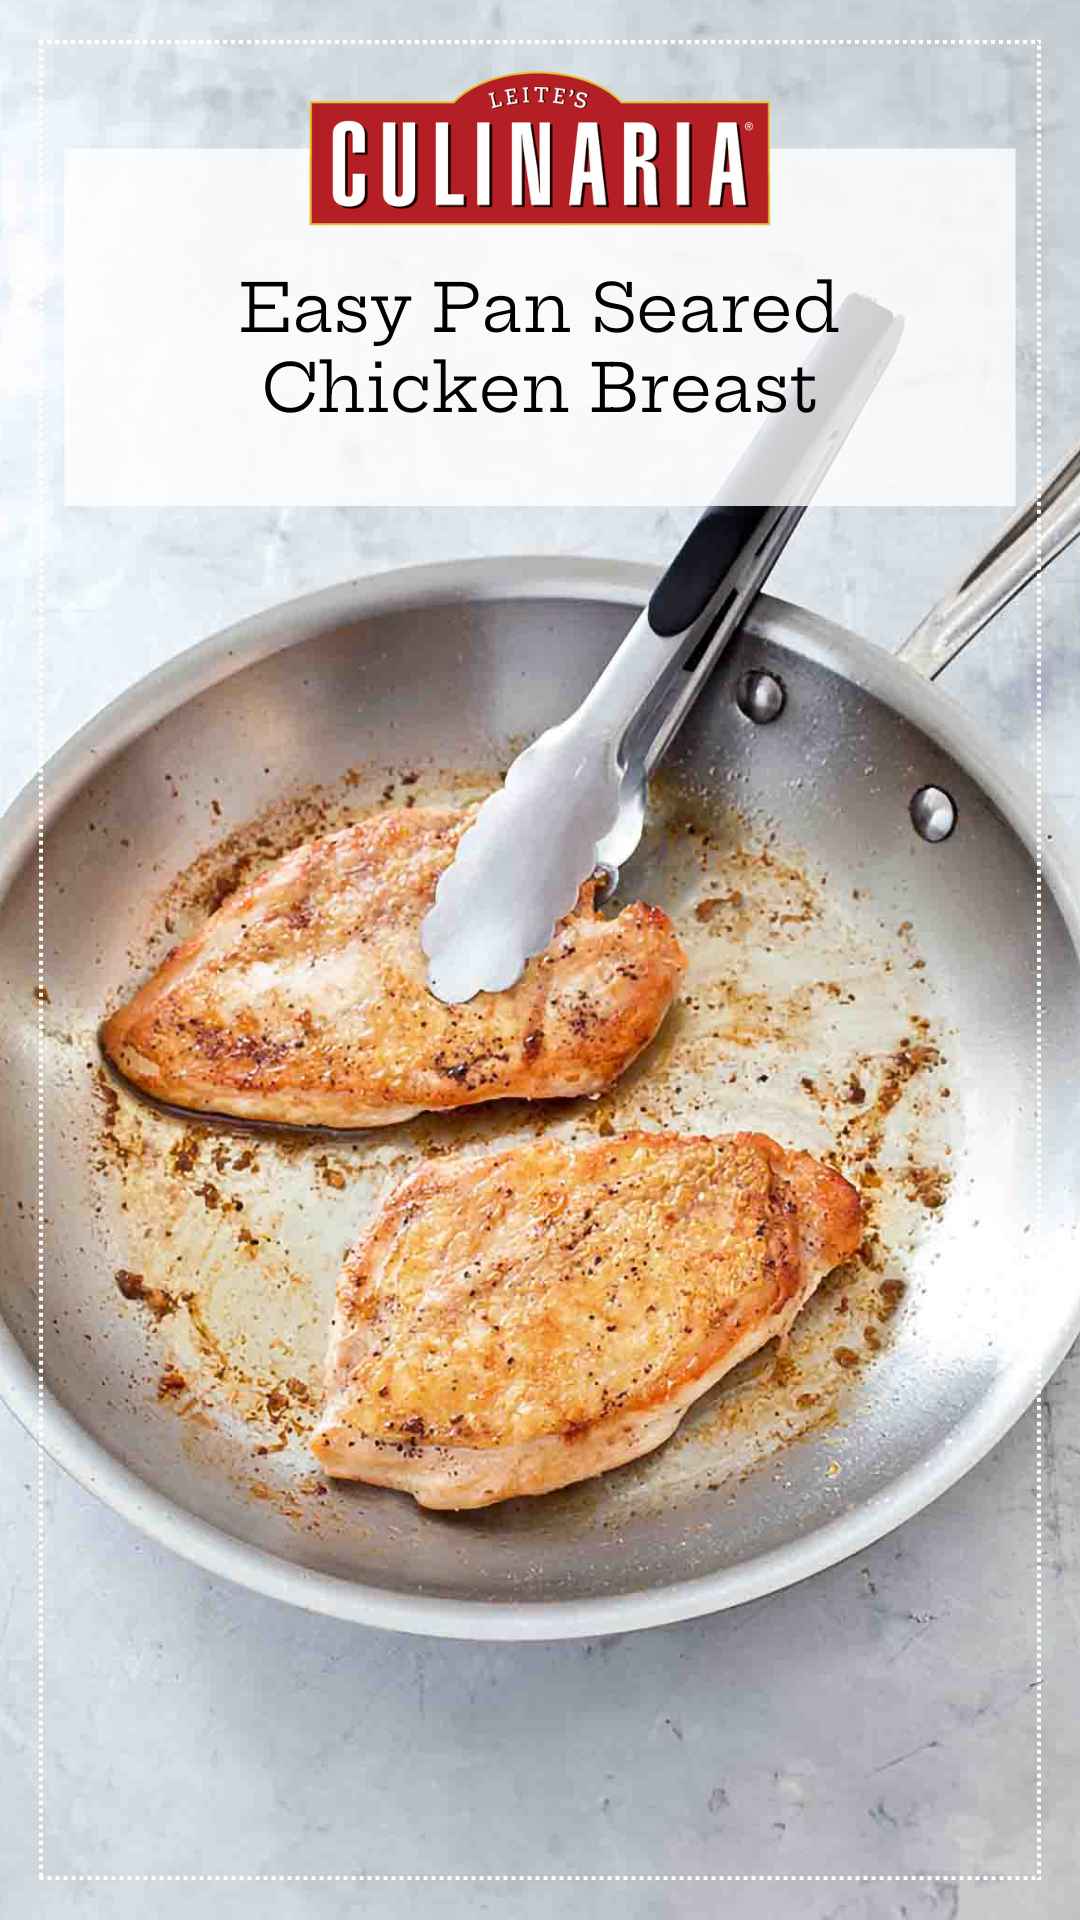
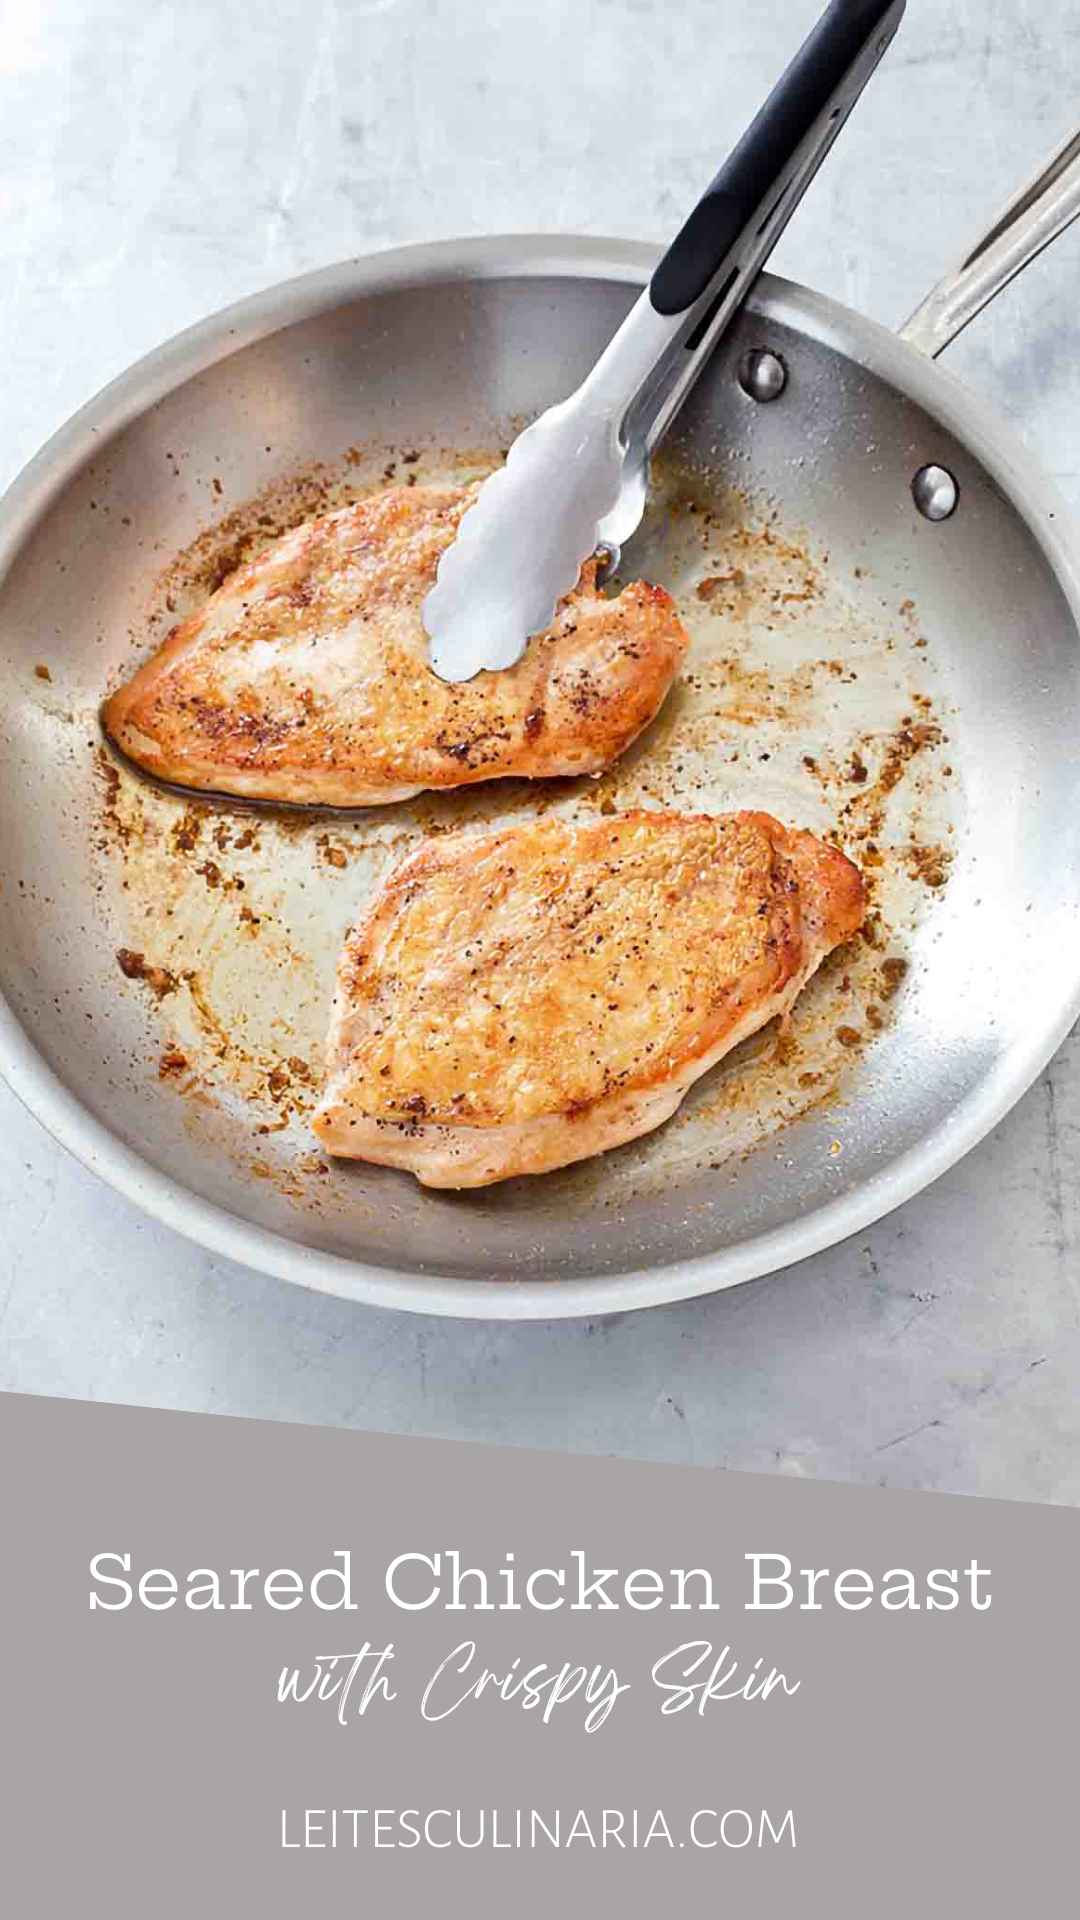
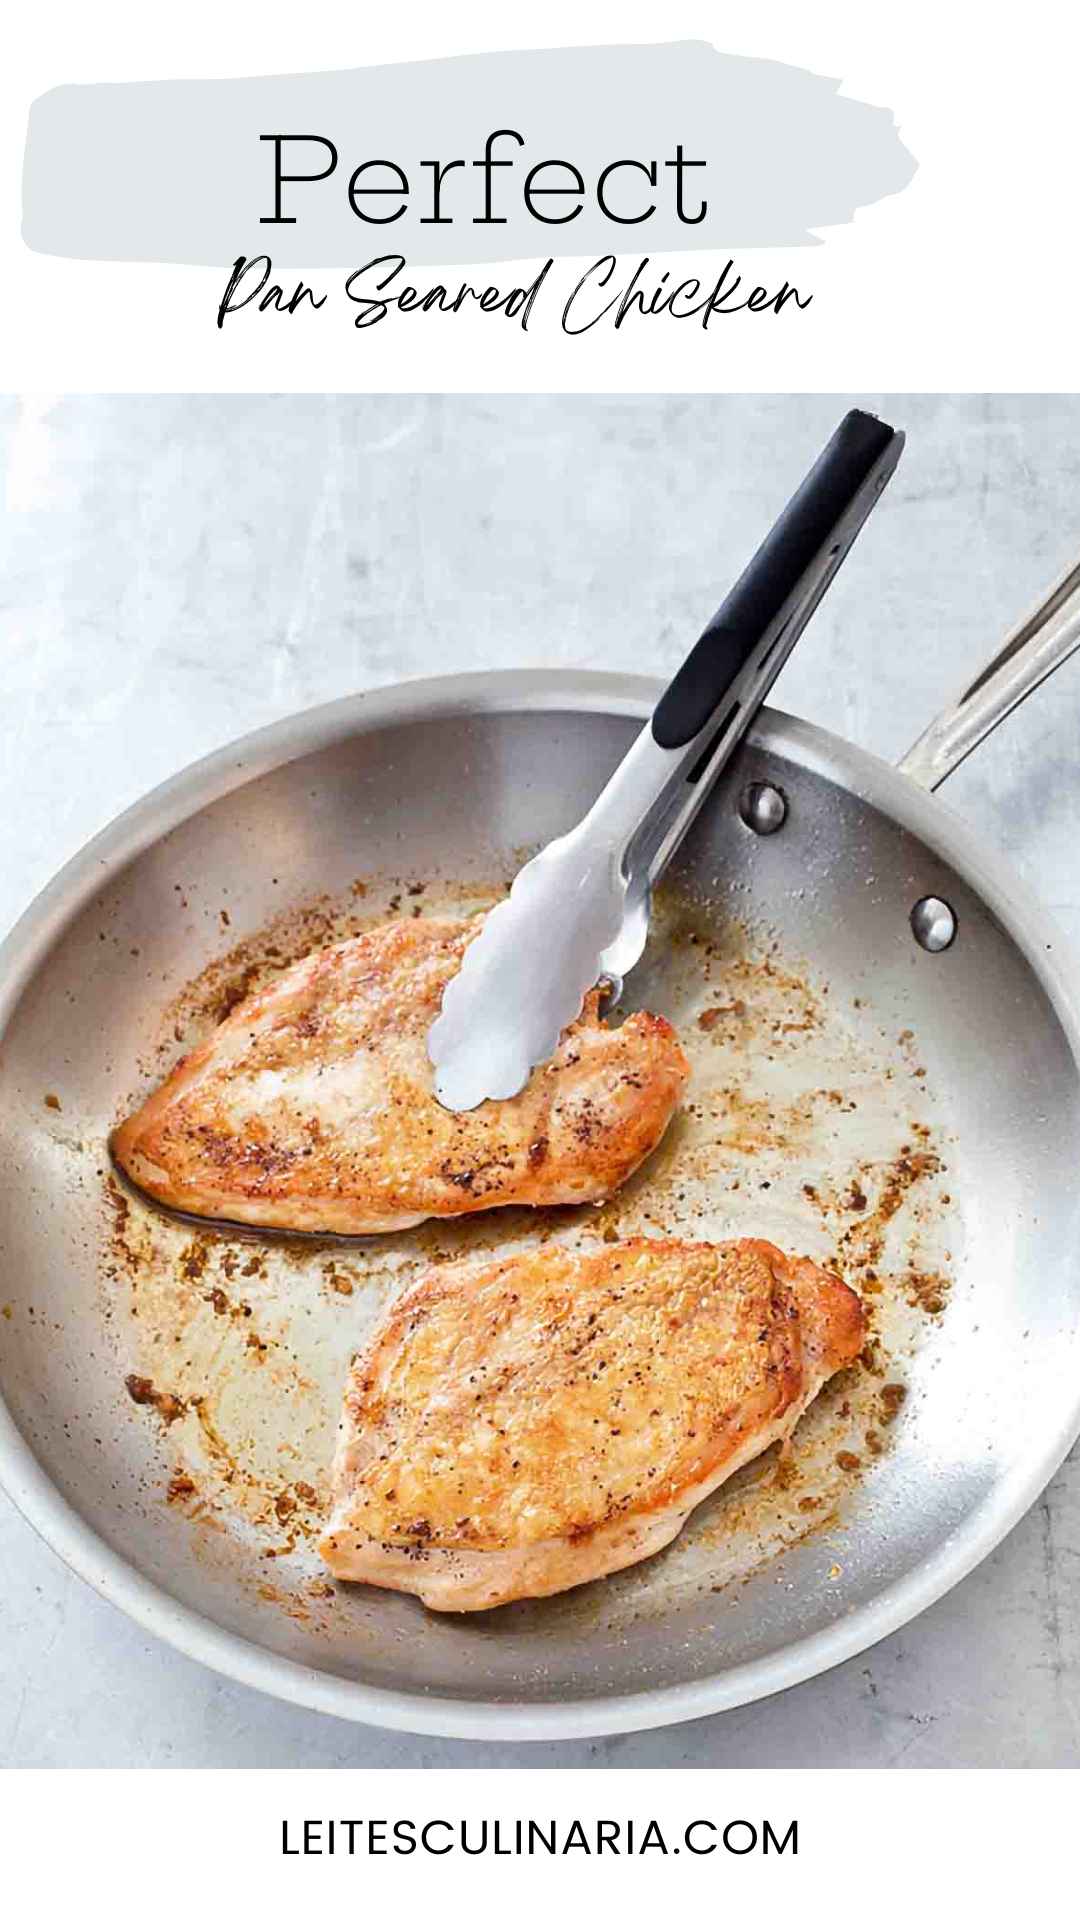
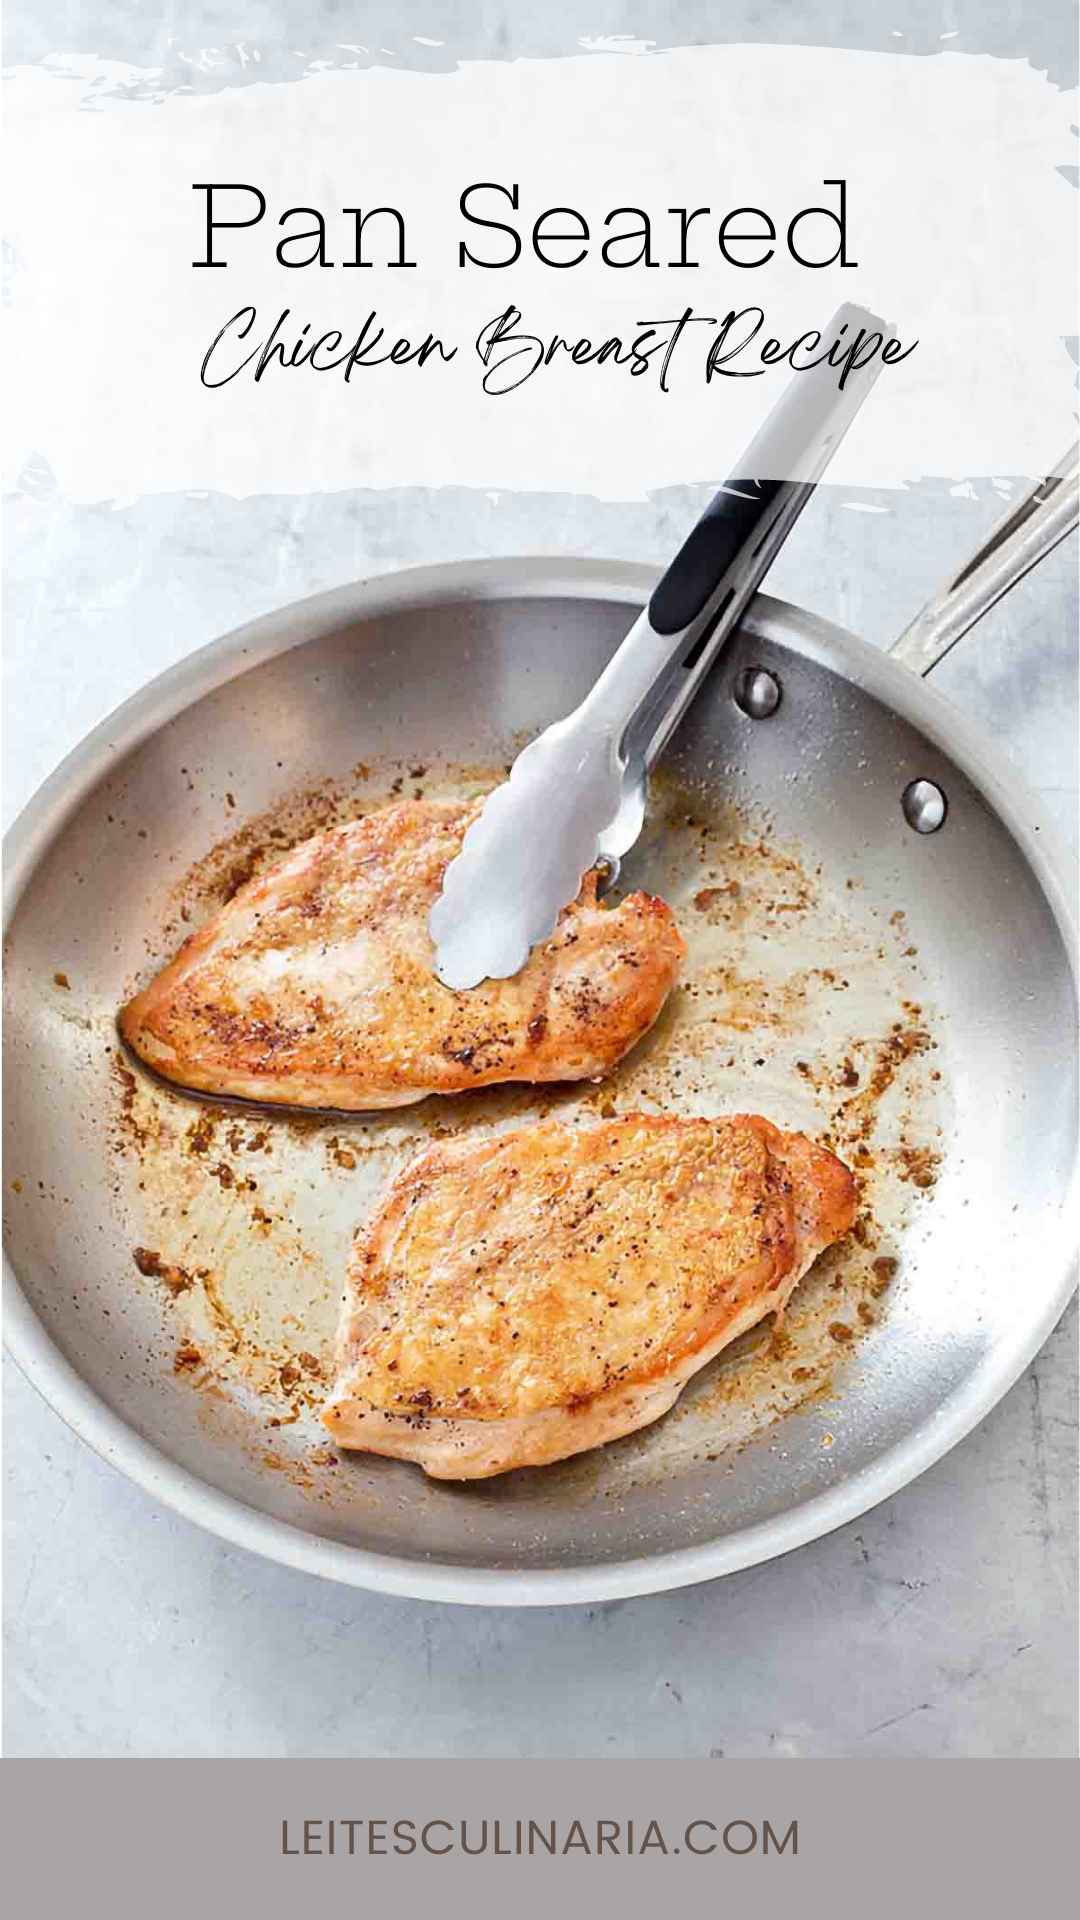
Pan Seared Chicken Breast
Ingredients
- Two (10- to 12-ounce) bone-in, skin-on, split chicken breasts
- Salt and freshly ground black pepper
- 2 tablespoons olive oil
Instructions
At least 1 hour before cooking
- You'll need to remove the bone from each split chicken breast. It's really easy. To do this, grab a sharp paring knife in your dominant hand and place 1 chicken breast, skin side down, on your cutting board with the ribs facing away from your knife hand.
- Starting at the thick end of the breast, run the tip of your knife between the breastbone and the meat, angle the blade slightly, and follow the rib cage and cartilage all the way toward the thin end. Repeat the cutting motion several times to remove the ribs and breastbone from the chicken breast and run the tip of your knife along both sides of the short remnant of the wishbone along the top edge of the breast to separate it from the meat. Remove the tenderloin and reserve it for another use, taking care not to cut into the skin. Repeat with the remaining chicken breast.
- Using the tip of your paring knife, poke the skin on each chicken breast evenly 30 to 40 times. Turn the breasts over and poke the thickest portion of each breast 5 to 6 times. Cover the breasts with plastic wrap and pound the thick ends gently with a meat pounder, rolling pin, or a heavy skillet until the chicken is an even 1/2-inch thickness.
- Pat each chicken breast dry with paper towels and sprinkle each breast with 1/2 teaspoon kosher salt. Place the breasts, skin side up, on a wire rack placed in a roasting pan, cover loosely with plastic wrap, and refrigerate for at least 1 hour and up to 8 hours.
Just before cooking
- Pat the chicken breasts dry with paper towels and sprinkle each breast with 1/4 teaspoon pepper.
- Pour the oil in a 12-inch skillet (preferably cast-iron) and tilt to coat the surface with oil. Place the chicken, skin side down, in the cold skillet and place the skillet over medium heat. Place a heavy skillet or Dutch oven on top of the chicken to weight it and keep it flat. Cook until the skin begins to turn golden brown and the meat begins to turn opaque along the edges, 5 to 9 minutes. (If you're the impatient sort, you can inch the heat up to medium-high, although we gotta say, it's really not necessary.)
- Remove the weight and continue to cook the chicken over medium heat until the skin is well browned and very crisp, 6 to 8 minutes.
- Flip the chicken, reduce the heat to medium-low, and cook until the second side is lightly browned and the chicken registers 160° to 165°F (71 to 74°C), 2 to 5 minutes. Transfer a sautéed chicken breast to each plate and let rest a few minutes prior to serving.
Explore More with AI
Nutrition
Nutrition information is automatically calculated, so should only be used as an approximation.
Recipe Testers’ Reviews
Did you know only 68% of the recipes we test make it onto the site? This recipe survived our rigorous blind testing process by multiple home cooks. It earned the Leite’s Culinaria stamp of approval—and the testers’ reviews below prove it.
Select a Tester
I honestly didn’t think that it was feasible to achieve pan-seared chicken breast magnificence with so little spatter on the stovetop. But I stand corrected. Everything in this recipe was accurate—the typical size of a bone-in, skin-on chicken breast; the directions describing how to debone the chicken breast; the visual cues as to what to expect during searing; the timing; and, most importantly, the promise of “shatteringly crisp skin” and remarkably tender, juicy chicken breast meat.
I’ve made this on several occasions and, when time is short, I skip the salting-and-shoving-the-chicken-in-the-fridge step, and the results are still nothing short of incredible. This recipe is going to change your weeknight chicken game. Swear.


The chicken breast was wonderful but the grease spatters were not. I followed the recipe to a T but still ended up with a mess on the stove. Hoping you can help me determine why. My gas stove does run hot but I compensate by not setting the dial to “full steam ahead.” It doesn’t seem to me that this could cause the spattering tho because I had a heavy pan set on top of the chicken, as instructed. Any thoughts?
Ann, I’m delighted to enjoy the recipe! It’s simple and elegant. As far as the mess, chicken skin has a lot of fat. And the reason why the skillet is on top is to keep it in contact as much as possible with the pan to render the fat and crisp the skin.
One way to minimize the splattering is to make sure the chicken is completely dry. Less water = less splatter. Also, you could use a larger skillet or Dutch oven on top of the chicken. But my fear is that it may end up steaming the chicken rather than giving it a beautiful sear.
Sure would like to see the de-boning in a video. I’m sure I can do it if I just watch and listen.
We hear you, Sara, and it’s on our list of things to create! In the meantime, there’s always youtube to help you out.
Hi David, why not just buy cutlets?
Nathan, you can, of course. But cutlets usually don’t come with the skin on. And the crispy skin on this is fantastic–you want it, trust me.